

Ah, summer. The season of sunshine, long evenings, and the incessant craving for something cool and creamy. I remember summers spent at my grandmother’s house, where the air was always thick with the scent of her gardenias and the promise of homemade treats. She had this ancient, clunky ice cream maker that would churn away on the porch, a noisy testament to the deliciousness to come. The anticipation was half the fun! As I grew older, and moved into my own tiny apartment with an even tinier kitchen, the idea of an ice cream maker seemed like an impossible luxury. Storage space was a premium, and the thought of another single-purpose appliance filled me with dread. That's when I stumbled upon the magic of no churn ice cream recipes. It was a revelation! The first time I whipped up a batch, I was skeptical. Could something so simple, without any special equipment, truly rival the creamy, rich texture of churned ice cream? Oh, how wrong I was to doubt! The moment that first spoonful melted on my tongue, I was transported back to those sun-drenched porch days, but with a newfound appreciation for the sheer ease of it all. This discovery meant that delicious, homemade ice cream was no longer a weekend project but an anytime indulgence. It became my go-to for impromptu gatherings, a comforting treat after a long day, and a perfect canvas for all sorts of flavor experiments. Gone were the days of hauling out a bulky machine; now, a bowl, a whisk, and a few simple ingredients were all I needed. This particular recipe for Ultimate Dreamy Vanilla Bean No-Churn Ice Cream is the one I've perfected over the years, a true testament to how easy and incredibly satisfying no churn ice cream recipes can be. It's the perfect base to customize, but utterly delightful on its own. It's truly a game-changer for anyone who loves ice cream but shies away from the fuss.
Why This Recipe is a Must-Try
- Effortless & Equipment-Free: Say goodbye to bulky ice cream makers! This recipe requires just a few simple bowls and a whisk or electric mixer, making it accessible to everyone, regardless of kitchen size or special equipment. It's one of the easiest no churn ice cream recipes you'll ever find.
- Rich & Creamy Texture: Despite the lack of churning, this ice cream boasts an incredibly smooth, dense, and luxurious texture that rivals premium store-bought brands. The secret lies in the combination of heavy cream and condensed milk, which prevents large ice crystals from forming.
- Infinitely Customizable: While this recipe features a classic vanilla bean flavor, it serves as the perfect base for endless variations. Add fruit, chocolate, nuts, or sauces to create your own signature scoop. It’s the ultimate flexible foundation for any of your favorite no churn ice cream recipes ideas.
- Quick Prep Time: With only about 15 minutes of active preparation, most of the work involves simply waiting for the freezer to do its magic. This makes it an ideal dessert for busy schedules or last-minute cravings.
Key Ingredient Notes
The beauty of no churn ice cream recipes lies in their simplicity, and this recipe is no exception. While minimal ingredients are needed, understanding their roles is crucial for that perfect, creamy consistency.
- Heavy Cream (or Heavy Whipping Cream): This is the backbone of your no-churn ice cream. For best results, ensure your heavy cream is very cold. The high fat content (typically 36% or more) is what allows it to whip up into stiff peaks, creating the airy, voluminous base for your ice cream. Do not substitute with half-and-half or light cream, as they won't provide the necessary structure or richness.
- Sweetened Condensed Milk: This magical ingredient serves a dual purpose. Firstly, it provides sweetness without adding extra liquid, which could lead to an icy texture. Secondly, and most importantly for no churn ice cream recipes, it prevents the mixture from freezing solid. The sugar and milk solids in condensed milk lower the freezing point, resulting in that wonderfully smooth, scoopable consistency. Use full-fat sweetened condensed milk for the best results; evaporated milk is not a suitable substitute as it lacks the sugar content and thickness.
- Vanilla Bean Paste (or Extract): While vanilla extract is perfectly fine, vanilla bean paste takes this ice cream to another level. It adds those beautiful specks of vanilla bean and a more intense, complex vanilla flavor. If using extract, opt for a good quality pure vanilla extract. Don't be shy with the vanilla – it’s the star of this classic flavor!
Step-by-Step Guide with Pro Tips
Making delicious no churn ice cream recipes at home is incredibly straightforward. Follow these steps for perfect results every time:
- Step 1: Gather your ingredients. Ensure your heavy cream is very cold, directly from the refrigerator. This will help it whip up more effectively.
- Step 2: In a large mixing bowl, combine the sweetened condensed milk and vanilla bean paste (or vanilla extract). Whisk these together until they are well combined. Set aside.
- Step 3: In a separate, very cold large bowl, pour in the heavy cream. Using an electric mixer (handheld or stand mixer with a whisk attachment), beat the heavy cream on medium-high speed.
- Step 4: Continue beating until the cream forms stiff peaks. This means when you lift the whisk, the peaks hold their shape and don't flop over. Be careful not to overbeat, or it might turn grainy. This is a crucial step for airy no churn ice cream recipes.
- Step 5: Gently fold about one-third of the whipped cream into the condensed milk mixture. Use a spatula and a 'cut and fold' motion to lighten the condensed milk base. This helps prevent deflating the whipped cream.
- Step 6: Add the remaining whipped cream to the bowl. Continue to gently fold until no streaks of white cream remain and the mixture is uniformly combined. The goal is to maintain as much air as possible in the mixture.
- Step 7: Pour the ice cream mixture into a freezer-safe container. A loaf pan or a shallow dish works well. For longer storage, consider using durable glass food storage containers (like these Basics Glass Food Storage) to prevent freezer burn.
- Step 8: Cover the container tightly with plastic wrap or an airtight lid. Press the plastic wrap directly onto the surface of the ice cream to help prevent ice crystals from forming.
- Step 9: Freeze for at least 6 hours, or preferably overnight, until firm.
- Step 10: Once firm, scoop and serve! For easier scooping, you can let the ice cream sit at room temperature for 5-10 minutes before serving. Enjoy your homemade no churn ice cream recipes creation!
Variations & Serving Suggestions
One of the most exciting aspects of no churn ice cream recipes is how adaptable they are. This vanilla bean base is fantastic on its own, but it's also a perfect canvas for creativity!
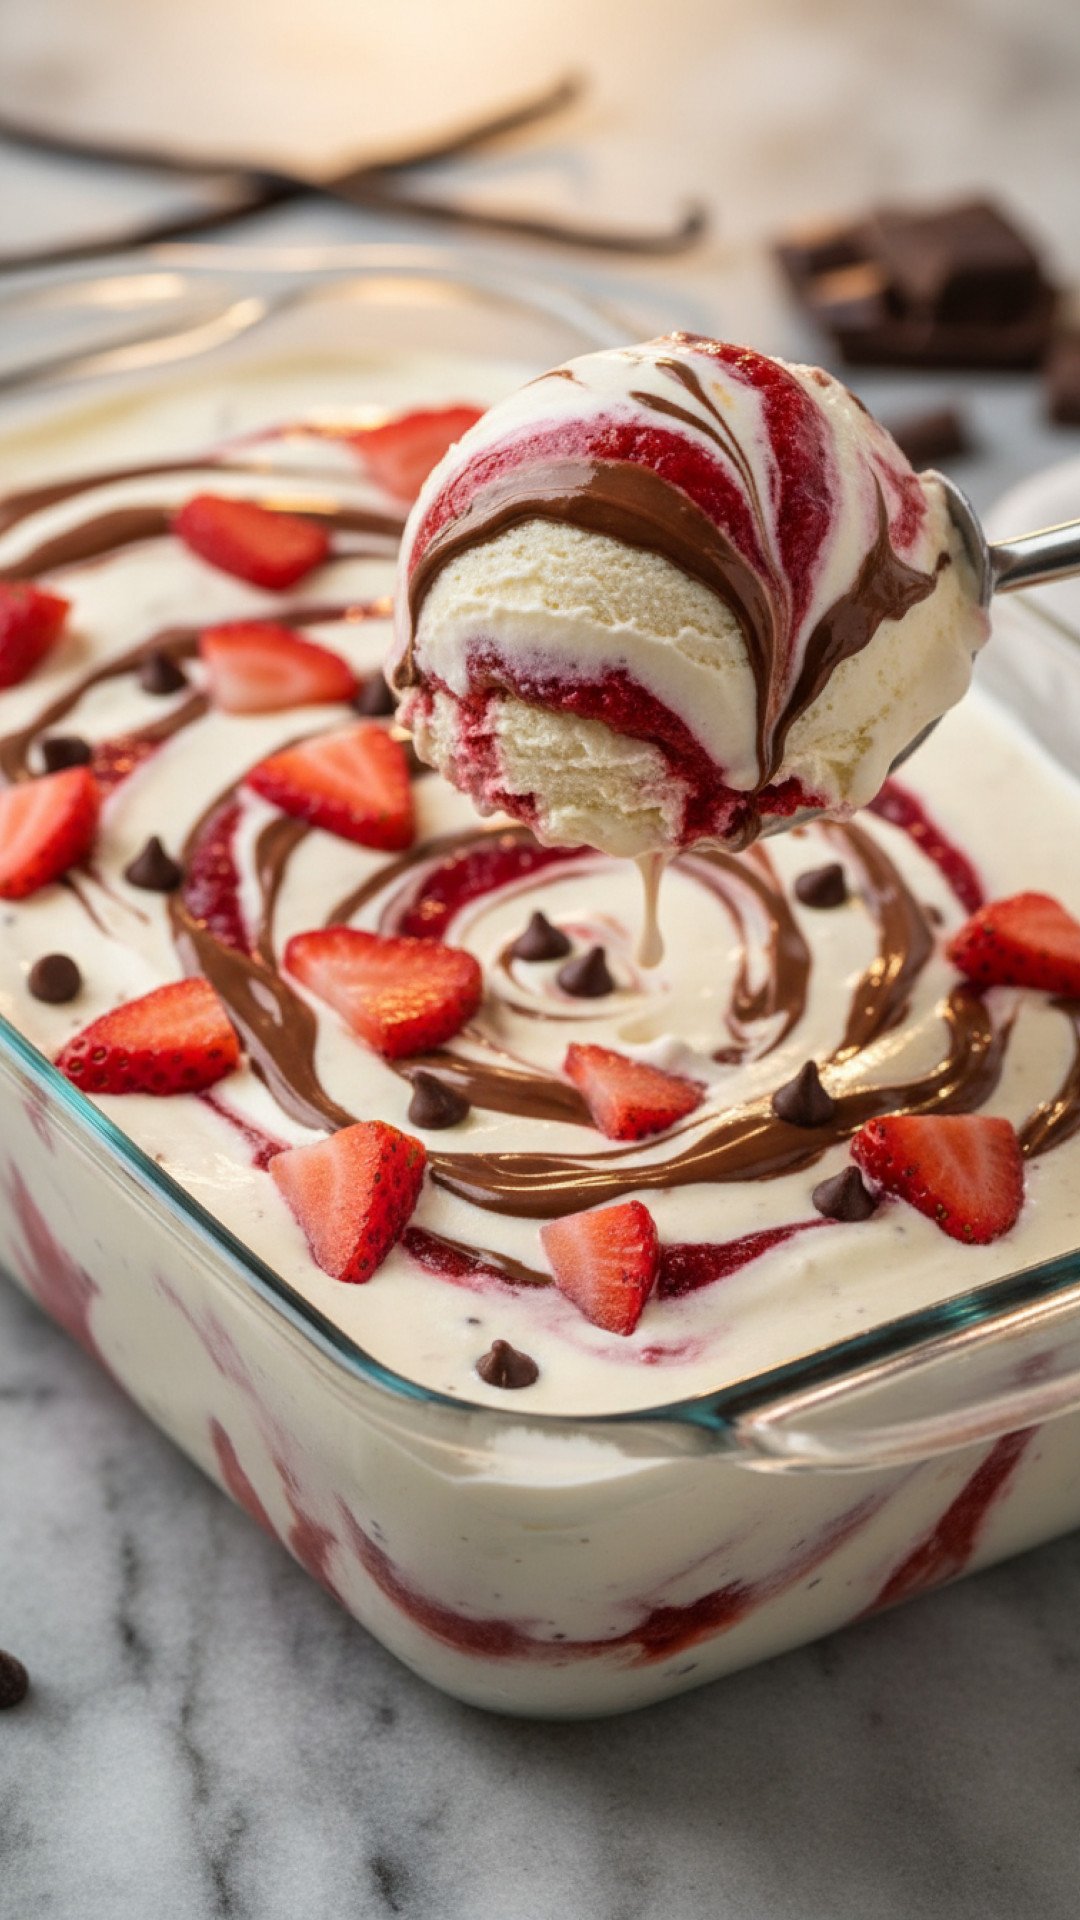
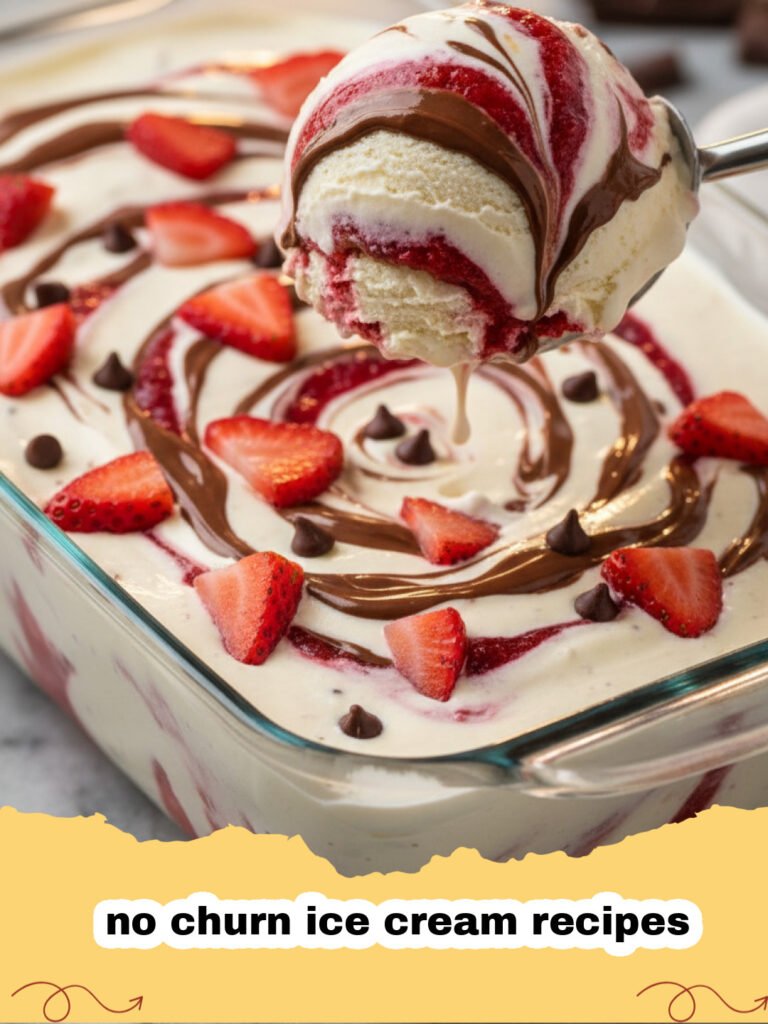
- Chocolate Swirl: Before freezing, swirl in ¼ cup of melted dark chocolate or a rich chocolate fudge sauce.
- Cookie Dough Dream: Fold in ½ cup of edible cookie dough chunks (ensure it's egg-free or heat-treated flour) after combining the mixtures.
- Berry Blast: Swirl in ½ cup of homemade blackberry jam or a purée of your favorite berries (strawberries, raspberries, blueberries). This adds a lovely tart counterpoint to the sweetness.
- Coffee Lover's Delight: Dissolve 1-2 tablespoons of instant espresso powder in 1 tablespoon of hot water, cool it, and then add it to the condensed milk mixture.
- Mint Chip: Add ½ teaspoon of peppermint extract and ½ cup of mini chocolate chips to the mixture before freezing.
- Serving Suggestions: Serve scoops of this dreamy ice cream in bowls or cones. It's incredible topped with fresh fruit, a drizzle of caramel or chocolate sauce, whipped cream, or a sprinkle of toasted nuts. For a truly decadent treat, pair it with warm brownies or a slice of your favorite pie. This versatile vanilla ice cream is also amazing alongside other simple desserts, such as a gooey Rice Krispie Treat.
Nutrition Information
Nutrient Amount Per Serving Calories 280 kcal Carbohydrate Content 28 g Cholesterol Content 85 mg Fat Content 18 g Fiber Content 0 g Protein Content 4 g Saturated Fat Content 11 g Sodium Content 50 mg Sugar Content 27 g Trans Fat Content 0.5 g Unsaturated Fat Content 6 g *Nutritional values are estimates and may vary based on specific ingredients and preparation methods.
Conclusion
And there you have it! The secret to incredibly delicious, homemade ice cream, without the need for any special equipment. These no churn ice cream recipes truly unlock a world of possibilities for dessert lovers everywhere. This vanilla bean version is a timeless classic, perfect on its own or as a starting point for countless flavor adventures. So next time that ice cream craving hits, don't reach for the store-bought pint. Instead, whip up a batch of this dreamy no-churn delight. You'll be amazed at how simple it is and how wonderfully satisfying the results are. Happy scooping, and enjoy the sweet taste of summer, no matter the season!
FAQs
What exactly is no-churn ice cream?
No-churn ice cream is a type of homemade ice cream that does not require an ice cream maker. It typically relies on whipping heavy cream and folding it into sweetened condensed milk, creating a rich, creamy base that freezes into a scoopable ice cream without the need for churning. These easy no churn ice cream recipes are perfect for anyone without specialized equipment.
Why is my no-churn ice cream icy?
Icy no-churn ice cream is usually caused by too much water content or not enough air incorporated. Ensure your heavy cream is very cold before whipping it to stiff peaks, as this creates the necessary airiness. Also, make sure to use full-fat sweetened condensed milk, as its high sugar content helps prevent ice crystal formation. Properly covering the container also helps, as exposure to air can lead to freezer burn and ice. These steps are crucial for the best no churn ice cream recipes.
How long does no-churn ice cream last in the freezer?
When stored in an airtight, freezer-safe container, no-churn ice cream can last for up to 2-3 weeks in the freezer. Beyond this, its texture and flavor may start to degrade, though it will still be safe to eat. For optimal freshness, enjoy it within the first week or two. Using high-quality, air-tight containers helps preserve your delicious no churn ice cream recipes.
Can I add different flavors or mix-ins to this vanilla no-churn ice cream recipe?
Absolutely! This vanilla bean no-churn ice cream is a fantastic base for endless variations. You can swirl in fruit purees, melted chocolate, caramel, or various extracts (like almond or peppermint) with the condensed milk. For mix-ins, gently fold in ingredients like chocolate chips, chopped nuts, cookie pieces, or chopped candies after combining the whipped cream and condensed milk mixture. The possibilities are truly limitless with these versatile no churn ice cream recipes!
Ultimate Dreamy Vanilla Bean No-Churn Ice Cream
Indulge in the luscious simplicity of homemade vanilla bean ice cream, crafted without an ice cream maker! This no-churn recipe delivers a rich, creamy, and wonderfully scoopable treat with minimal effort. Perfect for customizing with your favorite mix-ins or enjoying its classic flavor on its own.
- Total Time: 6 hours 15 minutes (including freezing)
- Yield: 8 servings 1x
Ingredients
Scale2 cups (480ml) cold heavy cream (or heavy whipping cream)
1 (14-ounce / 397g) can sweetened condensed milk
1 tablespoon vanilla bean paste (or 2 teaspoons pure vanilla extract)
Pinch of salt (optional, to enhance flavor)Instructions
Step 1: In a large mixing bowl, combine the sweetened condensed milk, vanilla bean paste (or vanilla extract), and optional pinch of salt. Whisk these together until they are well combined. Set aside.
Step 2: In a separate, very cold large bowl, pour in the cold heavy cream. Using an electric mixer (handheld or stand mixer with a whisk attachment), beat the heavy cream on medium-high speed until it forms stiff peaks. This means when you lift the whisk, the peaks hold their shape firmly.
Step 3: Gently fold about one-third of the whipped cream into the condensed milk mixture. Use a spatula and a 'cut and fold' motion to lighten the condensed milk base. This helps prevent deflating the whipped cream.
Step 4: Add the remaining whipped cream to the bowl. Continue to gently fold until no streaks of white cream remain and the mixture is uniformly combined and airy. Be careful not to overmix.
Step 5: Pour the ice cream mixture into a freezer-safe container (a 9x5 inch loaf pan works perfectly). Smooth the top with a spatula.
Step 6: Cover the container tightly with plastic wrap, pressing the wrap directly onto the surface of the ice cream to help prevent ice crystals from forming. Alternatively, use an airtight lid.
Step 7: Freeze for at least 6 hours, or preferably overnight, until the ice cream is firm and scoopable.
Step 8: Before serving, let the ice cream sit at room temperature for 5-10 minutes for easier scooping. Scoop and enjoy your dreamy homemade vanilla bean no-churn ice cream!Notes
For the best flavor and texture, use high-quality heavy cream and vanilla bean paste. Don't overbeat the cream, and ensure it's very cold before whipping. This recipe is a fantastic base for adding mix-ins like chocolate chips, crushed cookies, or fruit swirls before freezing.
- Prep Time: 15 minutes
- Cook Time: 0 minutes
- Category: Desserts & Baking
- Cuisine: American
Nutrition
- Serving Size: 1/2 cup (120ml)
- Calories: 280 kcal
- Sugar: 27 g
- Sodium: 50 mg
- Fat: 18 g
- Saturated Fat: 11 g
- Unsaturated Fat: 6 g
- Trans Fat: 0.5 g
- Carbohydrates: 28 g
- Fiber: 0 g
- Protein: 4 g
- Cholesterol: 85 mg
Leave a Reply