
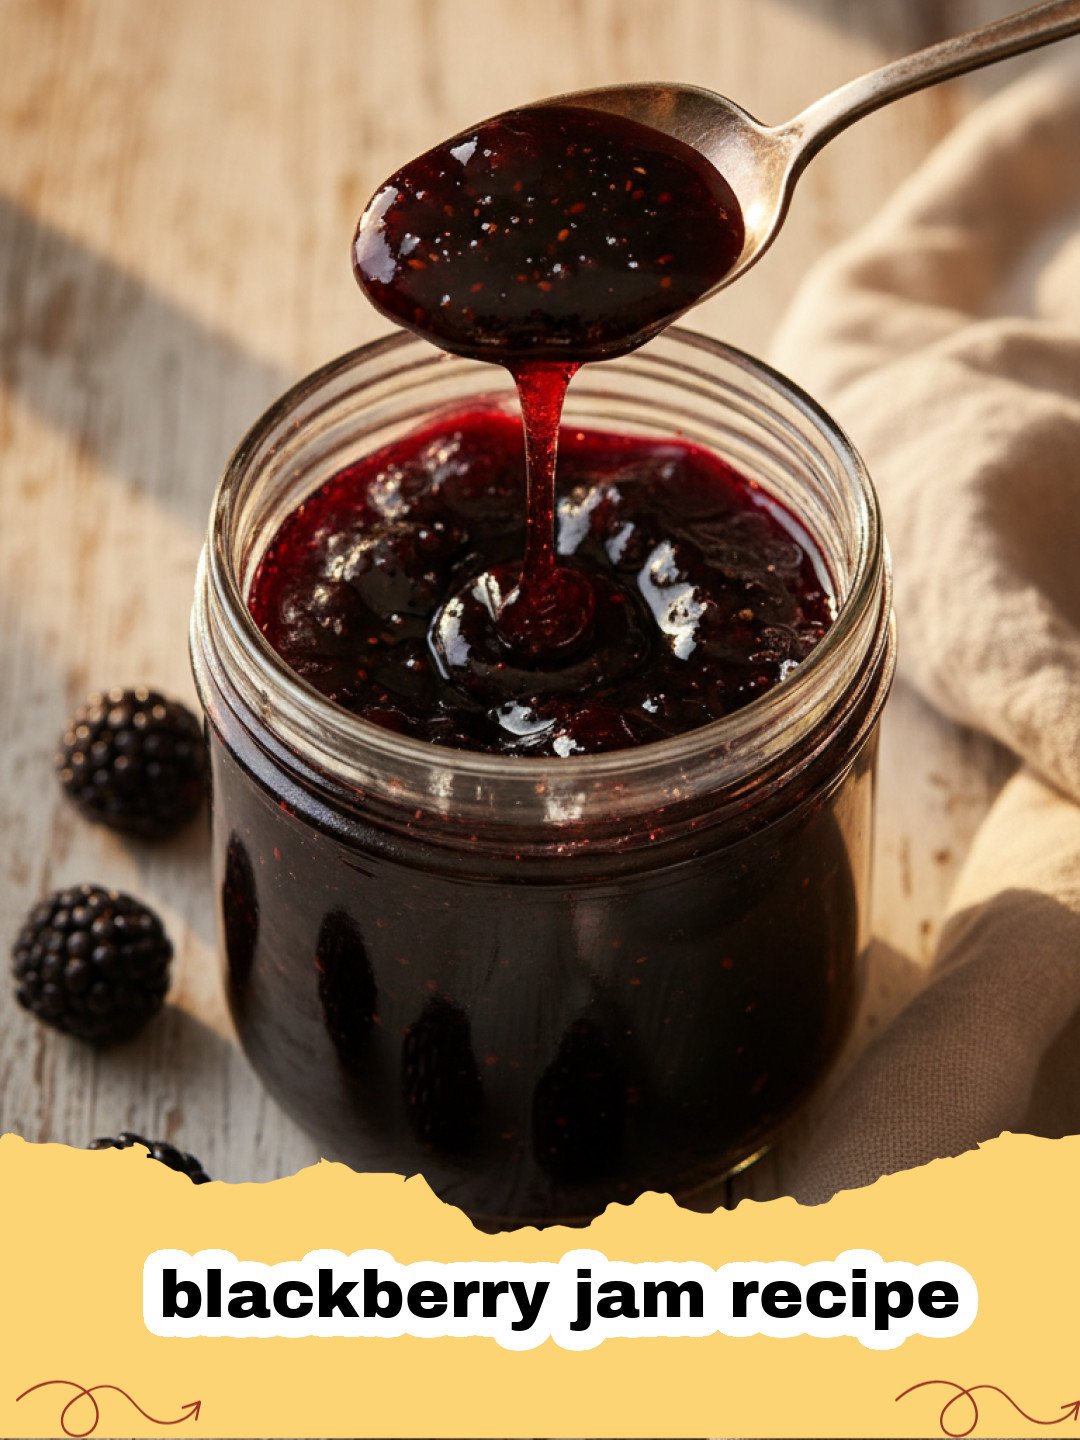
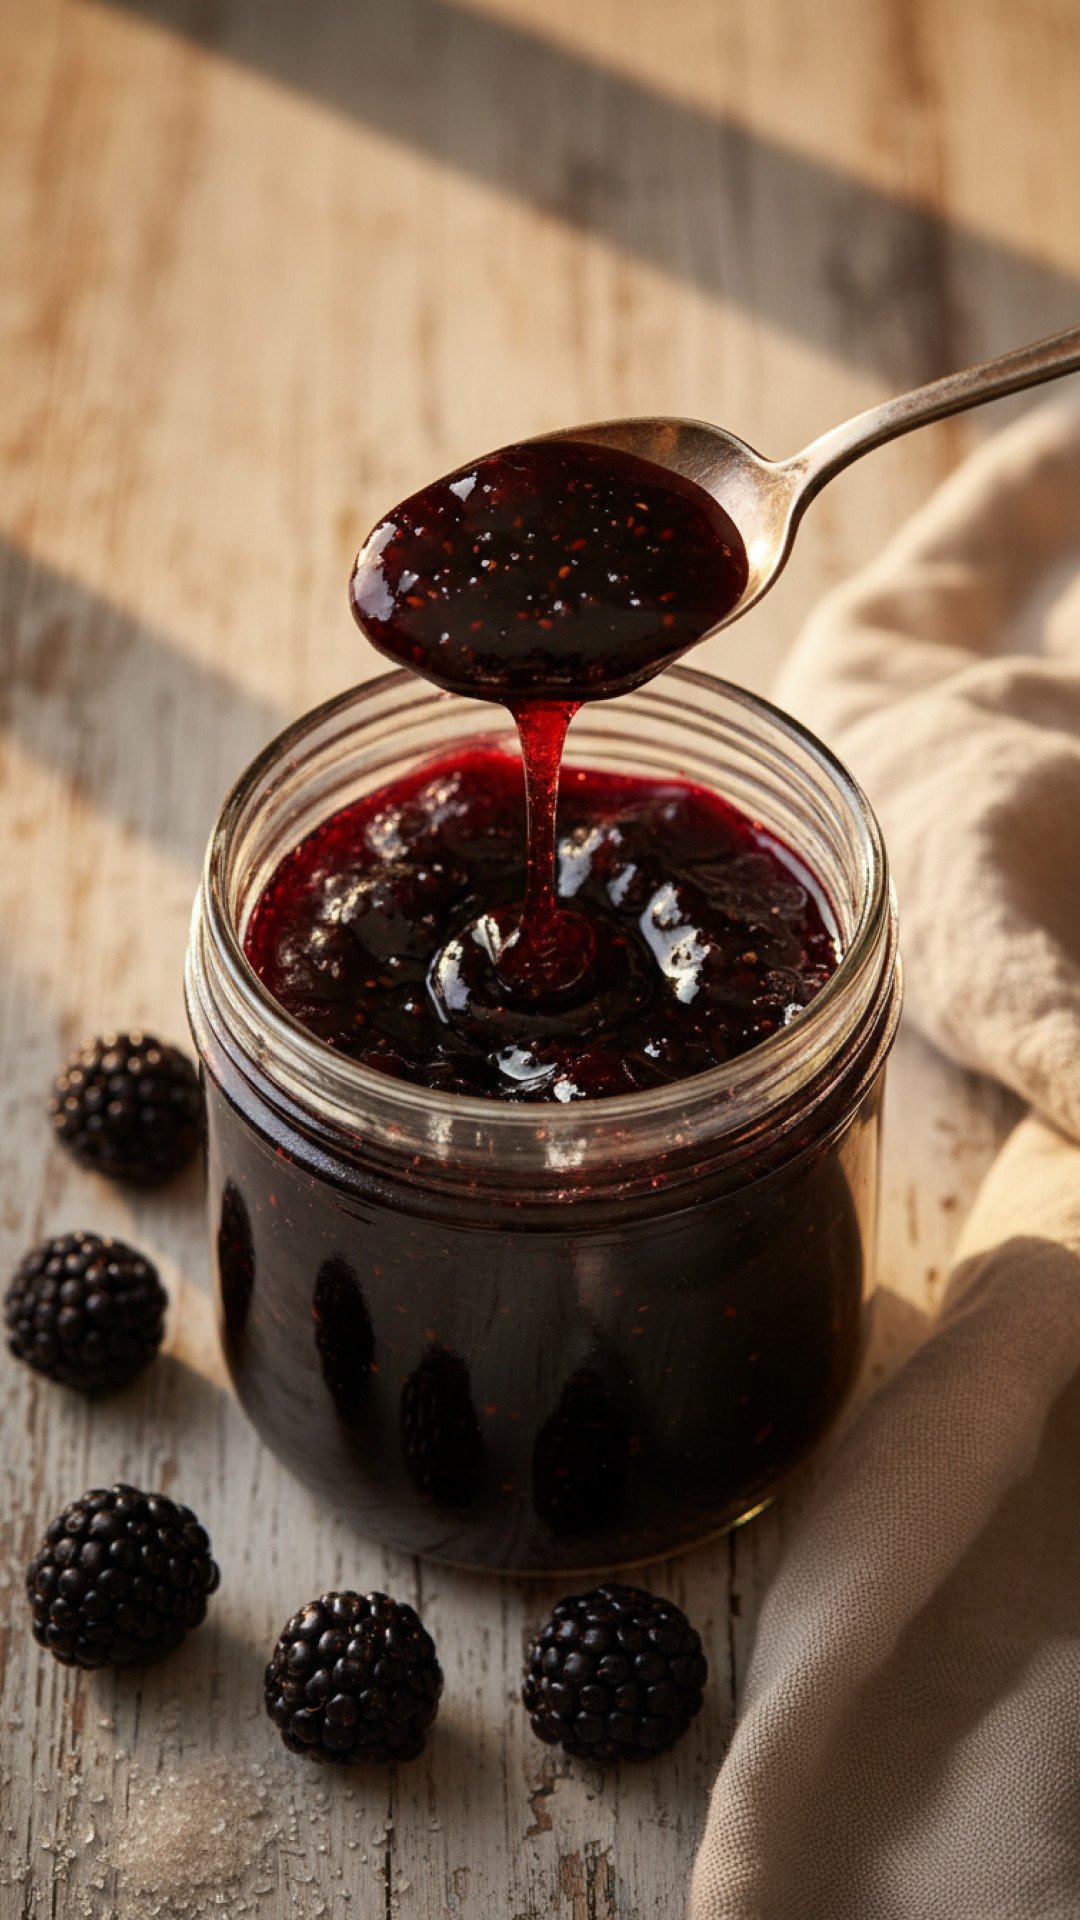
There's a magic that happens in late summer, a fleeting period when nature offers up its most bountiful gifts. For me, that magic has always revolved around blackberries. I can still vividly recall those childhood days, scrambling through thorny bushes with stained fingers and an eager heart, filling buckets with glossy, ripe berries. My grandmother, with her flour-dusted apron and knowing smile, would then transform these jewels into the most incredible homemade blackberry jam recipe. The aroma of simmering berries, sugar, and lemon filling her cozy kitchen is a memory I cherish, a sensory snapshot of pure comfort and the promise of sweet indulgence. This isn't just a guide to making jam; it's an invitation to recreate that warmth, that simple joy, and to capture the essence of summer in a jar. Every time I open a fresh jar of this homemade blackberry jam recipe, I'm transported back, and I hope you will be too.
Why This Blackberry Jam Recipe is a Must-Try
Unbeatable Fresh Flavor:
Store-bought jams simply can't compare to the vibrant, natural taste of homemade blackberry jam. You control the quality of the fruit, resulting in a deeper, more authentic berry flavor.Surprisingly Simple Process:
Don't let the idea of making jam intimidate you! This blackberry jam recipe is straightforward, requiring minimal ingredients and easy-to-follow steps, perfect for beginners and seasoned canners alike.Customizable Sweetness:
Tailor the sugar content to your preference. Prefer a tarter jam? Use a little less sugar. Love it super sweet? Adjust accordingly. This flexibility is a huge advantage of making your own blackberry jam recipe.Perfect for Gifting (or Hoarding!):
Jars of homemade blackberry jam make thoughtful, delicious gifts for friends and family. Or, if you're like me, you'll want to keep every single jar for yourself to enjoy throughout the year.
Key Ingredient Notes for Your Blackberry Jam Recipe
While the process of making blackberry jam is simple, understanding your ingredients can elevate your final product from good to absolutely glorious. Here are a few key components:
Blackberries: The Star of the Show
For the best blackberry jam recipe, choose ripe, plump, and juicy blackberries. If foraging, look for berries that easily detach from the vine. If buying, select those without mold or bruising. Fresh is always best for flavor, but frozen blackberries can also be used; just ensure they are unsweetened and thaw them completely before starting. If using frozen, expect a slightly longer cooking time as more water needs to evaporate.
Granulated Sugar: More Than Just Sweetness
Sugar in jam serves multiple purposes beyond just sweetening. It acts as a preservative, helps with the gelling process (especially when combined with pectin, naturally present in blackberries, and lemon juice), and enhances the fruit's flavor. For this classic blackberry jam recipe, we use standard granulated sugar. You can adjust the amount slightly to your taste, but be aware that reducing it too much might affect the jam's set and shelf life.
Lemon Juice: The Unsung Hero of This Blackberry Jam Recipe
Freshly squeezed lemon juice is crucial for two main reasons. Firstly, it adds essential acidity, which helps in the pectin activation, leading to a proper jam set. Without enough acid, your jam might be runny. Secondly, it brightens the flavor of the blackberries, preventing the jam from tasting flat or overly sweet. Don't skip it!
Step-by-Step Guide with Pro Tips for the Best Blackberry Jam Recipe
Ready to create your own batches of this delightful blackberry jam recipe? Follow these steps closely, and you'll be rewarded with jars of pure sunshine.
- Step 1: Begin by preparing your jars and lids. Wash them thoroughly with hot, soapy water. Sterilize the jars by placing them in a large pot, covering them with water, and boiling for 10 minutes. Keep them in the hot water until ready to fill, or place them in a low oven (225°F/107°C) to keep warm. Lids can be warmed in a separate pot of hot, but not boiling, water.
- Step 2: Wash the fresh blackberries gently under cool water and pick through them, removing any stems, leaves, or unripe/overripe berries. If using frozen, thaw them completely and drain any excess liquid.
- Step 3: In a large, heavy-bottomed pot or Dutch oven, combine the prepared blackberries and fresh lemon juice.
- Step 4: Over medium heat, bring the mixture to a gentle boil, stirring occasionally and mashing the berries slightly with a potato masher or the back of a spoon to release their juices. Cook for about 5-10 minutes until the berries have softened considerably.
- Step 5: Add the granulated sugar to the pot. Stir continuously until the sugar is completely dissolved.
- Step 6: Increase the heat to medium-high and bring the mixture to a rolling boil that cannot be stirred down. Stir frequently to prevent sticking and scorching.
- Step 7: Continue boiling for 10-20 minutes, or until the jam reaches its setting point. There are several ways to test for a set:
- Cold Plate Test: Place a small dollop of jam on a plate that has been chilled in the freezer for at least 10 minutes. Return the plate to the freezer for 1 minute. Push the jam with your finger; if it wrinkles, it's ready. This is my preferred method for a reliable blackberry jam recipe.
- Temperature Test: Use a candy thermometer to reach 220°F (104°C) at sea level. Adjust for altitude if necessary.
- Sheet Test: Dip a cold metal spoon into the jam, then lift it and tilt it sideways. If the jam forms a 'sheet' or 'flake' that drops off in one piece, it's set.
- Step 8: Once the jam has reached the setting point, remove it from the heat. Carefully skim off any foam from the surface with a spoon.
- Step 9: Ladle the hot blackberry jam into the warm, sterilized jars, leaving about 1/4 inch headspace. Wipe the rims clean with a damp cloth.
- Step 10: Place the warm lids and screw bands on, tightening only to fingertip-tight.
- Step 11: Process the jars in a boiling water bath for 10 minutes (adjusting time for altitude if needed). This creates a vacuum seal, ensuring long-term shelf stability for your blackberry jam recipe.
- Step 12: Carefully remove the jars from the water bath and place them on a towel-lined surface to cool completely (24 hours) without disturbing them. You should hear the lids 'pop' as they seal.
- Step 13: After 24 hours, check the seals. Lids should be concave and not flex when pressed. Any unsealed jars can be reprocessed or stored in the refrigerator and consumed within 3 weeks. Store properly sealed jars of this wonderful blackberry jam recipe in a cool, dark place. For storing your homemade creations, I highly recommend investing in good quality glass food storage containers that seal well.
Variations & Serving Suggestions for Your Blackberry Jam Recipe
Spice It Up!
Feel free to get creative with your blackberry jam recipe! Add a cinnamon stick, a few cloves, or a star anise during the cooking process for a warm, spiced jam. Remove the spices before jarring. A tiny pinch of freshly grated nutmeg can also be delightful.
Berry Blends
Combine blackberries with other fruits for a unique flavor profile. Raspberries, blueberries, or even a touch of apple (which is high in pectin) can make a fantastic mixed berry jam. For a truly tropical twist, a little pineapple could work, but watch the sugar content. This versatile blackberry jam recipe can be your base.
Serving Suggestions
- Classic Toast & Scones: The quintessential way to enjoy homemade jam. A thick slice of buttered toast or a warm scone topped with your blackberry jam recipe is pure heaven.
- Yogurt & Oatmeal: Swirl into plain Greek yogurt or hot oatmeal for a burst of fruit flavor and natural sweetness.
- Cheese Boards: Pair with soft cheeses like brie or goat cheese, or sharp cheddars. The sweetness of the jam complements the savory cheese beautifully.
- Baking: Use as a filling for tarts, thumbprint cookies, or as a layer in a sponge cake.
- Savory Glaze: Mix with a little balsamic vinegar or soy sauce to create a delicious glaze for roasted chicken or pork.
Nutrition Information
| Nutrient | Amount Per Serving |
|---|---|
| Calories | 55 kcal |
| Carbohydrate Content | 14 g |
| Cholesterol Content | 0 mg |
| Fat Content | 0 g |
| Fiber Content | 1 g |
| Protein Content | 0 g |
| Saturated Fat Content | 0 g |
| Serving Size | 1 tbsp (18g) |
| Sodium Content | 0 mg |
| Sugar Content | 13 g |
| Trans Fat Content | 0 g |
| Unsaturated Fat Content | 0 g |
Making your own blackberry jam recipe is more than just cooking; it's an act of preserving, a connection to the seasons, and a delicious way to bring homemade goodness into your life. Whether you're a seasoned canner or trying it for the first time, this blackberry jam recipe promises a rewarding experience and a pantry full of liquid sunshine. So gather your berries, prepare your jars, and get ready to enjoy the sweet taste of success with this amazing blackberry jam recipe. And if you're looking for other ways to preserve summer's bounty or sweeten your life, check out our Ultimate Simple Syrup Recipe or even our guide to a Simple Fruit Salad that would be lovely with some fresh berries! Enjoy every spoonful!
FAQs
How long does homemade blackberry jam last?
When properly processed in a boiling water bath and sealed, homemade blackberry jam can last for up to 1 year in a cool, dark pantry. Once opened, it should be stored in the refrigerator and consumed within 3-4 weeks.
Do I need pectin for this blackberry jam recipe?
No, this specific blackberry jam recipe relies on the natural pectin present in blackberries, combined with the acidity from lemon juice and the sugar, to achieve a good set. You do not need to add commercial pectin.
What's the best way to sterilize jars for blackberry jam?
The most common and effective method is to wash jars thoroughly, then submerge them in a large pot of boiling water for at least 10 minutes. Keep them in the hot water until just before filling to maintain sterility and temperature, which helps prevent thermal shock when adding hot jam.
Can I use frozen blackberries for this blackberry jam recipe?
Yes, absolutely! Frozen blackberries work wonderfully for this blackberry jam recipe. Ensure they are unsweetened and thaw them completely before starting. You might find that the jam takes a little longer to cook down, as frozen berries release more liquid during thawing.

Homemade Blackberry Jam Recipe
Capture the taste of summer with this easy-to-follow, classic homemade blackberry jam recipe. Perfect for beginners, this recipe yields vibrant, flavorful jam that's fantastic on toast, scones, or as a thoughtful gift.
- Total Time: 45 minutes
- Yield: 4-5 (8oz) jars 1x
Ingredients
6 cups fresh or frozen (thawed) blackberries
1/4 cup fresh lemon juice (from about 1-2 lemons)
4 cups granulated sugar
Instructions
Step 1: Prepare your canning jars and lids by washing them thoroughly. Sterilize jars by boiling them for 10 minutes in a large pot of water, keeping them hot until ready to fill. Warm lids in hot, non-boiling water.
Step 2: Gently wash blackberries, removing any stems or leaves. If using frozen, ensure they are fully thawed.
Step 3: In a large, heavy-bottomed pot, combine blackberries and lemon juice. Bring to a gentle boil over medium heat, mashing berries slightly to release juices. Cook for 5-10 minutes until soft.
Step 4: Add granulated sugar to the pot, stirring constantly until fully dissolved.
Step 5: Increase heat to medium-high and bring the mixture to a rolling boil that cannot be stirred down. Continue to boil, stirring frequently, for 10-20 minutes, or until the jam reaches its setting point.
Step 6: Test for set using the cold plate test: place a spoonful of jam on a chilled plate, return to freezer for 1 minute, then push with a finger. If it wrinkles, it's ready. Alternatively, use a candy thermometer to reach 220°F (104°C).
Step 7: Remove jam from heat and carefully skim off any foam from the surface.
Step 8: Ladle the hot blackberry jam into the warm, sterilized jars, leaving 1/4 inch headspace. Wipe rims clean.
Step 9: Place warm lids and screw bands on jars, tightening to fingertip-tight.
Step 10: Process jars in a boiling water bath for 10 minutes (adjusting for altitude if necessary).
Step 11: Carefully remove jars and place them on a towel-lined surface to cool undisturbed for 24 hours. Check seals; lids should be concave and not flex. Store properly sealed jars in a cool, dark place for up to 1 year. Unsealed jars should be refrigerated and consumed within 3 weeks.
Notes
For a smoother jam, you can press the cooked blackberries through a fine-mesh sieve to remove seeds before adding sugar. Ensure all your canning equipment is clean and sterilized for safe, long-term storage.
- Prep Time: 20 minutes
- Cook Time: 25 minutes
- Category: Drinks, Snacks & Holiday Treats
- Cuisine: American
Nutrition
- Serving Size: 1 tbsp (18g)
- Calories: 55 kcal
- Sugar: 13 g
- Sodium: 0 mg
- Fat: 0 g
- Saturated Fat: 0 g
- Unsaturated Fat: 0 g
- Trans Fat: 0 g
- Carbohydrates: 14 g
- Fiber: 1 g
- Protein: 0 g
- Cholesterol: 0 mg
Leave a Reply