Ingredients
2 cups (480ml) cold heavy cream (or heavy whipping cream)
1 (14-ounce / 397g) can sweetened condensed milk
1 tablespoon vanilla bean paste (or 2 teaspoons pure vanilla extract)
Pinch of salt (optional, to enhance flavor)
Instructions
Step 1: In a large mixing bowl, combine the sweetened condensed milk, vanilla bean paste (or vanilla extract), and optional pinch of salt. Whisk these together until they are well combined. Set aside.
Step 2: In a separate, very cold large bowl, pour in the cold heavy cream. Using an electric mixer (handheld or stand mixer with a whisk attachment), beat the heavy cream on medium-high speed until it forms stiff peaks. This means when you lift the whisk, the peaks hold their shape firmly.
Step 3: Gently fold about one-third of the whipped cream into the condensed milk mixture. Use a spatula and a 'cut and fold' motion to lighten the condensed milk base. This helps prevent deflating the whipped cream.
Step 4: Add the remaining whipped cream to the bowl. Continue to gently fold until no streaks of white cream remain and the mixture is uniformly combined and airy. Be careful not to overmix.
Step 5: Pour the ice cream mixture into a freezer-safe container (a 9x5 inch loaf pan works perfectly). Smooth the top with a spatula.
Step 6: Cover the container tightly with plastic wrap, pressing the wrap directly onto the surface of the ice cream to help prevent ice crystals from forming. Alternatively, use an airtight lid.
Step 7: Freeze for at least 6 hours, or preferably overnight, until the ice cream is firm and scoopable.
Step 8: Before serving, let the ice cream sit at room temperature for 5-10 minutes for easier scooping. Scoop and enjoy your dreamy homemade vanilla bean no-churn ice cream!
Notes
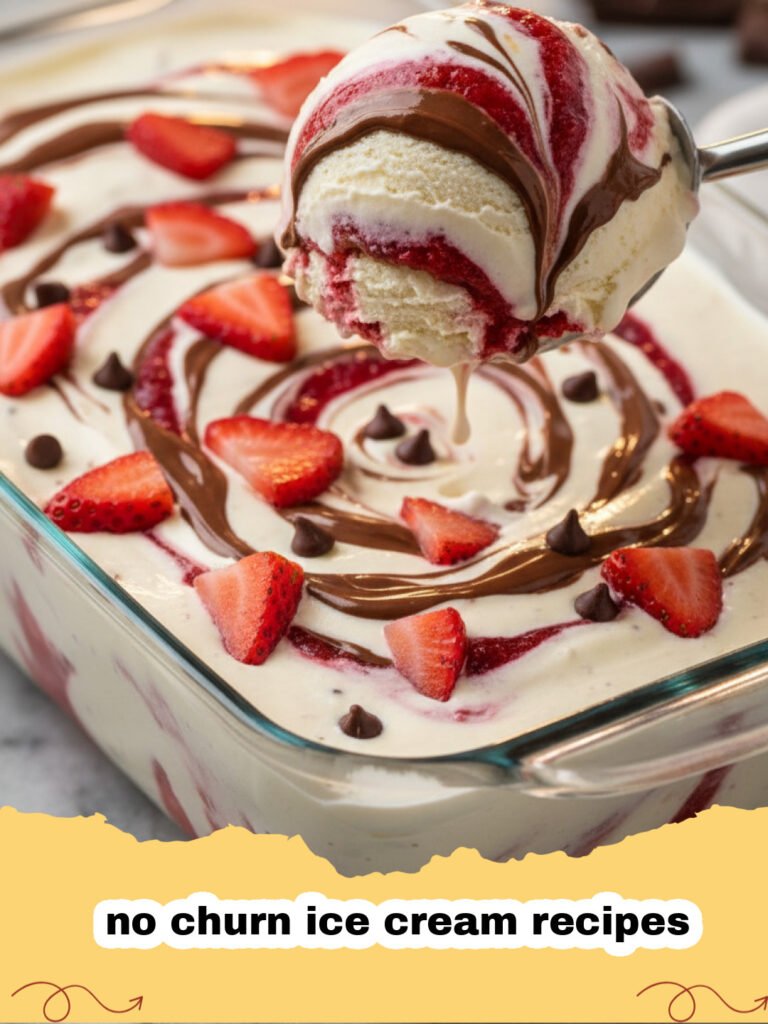
For the best flavor and texture, use high-quality heavy cream and vanilla bean paste. Don't overbeat the cream, and ensure it's very cold before whipping. This recipe is a fantastic base for adding mix-ins like chocolate chips, crushed cookies, or fruit swirls before freezing.
- Prep Time: 15 minutes
- Cook Time: 0 minutes
- Category: Desserts & Baking
- Cuisine: American
Nutrition
- Serving Size: 1/2 cup (120ml)
- Calories: 280 kcal
- Sugar: 27 g
- Sodium: 50 mg
- Fat: 18 g
- Saturated Fat: 11 g
- Unsaturated Fat: 6 g
- Trans Fat: 0.5 g
- Carbohydrates: 28 g
- Fiber: 0 g
- Protein: 4 g
- Cholesterol: 85 mg
