
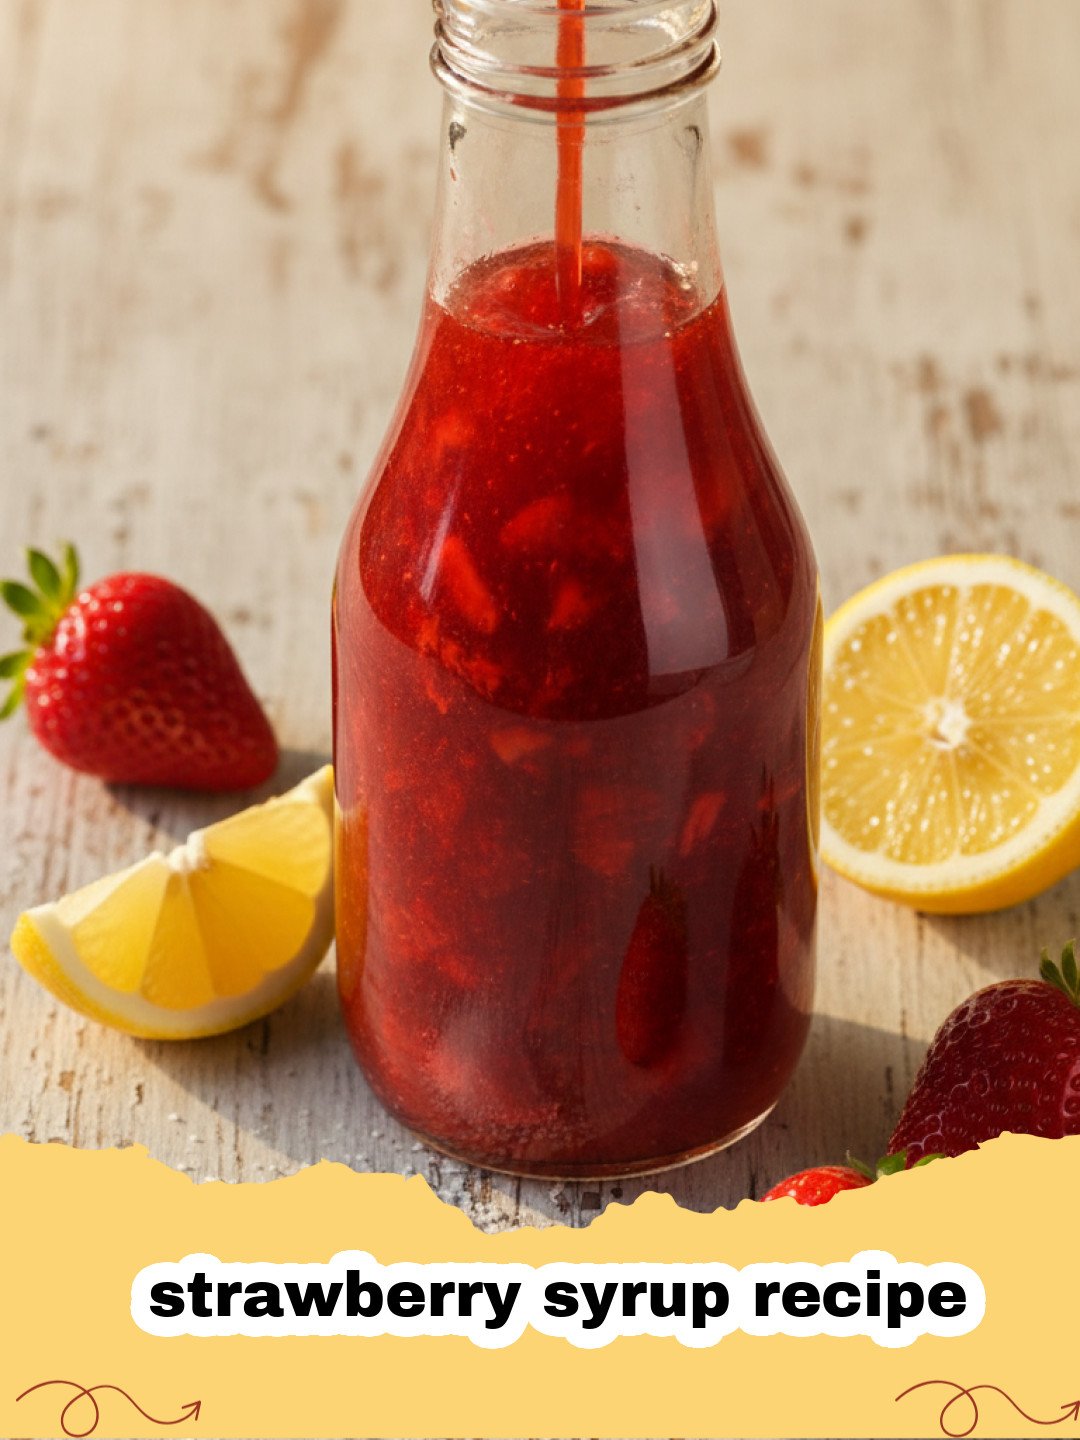
There are some flavors that just instantly transport you back to childhood, and for me, that's the unmistakable taste of fresh strawberries. Growing up, summers at my grandma's house weren't complete without a trip to the local berry farm. My tiny hands, stained red from plucking ripe, sun-warmed strawberries, would proudly present my haul. Grandma, with her apron perpetually dusted in flour, would greet me with a knowing smile. While many berries went into pies and jams, a special batch was always reserved for her legendary strawberry syrup recipe. It wasn't just syrup; it was liquid sunshine, a sweet, vibrant essence of summer itself. Drizzled generously over fluffy pancakes, stirred into iced tea, or simply spooned straight from the jar (don't tell!), that homemade strawberry syrup was pure magic. This isn't just about making a condiment; it's about bottling memories, creating new traditions, and enjoying the simple, profound joy of a truly homemade treat. And today, I'm thrilled to share that very recipe with you, so you can make your own sweet memories.
Why This Strawberry Syrup Recipe is a Must-Try
- Unbeatable Fresh Flavor: Unlike store-bought versions often loaded with artificial flavors and colors, this homemade strawberry syrup recipe bursts with the natural, authentic taste of real strawberries. It's a game-changer!
- Surprisingly Easy to Make: Don't be intimidated by the idea of making syrup from scratch. This strawberry syrup recipe is incredibly straightforward, requiring just a few simple ingredients and minimal effort.
- Versatile & Delicious: From breakfast staples to elegant desserts and refreshing beverages, this strawberry syrup recipe is incredibly adaptable, adding a touch of gourmet flair to almost anything.
- Perfect for Gifting: Bottle this beautiful, ruby-red syrup in a pretty jar, and you have an instant, thoughtful gift that friends and family will adore.
Key Ingredient Notes
While the beauty of this strawberry syrup recipe lies in its simplicity, a few key ingredients deserve a closer look to ensure you get the best possible result.
Fresh Strawberries
The star of the show! For the most vibrant flavor, opt for ripe, in-season strawberries. Look for berries that are bright red, plump, and fragrant. Avoid any with white patches, mold, or soft spots. While fresh is always best for this strawberry syrup recipe, you can absolutely use frozen strawberries if fresh aren't available. Just be aware that frozen berries release more liquid, so your cooking time might be slightly longer to achieve the desired consistency. Thaw them first or add them directly to the pot, increasing the heat gently.
Granulated Sugar
This is what preserves the syrup and gives it its luscious sweetness. Standard granulated sugar works perfectly here. You can adjust the amount slightly to your personal taste – some prefer a less sweet syrup, while others like it sweeter. Remember, the sugar also helps in achieving that perfect syrupy consistency, so don't reduce it too drastically.
Lemon Juice
While optional, a splash of fresh lemon juice is a secret weapon in this strawberry syrup recipe. It doesn't make the syrup taste lemony; instead, it brightens and enhances the natural strawberry flavor, making it pop. It also helps balance the sweetness and can slightly extend the syrup's shelf life. Always use fresh lemon juice for the best results!
Step-by-Step Guide with Pro Tips
Creating this delightful strawberry syrup recipe is a straightforward process, but a few tips can elevate your homemade syrup from good to extraordinary.
Prepare Your Strawberries
Step 1: Begin by washing your fresh strawberries thoroughly under cool running water. Gently scrub them to remove any dirt or debris. Once clean, pat them dry with a clean kitchen towel. Remove the green caps (hull them) from each strawberry using a paring knife or a strawberry huller. If your strawberries are very large, you can slice them in half or quarter them to help them break down more easily during cooking. Smaller berries can be left whole.
Combine Ingredients
Step 2: In a medium-sized saucepan, combine the hulled and prepped strawberries, granulated sugar, and water. Stir everything together gently to ensure the sugar starts to dissolve and coats the strawberries evenly. Adding the lemon juice at this stage is also perfectly fine. Give it a good stir to combine.
Simmer to Perfection
Step 3: Place the saucepan over medium heat. Bring the mixture to a gentle simmer, stirring occasionally. As it heats up, the strawberries will begin to soften and release their juices, and the sugar will fully dissolve. Once it reaches a simmer, reduce the heat to low. Continue to simmer for about 15-20 minutes, or until the strawberries are very soft and mushy, and the liquid has slightly thickened. You'll notice a beautiful, rich red color developing. Use the back of a spoon or a potato masher to gently crush the strawberries as they cook. This helps release more flavor and color into your strawberry syrup recipe.
Strain for Smoothness
Step 4: Once the strawberries are thoroughly cooked down and soft, remove the saucepan from the heat. Carefully pour the entire mixture through a fine-mesh sieve set over a heatproof bowl. You can use a spoon or a spatula to gently press the cooked strawberries against the sieve, extracting as much liquid and flavor as possible. Discard the solids left in the sieve, or save them for another use, like stirring into yogurt or oatmeal, if you don't mind a few seeds. For a perfectly clear and smooth strawberry syrup recipe, avoid pressing too hard, as this can force some pulp through the sieve. If you want an even clearer syrup, line the sieve with cheesecloth for an extra filtration step.
Thicken (Optional, but Recommended)
Step 5: At this point, you have a beautiful, flavorful liquid. If you prefer a thicker syrup, pour the strained strawberry liquid back into the clean saucepan. Bring it to a gentle simmer over medium-low heat. Continue to cook, stirring occasionally, for another 5-10 minutes, or until the syrup reaches your desired consistency. Remember that the syrup will thicken further as it cools. A good test is to coat the back of a spoon; if it lightly coats and you can draw a line through it with your finger, it's likely ready. This step is crucial for getting that perfect drizzle for your homemade easy pancake mix.
Cool and Store
Step 6: Remove the thickened strawberry syrup from the heat and allow it to cool completely at room temperature. As it cools, it will continue to thicken slightly. Once fully cooled, transfer the homemade strawberry syrup into clean, airtight bottles or jars. I love using Basics Glass Food Storage jars for this, as they're perfect for both storage and presentation. Store your delicious homemade strawberry syrup in the refrigerator.
Variations & Serving Suggestions
This basic strawberry syrup recipe is a fantastic starting point, but don't be afraid to get creative! Here are a few ideas to inspire you:
- Herb Infusions: Add a few sprigs of fresh mint, basil, or even a sprig of thyme to the simmering strawberries for a sophisticated herbal twist. Remove them before straining.
- Spice It Up: A tiny pinch of black pepper, a cinnamon stick, or a star anise added during the simmering phase can add warmth and depth to your strawberry syrup recipe.
- Vanilla Boost: A splash of vanilla extract (added after cooking) or a vanilla bean pod simmering with the strawberries can elevate the sweetness and aroma.
- Maple Strawberry: For a unique flavor, swap out some of the granulated sugar for maple syrup, especially if you're planning to use it primarily for breakfast dishes like pancakes or waffles.
Serving Suggestions:
- Breakfast Bliss: The classic choice! Drizzle generously over pancakes, waffles, French toast, or crepes. It’s a perfect partner for your morning feast.
- Drink Enhancer: Stir a spoonful into iced tea, lemonade, sparkling water, or even a cocktail for a burst of fresh strawberry flavor. It makes an incredible strawberry milkshake or smoothie.
- Dessert Topping: Spoon it over vanilla ice cream, cheesecake, yogurt, panna cotta, or even a simple pound cake. It’s an elegant and easy way to elevate any dessert.
- Yogurt & Oatmeal: Swirl it into your morning yogurt or oatmeal for a naturally sweet and fruity breakfast.
- Glazes & Marinades: Believe it or not, this syrup can be reduced further to create a glaze for roasted chicken or pork, or even incorporated into a salad dressing. Much like a versatile homemade Thousand Island dressing, homemade condiments add a special touch to many meals.
Nutrition Information
Here’s a general overview of the nutritional values for one serving of this delightful strawberry syrup recipe. Please note that these are estimates and can vary based on exact ingredient quantities and preparation.
| Nutrient | Amount Per Serving |
|---|---|
| Calories | 75 kcal |
| Carbohydrates | 19 g |
| Cholesterol | 0 mg |
| Fat | 0.1 g |
| Fiber | 0.5 g |
| Protein | 0.2 g |
| Saturated Fat | 0 g |
| Serving Size | 2 tbsp (30ml) |
| Sodium | 1 mg |
| Sugar | 18 g |
| Trans Fat | 0 g |
| Unsaturated Fat | 0 g |
Making your own homemade strawberry syrup recipe is more than just cooking; it's an experience. It's about bringing the vibrant taste of fresh strawberries into your home, creating something delicious with your own hands, and adding a personal touch to every dish. This simple yet profound recipe will surely become a staple in your kitchen, just as it has been in mine for generations. So go ahead, gather your ingredients, and let the sweet aroma of simmering strawberries fill your home. Enjoy every drop of this liquid sunshine!
FAQs
How long does homemade strawberry syrup last?
When stored in an airtight container in the refrigerator, homemade strawberry syrup typically lasts for 2 to 3 weeks. For longer storage, you can freeze it in freezer-safe containers or ice cube trays for up to 3 months. Thaw in the refrigerator before use.
Can I use frozen strawberries for this strawberry syrup recipe?
Yes, absolutely! Frozen strawberries work perfectly for this strawberry syrup recipe. You can thaw them first, or add them directly to the pot. Just be aware that frozen berries release more liquid, so you might need to simmer the syrup slightly longer to achieve your desired consistency.
What are the best ways to use homemade strawberry syrup?
Homemade strawberry syrup is incredibly versatile! It's fantastic drizzled over pancakes, waffles, and French toast. You can also stir it into iced tea, lemonade, sparkling water, or cocktails. It makes a delicious topping for ice cream, cheesecake, yogurt, or oatmeal, and can even be used in marinades or glazes for savory dishes.
Why add lemon juice to strawberry syrup?
Adding a small amount of fresh lemon juice to your strawberry syrup recipe serves a few purposes. It brightens and enhances the natural strawberry flavor, preventing the syrup from tasting one-dimensional. It also helps to balance the sweetness and can act as a natural preservative, slightly extending the syrup's shelf life.

Easy Homemade Strawberry Syrup
A vibrant, sweet, and simple strawberry syrup recipe perfect for elevating your breakfast, desserts, and drinks. Made with fresh strawberries, sugar, and a touch of lemon, it's a taste of summer in a bottle.
- Total Time: 30-35 minutes
- Yield: Approximately 2 cups (470ml) 1x
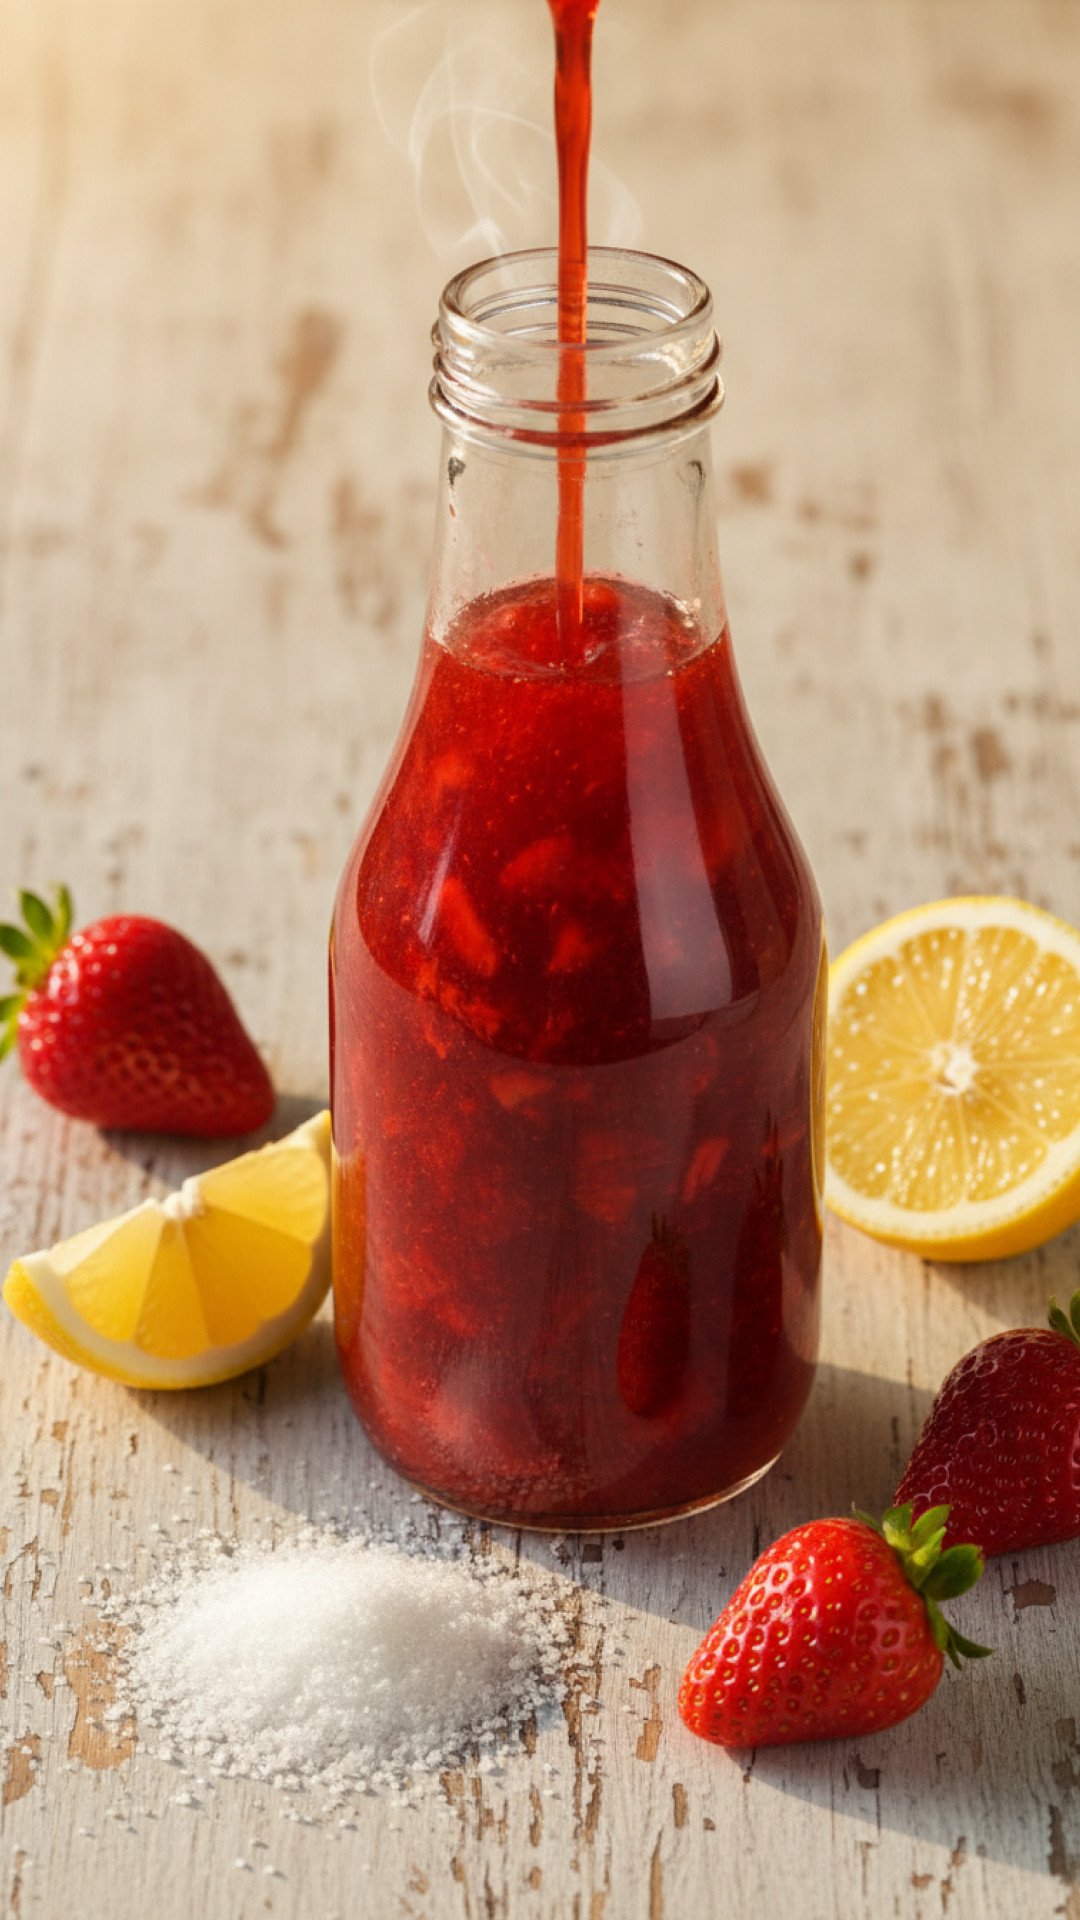
Ingredients
1 lb (about 3 cups) fresh strawberries, hulled and quartered if large
1 cup granulated sugar
1/2 cup water
1 tablespoon fresh lemon juice (optional, but recommended)
Instructions
Step 1: Wash the strawberries thoroughly and hull them. If the strawberries are very large, you can slice them in half or quarter them.
Step 2: In a medium saucepan, combine the hulled strawberries, granulated sugar, and water. Add the lemon juice if using. Stir gently to combine.
Step 3: Place the saucepan over medium heat and bring the mixture to a gentle simmer, stirring occasionally. Once simmering, reduce the heat to low.
Step 4: Continue to simmer for 15-20 minutes, or until the strawberries are very soft and mushy. Use the back of a spoon or a potato masher to gently crush the strawberries as they cook, releasing their juices and flavor. The liquid should slightly thicken and turn a rich red color.
Step 5: Remove the saucepan from the heat. Carefully pour the entire mixture through a fine-mesh sieve set over a heatproof bowl. Use a spoon to gently press the cooked strawberries against the sieve to extract as much liquid as possible. Discard the solids.
Step 6: If you desire a thicker syrup, pour the strained strawberry liquid back into the clean saucepan. Bring it to a gentle simmer over medium-low heat and cook for another 5-10 minutes, stirring occasionally, until it reaches your desired consistency. Remember, it will thicken further as it cools.
Step 7: Remove from heat and let the strawberry syrup cool completely at room temperature. Once cooled, transfer the syrup into clean, airtight bottles or jars. Store in the refrigerator.
Notes
For best results, use ripe, in-season strawberries. If using frozen, thaw them first or cook slightly longer. The lemon juice is optional but highly recommended for brightness and balance. Store the syrup in the refrigerator in an airtight container for up to 2-3 weeks, or freeze for longer storage (up to 3 months).
- Prep Time: 10 minutes
- Cook Time: 20-25 minutes
- Category: Drinks, Snacks & Holiday Treats
- Cuisine: American
Nutrition
- Serving Size: 2 tbsp (30ml)
- Calories: 75 kcal
- Sugar: 18 g
- Sodium: 1 mg
- Fat: 0.1 g
- Saturated Fat: 0 g
- Unsaturated Fat: 0 g
- Trans Fat: 0 g
- Carbohydrates: 19 g
- Fiber: 0.5 g
- Protein: 0.2 g
- Cholesterol: 0 mg
Leave a Reply