
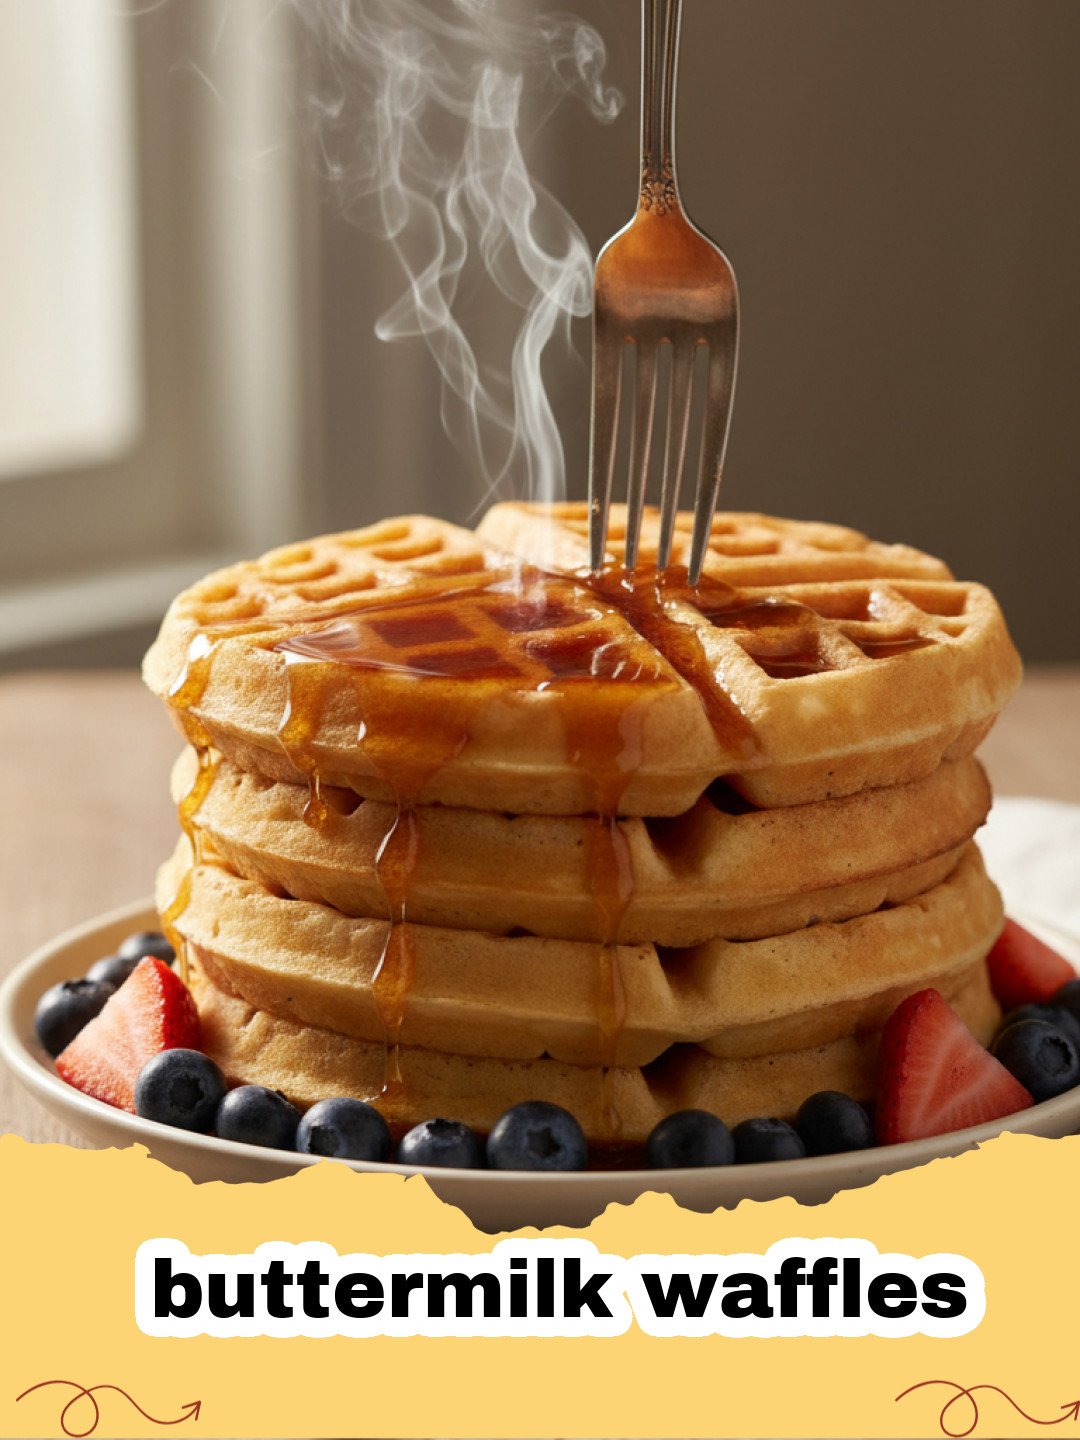
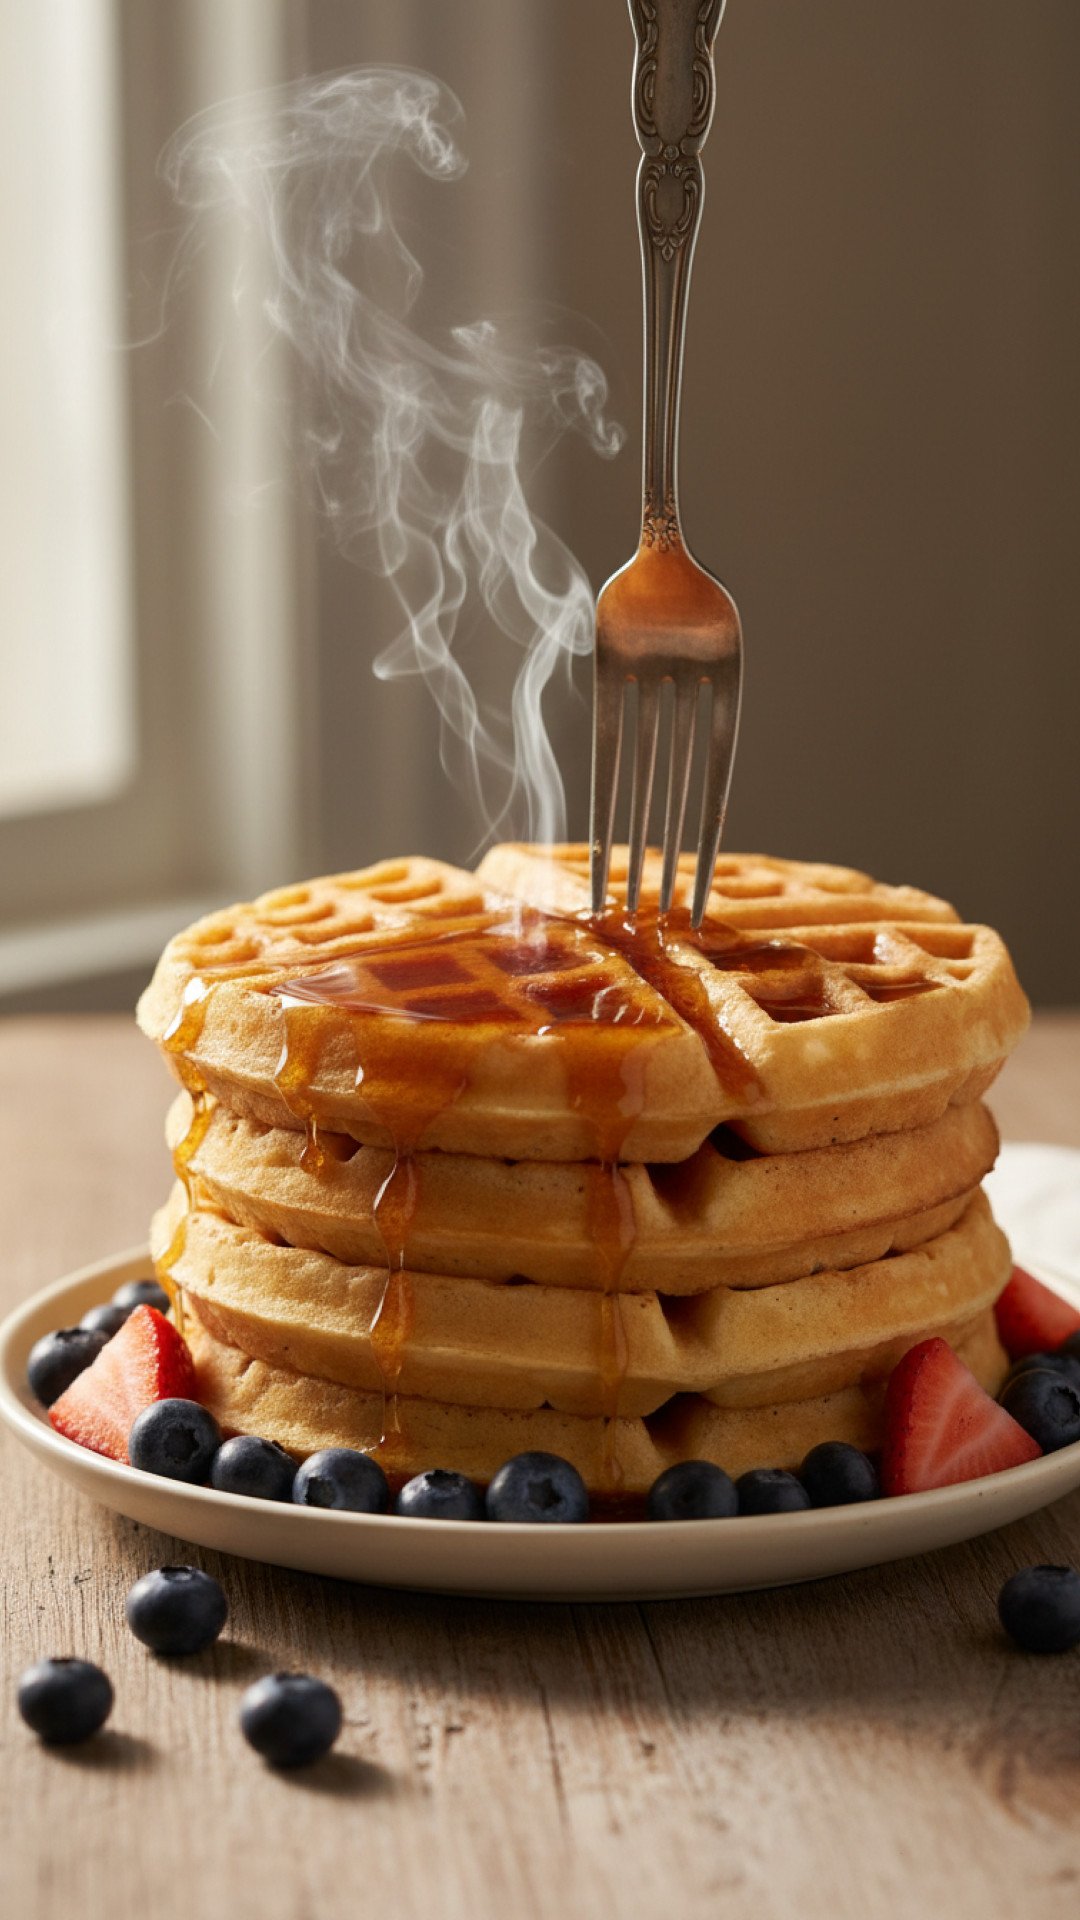
There's a special kind of magic that fills the kitchen on a lazy weekend morning when the aroma of freshly made buttermilk waffles begins to waft through the house. For me, that scent instantly transports me back to my grandmother's kitchen, a place of warmth, laughter, and endless culinary delights. Nana wasn't just a phenomenal cook; she was an alchemist of comfort food, and her buttermilk waffles were legendary. I remember waking up to the gentle hum of the waffle iron and the clatter of bowls, knowing that a stack of golden, crispy-on-the-outside, fluffy-on-the-inside wonders was soon to arrive at the breakfast table, swimming in pools of melted butter and real maple syrup. Those were the days when time seemed to slow down, and the simple act of sharing a meal became a cherished family ritual. As I grew older, I yearned to recreate that same magic, those perfect buttermilk waffles that tasted like pure nostalgia. My first attempts were, shall we say, educational. Some were too dense, some too thin, and some stuck stubbornly to the iron, resisting all efforts to pry them free. But through trial and error, and countless batches of delicious (and not-so-delicious) experimentation, I finally cracked the code to Nana's secret for truly transcendent buttermilk waffles. This recipe isn't just about ingredients and instructions; it's about bringing that feeling of home, comfort, and sweet satisfaction right to your own breakfast table. Get ready to create new memories with the best buttermilk waffles you'll ever make!
Why These Buttermilk Waffles Are a Must-Try for Your Next Breakfast
Forget everything you thought you knew about breakfast. These buttermilk waffles aren't just good; they're game-changing. Here’s why this recipe will become your new go-to:
- Unbeatable Texture: Thanks to the power of buttermilk and careful leavening, these waffles boast an incredibly light, airy interior with a perfectly crisp, golden-brown exterior. They hold up beautifully to all your favorite toppings without getting soggy.
- Deep, Tangy Flavor: The buttermilk isn't just for texture; it adds a subtle, delightful tang that elevates these waffles far beyond your average plain variety. It’s a sophisticated flavor profile that keeps you coming back for more.
- Surprisingly Easy to Make: Don't be intimidated by homemade waffles! This recipe is straightforward, uses common pantry ingredients, and comes together quickly, making it perfect for both leisurely weekend brunches and busy weekday mornings.
- Versatile Canvas: Whether you prefer sweet or savory, these buttermilk waffles are the perfect foundation. Load them up with fresh fruit and syrup, or turn them into a hearty chicken and waffle feast. The possibilities are endless!
Key Ingredient Notes for Perfect Buttermilk Waffles
While the magic of these buttermilk waffles lies in the overall balance, understanding a few key ingredients will truly help you achieve perfection:
The Star: Buttermilk
Buttermilk is absolutely non-negotiable for authentic, fluffy buttermilk waffles. Its acidity reacts with the baking soda, creating tiny air pockets that result in that incredibly light and tender crumb. Beyond leavening, buttermilk also tenderizes the gluten in the flour, preventing tough waffles, and imparts a distinct, pleasant tang that sets these waffles apart. If you don't have buttermilk on hand, you can make a substitute by adding 1 tablespoon of lemon juice or white vinegar to a measuring cup, then filling it up to 1 cup with regular milk. Let it sit for 5-10 minutes until it slightly curdles. However, for the best results and true buttermilk flavor, I highly recommend using genuine buttermilk.
The Leaveners: Baking Powder and Baking Soda
In this recipe, we use both baking powder and baking soda. Why both? Baking soda needs an acid (like buttermilk) to activate and produce carbon dioxide bubbles. Baking powder, on the other hand, is usually double-acting, meaning it reacts once when wet and again when heated. This dynamic duo ensures maximum lift and fluffiness, creating those beautiful, airy pockets within your buttermilk waffles. Make sure your leaveners are fresh; old baking powder or soda will result in flat, dense waffles.
Structure and Richness: Eggs
Eggs play a crucial role in the structure and richness of your buttermilk waffles. The egg whites, when beaten separately and folded in, contribute to the airy texture, while the yolks add richness and help bind the batter, giving the waffles a lovely golden hue. Using large eggs is standard for most recipes, and ensuring they are at room temperature can sometimes help them incorporate more smoothly into the batter, though it's not strictly necessary for this recipe.
Step-by-Step Guide to Fluffy Buttermilk Waffles with Pro Tips
Ready to create your own stack of breakfast heaven? Follow these detailed steps to master the art of making perfect buttermilk waffles every single time.
Gather and Prepare Your Ingredients
Before you even think about mixing, ensure all your ingredients are measured out and ready. This is called "mise en place" in the culinary world, and it makes the process smoother and more enjoyable. Room temperature eggs and buttermilk can sometimes yield slightly better results, but don't fret if yours are cold.
The Dry Mix
In a large mixing bowl, whisk together your all-purpose flour, granulated sugar, baking powder, baking soda, and salt. Whisking thoroughly ensures that the leavening agents and salt are evenly distributed, which is key for uniform rising and flavor in your buttermilk waffles.
The Wet Mix (and Separating Eggs)
In a separate medium bowl, whisk together the buttermilk, melted butter, and vanilla extract. Now, for the secret to extra fluffy buttermilk waffles: separate your eggs! Add the egg yolks to the wet ingredients and whisk until well combined. Set the egg whites aside in a clean bowl; we'll come back to them.
Combine Wet and Dry
Pour the wet ingredients into the dry ingredients. Mix gently with a whisk or a wooden spoon until just combined. A few lumps are perfectly fine and even desirable; overmixing develops gluten, leading to tough waffles. We want tender, melt-in-your-mouth buttermilk waffles!
Whip the Egg Whites
Using an electric mixer (or a lot of arm power!), beat the reserved egg whites until stiff peaks form. This means when you lift the whisk, the egg whites stand up straight. This step injects a significant amount of air into the batter, contributing to the incredible lightness and crispiness of the final buttermilk waffles.
Fold in the Egg Whites
Gently fold the whipped egg whites into the waffle batter. Do this in two additions for easier incorporation. Use a spatula and a gentle, lifting motion from the bottom of the bowl. Be careful not to deflate the egg whites; their air is precious! This light and airy batter is what will give you truly exceptional buttermilk waffles.
Rest the Batter (Optional, but Recommended)
If you have time, let the batter rest for 5-10 minutes. This allows the flour to fully hydrate and the leavening agents to begin their work, resulting in even fluffier buttermilk waffles.
Preheat Your Waffle Iron
Heat your waffle iron according to the manufacturer's instructions. Most irons have a light that indicates when they are ready. A well-heated iron is crucial for that perfect golden-brown crisp exterior. Lightly grease the iron if it’s not non-stick.
Cook the Waffles
Pour or scoop the batter onto the hot waffle iron, filling it about two-thirds full. The exact amount will depend on your waffle iron size. Be careful not to overfill, as the batter will expand. Close the lid and cook for 3-5 minutes, or until golden brown and steam is no longer escaping from the sides. The cooking time varies greatly by waffle iron, so get to know yours!
Serve Immediately or Store
Once cooked, gently remove the waffles with a fork or tongs. Serve your delicious buttermilk waffles immediately with your favorite toppings. If you’re making a large batch, you can keep cooked waffles warm on a wire rack in a preheated oven (around 200°F/90°C) while you finish cooking the rest. Leftover waffles can be stored in an airtight container in the refrigerator for up to 3 days. They also freeze beautifully! For longer storage, flash freeze them on a baking sheet until solid, then transfer them to freezer-safe bags or use durable Basics Glass Food Storage containers. Reheat in a toaster, toaster oven, or even your waffle iron for quick, crispy results. These reheated buttermilk waffles are still fantastic!
Creative Variations & Delicious Serving Suggestions for Your Buttermilk Waffles
One of the best things about these incredible buttermilk waffles is their versatility. They're a fantastic base for endless flavor combinations, allowing you to customize them to suit any craving or occasion. Don't limit yourself to just plain maple syrup!
Waffle Batter Variations:
- Berry Burst Waffles: Gently fold in ½ to 1 cup of fresh or frozen berries (blueberries, raspberries, or sliced strawberries) into the batter just before cooking. Frozen berries can be added directly without thawing.
- Chocolate Chip Delights: For a sweet treat, fold in ½ to ¾ cup of your favorite chocolate chips (mini, semi-sweet, or milk chocolate) into the batter.
- Nutty Waffles: Add ½ cup of chopped pecans, walnuts, or almonds for a delightful crunch and nutty flavor.
- Spiced Autumn Waffles: Incorporate 1 teaspoon of ground cinnamon and ¼ teaspoon of nutmeg into the dry ingredients for a warm, comforting twist, perfect for fall mornings.
- Citrus Zest: Add 1 tablespoon of fresh lemon or orange zest to the wet ingredients for a bright, aromatic lift to your buttermilk waffles.
Irresistible Serving Suggestions:
- Classic Maple & Butter: You can never go wrong with a generous pat of butter and a drizzle of high-quality pure maple syrup. It's a timeless combination for a reason.
- Fresh Fruit Extravaganza: Top your waffles with a medley of seasonal fresh fruits like sliced bananas, berries, peaches, or kiwi. A dollop of whipped cream makes it extra special.
- Creamy Yogurt & Granola: For a slightly healthier but equally delicious option, spread a layer of Greek yogurt on your waffles and sprinkle with homemade granola.
- Sweet Syrup Sensations: Explore beyond maple! Drizzle with honey, caramel sauce, or a vibrant homemade strawberry syrup for a burst of fruity flavor.
- The Ultimate Chicken & Waffles: For a truly decadent savory-sweet experience, pair your fluffy buttermilk waffles with crispy fried chicken and a drizzle of hot honey or maple syrup. It’s a brunch staple for a reason!
- Dessert Waffles: Transform them into a dessert by topping with a scoop of vanilla ice cream, chocolate sauce, and sprinkles. Perfect for a fun family treat!
Experiment with these ideas or invent your own! The beauty of these buttermilk waffles is how wonderfully they adapt to your personal taste.
Nutrition Information for Buttermilk Waffles
Below is an estimated nutritional breakdown per serving of these delicious buttermilk waffles. Please remember that these values are approximate and can vary based on specific ingredients and serving sizes.
| Nutrient | Amount Per Serving |
|---|---|
| Calories | 320 kcal |
| Carbohydrates | 45 g |
| Cholesterol | 80 mg |
| Fat | 12 g |
| Fiber | 2 g |
| Protein | 8 g |
| Saturated Fat | 7 g |
| Serving Size | 1 waffle |
| Sodium | 420 mg |
| Sugar | 10 g |
| Trans Fat | 0.5 g |
| Unsaturated Fat | 4.5 g |
Conclusion: Your New Favorite Buttermilk Waffles
From childhood memories to delightful weekend brunches, these homemade buttermilk waffles are more than just a meal; they're an experience. I truly hope this recipe brings as much joy and deliciousness to your table as it has to mine. With their perfect crisp exterior, airy interior, and delightful tangy flavor, you're about to embark on a waffle journey that will forever change your breakfast game. So fire up that waffle iron, gather your loved ones, and prepare to indulge in the best buttermilk waffles you've ever tasted. And if you’re always looking for more ways to elevate your morning routine, don't forget to check out our recipe for an Ultimate Homemade Easy Pancake Mix for another fantastic breakfast option. Happy waffling!
FAQs
Can I substitute buttermilk if I don't have any?
Yes, you can make a substitute! Add 1 tablespoon of lemon juice or white vinegar to a measuring cup, then fill it up to 1 cup with regular milk. Let it sit for 5-10 minutes until it slightly curdles. However, for the best texture and authentic tangy flavor in your buttermilk waffles, genuine buttermilk is highly recommended.
What's the secret to crispy buttermilk waffles?
Achieving crispy buttermilk waffles comes down to a few factors: ensuring your waffle iron is fully preheated, not overfilling the iron (which can steam the waffles), and the perfect balance of leavening agents and fat in the batter. Also, separating the eggs and folding in whipped whites adds air for lightness and crispness.
Can I make the buttermilk waffle batter ahead of time?
While buttermilk waffle batter is best used fresh for maximum fluffiness from the activated leaveners, you can prepare the dry and wet ingredients (excluding the whipped egg whites) separately the night before. Combine them and fold in freshly whipped egg whites just before cooking in the morning for excellent results.
How should I store and reheat leftover buttermilk waffles?
Store leftover buttermilk waffles in an airtight container in the refrigerator for up to 3 days, or freeze them for longer storage (flash freeze on a baking sheet, then transfer to a freezer bag). Reheat them in a toaster, toaster oven, or even back in your waffle iron for a few minutes until hot and crispy again.

Fluffy & Crispy Homemade Buttermilk Waffles
The ultimate recipe for achieving perfectly light, airy, and tangy buttermilk waffles with a delightful crisp exterior. Perfect for any breakfast or brunch!
- Total Time: 35 minutes
- Yield: 4-6 waffles (depending on iron size) 1x
Ingredients
2 cups all-purpose flour
2 tablespoons granulated sugar
1 tablespoon baking powder
1 teaspoon baking soda
½ teaspoon salt
2 large eggs, separated
1 ¾ cups buttermilk
½ cup (1 stick) unsalted butter, melted
1 teaspoon vanilla extract
Instructions
Step 1: In a large mixing bowl, whisk together the all-purpose flour, granulated sugar, baking powder, baking soda, and salt. Whisk thoroughly to ensure ingredients are evenly distributed.
Step 2: In a separate medium bowl, whisk together the buttermilk, melted butter, and vanilla extract. Add the egg yolks to the wet ingredients and whisk until well combined.
Step 3: Pour the wet ingredients into the dry ingredients. Mix gently with a whisk or wooden spoon until just combined. A few lumps are fine; do not overmix.
Step 4: In a clean, separate bowl, beat the reserved egg whites with an electric mixer until stiff peaks form.
Step 5: Gently fold the whipped egg whites into the waffle batter in two additions, using a spatula and a lifting motion. Be careful not to deflate the egg whites.
Step 6: If time allows, let the batter rest for 5-10 minutes. Meanwhile, preheat your waffle iron according to the manufacturer's instructions. Lightly grease if not non-stick.
Step 7: Pour or scoop the batter onto the hot waffle iron, filling it about two-thirds full. Close the lid and cook for 3-5 minutes, or until golden brown and steam is no longer escaping.
Step 8: Gently remove the cooked waffles and serve immediately with your favorite toppings. For larger batches, keep warm in a 200°F (90°C) oven on a wire rack.
Notes
For the best results, use fresh buttermilk. Do not overmix the batter; a few lumps are fine. Serving immediately is key for maximum crispness, but leftovers reheat beautifully in a toaster.
- Prep Time: 15 minutes
- Cook Time: 20 minutes
- Category: Desserts & Baking
- Cuisine: American
Nutrition
- Serving Size: 1 waffle
- Calories: 320 kcal
- Sugar: 10 g
- Sodium: 420 mg
- Fat: 12 g
- Saturated Fat: 7 g
- Unsaturated Fat: 4.5 g
- Trans Fat: 0.5 g
- Carbohydrates: 45 g
- Fiber: 2 g
- Protein: 8 g
- Cholesterol: 80 mg
Leave a Reply