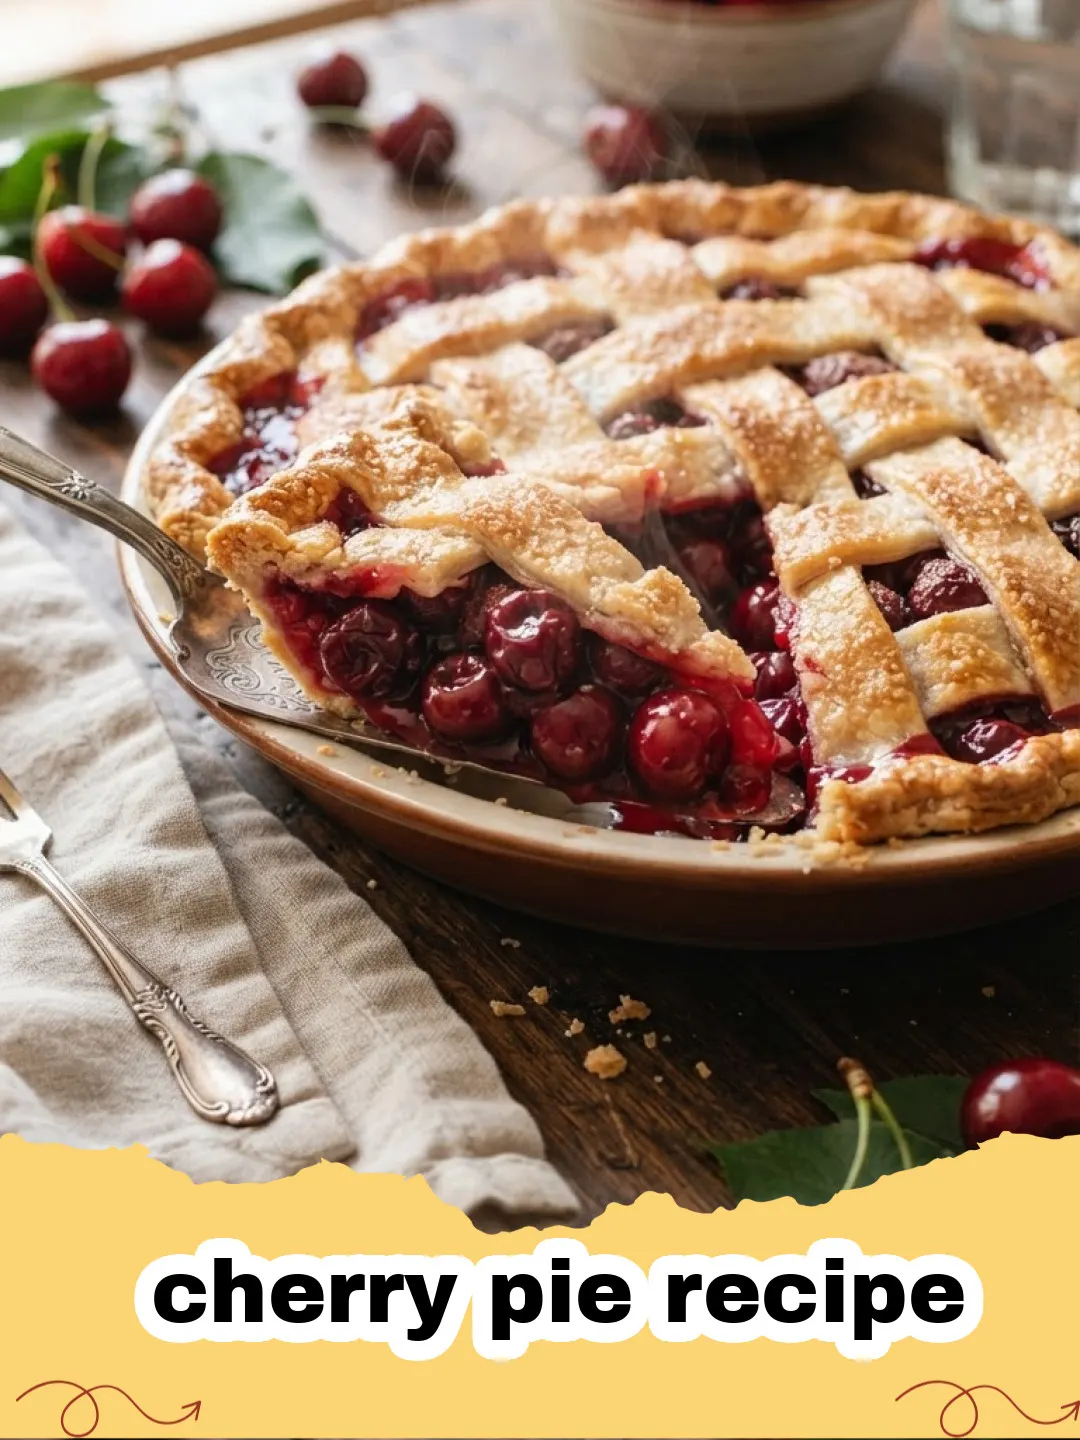
There are some scents that instantly transport you back to childhood, and for me, the aroma of a freshly baked cherry pie recipe bubbling in the oven is a direct portal to my grandma's kitchen. Every summer, without fail, her kitchen would transform into a sweet-smelling haven, filled with the vibrant red of freshly picked cherries. I remember sitting at her worn wooden table, watching her nimble fingers artfully weave a lattice top, her flour-dusted hands a testament to years of baking love. That cherry pie wasn't just a dessert; it was a symbol of summer, family, and pure, unadulterated joy. Years later, I’ve perfected my own cherry pie recipe, capturing that same magic, that perfect balance of sweet and tart, all encased in an impossibly flaky crust. It’s a labor of love, yes, but one that rewards you with every single bite, bringing back those cherished memories and creating new ones. This recipe is more than just ingredients; it's a piece of my heart, ready to be shared with yours. So, get ready to make the best cherry pie recipe you've ever tasted!
Why This Cherry Pie Recipe Is a Must-Try
- Perfect Balance of Sweet and Tart: This cherry pie recipe strikes an exquisite equilibrium between the natural sweetness of cherries and their delightful tang, ensuring every mouthful is a burst of flavor.
- Unbelievably Flaky, Golden Crust: We'll dive into the secrets of creating a buttery, tender, and super flaky pie crust that provides the perfect contrast to the juicy filling. It’s the hallmark of an excellent cherry pie recipe!
- No More Soggy Bottoms: Say goodbye to the dreaded soggy pie crust! Our techniques ensure a beautifully baked bottom crust that holds up to the generous, luscious cherry filling.
- A Timeless Crowd-Pleaser: Whether for a holiday gathering, a summer barbecue, or a simple family dessert, this classic cherry pie recipe is guaranteed to be a hit, eliciting oohs and aahs from everyone who tries it.
Key Ingredient Notes for Your Cherry Pie Recipe
Getting the best out of your ingredients is crucial for a stellar cherry pie recipe. Here's what you need to know about a few stars of the show:
Fresh or Frozen Cherries?
For the ultimate cherry pie recipe, fresh, tart cherries (like Montmorency) are always preferred when in season. Their bright, vibrant flavor is unparalleled. If fresh aren't available, high-quality frozen tart cherries are an excellent substitute. Make sure to thaw them completely and drain any excess liquid to prevent a watery filling. Sweet cherries can also be used, but you might want to slightly reduce the sugar in the filling to account for their natural sweetness. No matter what, make sure they are pitted!
The Power of a Good Thickener
Nobody wants a runny pie! For this cherry pie recipe, we use a combination of cornstarch and a touch of flour or quick-cooking tapioca to achieve that perfectly thick, glossy, and spoonable filling. Cornstarch provides clarity and sheen, while quick-cooking tapioca creates a slightly jammy texture and is excellent at preventing weeping. Whichever you choose, ensure it's well mixed with the sugar before adding to the cherries to prevent lumps.
Butter for the Best Crust
The secret to a truly flaky pie crust in any cherry pie recipe lies in cold butter. Unsalted butter is best as it allows you to control the salt content. The colder the butter, the better. When cut into small pieces and mixed quickly into the flour, it creates pockets of steam during baking, leading to those desirable flaky layers. Avoid overworking the dough, which can melt the butter and lead to a tough crust.
Step-by-Step Guide with Pro Tips for Your Cherry Pie Recipe
Making the Perfect Pie Crust (A Two-Crust Wonder!)
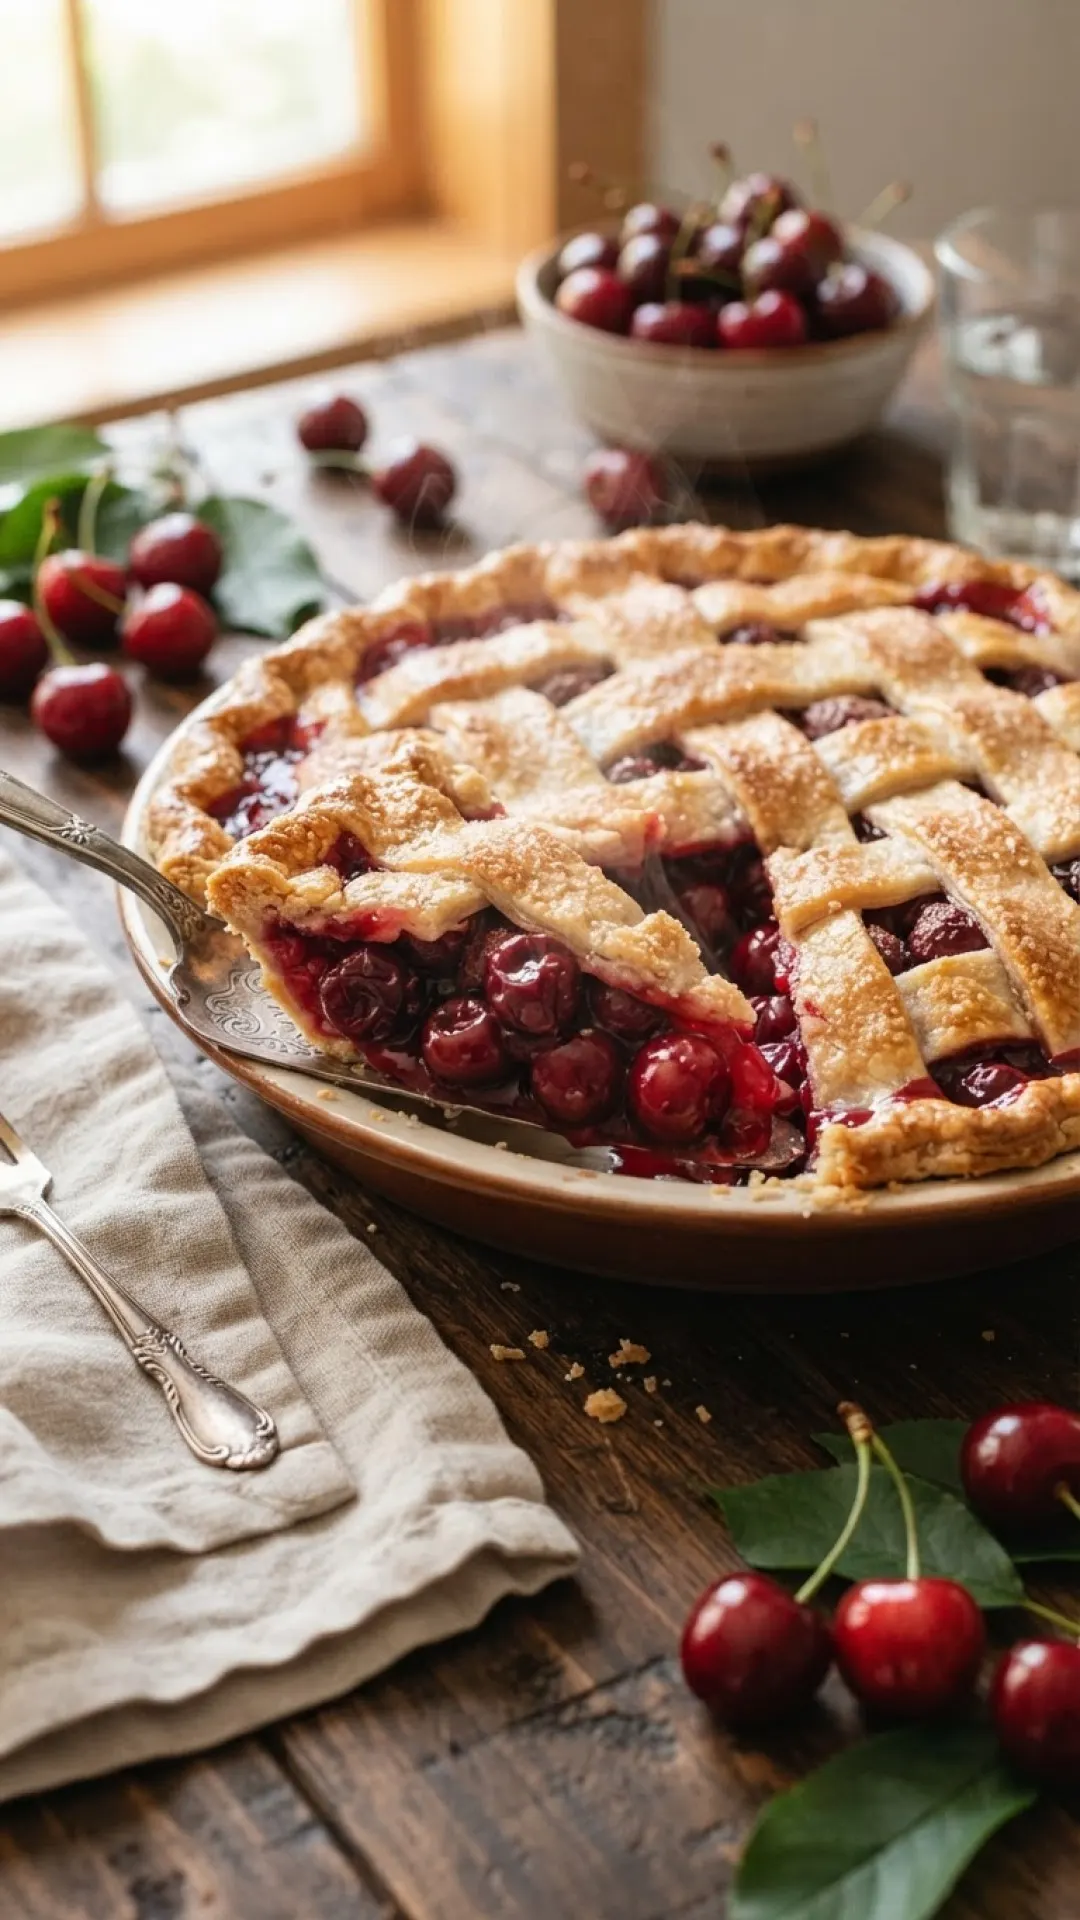
The foundation of any great cherry pie recipe is its crust. This recipe calls for a double-crust pie, with a flaky bottom and a beautiful lattice or solid top.
- Step 1: In a large bowl, whisk together 2 ½ cups all-purpose flour, 1 teaspoon salt, and 1 tablespoon granulated sugar. This forms the dry base for your flaky pie crust.
- Step 2: Cut 1 cup (2 sticks) of very cold unsalted butter into ½-inch cubes. Add the butter to the flour mixture. Using a pastry blender, your fingertips, or a food processor, cut the butter into the flour until the mixture resembles coarse crumbs with some pea-sized pieces of butter remaining. The colder the butter, the flakier your cherry pie recipe crust will be!
- Step 3: Gradually add ½ to ¾ cup of ice-cold water, one tablespoon at a time, mixing until the dough just comes together. Be careful not to overmix! Overmixing develops gluten, which makes the crust tough.
- Step 4: Divide the dough in half, flatten each half into a disc, wrap tightly in plastic wrap, and refrigerate for at least 30 minutes (or up to 2 days). This resting period is crucial for the gluten to relax, making the dough easier to roll and ensuring a tender crust for your cherry pie recipe.
Crafting the Irresistible Cherry Filling
The heart of our cherry pie recipe!
- Step 1: In a large bowl, combine 6 cups of fresh or thawed tart cherries (pitted!), 1 cup granulated sugar (adjust to taste based on cherry sweetness), ¼ cup cornstarch, 2 tablespoons all-purpose flour (or 3 tablespoons quick-cooking tapioca), 1 teaspoon almond extract (optional, but highly recommended!), and 1 tablespoon fresh lemon juice. Toss gently to coat the cherries evenly. The lemon juice brightens the flavors and prevents the filling from becoming too cloyingly sweet.
- Step 2: Let the mixture sit for 15-20 minutes, allowing the juices to release and the thickeners to begin dissolving. This helps ensure a perfectly set filling for your cherry pie recipe.
Assembling Your Masterpiece
Bringing it all together for the ultimate cherry pie recipe!
- Step 1: Preheat your oven to 400°F (200°C). Roll out one disc of chilled pie dough on a lightly floured surface into a 12-inch circle. Carefully transfer the dough to a 9-inch pie plate. Trim the edges, leaving about a ½-inch overhang.
- Step 2: Pour the cherry filling into the pie crust. Dot the top of the filling with 2 tablespoons of cold unsalted butter, cut into small pieces. This adds richness and helps create that wonderful bubbling texture.
- Step 3: Roll out the second disc of dough. For a classic look, you can place it directly over the filling, crimping the edges to seal, and cutting a few slits for steam to escape. For a beautiful lattice top, cut the dough into ½-inch to 1-inch strips and weave them over the filling. Trim and crimp the edges.
- Step 4: For a golden, shiny crust, brush the top crust with an egg wash (1 egg beaten with 1 tablespoon water) and sprinkle lightly with 1-2 teaspoons of granulated sugar. This step is key for that bakery-quality finish on your cherry pie recipe.
Baking to Golden Perfection
The final steps to your delicious cherry pie recipe.
- Step 1: Place the pie on a baking sheet (to catch any drips) and bake at 400°F (200°C) for 15 minutes.
- Step 2: Reduce the oven temperature to 375°F (190°C) and continue baking for another 40-50 minutes, or until the crust is deeply golden brown and the filling is bubbly. If the crust starts to brown too quickly, loosely tent the pie with aluminum foil.
- Step 3: Once baked, remove the pie from the oven and let it cool completely on a wire rack for at least 3-4 hours (or even longer) before slicing. This is crucial for the filling to set properly. Patience is key for this cherry pie recipe!
Variations & Serving Suggestions for Your Cherry Pie Recipe
While this classic cherry pie recipe is perfect as is, here are some ideas to make it your own:
- Spice It Up: Add a pinch of cinnamon or a tiny grating of fresh nutmeg to the cherry filling for an extra layer of warmth.
- Nutty Addition: A handful of chopped toasted almonds or pecans mixed into the filling can add a delightful crunch and complementary flavor.
- Crumb Topping: Instead of a double crust or lattice, consider a sweet streusel topping for a different texture. This works especially well if you're a fan of a cherry cobbler recipe!
- Serving Suggestions: This cherry pie recipe is phenomenal on its own, but a scoop of vanilla bean ice cream or a dollop of fresh whipped cream takes it to another level. For extra indulgence, a drizzle of warm chocolate sauce can be surprisingly delicious. Leftovers, if you have any, can be stored in an airtight container at room temperature for up to 2 days, or in the refrigerator for up to 4 days. I often use Basics Glass Food Storage containers for this!
Nutrition Information
Here’s a general nutritional breakdown for one serving of this delightful cherry pie recipe. Please note that these are estimates and can vary based on specific ingredients and portion sizes.
| Nutrient | Amount Per Serving |
|---|---|
| Calories | 410 kcal |
| Carbohydrates | 65g |
| Cholesterol | 45mg |
| Fat | 18g |
| Fiber | 3g |
| Protein | 4g |
| Saturated Fat | 11g |
| Sodium | 200mg |
| Sugar | 38g |
| Trans Fat | 0.5g |
| Unsaturated Fat | 6g |
Conclusion
There’s truly nothing quite like a homemade cherry pie. The sweet and tart cherries, the flaky golden crust, and the aroma filling your kitchen – it’s an experience that transcends a simple dessert. This ultimate cherry pie recipe is a labor of love, yes, but every moment spent is worth it for that first incredible bite. It’s a taste of tradition, a celebration of summer, and a delicious way to create new cherished memories. I hope this guide empowers you to bake your own perfect cherry pie, just like my grandma used to make. Happy baking, and enjoy your wonderful cherry pie recipe!
FAQs
Can I use frozen cherries for this cherry pie recipe?
Yes, you can absolutely use high-quality frozen tart cherries. Make sure to thaw them completely and drain any excess liquid before using them in the filling to prevent a watery pie. You might also want to increase the thickener (cornstarch or tapioca) by a small amount if the cherries seem particularly juicy.
How do I prevent a soggy bottom crust in my cherry pie?
To prevent a soggy bottom crust for your cherry pie recipe, ensure your oven is preheated to the correct temperature, and bake the pie on the lowest rack for optimal heat circulation. Using a combination of cornstarch and flour or quick-cooking tapioca in the filling helps absorb excess moisture. Also, make sure to cool the pie completely before slicing, as the filling continues to set as it cools.
What's the best way to store leftover cherry pie?
Leftover cherry pie can be stored at room temperature, covered loosely with foil or plastic wrap, for up to 2 days. For longer storage, refrigerate the pie in an airtight container for up to 4 days. You can gently reheat slices in the oven if you prefer a warm pie.
Can I make the pie crust ahead of time for this cherry pie recipe?
Absolutely! The pie crust dough can be made up to 2 days in advance and stored tightly wrapped in plastic in the refrigerator. This can be a great time-saver when preparing your cherry pie recipe, allowing the gluten to relax even further for a more tender crust.
The Ultimate Classic Cherry Pie
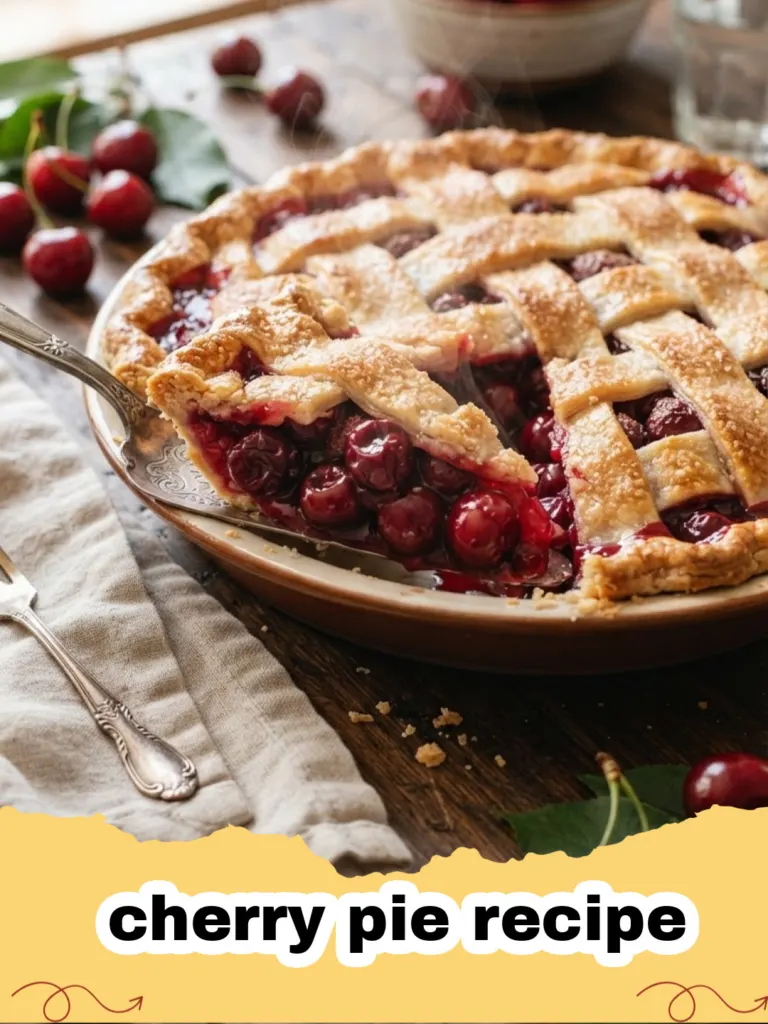
Master the art of homemade cherry pie with this ultimate recipe featuring a perfectly flaky butter crust and a sweet-tart cherry filling. A timeless dessert that brings the taste of summer to your table.
- Total Time: 1 hour 40 minutes
- Yield: 8 servings 1x
Ingredients
For the Pie Crust:
2 1/2 cups all-purpose flour, plus more for dusting
1 teaspoon salt
1 tablespoon granulated sugar
1 cup (2 sticks) unsalted butter, very cold and cubed
1/2 to 3/4 cup ice water
For the Cherry Filling:
6 cups fresh or thawed frozen tart cherries, pitted
1 cup granulated sugar (adjust to taste)
1/4 cup cornstarch
2 tablespoons all-purpose flour OR 3 tablespoons quick-cooking tapioca
1 teaspoon almond extract (optional)
1 tablespoon fresh lemon juice
2 tablespoons unsalted butter, cold and cubed
For the Egg Wash & Topping:
1 large egg, beaten with 1 tablespoon water
1-2 teaspoons granulated sugar, for sprinkling
Instructions
Step 1: For the Pie Crust: In a large bowl, whisk together the flour, salt, and 1 tablespoon granulated sugar. Add the cold, cubed butter to the flour mixture. Using a pastry blender, your fingertips, or a food processor, cut the butter into the flour until the mixture resembles coarse crumbs with some pea-sized pieces of butter remaining.
Step 2: Gradually add the ice water, one tablespoon at a time, mixing until the dough just comes together. Be careful not to overmix. Divide the dough in half, flatten each half into a disc, wrap tightly in plastic wrap, and refrigerate for at least 30 minutes (or up to 2 days).
Step 3: For the Cherry Filling: In a large bowl, combine the pitted cherries, 1 cup granulated sugar, cornstarch, flour or tapioca, almond extract (if using), and lemon juice. Toss gently to coat the cherries evenly. Let the mixture sit for 15-20 minutes, allowing the juices to release.
Step 4: Preheat your oven to 400°F (200°C). On a lightly floured surface, roll out one disc of chilled pie dough into a 12-inch circle. Carefully transfer the dough to a 9-inch pie plate. Trim the edges, leaving about a ½-inch overhang.
Step 5: Pour the cherry filling into the prepared pie crust. Dot the top of the filling with the 2 tablespoons of cold, cubed butter.
Step 6: Roll out the second disc of dough. You can either place it directly over the filling, crimping the edges to seal and cutting a few slits for steam, or cut it into ½-inch to 1-inch strips to create a lattice top. Trim and crimp the edges of the pie.
Step 7: In a small bowl, whisk the egg with 1 tablespoon of water to create an egg wash. Brush the top crust with the egg wash and sprinkle lightly with 1-2 teaspoons of granulated sugar.
Step 8: Place the pie on a baking sheet (to catch any drips) and bake at 400°F (200°C) for 15 minutes.
Step 9: Reduce the oven temperature to 375°F (190°C) and continue baking for another 40-50 minutes, or until the crust is deeply golden brown and the filling is bubbly. If the crust starts to brown too quickly, loosely tent the pie with aluminum foil.
Step 10: Once baked, remove the pie from the oven and let it cool completely on a wire rack for at least 3-4 hours before slicing. This is crucial for the filling to set properly.
Notes
For the flakiest crust, ensure all butter and water are ice cold. Do not overwork the dough. Cooling the pie completely before slicing is essential for the filling to set correctly.
- Prep Time: 45 minutes
- Cook Time: 55 minutes
- Category: Desserts & Baking
- Cuisine: American
Nutrition
- Serving Size: 1 slice
- Calories: 410 kcal
- Sugar: 38g
- Sodium: 200mg
- Fat: 18g
- Saturated Fat: 11g
- Unsaturated Fat: 6g
- Trans Fat: 0.5g
- Carbohydrates: 65g
- Fiber: 3g
- Protein: 4g
- Cholesterol: 45mg