

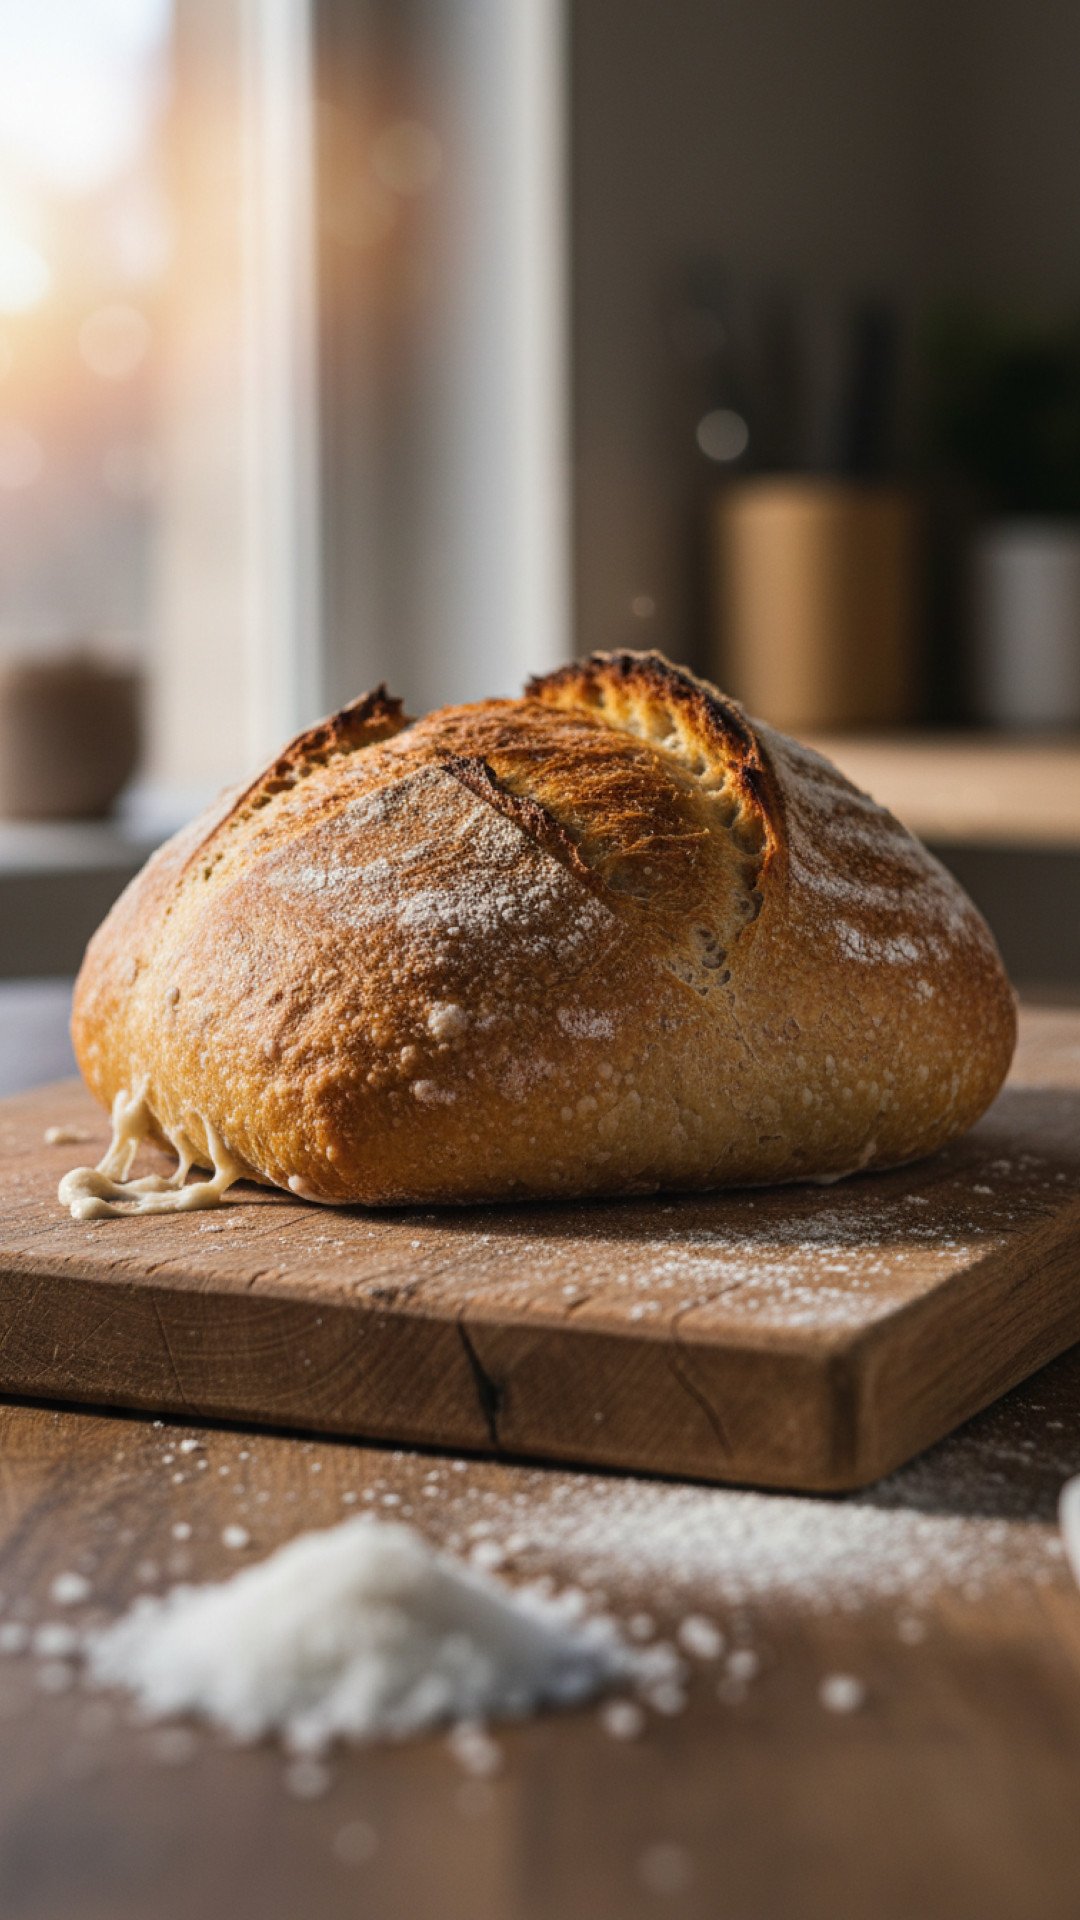
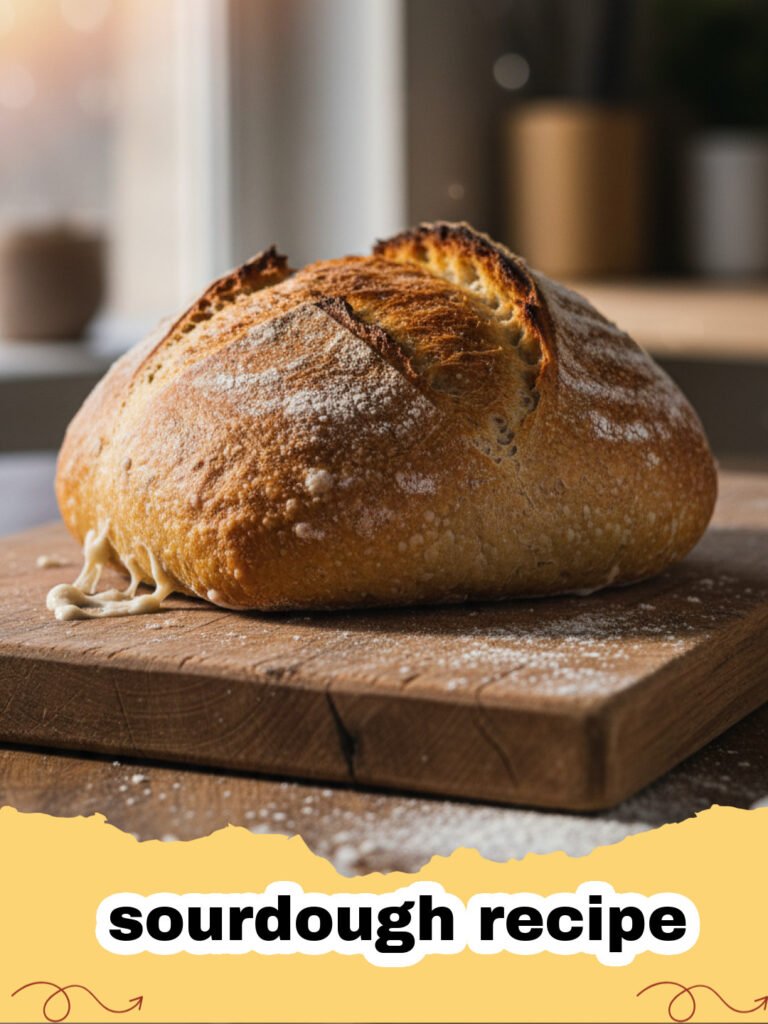
There is something magical about mastering a sourdough recipe for the first time, from the moment you feed your bubbling starter to the crackling sound of a loaf cooling on the counter. My journey with bread began on a rainy Tuesday afternoon when I realized that three simple ingredients—flour, water, and salt—could transform into a masterpiece with nothing but time and a little patience. I remember the anxiety of my first stretch and fold, wondering if the dough would ever gain strength, and the sheer joy of seeing that first 'ear' develop in the oven. This sourdough recipe isn't just about making bread; it’s about connecting with a tradition that spans centuries, slowing down in a fast-paced world, and nourishing your family with something truly artisanal. Whether you are a seasoned baker or a complete novice, this guide will walk you through every nuance of creating a perfect loaf.
Baking bread is a therapeutic process. When you commit to a sourdough recipe, you are entering into a partnership with wild yeast and lactic acid bacteria. It is a slow dance that requires you to pay attention to the temperature of your kitchen, the feel of the dough under your fingertips, and the subtle changes in aroma as fermentation takes hold. Over the years, I have tested dozens of variations, but this specific sourdough recipe remains my absolute favorite because of its consistent results and incredible depth of flavor. It produces a thin, crispy crust and a soft, open crumb that is perfect for everything from morning toast to gourmet sandwiches. If you've ever felt intimidated by the complexity of wild yeast, let this be the sourdough recipe that changes your mind and fills your home with the intoxicating scent of fresh-baked bread.
One of the most rewarding aspects of this craft is the versatility it offers. Once you understand the mechanics of this sourdough recipe, you can adapt it to fit your schedule and your taste buds. Much like exploring The Ultimate Traditional Hot Cross Buns Recipe, mastering sourdough provides a foundation for all types of fermented doughs. It’s a skill that keeps on giving, and I am so excited to share all my tips and tricks with you today.
Why This Recipe is a Must-Try
- Superior Flavor and Texture: Unlike store-bought loaves, this sourdough recipe utilizes a long fermentation process that develops complex, tangy notes and a chewy, satisfying crumb.
- Better Digestibility: The slow fermentation in this sourdough recipe helps break down gluten and phytic acid, making it easier on the gut for many people.
- Minimal Ingredients: You don't need stabilizers or preservatives; this sourdough recipe relies entirely on natural ingredients and the power of wild yeast.
- A Sense of Accomplishment: There is nothing quite like the pride of pulling a professional-looking loaf out of your own oven using this sourdough recipe.
Key Ingredient Notes
The success of any sourdough recipe starts with the quality of your ingredients. Since we are only using three main components, each one plays a vital role in the final outcome. First and foremost is your starter. Your sourdough recipe depends entirely on the health of your 'levain.' Ensure your starter is active, bubbly, and has doubled in size before you begin mixing. I recommend storing your active starter in Basics Glass Food Storage containers, as glass is non-reactive and allows you to easily monitor the growth and bubbles through the sides.
Flour choice is equally critical. For this sourdough recipe, I prefer a high-protein bread flour (around 12-13% protein). The higher protein content ensures that your bread has the structure needed to trap gases and rise beautifully. You can substitute a portion of the flour with whole wheat or rye to add earthiness, but for your first few attempts at this sourdough recipe, sticking to a quality bread flour will yield the most predictable results. Finally, use filtered water if possible. Chlorine in tap water can sometimes inhibit the activity of the wild yeast in your sourdough recipe, so using filtered or spring water at room temperature is a safer bet for a vigorous ferment.
Step-by-Step Guide with Pro Tips
Creating a beautiful loaf requires a sequence of steps that build strength and flavor. This sourdough recipe follows a classic timeline, starting with the 'autolyse' phase where flour and water are mixed and allowed to rest. This simple step in the sourdough recipe allows the flour to fully hydrate and kickstarts gluten development without any physical labor on your part. After the rest, you'll fold in your active starter and salt, beginning the journey of transformation.
During the bulk fermentation phase of this sourdough recipe, you won't be kneading the dough in the traditional sense. Instead, we use a series of 'stretch and folds.' This technique involves gently pulling the edge of the dough up and folding it over itself. It’s a gentle way to build a strong gluten network while maintaining the delicate air bubbles that give this sourdough recipe its signature open crumb. You’ll perform these folds every 30 minutes for the first two hours. You will notice the dough changing from a shaggy, sticky mess to a smooth, elastic, and pillowy mass. This is the heart of the sourdough recipe, where the magic of biology and physics meet.
Once bulk fermentation is complete and the dough has increased in volume by about 50-75%, it’s time for shaping. This is perhaps the most artistic part of the sourdough recipe. You want to create tension on the surface of the dough, which helps it keep its shape and rise upwards rather than spreading out in the oven. After a final cold proof in the refrigerator—which further develops the sour flavor of this sourdough recipe—you are ready to score and bake. Scoring isn't just for aesthetics; it provides a controlled path for the steam to escape, ensuring your sourdough recipe reaches its full potential in the oven.
Variations & Serving Suggestions
The beauty of a base sourdough recipe is that it acts as a blank canvas for your culinary creativity. Once you are comfortable with the process, you can begin adding inclusions during the stretch and fold phase. Some of my favorite additions to this sourdough recipe include roasted garlic and rosemary, sharp cheddar and jalapeños, or even dried cranberries and walnuts for a slightly sweeter loaf. If you find yourself with extra starter, don't let it go to waste! You can use the leftovers for The Best Sourdough Discard Cinnamon Rolls, which are a fantastic way to enjoy the tang of sourdough in a sweet treat.
When it comes to serving, this sourdough recipe is incredibly versatile. A thick slice toasted with salted butter is a simple luxury, but it also makes the world’s best grilled cheese or avocado toast. For a hearty dinner, serve a few slices alongside a hot bowl of soup or use it to mop up the juices from a roast. Because this sourdough recipe produces a sturdy loaf, it also stands up well to being used as a bread bowl for dips or stews. The possibilities are truly endless once you have a fresh loaf on your counter.
Nutrition Information
Understanding the nutritional profile of your homemade bread can help you enjoy it as part of a balanced diet. This sourdough recipe is naturally low in fat and contains no added sugars, making it a wholesome alternative to processed breads.
| Nutrient | Amount per Serving |
|---|---|
| Calories | 185 kcal |
| Carbohydrate Content | 36 g |
| Cholesterol Content | 0 mg |
| Fat Content | 0.5 g |
| Fiber Content | 2 g |
| Protein Content | 6 g |
| Saturated Fat Content | 0.1 g |
| Serving Size | 1 slice (approx. 60g) |
| Sodium Content | 380 mg |
| Sugar Content | 0.5 g |
| Trans Fat Content | 0 g |
| Unsaturated Fat Content | 0.4 g |
Conclusion
Mastering this sourdough recipe is a journey that is as rewarding as the final product is delicious. While it may seem daunting at first, remember that every baker started with a sticky mess and a dream. Each loaf you bake using this sourdough recipe is an opportunity to learn and refine your skills. Don't be afraid of the occasional 'flat' loaf; it still tastes great as croutons! Keep practicing, keep feeding your starter, and soon you'll be the one sharing your own sourdough recipe secrets with friends and family. Happy baking!
FAQs
How long does this sourdough recipe take from start to finish?
The entire process for this sourdough recipe typically takes between 18 to 24 hours. Most of this time is hands-off fermentation, including a long cold proof in the refrigerator which develops the flavor.
Can I use all-purpose flour for this sourdough recipe?
Yes, you can use all-purpose flour, but bread flour is highly recommended for this sourdough recipe because its higher protein content provides better structure and a loftier rise.
Why didn't my sourdough loaf rise in the oven?
The most common reasons for a lack of rise in a sourdough recipe are using a weak or inactive starter, under-fermenting the dough during bulk fermentation, or not creating enough tension during the shaping phase.
Artisan Sourdough Bread
A beginner-friendly sourdough recipe that produces a crispy, golden crust and a soft, airy interior using a simple stretch-and-fold method.
- Total Time: 24 hours
- Yield: 1 loaf 1x
Ingredients
100g active sourdough starter (fed and bubbly)
350g warm filtered water (approx. 80°F)
500g high-protein bread flour
10g fine sea salt
Instructions
Step 1: In a large glass bowl, whisk together the active sourdough starter and warm water until the starter is mostly dissolved and the water is milky.
Step 2: Add the bread flour to the water mixture and stir with a sturdy spatula or your hands until a shaggy dough forms and no dry flour remains. Cover with a damp cloth and let rest (autolyse) for 30 to 60 minutes.
Step 3: Sprinkle the sea salt over the dough. Wet your hands and squeeze the salt into the dough, then perform a few folds to ensure it is evenly distributed. Cover and let rest for 30 minutes.
Step 4: Perform the first set of stretch and folds. Grab one side of the dough, pull it up high, and fold it over to the center. Rotate the bowl and repeat 4 times until you have gone all the way around. Repeat this process every 30 minutes for a total of 4 sets (2 hours).
Step 5: Cover the bowl and allow the dough to sit undisturbed for the remainder of the bulk fermentation (usually another 2-4 hours depending on kitchen temperature) until it has grown by about 50% and looks bubbly.
Step 6: Gently turn the dough onto a lightly floured surface. Fold the edges into the center to create a round ball, then flip it over. Use your hands to tension the surface by pulling the dough toward you on the counter. Let rest for 20 minutes.
Step 7: Place the dough upside down into a floured banneton or a bowl lined with a floured kitchen towel. Cover and place in the refrigerator for 8 to 24 hours for a cold proof.
Step 8: Preheat your oven to 450°F (230°C) with a Dutch oven inside for at least 45 minutes. Carefully transfer the cold dough onto parchment paper, score the top with a sharp blade, and place it into the hot Dutch oven. Bake with the lid on for 20 minutes, then remove the lid and bake for another 20-25 minutes until deep golden brown.
Notes
Ensure your starter is at its peak activity (tripled in size) for the best rise. If your kitchen is cold, fermentation will take longer.
- Prep Time: 30 minutes
- Cook Time: 45 minutes
- Category: Desserts & Baking
- Cuisine: French/International
Nutrition
- Serving Size: 1 slice
- Calories: 185
- Sugar: 0.5g
- Sodium: 380mg
- Fat: 0.5g
- Saturated Fat: 0.1g
- Unsaturated Fat: 0.4g
- Trans Fat: 0g
- Carbohydrates: 36g
- Fiber: 2g
- Protein: 6g
- Cholesterol: 0mg
Leave a Reply