
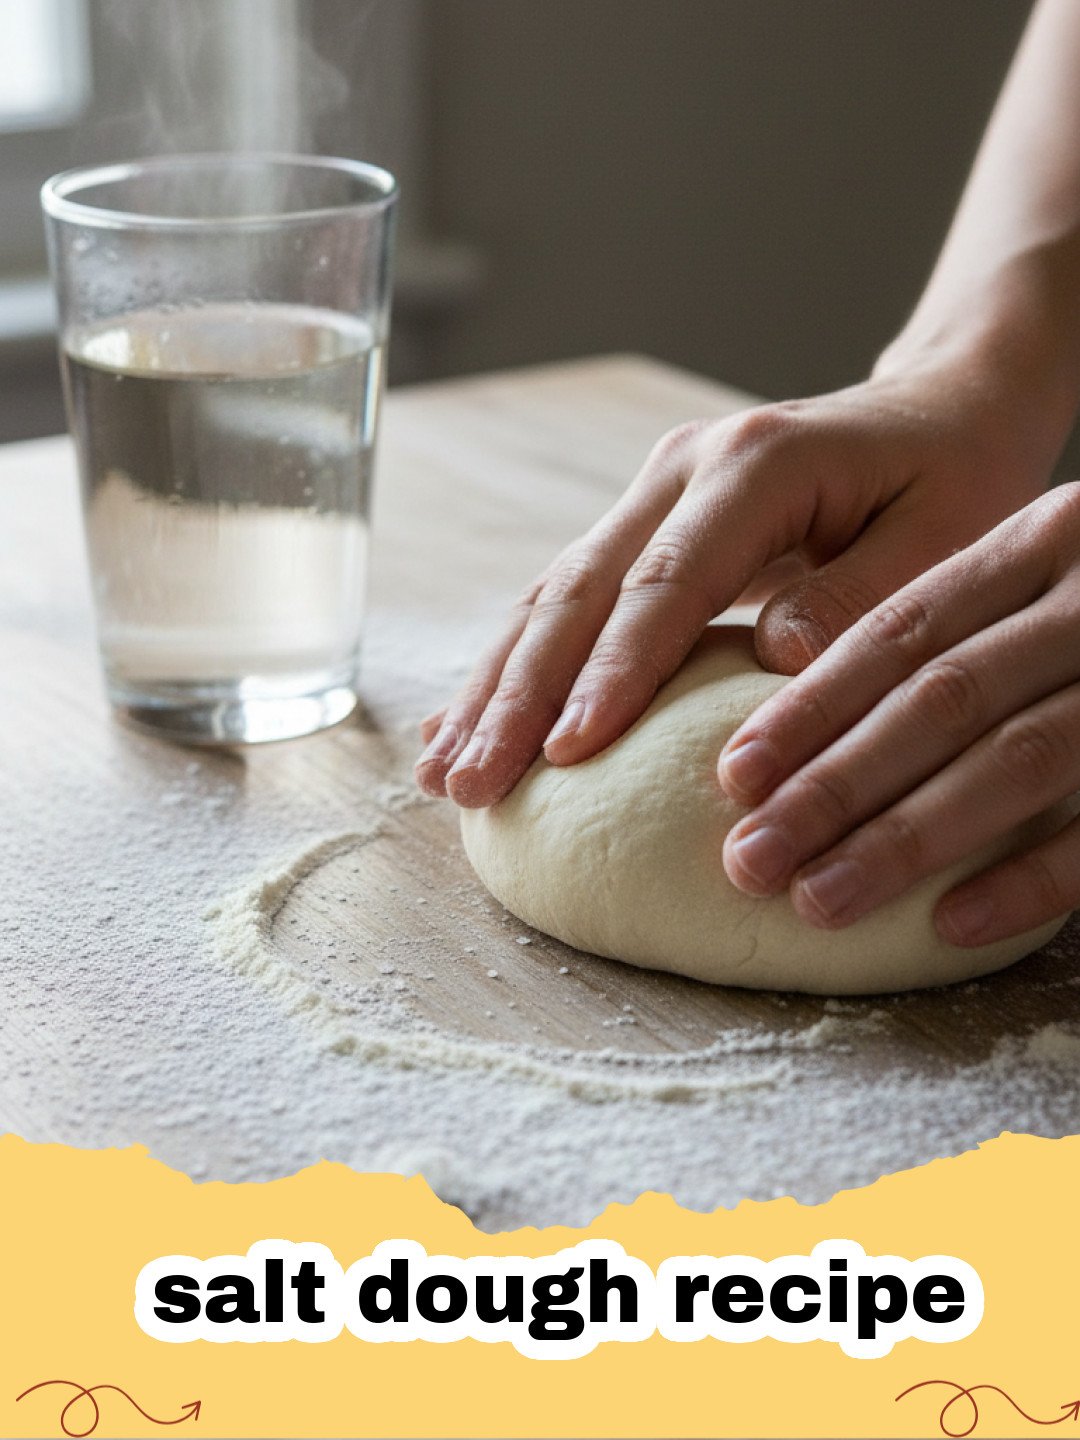
There's a special kind of magic that unfolds on a rainy afternoon when the craft box comes out. For me, growing up, those moments often involved the delightful, slightly messy, and endlessly creative process of making a salt dough recipe. I remember sitting at our kitchen table, flour dusting my small fingers, the rhythmic squish of the dough as my mom taught me how to knead. We’d roll it out, use cookie cutters for festive shapes, and carefully poke holes for ribbon. Every Christmas, those lopsided, lovingly painted ornaments, baked from a simple salt dough recipe, would adorn our tree, each one a tiny time capsule of laughter and cherished memories. It wasn't just about the craft; it was about the connection, the tactile experience, and the joy of creating something tangible that would last.
Even now, the scent of baking salt dough brings me back to those innocent days. It’s a craft that transcends generations, offering a simple yet profound way to connect with loved ones and unleash your inner artist. This particular salt dough recipe is the one I’ve perfected over the years, ensuring your creations are durable, smooth, and ready for whatever artistic vision you have in mind. Whether you’re crafting holiday ornaments, handprint keepsakes for new parents, or unique decorative items for your home, this guide will provide you with all the tips and tricks you need to master the art of salt dough. Get ready to mix, mold, and make memories!
Why This Salt Dough Recipe is a Must-Try
- Incredibly Affordable & Accessible: You likely have all the ingredients for this salt dough recipe in your pantry right now! Flour, salt, and water are the simple staples needed, making it a budget-friendly activity for families, classrooms, or anyone looking for creative fun without breaking the bank.
- Endlessly Versatile for Crafts: From delicate ornaments to sturdy handprint keepsakes, decorative magnets, or even elaborate sculptures, the possibilities with this salt dough recipe are truly limitless. It’s an ideal medium for unleashing creativity across all age groups.
- Family-Friendly Activity: This salt dough recipe is perfect for involving everyone. Kids love the hands-on mixing and shaping, while adults can enjoy the therapeutic process of kneading and decorating. It’s a wonderful way to spend quality time together, creating lasting memories and tangible treasures.
- Durable & Long-Lasting Keepsakes: When properly dried and sealed, creations made from this salt dough recipe can last for years, becoming cherished mementos. Imagine pulling out a handmade ornament decades later, bringing back a flood of nostalgic joy.
Key Ingredient Notes for Your Salt Dough Recipe
While the ingredients for a salt dough recipe are incredibly simple, understanding their role can significantly impact the quality of your finished crafts.
All-Purpose Flour
This is the backbone of your salt dough recipe. All-purpose flour provides the structure and bulk to your dough. While you might be tempted to experiment with other types of flour, all-purpose is recommended for its consistent texture and ability to form a pliable dough. It's readily available and forms the perfect foundation for your creations. Make sure to measure accurately; too much flour can make the dough crumbly, while too little will make it too sticky.
Fine Table Salt
Salt isn't just for flavor in edible recipes; in a salt dough recipe, it’s crucial for preservation and texture. Fine table salt works best because it dissolves easily and blends smoothly into the dough, resulting in a uniform texture. Coarse salts like sea salt or kosher salt might not fully dissolve, leading to a gritty or bumpy finish in your final product. The high salt content also acts as a natural preservative, helping your creations last longer and deterring mold growth.
Warm Water
The temperature of your water matters! Using warm water helps the salt dissolve more efficiently and makes the flour more receptive, resulting in a smoother, more pliable dough. Add water gradually, as humidity levels can affect how much liquid your flour absorbs. You want a dough that is firm but not stiff, and not sticky. Adjusting the water slightly can make a huge difference in the workability of your salt dough recipe.
Step-by-Step Guide with Pro Tips for the Best Salt Dough Recipe
Creating beautiful and lasting salt dough crafts is an enjoyable process, and with these detailed steps and pro tips, your salt dough recipe creations will be perfect every time.
Step 1: Gather Your Tools and Ingredients
Before you begin mixing your salt dough recipe, ensure you have all your ingredients measured and your tools ready. You'll need a large mixing bowl, a sturdy spoon or spatula, measuring cups, and a clean, flat surface for kneading. Having everything at hand makes the process smoother and more enjoyable. You might also want to lay down some parchment paper for easy cleanup. For storing your flour or leftover dough, consider using Basics Glass Food Storage containers to keep everything fresh.
Step 2: Mix Dry Ingredients Thoroughly
In your large mixing bowl, combine the all-purpose flour and fine table salt. Use your spoon or a whisk to mix them thoroughly. This ensures that the salt is evenly distributed throughout the flour, which is important for both the texture and the preserving qualities of your salt dough recipe. A well-mixed dry base prevents lumps and creates a consistent dough.
Step 3: Gradually Add Warm Water
Start by adding about half of the warm water to the dry ingredients. Mix with your spoon until a shaggy dough begins to form. Then, slowly add the remaining water, a little at a time, mixing continuously. You might not need all of the water, or you might need a tiny bit more – this depends on your specific flour and the humidity in your environment. The goal is a dough that pulls away from the sides of the bowl.
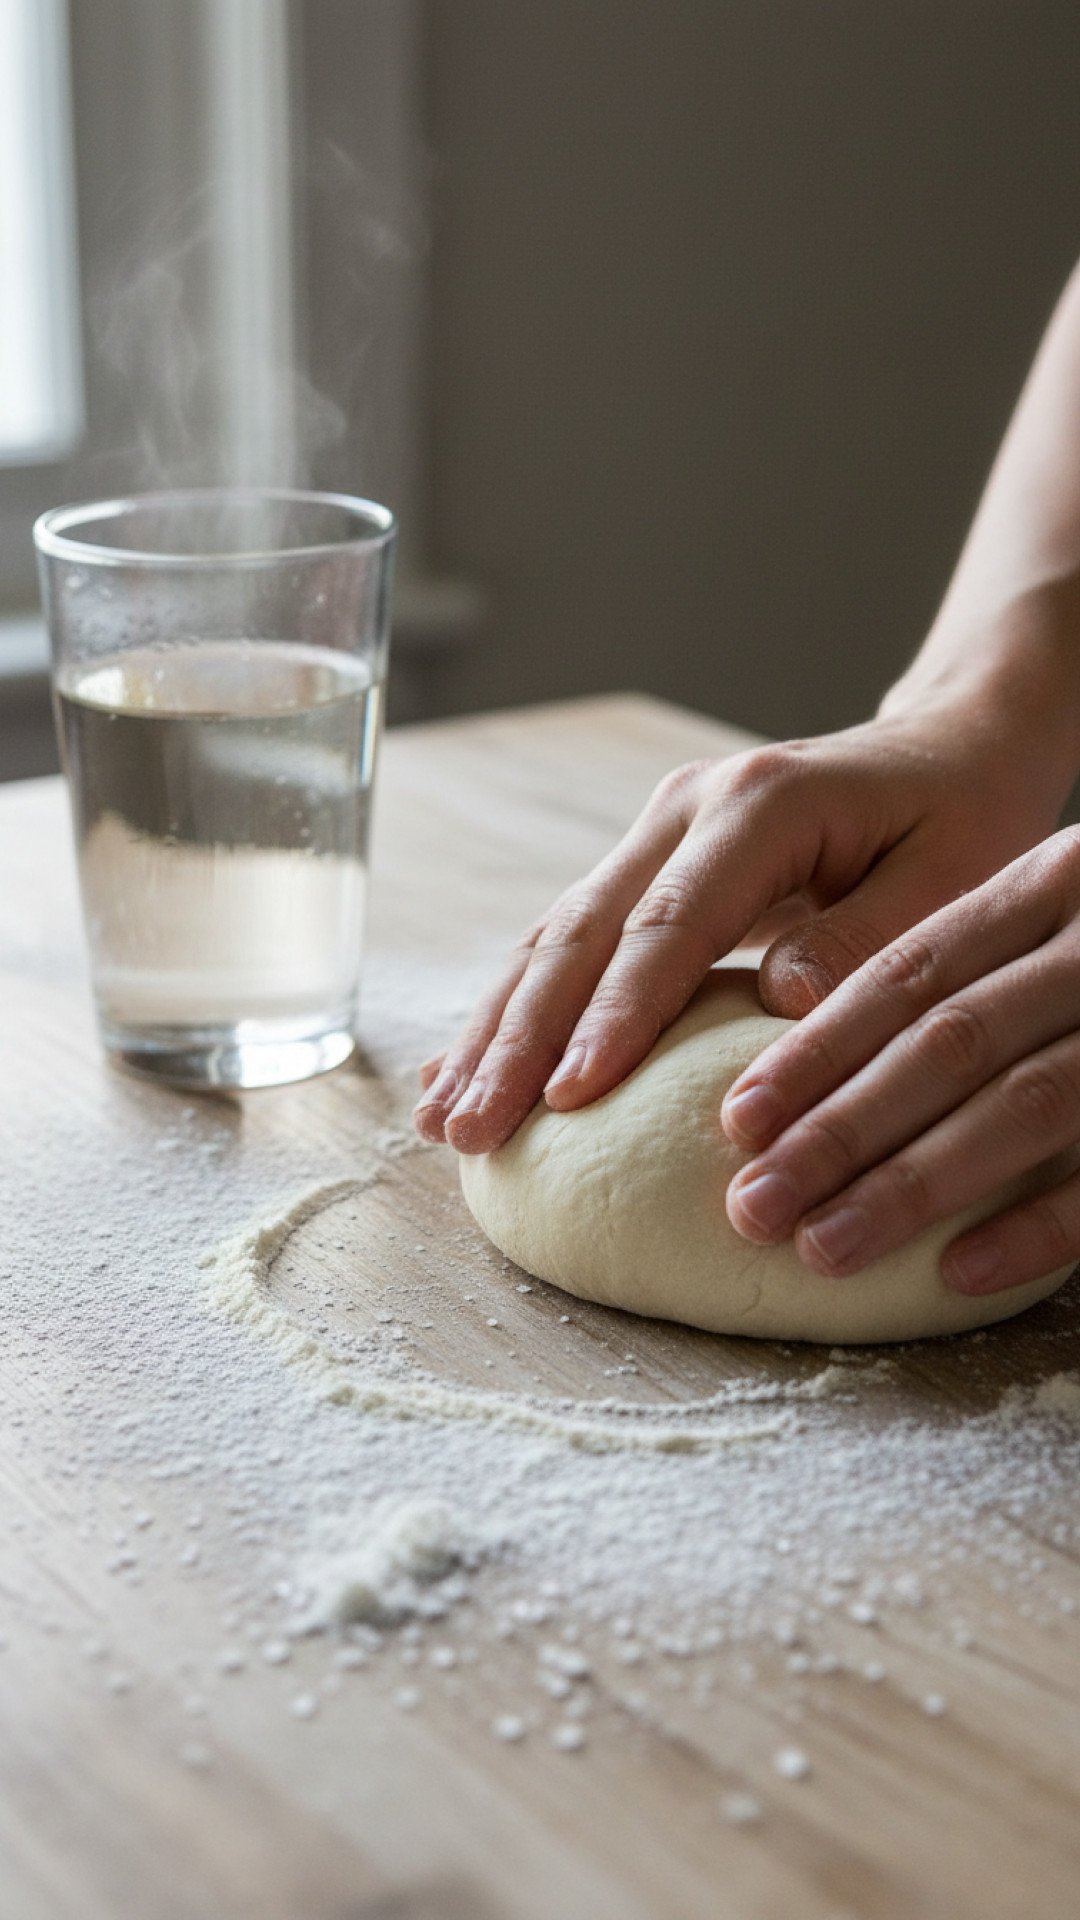
Step 4: Knead the Dough to Perfection
Once the dough is mostly combined, turn it out onto a lightly floured surface. Knead the dough for about 5-10 minutes. This is crucial for developing the gluten in the flour, making the dough smooth, elastic, and easy to work with. Your hands will get a workout, but the result is a beautifully pliable salt dough recipe that won't crack easily. If the dough feels too sticky, add a tiny bit more flour; if it's too dry, add a few drops of water.
Step 5: Roll and Shape Your Creations
Using a rolling pin, roll out your salt dough recipe to your desired thickness. For ornaments, about 1/4 inch is ideal. For handprints, you might want it a bit thicker, around 1/2 inch. Use cookie cutters, knives (for adult supervision), or your hands to shape your creations. Remember to make a hole for hanging if it’s an ornament, using a straw or skewer. Place your shaped items onto a baking sheet lined with parchment paper.
Step 6: Bake and Dry Your Salt Dough
Preheat your oven to the lowest possible setting, usually around 200°F (95°C). Baking the salt dough recipe at a very low temperature for a long time dries it out and hardens it without browning or cracking it. The baking time will vary greatly depending on the thickness and size of your creations. Smaller, thinner pieces might take 1-2 hours, while larger, thicker items could take 3-6 hours or even longer. Flip the items occasionally for even drying. Alternatively, you can air dry them over several days, though this takes much longer and baking helps prevent mold.
Step 7: Cool, Decorate, and Seal
Once your salt dough creations are hard and completely dry, remove them from the oven and let them cool completely on a wire rack. This is a great time to enjoy a delicious snack like some The Ultimate Moist & Easy Zucchini Bread while you wait. Once cool, they are ready for decoration! Use acrylic paints, markers, glitter, or even beads to bring your crafts to life. After decorating, seal your finished pieces with a clear sealant (like Mod Podge or a clear varnish) to protect them from moisture and give them a lasting finish. This final step is vital for ensuring your salt dough recipe masterpieces endure for years.
Variations & Crafting Suggestions for Your Salt Dough Recipe
This versatile salt dough recipe opens up a world of creative possibilities. Here are some ideas to inspire your next crafting session:
- Handprint & Footprint Keepsakes: Perfect for babies and pets! Roll out a thick piece of salt dough, press a hand or foot firmly into it, and carefully lift. Don't forget to engrave the date and name. These make incredibly touching gifts for grandparents or new parents.
- Holiday Ornaments: Use cookie cutters for festive shapes like stars, trees, or gingerbread men. Paint them with holiday colors, add glitter, and thread with ribbon. These personalized ornaments made from a salt dough recipe add a unique touch to any holiday decor.
- Decorative Magnets: After baking and cooling, glue a strong magnet to the back of your decorated salt dough shapes. These are great for adding a personal touch to your fridge or as small, thoughtful gifts.
- Gift Tags: Cut small shapes, stamp letters into them for names, and attach them to presents for a handmade, charming touch. They can even double as a small keepsake for the recipient.
- Adding Color to the Dough: You can add a few drops of food coloring to the water before mixing it into the dry ingredients for colored salt dough. This eliminates the need for painting some aspects of your craft. Just be aware that vibrant colors might fade slightly during baking.
- Scented Ornaments: For festive ornaments, you can knead in spices like cinnamon, nutmeg, or ground cloves into your salt dough recipe. This will give your crafts a wonderful, subtle aroma that lasts.
Remember, the joy is in the process! While your creations are drying, you might find yourself with some extra time. Why not whip up The Ultimate Easy Make-Ahead Egg Casserole Recipe for a delicious and easy brunch to enjoy after your crafting adventure?
Nutrition Information
Please note: This salt dough recipe is intended for crafting purposes and is NOT for consumption. The nutritional information provided below is an estimate based on the raw ingredients and is for informational purposes only, should accidental ingestion occur. It should not be considered a dietary recommendation.
| Nutrient | Amount Per Serving (approx. 1 small ornament) |
|---|---|
| Calories | 75 kcal |
| Carbohydrates | 15 g |
| Cholesterol | 0 mg |
| Fat | 0.2 g |
| Fiber | 0.5 g |
| Protein | 2 g |
| Saturated Fat | 0 g |
| Serving Size | 30g |
| Sodium | 4800 mg |
| Sugar | 0.1 g |
| Trans Fat | 0 g |
| Unsaturated Fat | 0.1 g |
Conclusion
There you have it – the ultimate guide to mastering a simple yet endlessly rewarding salt dough recipe. From humble beginnings of flour, salt, and water, you can create a treasure trove of personalized crafts and cherished keepsakes. Whether it’s preserving tiny handprints, crafting unique holiday ornaments, or simply enjoying a creative afternoon, this salt dough recipe offers an accessible and joyful avenue for artistic expression. So, gather your ingredients, call your family, and get ready to create something truly special. The memories you make are just as precious as the crafts themselves. Happy crafting!
FAQs
How long does salt dough take to dry?
The drying time for a salt dough recipe depends on the thickness of your creations and the drying method. In an oven preheated to the lowest setting (around 200u00b0F or 95u00b0C), thinner items might take 1-2 hours, while thicker pieces, like handprints, can take 3-6 hours or even longer. Air drying can take several days.
Can I add color to my salt dough recipe?
Yes, you can! To color your salt dough recipe, add a few drops of food coloring to the warm water before mixing it into the dry ingredients. This will create colored dough. Alternatively, you can paint your salt dough creations with acrylic paints, markers, or even watercolors after they are fully dried and cooled.
How do I prevent my salt dough from cracking?
To minimize cracking in your salt dough recipe creations, ensure the dough is kneaded thoroughly for at least 5-10 minutes to create an elastic, smooth texture. Also, bake at the lowest possible oven temperature (around 200u00b0F or 95u00b0C) for a longer duration, flipping occasionally, to allow for slow, even drying. Avoid rapid temperature changes.
Is salt dough safe for children?
This salt dough recipe uses non-toxic ingredients (flour, salt, water) and is generally safe for children to handle. However, it is not edible due to its high salt content, so supervise young children to prevent ingestion. Ensure children wash their hands thoroughly after crafting. The finished crafts are durable and safe for play.

Classic Salt Dough Recipe for Crafts
An easy-to-follow salt dough recipe perfect for creating durable and charming crafts, ornaments, and keepsakes. This non-toxic, non-edible dough uses simple pantry staples and is ideal for family fun and artistic expression.
- Total Time: 3 hours 15 minutes
- Yield: Approx. 15-20 small ornaments
Ingredients
2 cups all-purpose flour
1 cup fine table salt
1 cup warm water (approx.)
Instructions
Step 1: In a large mixing bowl, combine the all-purpose flour and fine table salt. Whisk them together thoroughly to ensure even distribution.
Step 2: Gradually add the warm water to the dry ingredients, starting with about half. Mix with a sturdy spoon or spatula until a shaggy dough begins to form. Continue adding water a little at a time, mixing until the dough comes together and pulls away from the sides of the bowl. You may not need all the water or might need a tiny bit more depending on humidity.
Step 3: Turn the dough out onto a lightly floured surface. Knead the dough for 5-10 minutes until it is smooth, pliable, and elastic. If it's too sticky, add a sprinkle of flour; if too dry, add a few drops of water.
Step 4: Using a rolling pin, roll out the salt dough to your desired thickness. For ornaments, 1/4 inch is typically good. For handprints, roll to about 1/2 inch thick.
Step 5: Use cookie cutters, knives (with adult supervision), or your hands to cut and shape your creations. If making ornaments, use a straw or skewer to create a hole for hanging before baking.
Step 6: Carefully transfer your shaped salt dough items to a baking sheet lined with parchment paper.
Step 7: Preheat your oven to the lowest possible setting, typically around 200°F (95°C). Bake the salt dough for 1 to 6 hours or longer, depending on the thickness of your items. Thinner pieces will dry faster. Flip larger items occasionally to ensure even drying. The dough should be hard and completely dry when finished.
Step 8: Remove the baked salt dough crafts from the oven and let them cool completely on a wire rack. They must be fully cool and hard before decorating.
Step 9: Once cooled, decorate your salt dough creations with acrylic paints, markers, glitter, or other embellishments. Let the decorations dry completely.
Step 10: Seal your finished and decorated crafts with a clear sealant (such as Mod Podge, clear varnish, or acrylic spray sealant) to protect them from moisture and ensure their longevity. Allow the sealant to dry fully according to product instructions.
Notes
This salt dough recipe is for crafting purposes only and is not edible. Ensure all creations are fully dried before decorating and sealing for best longevity. Drying times can vary significantly based on thickness and environmental humidity. Always supervise children during crafting and baking. Store finished items in a dry place.
- Prep Time: 15 minutes
- Cook Time: 3 hours
- Category: Desserts & Baking
- Cuisine: Craft
Nutrition
- Serving Size: 30g
- Calories: 75 kcal
- Sugar: 0.1 g
- Sodium: 4800 mg
- Fat: 0.2 g
- Saturated Fat: 0 g
- Unsaturated Fat: 0.1 g
- Trans Fat: 0 g
- Carbohydrates: 15 g
- Fiber: 0.5 g
- Protein: 2 g
- Cholesterol: 0 mg
Leave a Reply