Ingredients
2 cups all-purpose flour
1 cup fine table salt
1 cup warm water (approx.)
Instructions
Step 1: In a large mixing bowl, combine the all-purpose flour and fine table salt. Whisk them together thoroughly to ensure even distribution.
Step 2: Gradually add the warm water to the dry ingredients, starting with about half. Mix with a sturdy spoon or spatula until a shaggy dough begins to form. Continue adding water a little at a time, mixing until the dough comes together and pulls away from the sides of the bowl. You may not need all the water or might need a tiny bit more depending on humidity.
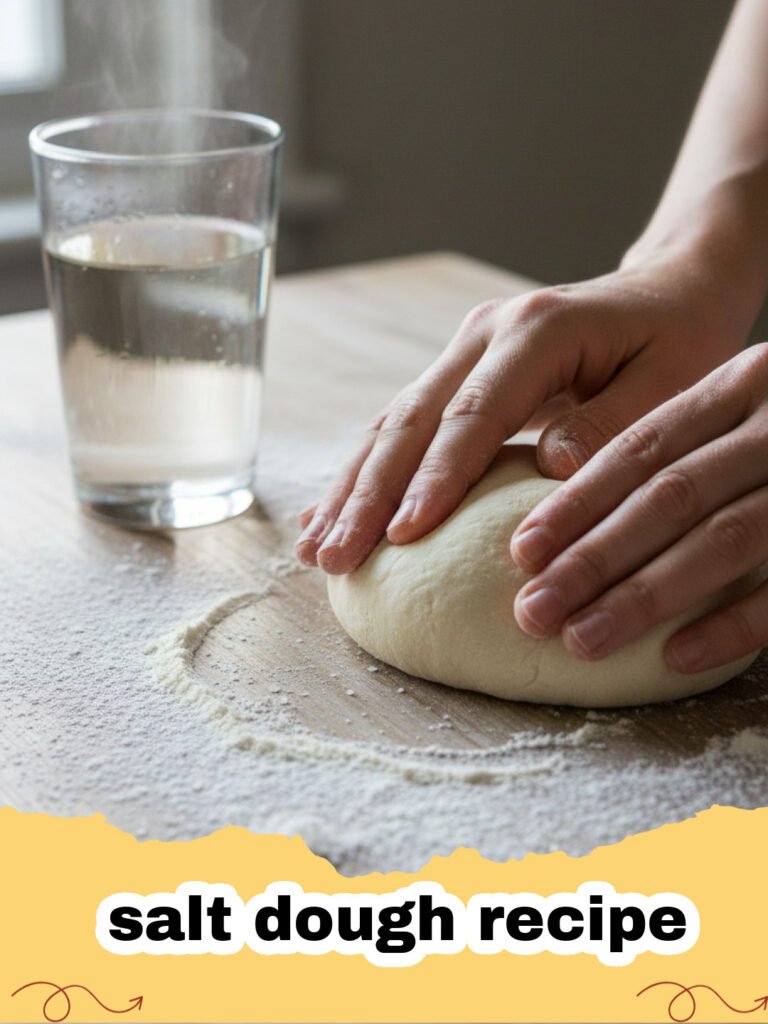
Step 3: Turn the dough out onto a lightly floured surface. Knead the dough for 5-10 minutes until it is smooth, pliable, and elastic. If it's too sticky, add a sprinkle of flour; if too dry, add a few drops of water.
Step 4: Using a rolling pin, roll out the salt dough to your desired thickness. For ornaments, 1/4 inch is typically good. For handprints, roll to about 1/2 inch thick.
Step 5: Use cookie cutters, knives (with adult supervision), or your hands to cut and shape your creations. If making ornaments, use a straw or skewer to create a hole for hanging before baking.
Step 6: Carefully transfer your shaped salt dough items to a baking sheet lined with parchment paper.
Step 7: Preheat your oven to the lowest possible setting, typically around 200°F (95°C). Bake the salt dough for 1 to 6 hours or longer, depending on the thickness of your items. Thinner pieces will dry faster. Flip larger items occasionally to ensure even drying. The dough should be hard and completely dry when finished.
Step 8: Remove the baked salt dough crafts from the oven and let them cool completely on a wire rack. They must be fully cool and hard before decorating.
Step 9: Once cooled, decorate your salt dough creations with acrylic paints, markers, glitter, or other embellishments. Let the decorations dry completely.
Step 10: Seal your finished and decorated crafts with a clear sealant (such as Mod Podge, clear varnish, or acrylic spray sealant) to protect them from moisture and ensure their longevity. Allow the sealant to dry fully according to product instructions.
Notes
This salt dough recipe is for crafting purposes only and is not edible. Ensure all creations are fully dried before decorating and sealing for best longevity. Drying times can vary significantly based on thickness and environmental humidity. Always supervise children during crafting and baking. Store finished items in a dry place.
- Prep Time: 15 minutes
- Cook Time: 3 hours
- Category: Desserts & Baking
- Cuisine: Craft
Nutrition
- Serving Size: 30g
- Calories: 75 kcal
- Sugar: 0.1 g
- Sodium: 4800 mg
- Fat: 0.2 g
- Saturated Fat: 0 g
- Unsaturated Fat: 0.1 g
- Trans Fat: 0 g
- Carbohydrates: 15 g
- Fiber: 0.5 g
- Protein: 2 g
- Cholesterol: 0 mg
