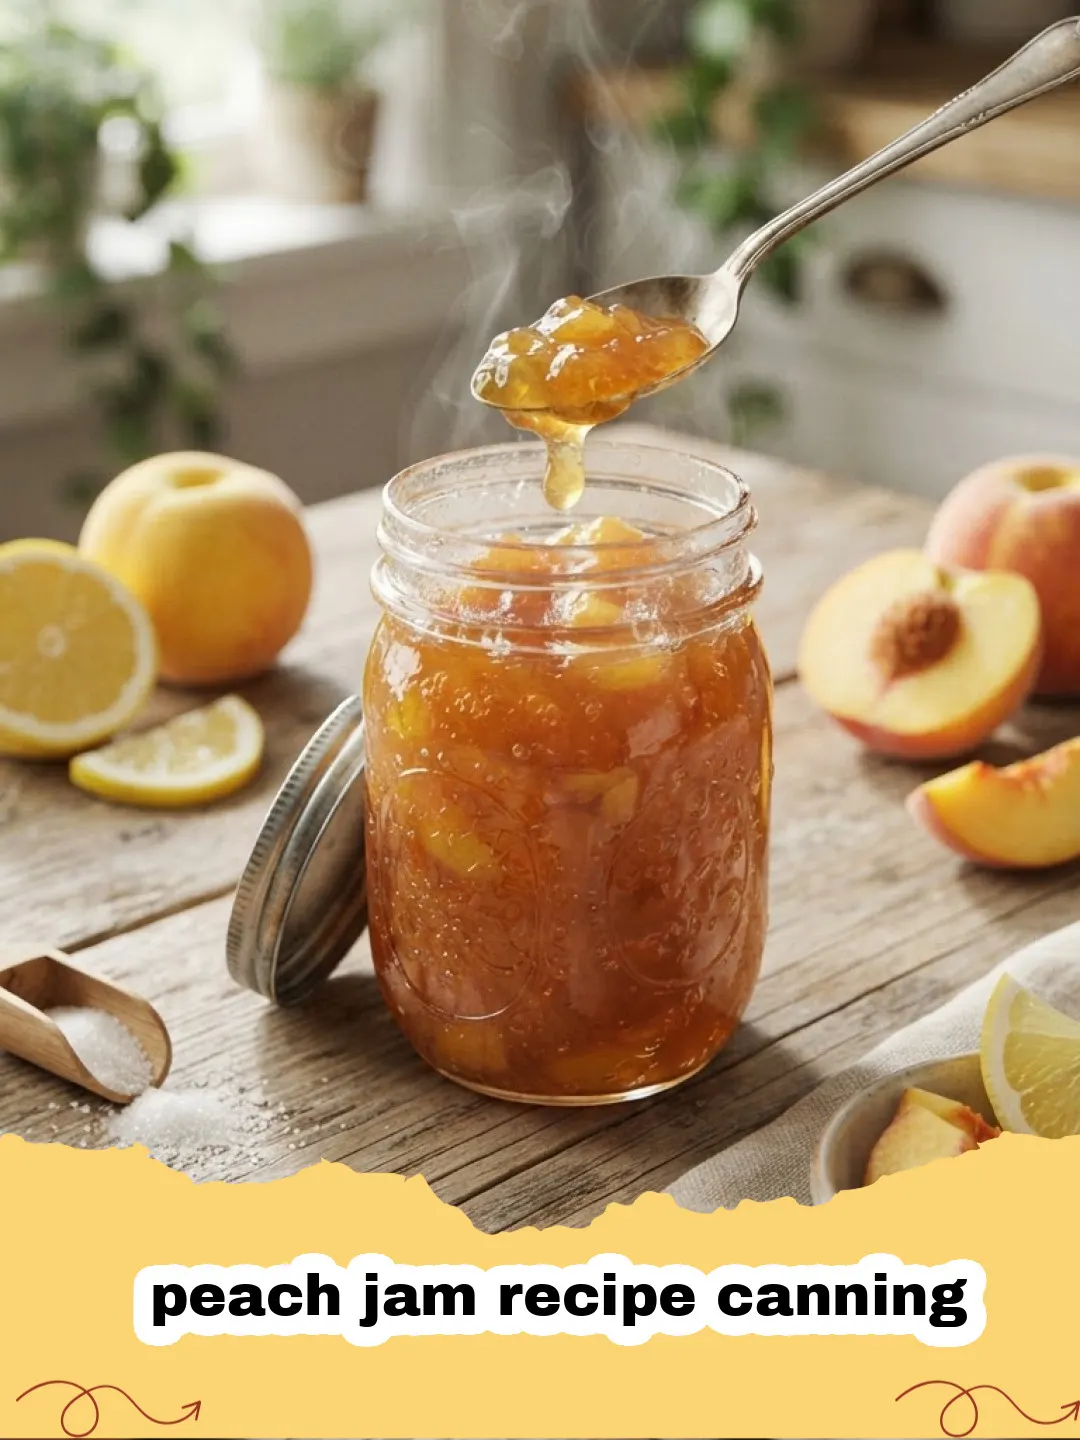
There's nothing quite like the taste of summer peaches, bursting with sweet, juicy flavor. For me, the aroma of ripe peaches immediately transports me back to my grandmother's kitchen. Every August, as the late summer sun beat down, she'd transform bushels of fragrant fruit into glistening jars of homemade jam. It was a ritual, a labor of love that filled her pantry and our hearts. I remember sitting at her worn wooden table, carefully pitting peaches, the sticky juice running down my fingers, knowing that soon, these humble fruits would become something magical. This cherished memory is precisely why mastering a classic peach jam recipe canning process has been so important to me. It's more than just preserving fruit; it's preserving a piece of heritage, a taste of sunshine for the colder months, and a connection to those cherished family traditions. It's a simple pleasure that continues to bring warmth to my home, and today, I'm thrilled to share my go-to method for making perfect peach jam every single time.
Why This Peach Jam Recipe is a Must-Try
-
Unbeatable Fresh Flavor:
Store-bought jams simply can't compare to the vibrant, sun-ripened taste of homemade peach jam. You control the sweetness and can truly capture the essence of peak-season peaches. -
Perfect Texture:
This peach jam recipe canning method yields a jam with a delightful spreadable consistency, not too runny, not too stiff. It's ideal for toast, pastries, or even as a glaze. -
Sense of Accomplishment:
There’s immense satisfaction in seeing your pantry shelves lined with beautiful jars of homemade preserves. It’s a rewarding culinary skill that provides delicious dividends for months. -
Customizable Sweetness:
While this recipe provides a balanced sweetness, you can slightly adjust the sugar to your preference, allowing the natural peach flavor to shine through.
Key Ingredient Notes for Your Peach Jam Recipe Canning
Achieving the perfect peach jam starts with understanding your ingredients. While seemingly simple, each component plays a crucial role in the final flavor and texture of your canned masterpiece.
Fresh, Ripe Peaches
The star of our show! Select peaches that are ripe but still firm. Avoid overripe, mushy peaches as they can make your jam too watery and less flavorful, and underripe ones won't give you that full, sweet peach essence. Freestone varieties are generally easier to pit. A good sniff test is your friend here – if it smells peachy, it's probably ready. Remember, the quality of your peaches directly impacts the quality of your finished peach jam recipe canning project.
Granulated Sugar
Sugar isn't just for sweetness; it's vital for preserving and setting the jam. It acts as a preservative, inhibiting microbial growth, and also helps to draw out the pectin from the fruit and create that desirable gel texture. Don't be tempted to drastically reduce the sugar, as it can affect the set and shelf life of your jam. For this peach jam recipe canning guide, we're using a balanced amount that highlights the fruit.
Lemon Juice
Lemon juice is a critical component in any jam, especially a peach jam recipe canning. It serves two main purposes: enhancing flavor and aiding in the gelling process. Peaches are naturally low in acid, and adding lemon juice lowers the pH of the mixture, which is necessary for the pectin to set properly. Without it, your jam might not gel, or it could be susceptible to spoilage. Plus, it brightens the peach flavor, preventing it from tasting flat. Always use fresh lemon juice for the best results!
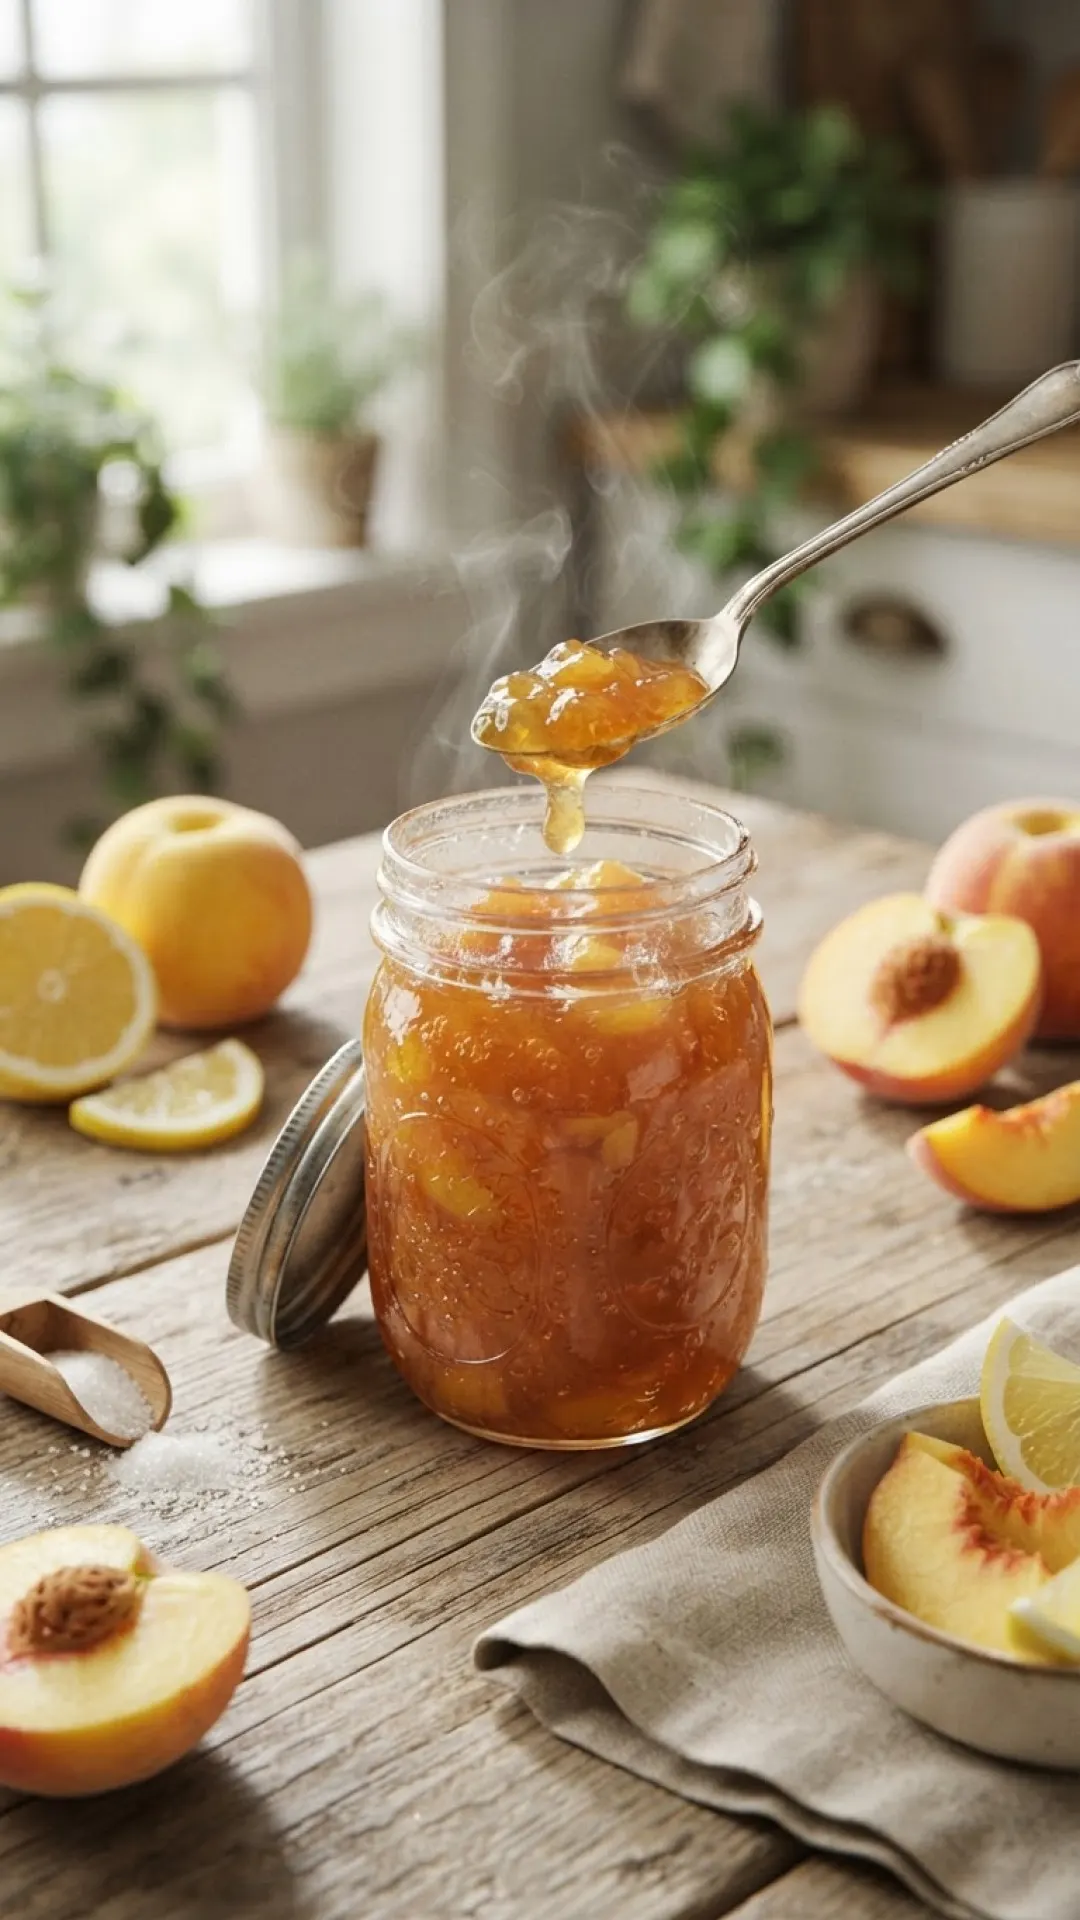
Step-by-Step Guide for Peach Jam Recipe Canning with Pro Tips
Canning peach jam might seem daunting at first, but with a clear guide and a few pro tips, you'll be a preserving pro in no time. Follow these steps carefully for a delicious and safe peach jam recipe canning experience.
Gather Your Tools and Sterilize Jars
Before you even touch a peach, ensure your workspace is clean and you have all your tools ready. Sterilize your canning jars, lids, and bands. You can do this by washing them in hot, soapy water, rinsing thoroughly, and then either running them through a dishwasher on a hot cycle or submerging them in boiling water for at least 10 minutes. Keep them hot until ready to fill. New lids should be simmered in hot (not boiling) water to soften the sealing compound. This is a crucial step for safe peach jam recipe canning.
Prepare the Peaches
Peel, pit, and chop your peaches. To easily peel peaches, you can blanch them: drop them into boiling water for 30-60 seconds, then immediately transfer them to an ice bath. The skins should slip right off. Chop the peaches to your desired consistency – some prefer a chunkier jam, while others like it smoother. Measure out the chopped peaches accurately. This is a key step in our peach jam recipe canning.
Combine and Cook the Jam
In a large, heavy-bottomed pot or Dutch oven, combine the prepared peaches, granulated sugar, and lemon juice. Stir well to combine. Over medium heat, bring the mixture to a rolling boil, stirring frequently to prevent sticking. Continue to boil, stirring often, until the jam reaches the setting point. This usually takes 15-25 minutes. A great pro tip for this peach jam recipe canning stage is to use a candy thermometer to reach 220°F (104°C), or perform the cold plate test: spoon a small amount of hot jam onto a chilled plate, wait 30 seconds, then push it with your finger. If it wrinkles, it's ready.
Fill and Process Jars
Carefully ladle the hot jam into the hot, sterilized jars, leaving about 1/4 inch of headspace. Wipe the rims clean with a damp cloth – any jam on the rim can prevent a proper seal. Place the hot lids on the jars and screw on the bands finger-tight. Using a jar lifter, carefully place the filled jars into a boiling water canner, ensuring they are fully submerged in water by at least an inch. Bring the water to a rolling boil and process for the recommended time (typically 10-15 minutes for half-pint or pint jars, adjusting for altitude). For more details on safe canning practices, you might find this guide on canning tomatoes helpful, as many principles apply.
Cool and Check Seals
Once processing is complete, turn off the heat and carefully remove the canner lid. Let the jars sit in the hot water for 5 minutes before carefully removing them and placing them on a wire rack to cool completely, undisturbed, for 12-24 hours. As they cool, you'll hear the satisfying 'pop!' of the lids sealing. After cooling, check all seals. The center of the lid should be concave and not flex when pressed. Any unsealed jars should be refrigerated and consumed within a few weeks. Label your sealed jars with the date and store them in a cool, dark place. Your hard work on this peach jam recipe canning project is complete!
Variations & Serving Suggestions
While this classic peach jam recipe canning stands perfectly on its own, there are many ways to get creative with it!
-
Spice it Up:
Add 1/2 teaspoon of ground cinnamon, a pinch of nutmeg, or a tiny amount of fresh grated ginger during the cooking process for a warm, spiced peach jam. -
Peach-Vanilla Dream:
Scrape the seeds from one vanilla bean (or add 1 teaspoon of vanilla extract at the very end of cooking) for an aromatic vanilla-peach jam. -
Berry Blend:
Combine peaches with an equal amount of blueberries or raspberries for a delightful mixed fruit jam. -
Serving Ideas:
- Spread generously on toast, croissants, or bagels.
- Swirl into plain yogurt or oatmeal.
- Use as a filling for tarts, thumbprint cookies, or even in a graham cracker crust pie.
- Serve alongside a cheese board with sharp cheddar or creamy brie.
- Mix with a little hot water to create a glaze for roasted pork or chicken.
Nutrition Information
Here’s a breakdown of the estimated nutritional content per serving of our delicious homemade peach jam. Please note that these values are approximate and can vary based on exact ingredients and preparation.
| Nutrient | Amount Per Serving |
|---|---|
| Calories | 55 kcal |
| Carbohydrates | 14 g |
| Cholesterol | 0 mg |
| Total Fat | 0 g |
| Dietary Fiber | 0.5 g |
| Protein | 0 g |
| Saturated Fat | 0 g |
| Serving Size | 1 tbsp (15g) |
| Sodium | 0 mg |
| Sugar | 13 g |
| Trans Fat | 0 g |
| Unsaturated Fat | 0 g |
Conclusion
Making your own homemade peach jam is a truly rewarding experience, filling your kitchen with the sweet aroma of summer and your pantry with jars of pure joy. This comprehensive peach jam recipe canning guide has provided you with all the steps and tips you need to create perfect preserves. Imagine the delight of slathering this golden, fruity spread on your morning toast, even in the dead of winter! It's a taste of sunshine and a testament to the simple pleasures of home canning. So, gather your peaches, sterilize your jars (perhaps some Basics Glass Food Storage jars if you're stocking up!), and embark on this delicious journey. Happy canning!
FAQs
What kind of peaches are best for peach jam recipe canning?
For the best peach jam recipe canning results, choose ripe but firm peaches. Freestone varieties are generally easier to pit. Avoid peaches that are too soft or bruised, as they can affect the jam's texture and flavor. A good indicator is a sweet peachy aroma.
Why do I need lemon juice in my peach jam recipe?
Lemon juice is crucial for a successful peach jam recipe canning. Peaches are naturally low in acid, and lemon juice lowers the pH of the jam, which is essential for activating pectin and ensuring a proper gel. It also helps preserve the jam and brightens the overall peach flavor, preventing it from tasting dull.
How do I know if my peach jam has set properly?
There are a few ways to check if your peach jam recipe canning mixture has reached the setting point. The most reliable methods are using a candy thermometer to reach 220u00b0F (104u00b0C) at sea level, or performing the cold plate test. For the cold plate test, spoon a small amount of hot jam onto a chilled plate, let it cool for 30 seconds, then push it with your finger. If it wrinkles, it's ready. If it's still runny, continue boiling and retest.
How long will homemade peach jam last after canning?
When properly processed and sealed using a peach jam recipe canning method, homemade peach jam can be stored in a cool, dark place for up to 1 year. Once opened, store the jar in the refrigerator and consume within 2-3 weeks for optimal freshness and safety.
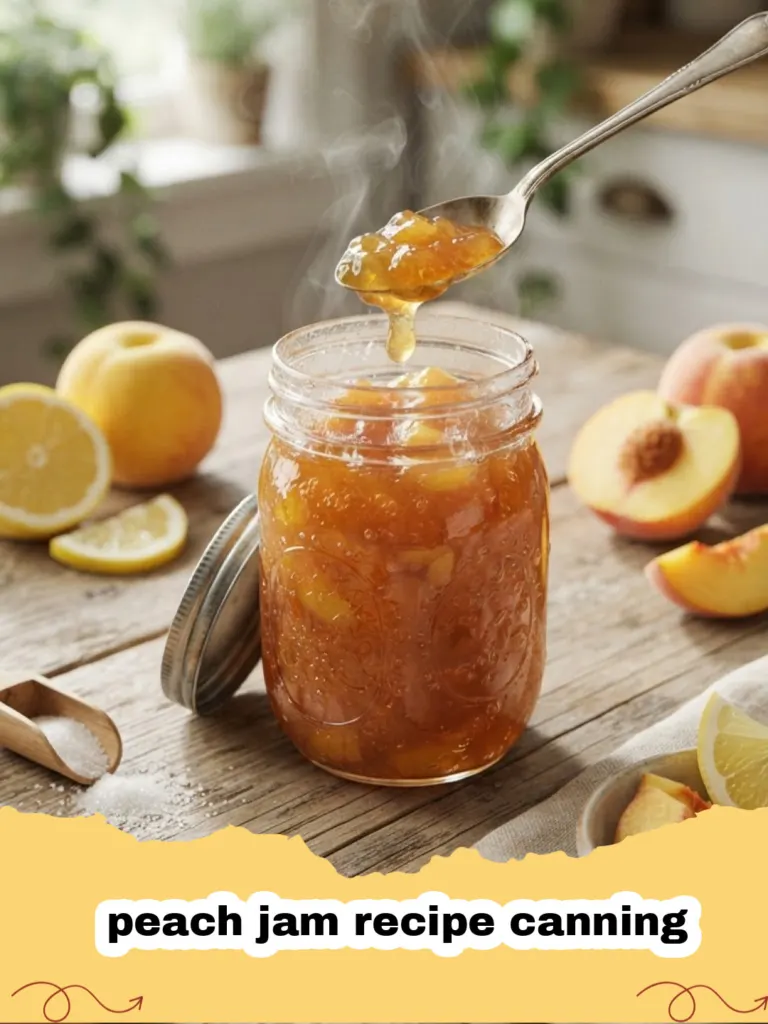
Classic Peach Jam for Canning
A delightful and easy-to-follow peach jam recipe perfect for home canning. Capture the sweet essence of summer peaches in a jar for year-round enjoyment.
- Total Time: 55 minutes
- Yield: 6 half-pint jars 1x
Ingredients
4 lbs ripe peaches (about 8-10 medium peaches)
4 cups granulated sugar
1/4 cup fresh lemon juice
Instructions
Step 1: Sterilize your canning jars, lids, and bands. Wash them in hot, soapy water, rinse thoroughly, then either run them through a dishwasher on a hot cycle or submerge them in boiling water for at least 10 minutes. Keep jars hot until ready to fill. Simmer new lids in hot (not boiling) water to soften the sealing compound.
Step 2: Prepare the peaches. To easily peel, blanch peaches by dropping them into boiling water for 30-60 seconds, then immediately transfer them to an ice bath. The skins should slip right off. Pit the peaches and chop them into small pieces (about 1/2-inch dice) or mash them slightly, depending on your preferred jam texture. You should have approximately 6 cups of chopped peaches.
Step 3: In a large, heavy-bottomed pot or Dutch oven, combine the chopped peaches, granulated sugar, and fresh lemon juice. Stir well to combine.
Step 4: Bring the mixture to a full rolling boil over medium-high heat, stirring frequently to prevent sticking. Continue to boil vigorously, stirring often, for 15-25 minutes, or until the jam reaches its setting point. You can test for doneness by using a candy thermometer (220°F / 104°C at sea level) or by performing the cold plate test (spoon a small amount of hot jam onto a chilled plate, wait 30 seconds, then push it with your finger; if it wrinkles, it's ready).
Step 5: Carefully ladle the hot jam into the hot, sterilized jars, leaving 1/4 inch of headspace at the top. Wipe the rims clean with a damp cloth to ensure a proper seal.
Step 6: Place the hot lids on the jars and screw on the bands finger-tight. Do not overtighten.
Step 7: Using a jar lifter, carefully place the filled jars into a boiling water canner, ensuring they are fully submerged in water by at least one inch. Bring the water to a rolling boil and process half-pint or pint jars for 10 minutes (adjusting for altitude: add 1 minute for every 1,000 feet above sea level).
Step 8: Once processing is complete, turn off the heat and carefully remove the canner lid. Let the jars sit in the hot water for 5 minutes before carefully removing them and placing them on a wire rack to cool completely, undisturbed, for 12-24 hours.
Step 9: After cooling, check all seals. The center of the lid should be concave and not flex when pressed. Any unsealed jars should be refrigerated and consumed within a few weeks. Label your sealed jars with the date and store them in a cool, dark place for up to 1 year.
Notes
Always use a clean, sterilized workspace and equipment for canning to ensure food safety. Adjust processing time for altitude if you live above 1,000 feet. For best flavor, use ripe, seasonal peaches.
- Prep Time: 30 minutes
- Cook Time: 25 minutes
- Category: Desserts & Baking
- Cuisine: American
Nutrition
- Serving Size: 1 tbsp (15g)
- Calories: 55 kcal
- Sugar: 13 g
- Sodium: 0 mg
- Fat: 0 g
- Saturated Fat: 0 g
- Unsaturated Fat: 0 g
- Trans Fat: 0 g
- Carbohydrates: 14 g
- Fiber: 0.5 g
- Protein: 0 g
- Cholesterol: 0 mg