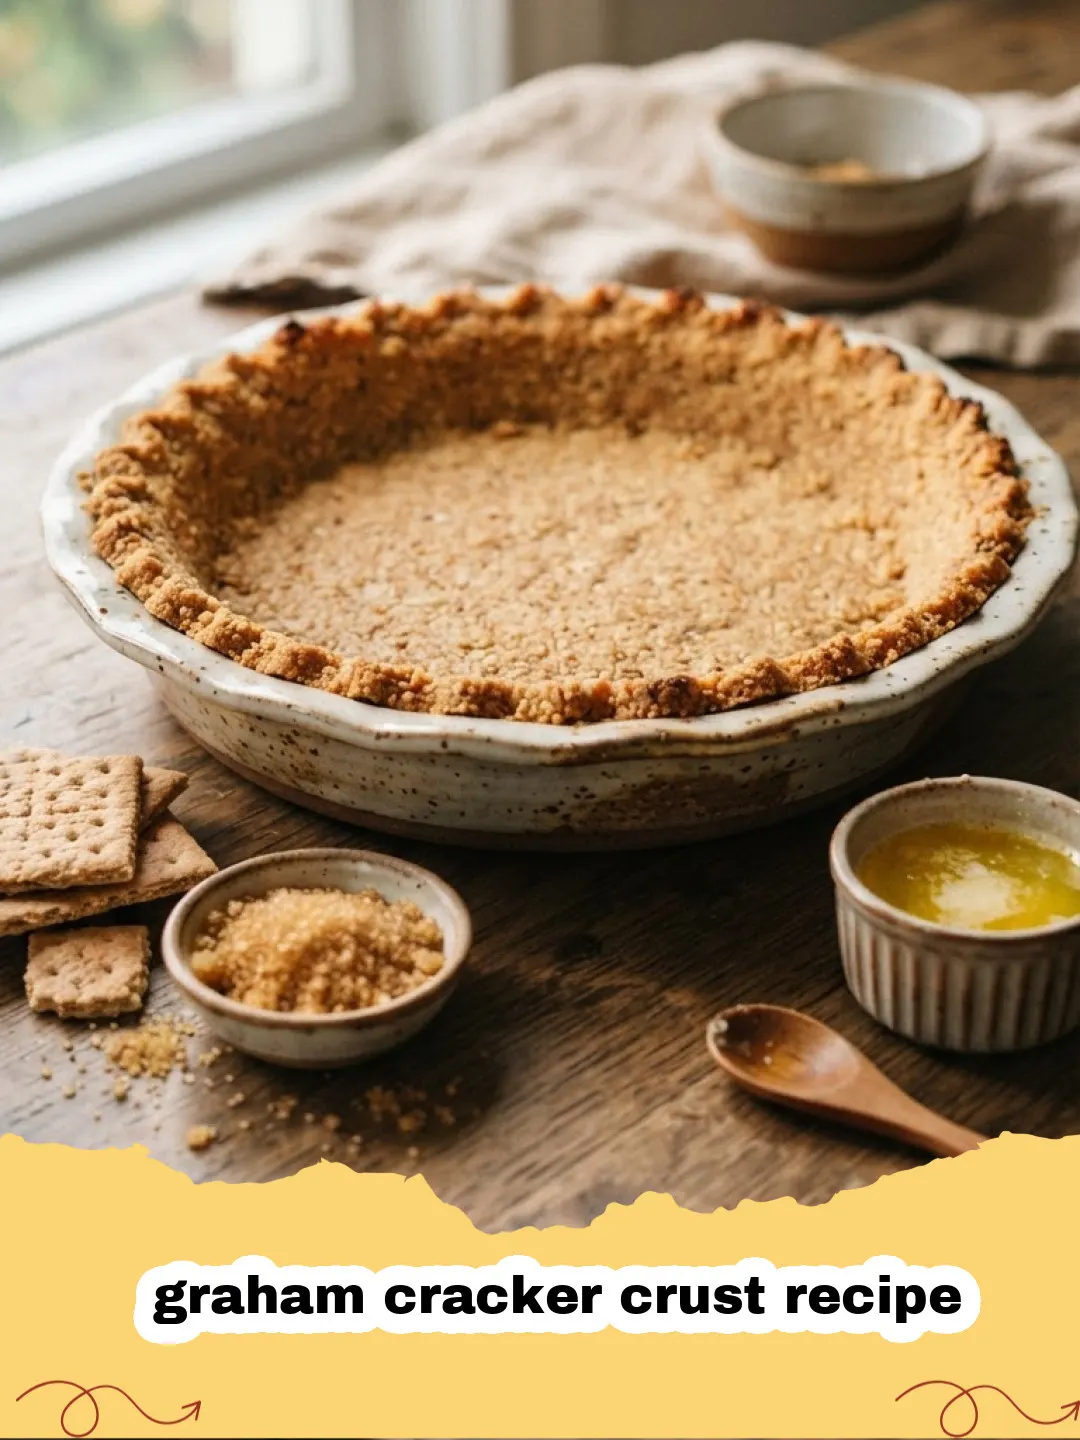
Ah, the humble graham cracker crust. For me, it evokes memories of summer days, potlucks, and the effortless joy of a no-bake dessert. I remember vividly, as a child, watching my grandmother transform a box of graham crackers into a golden, buttery base for her famous lemon meringue pie. Her kitchen was always a hub of activity, filled with the scent of sugar and warmth, and the rhythmic sound of her rolling pin crushing crackers in a large Ziploc bag. She never used a food processor; it was always by hand, a testament to her belief that some things are just better done with a little elbow grease and love. That simple act of crushing crackers felt like the start of something magical, a promise of sweet delight to come. It was then that I truly learned the value of a good graham cracker crust recipe.
Years later, as a budding baker, I tried to replicate her magic. My first few attempts were, shall we say, crumbly disasters. Too much butter, too little, not pressed firmly enough… the struggles were real. But I persevered, driven by the memory of her perfect pies. I experimented, learned from my mistakes, and eventually, I cracked the code. The perfect graham cracker crust recipe isn't just about combining ingredients; it's about technique, balance, and a little bit of patience. It’s about creating that delicate balance between crunchy and tender, that perfect canvas for whatever delightful filling you choose to pour into it. This recipe isn't just a guide; it's a piece of my culinary journey, a nod to those cherished kitchen moments, and I'm so excited to share my perfected classic graham cracker crust recipe with you.
Whether you're making a rich cheesecake, a tangy key lime pie, or a simple chocolate cream delight, this easy-to-follow graham cracker crust recipe will become your go-to foundation. Forget store-bought crusts; once you taste the difference of homemade, there's no going back. This particular graham cracker crust recipe is incredibly versatile and forgiving, making it perfect for both seasoned bakers and beginners alike. So, roll up your sleeves, gather your ingredients, and let's make some magic, just like Grandma used to.
Why This Graham Cracker Crust Recipe is a Must-Try
- Unbeatable Flavor & Texture: This graham cracker crust recipe delivers a rich, buttery flavor and a perfectly crumbly yet firm texture that complements almost any filling. It's miles ahead of any pre-made crust you'll find in stores.
- Incredibly Versatile: From classic cheesecakes and lemon meringue pies to no-bake bars and tarts, this graham cracker crust recipe is the ideal base. It's not just for pies; think about using it for dessert cups or even as a crunchy topping!
- Quick & Easy: With minimal ingredients and a straightforward process, you can whip up this crust in less than 15 minutes of active prep time. There's even an option for a no-bake graham cracker crust recipe, saving you oven time.
- Customizable: Easily adapt this basic graham cracker crust recipe with spices, different types of crackers, or even a touch of cocoa powder to suit your specific dessert creation.
Key Ingredient Notes for Your Graham Cracker Crust Recipe
Creating the perfect graham cracker crust recipe starts with understanding the role of each ingredient. While simple, getting these right makes all the difference:
Graham Crackers
The star of our graham cracker crust recipe! Standard honey graham crackers work beautifully, providing that classic, slightly sweet, and earthy flavor. You'll need fine crumbs, which can be achieved in a few ways. The easiest is a food processor: pulse until no large pieces remain. If you don't have one, place crackers in a large, sturdy zip-top bag and crush them with a rolling pin or the bottom of a heavy pan. Ensure they are finely ground for a consistent texture. Don't skip this step; coarse crumbs can make your crust fall apart. For those looking for a slightly different flavor profile, you can experiment with cinnamon graham crackers or even chocolate graham crackers for a richer twist on this graham cracker crust recipe.
Unsalted Butter
Melted unsalted butter is the binder that holds your graham cracker crust recipe together, providing richness and moisture. Using unsalted butter allows you to control the salt content of your crust. If you only have salted butter, reduce or omit any added salt in the recipe. Make sure your butter is fully melted and warm, not hot, as this helps it mix evenly with the crumbs without making them greasy. The fat in the butter is crucial for creating that firm yet tender structure, preventing your crust from becoming too brittle or too soft. For a truly decadent graham cracker crust recipe, some people even brown their butter slightly for a nutty flavor, but the classic method is just fine!
Granulated Sugar
Just a touch of granulated sugar enhances the sweetness of the graham crackers and helps with the binding process. It also contributes to the lovely golden-brown color if you choose to bake your graham cracker crust recipe. You can adjust the amount based on your preference and the sweetness of your filling. For a less sweet crust, you can slightly reduce the sugar. Some variations of this graham cracker crust recipe might call for brown sugar for a deeper molasses flavor, but white granulated sugar is standard and provides a clean, crisp sweetness that doesn't overpower the graham cracker taste.
Step-by-Step Guide with Pro Tips for Your Graham Cracker Crust Recipe
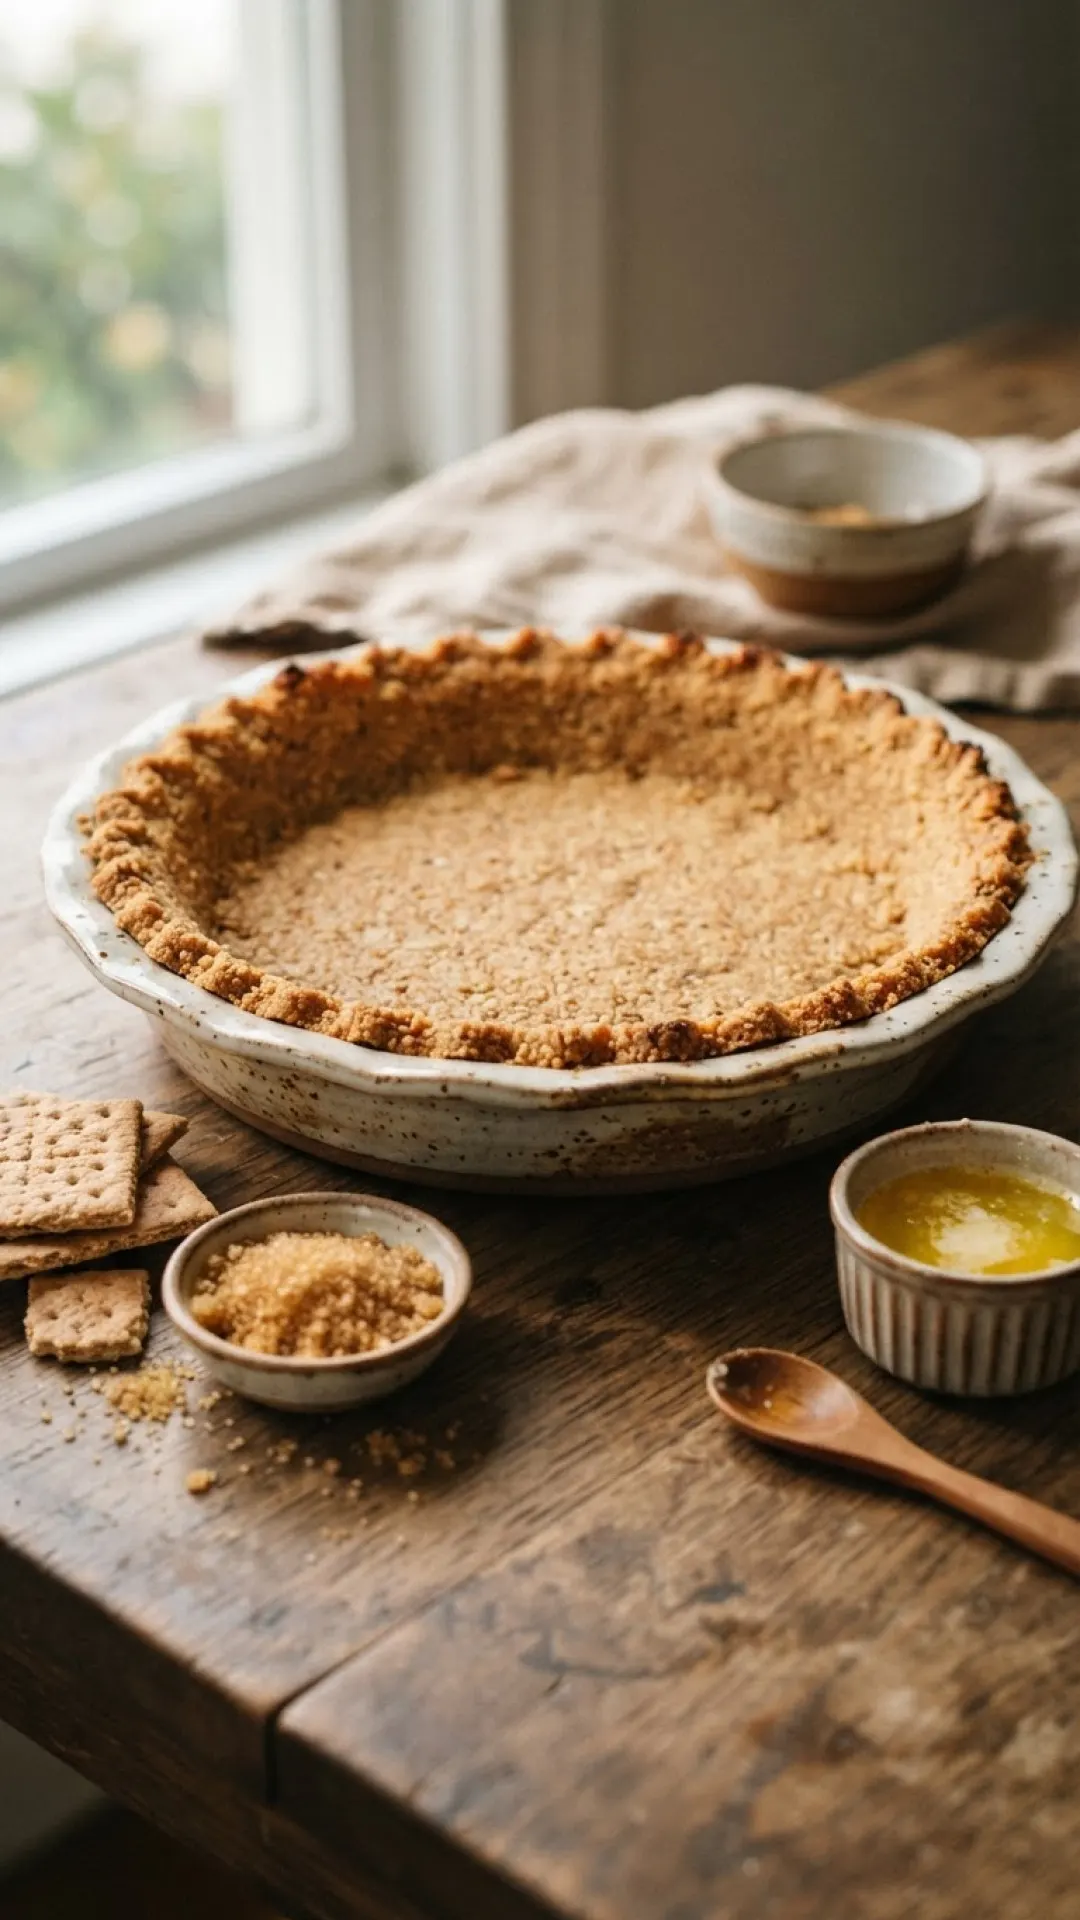
Mastering this simple graham cracker crust recipe is all about technique. Follow these steps for a perfect base every time:
- Step 1: Preheat your oven to 350°F (175°C) if you plan to bake your crust. If making a no-bake graham cracker crust recipe, skip this step.
- Step 2: Prepare your graham cracker crumbs. Using a food processor, pulse the graham crackers until they form fine, uniform crumbs. Alternatively, place them in a sturdy plastic bag and crush them with a rolling pin. You should have approximately 1 ½ cups of crumbs.
- Step 3: In a medium bowl, combine the graham cracker crumbs with the granulated sugar and a pinch of salt (if using unsalted butter). Mix thoroughly to ensure the sugar is evenly distributed throughout the crumbs. This careful mixing ensures every bite of your graham cracker crust recipe is perfectly seasoned.
- Step 4: Pour the melted butter over the crumb mixture. Stir with a spoon or your hands until all the crumbs are moistened and resemble wet sand. It's crucial that every crumb is coated to ensure the crust holds together.
- Step 5: Transfer the buttered crumb mixture to a 9-inch pie plate or springform pan. Begin by pressing the mixture firmly into the bottom of the pan. Use the bottom of a flat glass or a measuring cup to achieve a very compact and even layer.
- Step 6: Work your way up the sides of the pan, pressing the crumbs firmly against the edges. Ensure the thickness is uniform all around. The firmer you press, the more stable your graham cracker crust recipe will be.
- Step 7: Bake or Chill:
- For a Baked Crust: Bake in the preheated oven for 8-10 minutes, or until the edges are lightly golden and fragrant. Baking helps the crust set firmly and provides a slightly crisper texture, making this graham cracker crust recipe even more robust. Let it cool completely before adding your filling.
- For a No-Bake Crust: Place the pressed crust in the refrigerator for at least 30 minutes (or freezer for 15 minutes) until firm. This allows the butter to solidify and bind the crumbs. This quick method makes it a fantastic no-bake graham cracker crust recipe. This is perfect for desserts like this Homemade Ice Cream Sandwich Recipe.
- Step 8: Once cooled or chilled, your perfect graham cracker crust recipe is ready for your favorite filling! If you have any leftover crumbs or crust, you can store it in an airtight glass food storage container for future use.
Variations & Serving Suggestions for Your Graham Cracker Crust Recipe
The beauty of this classic graham cracker crust recipe lies in its simplicity and adaptability. Don't be afraid to get creative!
Flavor Variations:
- Chocolate Graham Cracker Crust: Replace regular graham crackers with chocolate ones, or add 2 tablespoons of unsweetened cocoa powder to the dry crumb mixture for a rich, dark chocolate flavor. This variation of the graham cracker crust recipe is divine with peanut butter fillings or chocolate mousse.
- Spiced Crust: Add ½ teaspoon of ground cinnamon, nutmeg, or pumpkin pie spice to the graham cracker crumbs. This is especially wonderful for fall desserts like pumpkin pie or apple cheesecake.
- Nutty Crust: Incorporate finely ground nuts (pecans, walnuts, or almonds) into the crumb mixture. Replace ¼ cup of graham cracker crumbs with ¼ cup of finely ground nuts for a richer, more complex flavor in your graham cracker crust recipe.
- Cookie Crumb Crust: Not a fan of graham crackers? This graham cracker crust recipe method works perfectly with other cookies! Try crushed vanilla wafers, Oreos (cream filling included!), shortbread cookies, or even gingersnaps for different flavor profiles.
Serving Suggestions:
This versatile graham cracker crust recipe is the foundation for countless desserts. Here are some ideas:
- Classic Cheesecakes: The quintessential partner. Whether baked or no-bake, the buttery graham cracker base is perfect for any cheesecake flavor.
- Key Lime Pie: The sweet, slightly salty crust beautifully balances the tartness of a classic key lime filling.
- Puddings & Custards: Use it as a base for chocolate pudding pie, banana cream pie, or coconut custard.
- Ice Cream Desserts: This crust is excellent for ice cream cakes or frozen dessert bars. Simply press the crust into a pan, freeze until firm, then add a layer of softened ice cream, refreeze, and serve.
- Fruit Tarts & Parfaits: Mini versions of this graham cracker crust recipe pressed into muffin tins can make individual fruit tarts. Crumbled crust also makes a fantastic topping for fruit parfaits or crumbles.
- Savory Applications: While less common, a less sweet version of this crust (reducing sugar or using unsweetened crackers) can be a unique base for savory tarts or quiches. Think goat cheese and roasted vegetable tarts!
Nutrition Information
| Nutrient | Amount Per Serving |
|---|---|
| Calories | 200 kcal |
| Carbohydrate Content | 25 g |
| Cholesterol Content | 25 mg |
| Fat Content | 10 g |
| Fiber Content | 1 g |
| Protein Content | 2 g |
| Saturated Fat Content | 6 g |
| Serving Size | 1 slice (1/8 of 9-inch pie) |
| Sodium Content | 120 mg |
| Sugar Content | 10 g |
| Trans Fat Content | 0 g |
| Unsaturated Fat Content | 3 g |
Please note that these are estimated values and can vary based on specific ingredients and brands used. This nutrition information for the graham cracker crust recipe is for the crust only, without any filling.
Conclusion
And there you have it – the ultimate classic graham cracker crust recipe, a simple yet essential foundation for countless desserts. From those early days of crushing crackers with my grandmother to perfecting my own version, this recipe holds a special place in my heart. It's a testament to the fact that sometimes, the simplest things are the most versatile and rewarding. I hope this guide empowers you to create delicious, homemade treats with confidence. No matter what filling you choose, remember that a great dessert always starts with a great base. Happy baking (or no-baking)! Enjoy your delicious homemade graham cracker crust recipe!
FAQs
What is the secret to a firm graham cracker crust that doesn't fall apart?
The key to a firm graham cracker crust is finely ground crumbs and pressing the mixture very firmly into the pan. Ensure all crumbs are thoroughly coated with melted butter, then use the bottom of a flat glass or measuring cup to compact the crust tightly onto the bottom and up the sides of your pie or springform pan. Chilling or baking the crust helps the butter solidify, further binding the crumbs.
Can I make this graham cracker crust recipe ahead of time?
Yes, absolutely! You can prepare this graham cracker crust recipe up to 2-3 days in advance. Once formed and either baked and cooled or thoroughly chilled, cover it tightly with plastic wrap and store it in the refrigerator until you're ready to add your filling. This makes it a fantastic make-ahead component for your desserts.
What kind of desserts can I make with a graham cracker crust?
A graham cracker crust is incredibly versatile! It's the classic base for cheesecakes (baked or no-bake), key lime pie, chocolate cream pie, banana cream pie, peanut butter pie, and various no-bake bars or frozen desserts like ice cream cake. You can also use mini crusts for individual tarts or as a crumble topping for fruit parfaits.
Can I use different types of crackers or cookies for this crust?
Yes, you can easily adapt this graham cracker crust recipe by swapping out the graham crackers for other crushed cookies or crackers. Popular alternatives include vanilla wafers, Oreo cookies (with or without the cream filling), shortbread cookies, gingersnaps, or even finely crushed pretzels for a sweet and salty twist. The ratio of crumbs to butter and sugar might need slight adjustment depending on the dryness and fat content of your chosen alternative.
{"@context":"https://schema.org","@type":"FAQPage","mainEntity":[{"@type":"Question","name":"What is the secret to a firm graham cracker crust that doesn't fall apart?","acceptedAnswer":{"@type":"Answer","text":"The key to a firm graham cracker crust is finely ground crumbs and pressing the mixture very firmly into the pan. Ensure all crumbs are thoroughly coated with melted butter, then use the bottom of a flat glass or measuring cup to compact the crust tightly onto the bottom and up the sides of your pie or springform pan. Chilling or baking the crust helps the butter solidify, further binding the crumbs."}},{"@type":"Question","name":"Can I make this graham cracker crust recipe ahead of time?","acceptedAnswer":{"@type":"Answer","text":"Yes, absolutely! You can prepare this graham cracker crust recipe up to 2-3 days in advance. Once formed and either baked and cooled or thoroughly chilled, cover it tightly with plastic wrap and store it in the refrigerator until you're ready to add your filling. This makes it a fantastic make-ahead component for your desserts."}},{"@type":"Question","name":"What kind of desserts can I make with a graham cracker crust?","acceptedAnswer":{"@type":"Answer","text":"A graham cracker crust is incredibly versatile! It's the classic base for cheesecakes (baked or no-bake), key lime pie, chocolate cream pie, banana cream pie, peanut butter pie, and various no-bake bars or frozen desserts like ice cream cake. You can also use mini crusts for individual tarts or as a crumble topping for fruit parfaits."}},{"@type":"Question","name":"Can I use different types of crackers or cookies for this crust?","acceptedAnswer":{"@type":"Answer","text":"Yes, you can easily adapt this graham cracker crust recipe by swapping out the graham crackers for other crushed cookies or crackers. Popular alternatives include vanilla wafers, Oreo cookies (with or without the cream filling), shortbread cookies, gingersnaps, or even finely crushed pretzels for a sweet and salty twist. The ratio of crumbs to butter and sugar might need slight adjustment depending on the dryness and fat content of your chosen alternative."}}]} Print
Classic No-Bake Graham Cracker Crust Recipe
This easy and versatile graham cracker crust recipe is the perfect buttery, crumbly foundation for any pie, cheesecake, or no-bake dessert. Learn to make it baked or no-bake!
- Total Time: 45 minutes
- Yield: One 9-inch pie crust (8 servings) 1x
Ingredients
1 ½ cups (about 12-14 full sheets) graham cracker crumbs
¼ cup granulated sugar
6 tablespoons (¾ stick) unsalted butter, melted
Pinch of salt (optional, if using unsalted butter)
Instructions
Preheat your oven to 350°F (175°C) if you plan to bake your crust. If making a no-bake crust, skip this step.
Prepare your graham cracker crumbs. Using a food processor, pulse the graham crackers until they form fine, uniform crumbs. Alternatively, place them in a sturdy plastic bag and crush them with a rolling pin. You should have approximately 1 ½ cups of crumbs.
In a medium bowl, combine the graham cracker crumbs with the granulated sugar and a pinch of salt (if using unsalted butter). Mix thoroughly to ensure the sugar is evenly distributed throughout the crumbs.
Pour the melted butter over the crumb mixture. Stir with a spoon or your hands until all the crumbs are moistened and resemble wet sand. It's crucial that every crumb is coated to ensure the crust holds together.
Transfer the buttered crumb mixture to a 9-inch pie plate or springform pan. Begin by pressing the mixture firmly into the bottom of the pan. Use the bottom of a flat glass or a measuring cup to achieve a very compact and even layer.
Work your way up the sides of the pan, pressing the crumbs firmly against the edges. Ensure the thickness is uniform all around. The firmer you press, the more stable your crust will be.
Bake or Chill: For a Baked Crust: Bake in the preheated oven for 8-10 minutes, or until the edges are lightly golden and fragrant. Let it cool completely before adding your filling. For a No-Bake Crust: Place the pressed crust in the refrigerator for at least 30 minutes (or freezer for 15 minutes) until firm. This allows the butter to solidify and bind the crumbs.
Once cooled or chilled, your perfect graham cracker crust is ready for your favorite filling!
Notes
For a richer flavor, you can slightly brown the butter before mixing with the crumbs. Ensure the crumbs are very fine for the best texture and structure. Pressing firmly is key to a stable crust that won't crumble when sliced.
- Prep Time: 15 minutes
- Cook Time: 10 minutes (if baked) / 30 minutes (if chilled)
- Category: Desserts & Baking
- Cuisine: American