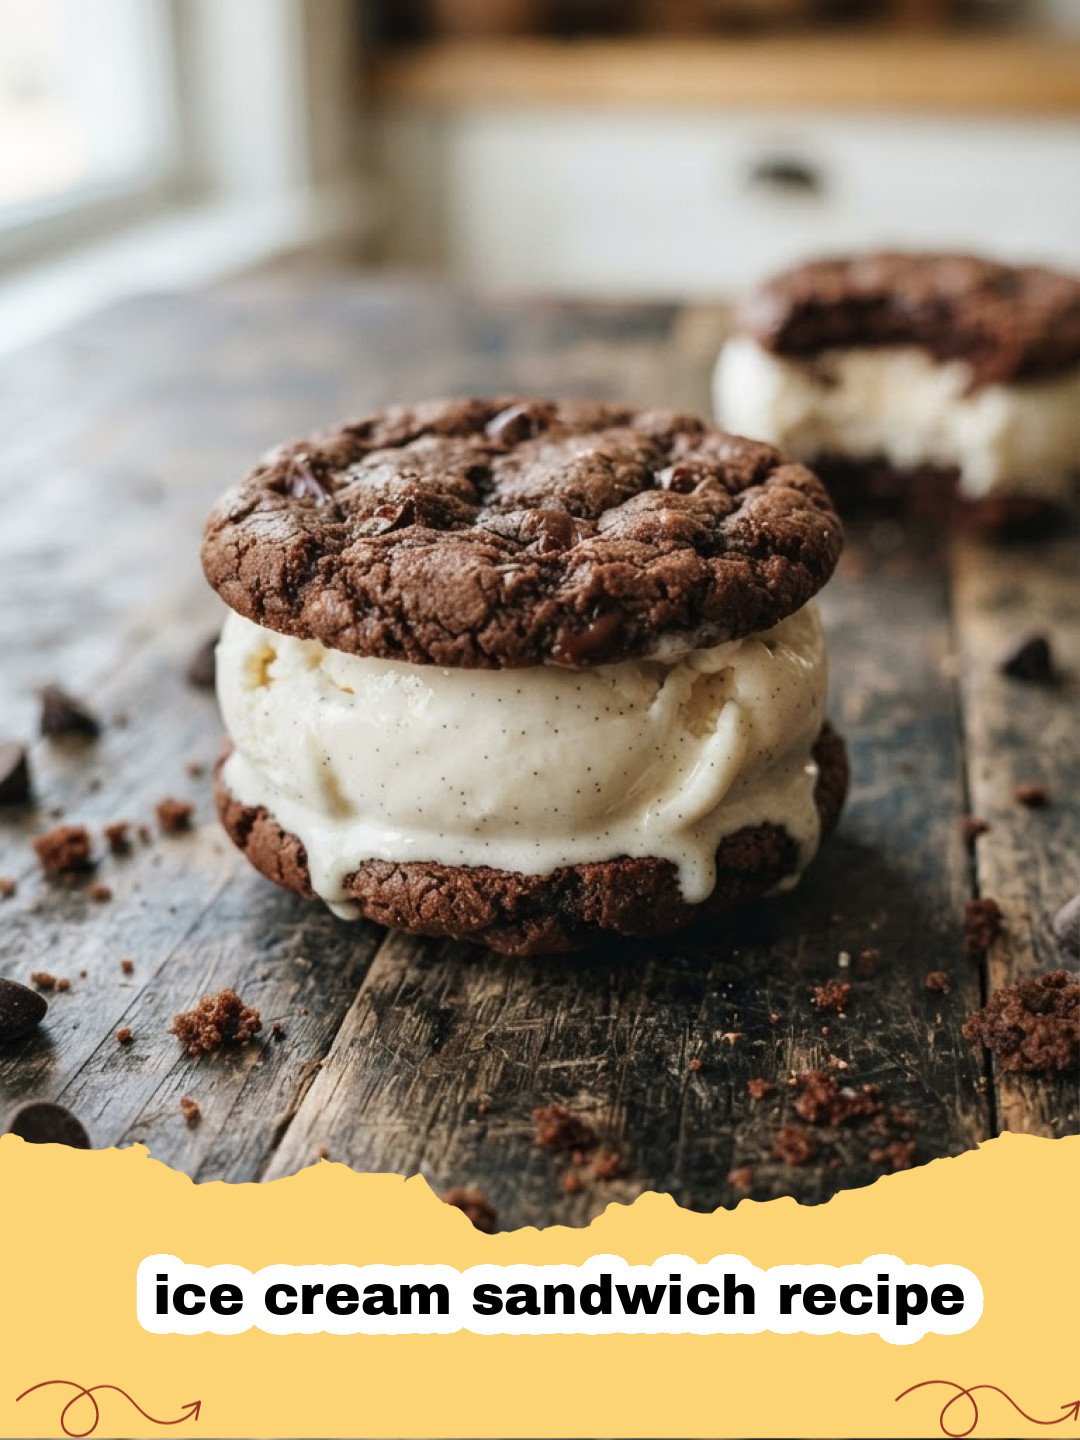
There are some culinary memories that are etched deeply into the fabric of our childhood, and for me, few are as vivid and joyful as the simple pleasure of an ice cream sandwich. I remember scorching summer afternoons, the kind where the asphalt shimmered and the air hung heavy with heat. My grandmother, bless her heart, would always have a stash of these frosty delights in her freezer. The moment she’d hand one over, its cold, rectangular form a promise of instant relief, was pure magic. The way the soft chocolate cookie yielded to the creamy, melting ice cream, a perfect symphony of textures and temperatures – it was heaven. Fast forward to today, and while store-bought versions are still a treat, there’s nothing quite like the satisfaction of creating your own. This homemade ice cream sandwich recipe isn’t just about making a dessert; it’s about recreating those cherished memories, one delicious bite at a time. It’s a journey back to simpler days, a celebration of summer, and a testament to the joy that a perfectly crafted sweet treat can bring. Get ready to embark on your own nostalgic adventure, because this ice cream sandwich recipe is about to become your new favorite.
Why This Ice Cream Sandwich Recipe is a Must-Try
- Unbeatable Flavor & Texture: Forget the bland, crumbly cookies and icy filling of store-bought versions. This ice cream sandwich recipe features soft, chewy chocolate cookies that perfectly complement the rich, creamy ice cream. The balance is simply divine, offering a superior taste and mouthfeel that will have you coming back for more.
- Endless Customization: The beauty of making your own ice cream sandwich recipe is the freedom to get creative! You can choose your favorite ice cream flavor, from classic vanilla to adventurous salted caramel, or even make your own, like our Ultimate Homemade Strawberry Ice Cream. You can also experiment with different cookie variations or add fun toppings like sprinkles or chocolate chips.
- Fun for All Ages: This ice cream sandwich recipe is a fantastic project for families. Kids will love helping to press the cookies, scoop the ice cream, and, of course, taste-test the finished product. It’s a wonderful way to create new memories and bond over a shared love for delicious desserts.
- Perfect for Entertaining: Prepare these delightful treats ahead of time, and you’ll have a show-stopping dessert ready to go for any summer gathering, barbecue, or birthday party. They're individual portions, easy to serve, and always a crowd-pleaser.
Key Ingredient Notes for Your Ice Cream Sandwich Recipe
Crafting the perfect ice cream sandwich recipe starts with understanding the role of each ingredient. Here are a few key players and why they matter:
Dutch-Processed Cocoa Powder
For those rich, dark chocolate cookies, Dutch-processed cocoa powder is your secret weapon. Unlike natural cocoa powder, which is acidic and has a fruitier chocolate flavor, Dutch-processed cocoa has been treated with an alkali to neutralize its acidity. This results in a darker, mellower chocolate flavor and a gorgeous, deep brown color for your cookies. It also reacts differently with leavening agents, so make sure your recipe calls for the right type – in this case, baking soda, which needs an acid to react with, so we balance it with a touch of cream of tartar. Using a high-quality Dutch-processed cocoa will elevate your ice cream sandwich recipe significantly.
Good Quality Butter
Butter is more than just a fat; it's a flavor enhancer and a crucial component for texture. Using unsalted butter allows you to control the salt content in your cookies. Opt for a good quality butter, as its flavor will shine through in the finished product. Make sure it's at room temperature for easy creaming with sugar, which helps to incorporate air and create a tender cookie crumb. This tenderness is vital for a cookie that won't shatter when you bite into your ice cream sandwich.
Vanilla Extract
While chocolate is the star, vanilla extract plays a supporting role that’s indispensable. A good quality pure vanilla extract (not imitation) deepens the chocolate flavor and adds a layer of warmth and complexity to the cookies. It rounds out the sweetness and prevents the chocolate from tasting flat. Don't skimp on this ingredient; a good vanilla can make all the difference in this ice cream sandwich recipe.
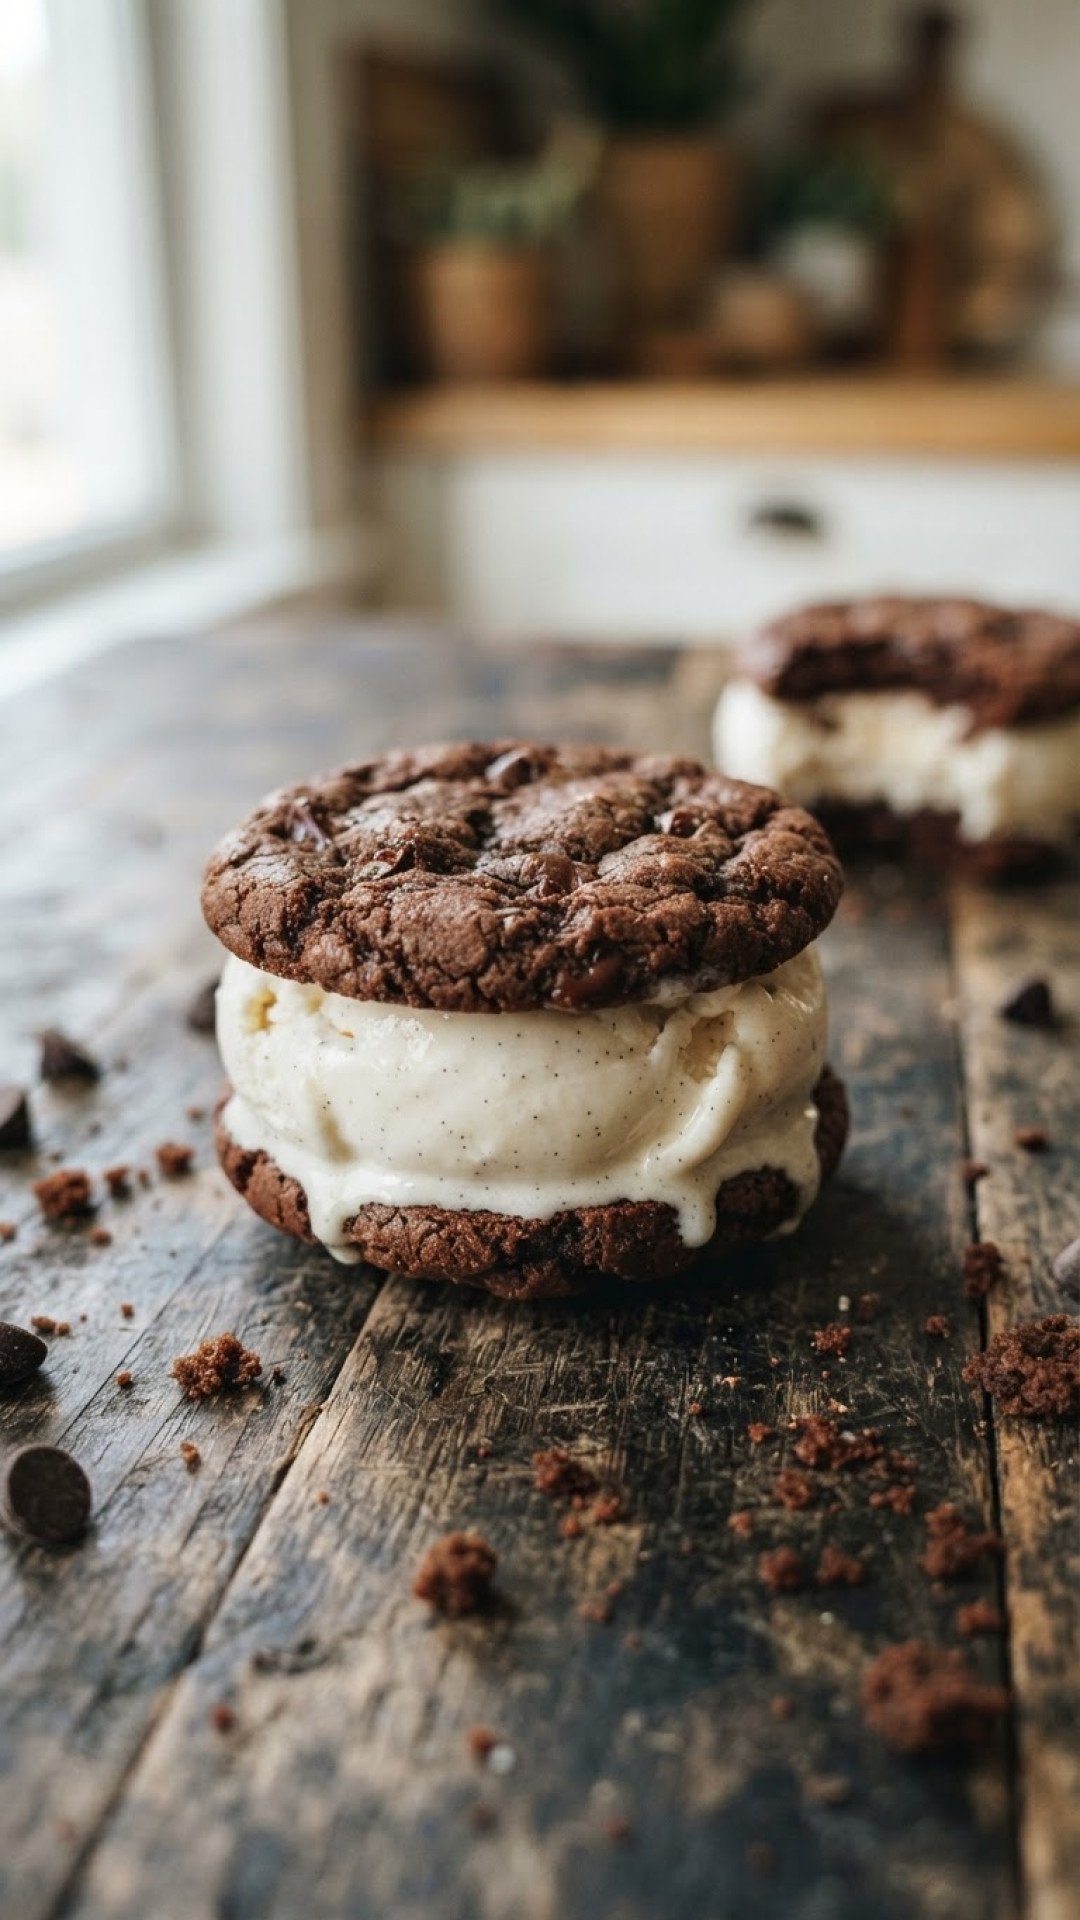
Step-by-Step Guide with Pro Tips for the Best Ice Cream Sandwich Recipe
Making this ice cream sandwich recipe is easier than you think, but a few pro tips will ensure perfection every time!
Making the Perfect Chocolate Cookies
- Step 1: In a medium bowl, whisk together the all-purpose flour, Dutch-processed cocoa powder, baking soda, cream of tartar, and salt. Set aside. This dry mixture is the base for our soft chocolate cookies, essential for a great ice cream sandwich recipe.
- Step 2: In a large bowl, using an electric mixer, cream together the softened unsalted butter and granulated sugar until light and fluffy, about 2-3 minutes. This aerates the butter and sugar, creating a tender cookie.
- Step 3: Beat in the large egg and pure vanilla extract until well combined, scraping down the sides of the bowl as needed.
- Step 4: Gradually add the dry ingredients to the wet ingredients, mixing on low speed until just combined. Be careful not to overmix, as this can lead to tough cookies. The dough will be thick.
- Step 5: Divide the dough in half. Roll each half between two sheets of parchment paper to about 1/4-inch thickness. This ensures even cookies. Chill the flattened dough in the refrigerator for at least 30 minutes, or up to 2 hours. This step is crucial for easy cutting and preventing the cookies from spreading too much during baking.
- Step 6: Preheat your oven to 350°F (175°C). Line two baking sheets with parchment paper or silicone mats.
- Step 7: Remove one sheet of chilled dough from the refrigerator. Using a 2-inch square or round cookie cutter, cut out shapes. Carefully transfer the cookies to the prepared baking sheets, leaving about 1 inch between them. Repeat with the second sheet of dough. You can re-roll any scraps if desired.
- Step 8: Bake for 8-10 minutes, or until the edges are set and the centers look just slightly soft. Do not overbake, as these cookies are meant to be soft and chewy, perfect for an ice cream sandwich recipe.
- Step 9: Let the cookies cool on the baking sheets for 5 minutes before transferring them to a wire rack to cool completely.
Assembling Your Ice Cream Sandwiches
- Step 1: Once the cookies are completely cool, retrieve your slightly softened ice cream from the freezer. It should be soft enough to scoop but not melted.
- Step 2: Take one cooled cookie, scoop a generous amount (about 1/4 to 1/3 cup) of ice cream onto its flat side. If using a square cookie, you can press the ice cream into a square shape on the cookie.
- Step 3: Place another cookie on top, flat side down, and gently press to spread the ice cream to the edges. Don't press too hard, or the ice cream will squish out excessively.
- Step 4: (Optional) If desired, you can roll the edges of the assembled ice cream sandwich in sprinkles, mini chocolate chips, or chopped nuts. This adds both visual appeal and extra texture to your delightful ice cream sandwich recipe.
- Step 5: Immediately wrap each assembled ice cream sandwich tightly in plastic wrap.
- Step 6: Place the wrapped ice cream sandwiches in an airtight freezer-safe container. Freeze for at least 2-4 hours, or preferably overnight, until firm. This allows the cookies to soften slightly and the ice cream to firm up, creating that classic ice cream sandwich texture. For long-term storage, consider storing them in a durable container, such as Basics Glass Food Storage, to prevent freezer burn and maintain their freshness.
Variations & Serving Suggestions for Your Ice Cream Sandwich Recipe
This classic ice cream sandwich recipe is fantastic as is, but it also serves as a perfect canvas for your culinary creativity. Don't be afraid to experiment!
Flavor Variations
- Mint Chocolate Chip Delight: Swap out vanilla ice cream for mint chocolate chip ice cream. The cool mint with the rich chocolate cookie is a match made in heaven.
- Peanut Butter Dream: Use peanut butter ice cream, or even spread a thin layer of peanut butter on the inside of one cookie before adding vanilla ice cream. A sprinkle of chopped peanuts on the sides would be divine.
- Strawberry Swirl: For a fruity twist, use strawberry ice cream. The sweetness of the strawberries beautifully contrasts the deep chocolate. If you're feeling ambitious, try our Ultimate Homemade Strawberry Ice Cream Recipe for an extra special treat.
- Coffee Kick: Coffee ice cream nestled between these chocolate cookies creates a sophisticated dessert, perfect for coffee lovers.
- Spiced Cookies: Add a pinch of cinnamon or a touch of cayenne pepper to your cookie dough for a subtle warmth or a surprising kick.
- Gluten-Free Cookies: Substitute the all-purpose flour with a 1:1 gluten-free baking flour blend for a gluten-free version of this ice cream sandwich recipe. Ensure your blend contains xanthan gum.
Serving Suggestions
- Classic & Simple: Serve them as is, perhaps with a tall glass of cold milk. The pure joy of a well-made ice cream sandwich recipe needs no embellishment.
- Sundae Bar Fun: Set out a platter of unwrapped ice cream sandwiches alongside small bowls of extra toppings like hot fudge, caramel sauce, whipped cream, and cherries. Let everyone customize their ultimate dessert!
- Party Platters: For gatherings, arrange different flavored ice cream sandwiches on a platter. Label them so guests can pick their favorite. They also make a fantastic addition to a dessert spread that includes a showstopper like our Ultimate Homemade Ice Cream Cake.
- Mini Bites: Instead of full-sized squares, use a smaller cookie cutter (e.g., 1.5-inch round) to create mini ice cream sandwiches, perfect for bite-sized indulgence or for children's parties.
No matter how you serve them or what flavors you choose, this ice cream sandwich recipe is guaranteed to be a hit. Enjoy the process of creating these delightful treats and the smiles they bring!
Nutrition Information
| Nutrient | Amount per Serving |
|---|---|
| Calories | 320 kcal |
| Carbohydrates | 45g |
| Cholesterol | 55mg |
| Fat | 15g |
| Fiber | 2g |
| Protein | 4g |
| Saturated Fat | 9g |
| Serving Size | 1 sandwich |
| Sodium | 180mg |
| Sugar | 30g |
| Trans Fat | 0.5g |
| Unsaturated Fat | 5g |
Conclusion
And there you have it – your guide to creating the most incredible homemade ice cream sandwich recipe. From the personal touch of a childhood memory to the detailed steps and creative variations, this recipe is designed to bring joy and deliciousness to your kitchen. There’s something truly special about biting into a perfectly soft chocolate cookie, giving way to creamy, cold ice cream that’s exactly to your liking. It’s more than just a dessert; it’s an experience, a memory in the making, and a testament to the simple pleasures of summer. So, gather your ingredients, turn on some tunes, and get ready to create some magic. This ice cream sandwich recipe isn’t just good; it’s unforgettable. Enjoy every single bite!
FAQs
How do you keep ice cream sandwiches from getting soggy?
To prevent soggy ice cream sandwiches, ensure your cookies are completely cool before assembling. After assembly, wrap each sandwich tightly in plastic wrap and freeze them immediately for at least 2-4 hours, or preferably overnight. This rapid freezing helps the ice cream set quickly and allows the cookies to absorb just the right amount of moisture, making them soft but not soggy. Storing them in an airtight container after wrapping also helps.
Can I use any type of ice cream for this ice cream sandwich recipe?
Absolutely! While vanilla is a classic choice, this ice cream sandwich recipe is incredibly versatile. You can use any ice cream flavor you love u2013 chocolate, mint chip, strawberry, coffee, or even a dairy-free alternative. Just make sure the ice cream is slightly softened when you're ready to assemble, so it's easy to scoop and spread without melting completely.
How far in advance can I make homemade ice cream sandwiches?
You can prepare and freeze these homemade ice cream sandwiches up to 2-3 weeks in advance. Just ensure they are individually wrapped tightly in plastic wrap and stored in an airtight freezer-safe container. This makes them a perfect make-ahead dessert for parties or to have on hand for a quick treat. The cookies will actually get softer and more delicious as they sit in the freezer.
What's the best way to cut the cookies into perfect squares for this ice cream sandwich recipe?
The key to perfectly cut square cookies for this ice cream sandwich recipe is chilling the dough. After rolling out the dough between two sheets of parchment paper to an even 1/4-inch thickness, chill it thoroughly in the refrigerator for at least 30 minutes. Once firm, use a sharp, straight-edged knife or a square cookie cutter to cut precise squares. Re-roll any scraps and chill again before cutting.
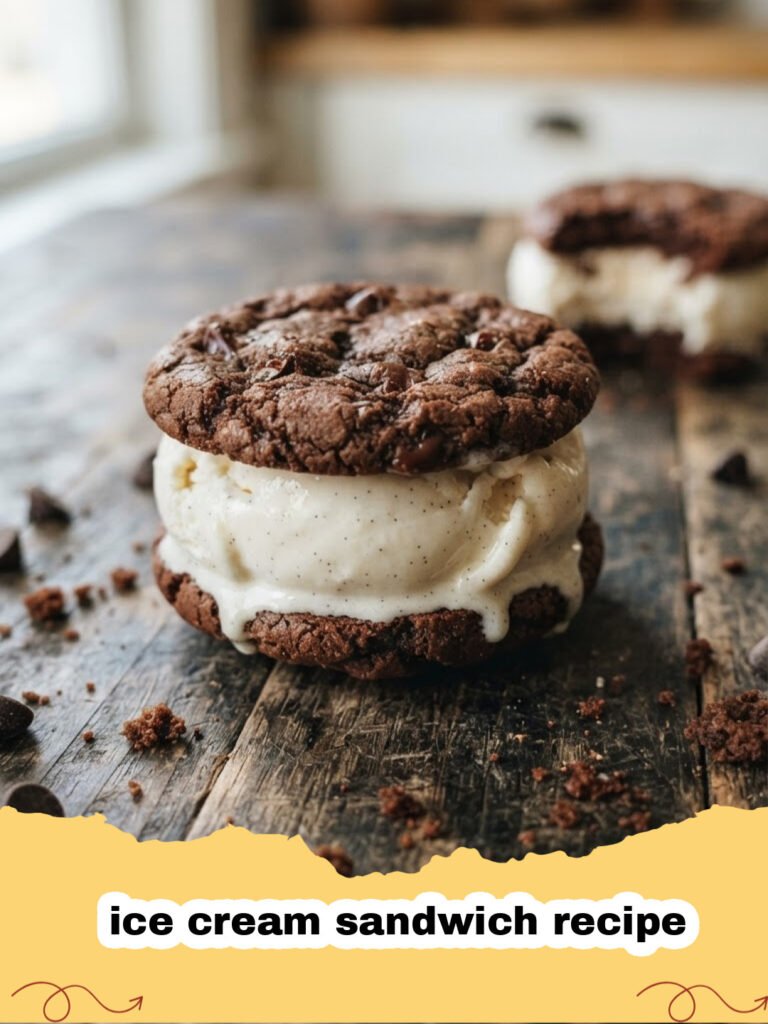
Classic Homemade Ice Cream Sandwiches
Indulge in the ultimate summer treat with this homemade ice cream sandwich recipe! Featuring soft, chewy chocolate cookies filled with creamy vanilla ice cream, these delightful sandwiches are far superior to store-bought versions and offer endless customization options. Perfect for sharing with family and friends or as a nostalgic solo treat.
- Total Time: 55 minutes (plus chilling and freezing time)
- Yield: 12 sandwiches 1x
Ingredients
1 3/4 cups (210g) all-purpose flour
3/4 cup (75g) Dutch-processed cocoa powder
1 teaspoon baking soda
1/2 teaspoon cream of tartar
1/2 teaspoon salt
1 cup (226g) unsalted butter, softened
1 1/2 cups (300g) granulated sugar
1 large egg
1 teaspoon pure vanilla extract
2 quarts (1.89 liters) vanilla ice cream, slightly softened (or your favorite flavor)
Instructions
Step 1: In a medium bowl, whisk together the all-purpose flour, Dutch-processed cocoa powder, baking soda, cream of tartar, and salt. Set aside.
Step 2: In a large bowl, using an electric mixer, cream together the softened unsalted butter and granulated sugar until light and fluffy, about 2-3 minutes.
Step 3: Beat in the large egg and pure vanilla extract until well combined, scraping down the sides of the bowl as needed.
Step 4: Gradually add the dry ingredients to the wet ingredients, mixing on low speed until just combined. Do not overmix; the dough will be thick.
Step 5: Divide the dough in half. Roll each half between two sheets of parchment paper to about 1/4-inch thickness. Chill the flattened dough in the refrigerator for at least 30 minutes, or up to 2 hours.
Step 6: Preheat your oven to 350°F (175°C). Line two baking sheets with parchment paper or silicone mats.
Step 7: Remove one sheet of chilled dough from the refrigerator. Using a 2-inch square or round cookie cutter, cut out shapes. Carefully transfer the cookies to the prepared baking sheets, leaving about 1 inch between them. Repeat with the second sheet of dough. Re-roll any scraps if desired.
Step 8: Bake for 8-10 minutes, or until the edges are set and the centers look just slightly soft. Do not overbake.
Step 9: Let the cookies cool on the baking sheets for 5 minutes before transferring them to a wire rack to cool completely.
Step 10: Once the cookies are completely cool, retrieve your slightly softened ice cream from the freezer. It should be soft enough to scoop but not melted.
Step 11: Take one cooled cookie, scoop a generous amount (about 1/4 to 1/3 cup) of ice cream onto its flat side.
Step 12: Place another cookie on top, flat side down, and gently press to spread the ice cream to the edges.
Step 13: Immediately wrap each assembled ice cream sandwich tightly in plastic wrap.
Step 14: Place the wrapped ice cream sandwiches in an airtight freezer-safe container. Freeze for at least 2-4 hours, or preferably overnight, until firm.
Notes
For the best results, ensure your butter is truly at room temperature for creaming. Don't overmix the dough, as it can lead to tough cookies. Chilling the dough is crucial for preventing spread and making it easier to cut uniform shapes. When assembling, work quickly to prevent the ice cream from melting too much. For an extra touch, roll the sides of the finished sandwiches in sprinkles, mini chocolate chips, or chopped nuts before freezing.
- Prep Time: 45 minutes
- Cook Time: 10 minutes
- Category: Desserts & Baking
- Cuisine: American
Nutrition
- Serving Size: 1 sandwich
- Calories: 320 kcal
- Sugar: 30g
- Sodium: 180mg
- Fat: 15g
- Saturated Fat: 9g
- Unsaturated Fat: 5g
- Trans Fat: 0.5g
- Carbohydrates: 45g
- Fiber: 2g
- Protein: 4g
- Cholesterol: 55mg