

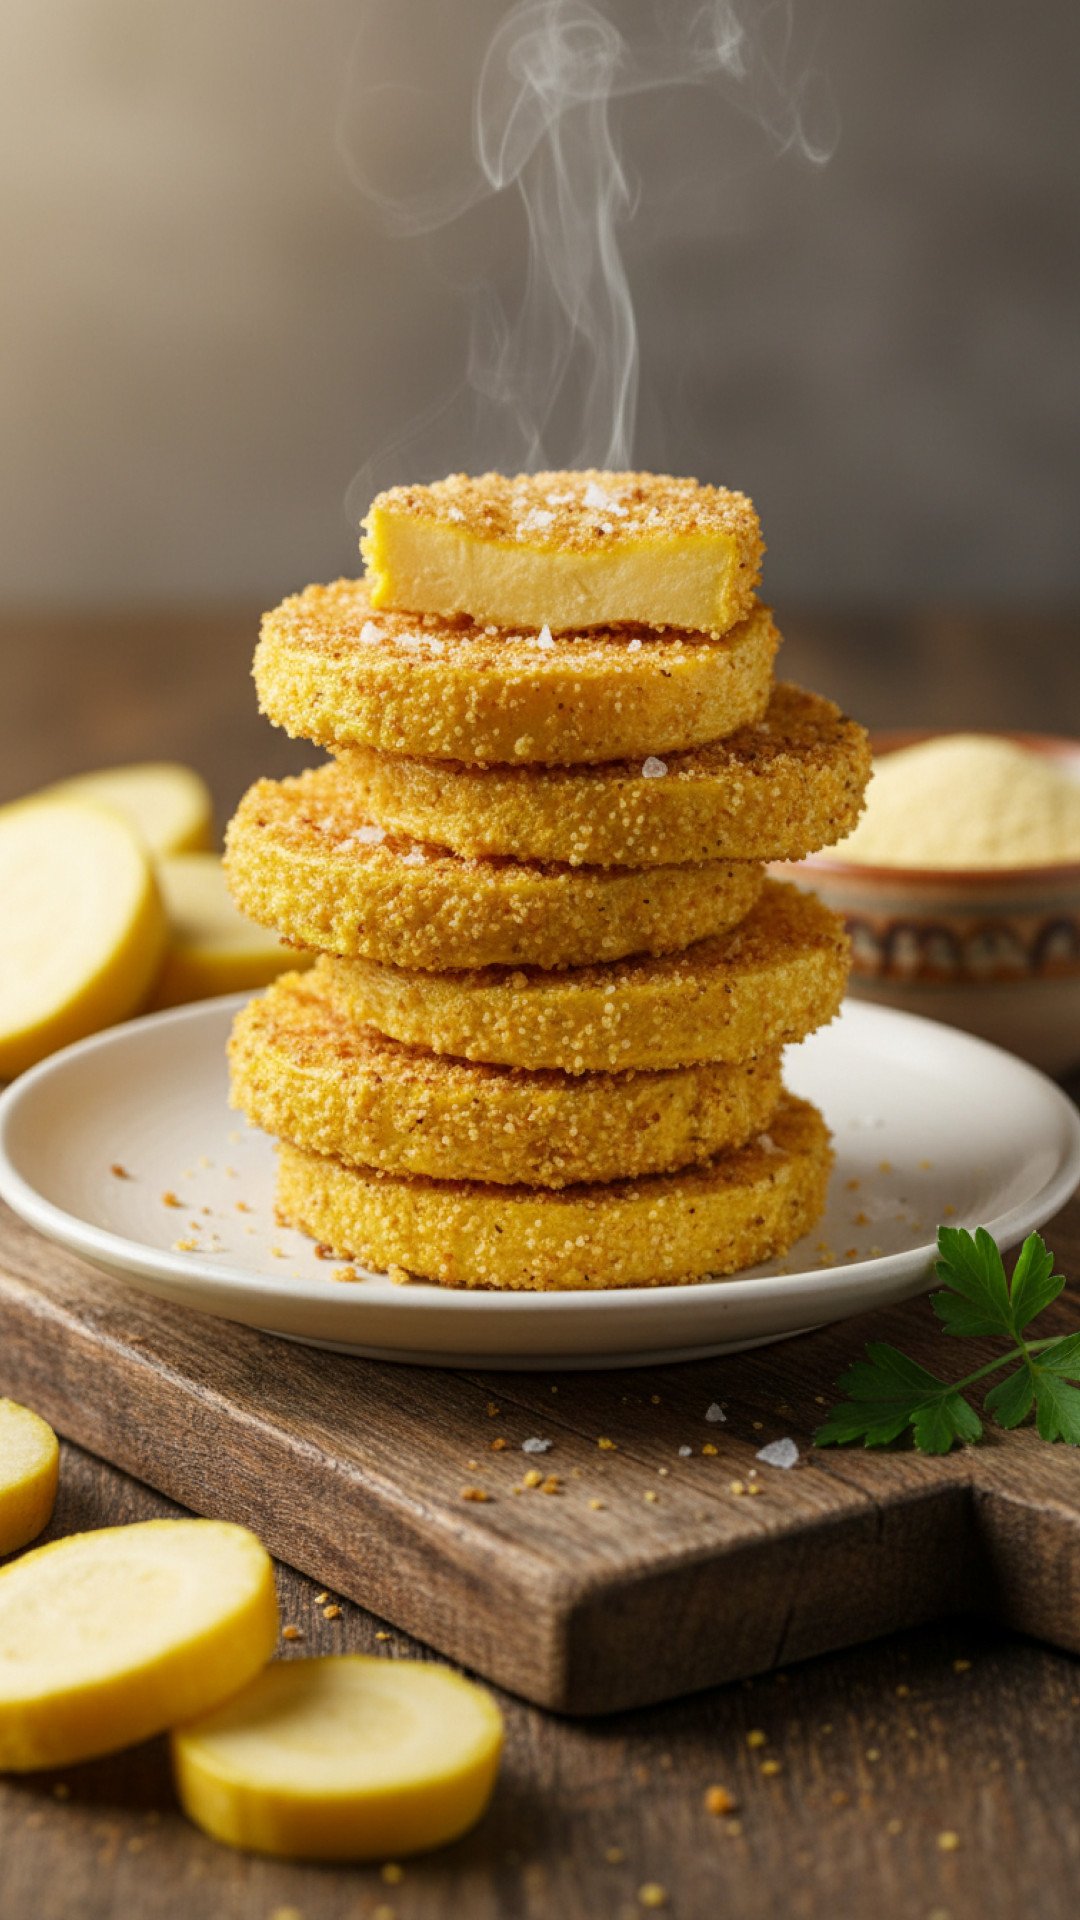
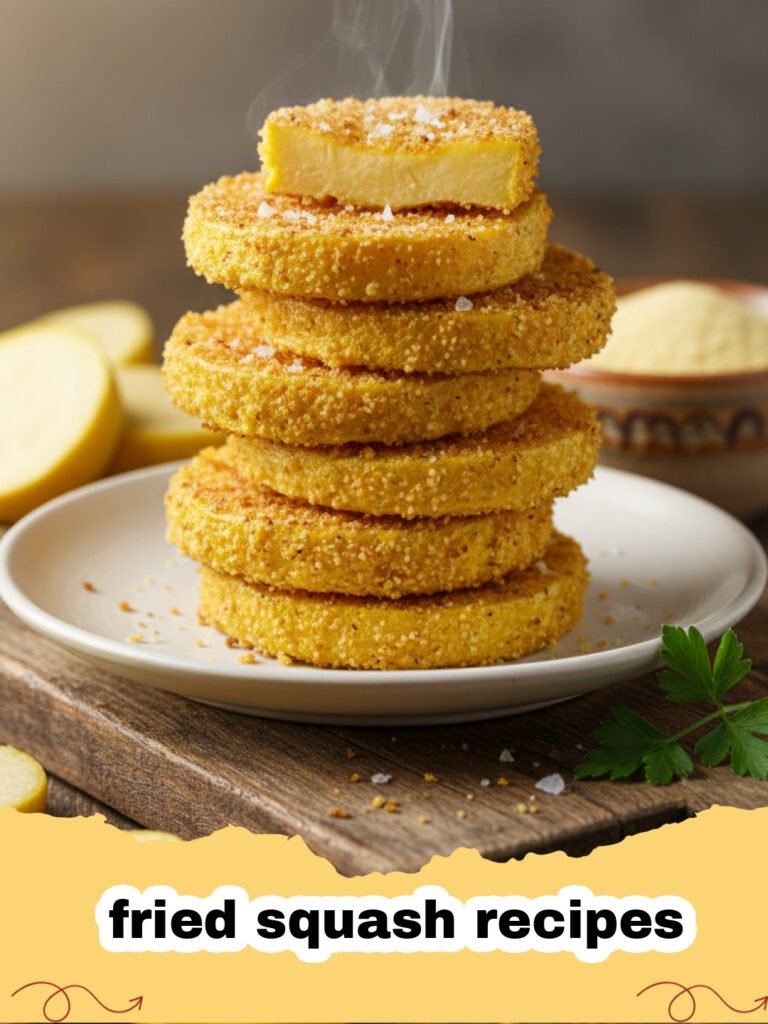
There’s something truly magical about the taste of summer, and for me, that taste is inextricably linked to the sizzling sound of fried zucchini recipes and, more specifically, homemade fried squash recipes. I still remember those long, sun-drenched afternoons at Grandma's house. Her garden was a cornucopia of bounty, but it was her prolific yellow squash plants that always held a special place in my heart. Every harvest season, the kitchen would transform into a haven of culinary activity, the air thick with the promise of golden, crispy goodness. She’d meticulously slice each squash, dredge it in her secret seasoned flour, and then, with a practiced hand, drop it into a cast-iron skillet filled with shimmering hot oil. The aroma alone was enough to make my mouth water, a comforting blend of earthy squash and savory spices. It wasn't just about the food; it was about the ritual, the love poured into each slice, the shared laughter around the table as we devoured plate after plate. These aren't just any fried squash recipes; this is a tradition, a memory, and a staple that brings pure joy.
For years, I tried to replicate that perfect crunch, that tender interior, but it always seemed to elude me. Until one day, Grandma finally let me in on her 'secrets.' It wasn't just the ingredients; it was the technique, the patience, and a sprinkle of that indefinable 'Grandma magic.' Now, I'm thrilled to share with you her authentic, fail-proof method for the most delicious fried squash recipes you’ll ever make. Whether you're a seasoned cook or a kitchen novice, this guide will help you recreate that comforting taste of summer right in your own home. Get ready to fall in love with these simple yet profoundly satisfying fried squash recipes!
Why This Recipe is a Must-Try
- Unbeatable Crispy Texture: Our method ensures every piece of squash achieves that coveted golden-brown crispness on the outside while remaining tender and moist on the inside. Forget soggy squash!
- Simple, Wholesome Ingredients: You only need a handful of readily available ingredients, making these fried squash recipes perfect for a quick side dish or a light lunch.
- Versatile & Adaptable: This foundational recipe is incredibly flexible, allowing for countless variations to suit your taste preferences or whatever fresh herbs you have on hand.
- A Taste of Nostalgia: For many, fried squash evokes memories of childhood, family gatherings, and summer feasts. This recipe brings that comforting feeling right back to your kitchen.
Key Ingredient Notes
While the beauty of these fried squash recipes lies in their simplicity, a few key ingredients deserve a moment in the spotlight:
The Squash
Yellow squash or zucchini are the stars of these fried squash recipes. Look for firm, medium-sized squash (about 6-8 inches long) that are free of blemishes. Smaller squash tend to be more tender and have fewer seeds, while larger ones can be a bit watery and stringy. If using larger squash, you might want to scoop out some of the seeds before slicing. The goal is consistent thickness for even cooking. For a delightful alternative, consider these Heavenly Herb Roasted Zucchini and Yellow Squash if you prefer a baked option.
The Flour & Seasoning
A simple all-purpose flour forms the base of our crispy coating. The magic, however, comes from the seasoning. Grandma always swore by a mix of salt, black pepper, garlic powder, and a touch of paprika. Don't be afraid to adjust these to your liking. Some people enjoy a hint of cayenne for a kick, or onion powder for added depth. The key is to season the flour generously, as this is where most of the flavor for your fried squash recipes will come from.
The Frying Oil
For achieving that perfect golden hue and crispy texture, choose an oil with a high smoke point. Vegetable oil, canola oil, or peanut oil are excellent choices. Olive oil has a lower smoke point and can burn, imparting an unpleasant flavor. Make sure you use enough oil to generously coat the bottom of your skillet, about 1/2 to 3/4 inch deep, to allow for even frying of these delightful fried squash recipes.
Step-by-Step Guide with Pro Tips
Mastering these fried squash recipes is all about technique. Follow these steps for perfect results every time:
Preparation is Key
Step 1: Begin by washing your squash thoroughly under cool water. Pat them completely dry with paper towels. Excess moisture is the enemy of crispiness! Slice the squash into uniform rounds, about 1/4 to 1/2 inch thick. Consistency in thickness ensures even cooking. Lay them out on paper towels and lightly salt them; this helps draw out more moisture. Let them sit for about 10-15 minutes, then blot them dry again. This crucial step is what sets apart good fried squash recipes from great ones.
The Perfect Dredge
Step 2: In a shallow dish, whisk together the all-purpose flour, cornmeal (this is Grandma's secret for extra crispiness!), salt, black pepper, garlic powder, and paprika. Adjust seasonings to taste. In another shallow dish, lightly beat the eggs with a splash of milk or water. This creates an egg wash that helps the flour adhere, giving us wonderfully crispy fried squash recipes.
Step 3: Set up your dredging station: squash slices, then egg wash, then seasoned flour mixture. Working in batches, dip each squash slice into the egg wash, allowing any excess to drip off. Then, dredge it thoroughly in the seasoned flour mixture, pressing gently to ensure an even and complete coating. Shake off any excess flour.
Frying to Golden Perfection
Step 4: Heat your chosen frying oil in a large cast-iron skillet or heavy-bottomed pan over medium-high heat. The oil should be about 1/2 to 3/4 inch deep. To test if the oil is hot enough, drop a pinch of flour into it; if it sizzles immediately, it’s ready. Don't overcrowd the pan, as this will lower the oil temperature and lead to soggy squash. Work in batches to achieve the best fried squash recipes.
Step 5: Carefully place the coated squash slices into the hot oil in a single layer. Fry for 3-5 minutes per side, or until golden brown and crispy. The exact time will depend on the thickness of your squash and the heat of your oil. Keep a close eye on them to prevent burning. These fried squash recipes are all about achieving that perfect golden hue.
Step 6: Once golden and crispy, remove the fried squash slices from the skillet using a slotted spoon or tongs and place them on a plate lined with paper towels to drain any excess oil. Season immediately with a sprinkle of extra salt, if desired, while they are still hot. Serve these amazing fried squash recipes hot and enjoy the symphony of flavors and textures!
Variations & Serving Suggestions
These classic fried squash recipes are fantastic on their own, but don't hesitate to get creative!
- Spicy Kick: Add a pinch of cayenne pepper or a dash of your favorite hot sauce to the egg wash or flour mixture for a bit of heat.
- Herbaceous Delight: Mix finely chopped fresh herbs like parsley, chives, or dill into the seasoned flour for an aromatic twist.
- Cheese Please: Before frying, sprinkle a little grated Parmesan cheese onto the floured squash slices for an extra layer of savory flavor.
- Serving Suggestions: Fried squash is a quintessential Southern side dish. Serve it alongside grilled chicken, fried fish, or a hearty steak. It’s also delicious dipped in ranch dressing, a spicy aioli, or even just a squeeze of fresh lemon juice. For easy storage of any leftovers, consider using Basics Glass Food Storage containers to maintain freshness and make reheating simple. These fried squash recipes are truly versatile!
Nutrition Information
| Nutrient | Amount Per Serving |
|---|---|
| Calories | 180 kcal |
| Carbohydrates | 20g |
| Cholesterol | 55mg |
| Total Fat | 10g |
| Fiber | 2g |
| Protein | 5g |
| Saturated Fat | 2g |
| Serving Size | 1 cup (approx. 100g) |
| Sodium | 280mg |
| Sugar | 3g |
| Trans Fat | 0g |
| Unsaturated Fat | 8g |
Conclusion
There you have it – Grandma's timeless recipe for golden, crispy fried squash recipes. This dish isn't just about frying vegetables; it's about connecting with heritage, savoring simple pleasures, and creating new memories around the dinner table. Whether you're enjoying them as a nostalgic side dish or introducing a new favorite to your family, these fried squash recipes are guaranteed to be a hit. So, grab some fresh squash, fire up your skillet, and prepare to be transported to a place of pure culinary comfort. Happy frying, and enjoy these wonderful fried squash recipes!
FAQs
What kind of squash is best for these fried squash recipes?
Yellow squash or zucchini work best for these fried squash recipes. Look for firm, medium-sized squash (about 6-8 inches long) with no blemishes. Smaller squash are generally more tender and have fewer seeds, leading to a better texture when fried.
How do I ensure my fried squash recipes are crispy and not soggy?
There are a few key steps to achieving crispy fried squash. First, slice the squash to a consistent 1/4 to 1/2 inch thickness. Second, salt the slices and let them sit for 10-15 minutes to draw out excess moisture, then blot them thoroughly dry. Third, make sure your frying oil is at the correct temperature (350-375u00b0F or 175-190u00b0C) and avoid overcrowding the pan, which can drop the oil's temperature. Lastly, a bit of cornmeal in the flour mixture helps a lot!
Can I make these fried squash recipes gluten-free?
Yes, you can absolutely make these fried squash recipes gluten-free! Simply substitute the all-purpose flour with a good quality gluten-free all-purpose flour blend (many already contain xanthan gum) or a combination of gluten-free flours like rice flour and cornstarch. Ensure all other ingredients are naturally gluten-free.
What's the best way to store and reheat leftover fried squash?
Store any leftover fried squash in an airtight container in the refrigerator for up to 2-3 days. To reheat and maintain crispiness, avoid the microwave. Instead, spread the squash in a single layer on a baking sheet and bake in a preheated oven at 375u00b0F (190u00b0C) for 8-12 minutes, or until heated through and re-crisped. An air fryer also works wonderfully for reheating these delicious fried squash recipes!
Grandma's Golden Crispy Fried Squash
A classic Southern-style recipe for perfectly crispy and tender fried yellow squash, just like Grandma used to make. These fried squash recipes are perfect as a side dish.
- Total Time: 30 minutes
- Yield: 4 servings 1x
Ingredients
2 medium yellow squash (about 1 lb total)
1/2 cup all-purpose flour
1/4 cup yellow cornmeal (optional, but recommended for extra crispiness)
1 teaspoon salt, plus more for seasoning
1/2 teaspoon black pepper
1/2 teaspoon garlic powder
1/4 teaspoon paprika
2 large eggs
1 tablespoon milk or water
2-3 cups vegetable oil, canola oil, or peanut oil (for frying)
Instructions
Step 1: Wash and pat the yellow squash completely dry. Slice into 1/4 to 1/2 inch thick rounds. Lay slices on paper towels, sprinkle lightly with salt, and let sit for 10-15 minutes to draw out moisture. Blot dry again with paper towels.
Step 2: In a shallow dish, whisk together the flour, cornmeal (if using), 1 teaspoon salt, black pepper, garlic powder, and paprika until well combined. In another shallow dish, beat the eggs with milk or water to create an egg wash.
Step 3: Set up a dredging station: dried squash slices, then egg wash, then seasoned flour mixture. Working in batches, dip each squash slice into the egg wash, letting excess drip off. Then, dredge thoroughly in the seasoned flour, pressing gently to ensure a complete and even coating. Shake off any excess flour.
Step 4: Heat 1/2 to 3/4 inch of frying oil in a large cast-iron skillet or heavy-bottomed pan over medium-high heat until it reaches about 350-375°F (175-190°C). A pinch of flour should sizzle immediately when dropped in.
Step 5: Carefully place the coated squash slices into the hot oil in a single layer, ensuring not to overcrowd the pan. Fry for 3-5 minutes per side, or until golden brown and crispy. Adjust heat as needed to maintain a steady sizzle.
Step 6: Using a slotted spoon or tongs, remove the fried squash from the skillet and transfer them to a plate lined with paper towels to drain excess oil. Immediately sprinkle with a little extra salt, if desired. Serve hot and enjoy!
Notes
For the crispiest results, ensure your squash is very dry before dredging, and don't overcrowd the pan during frying. A cast-iron skillet is highly recommended for even heat distribution. These fried squash recipes are best served immediately.
- Prep Time: 15 minutes
- Cook Time: 15 minutes
- Category: Main Dishes & Savory Recipes
- Cuisine: Southern American
Nutrition
- Serving Size: 1 cup (approx. 100g)
- Calories: 180 kcal
- Sugar: 3g
- Sodium: 280mg
- Fat: 10g
- Saturated Fat: 2g
- Unsaturated Fat: 8g
- Trans Fat: 0g
- Carbohydrates: 20g
- Fiber: 2g
- Protein: 5g
- Cholesterol: 55mg
Leave a Reply