
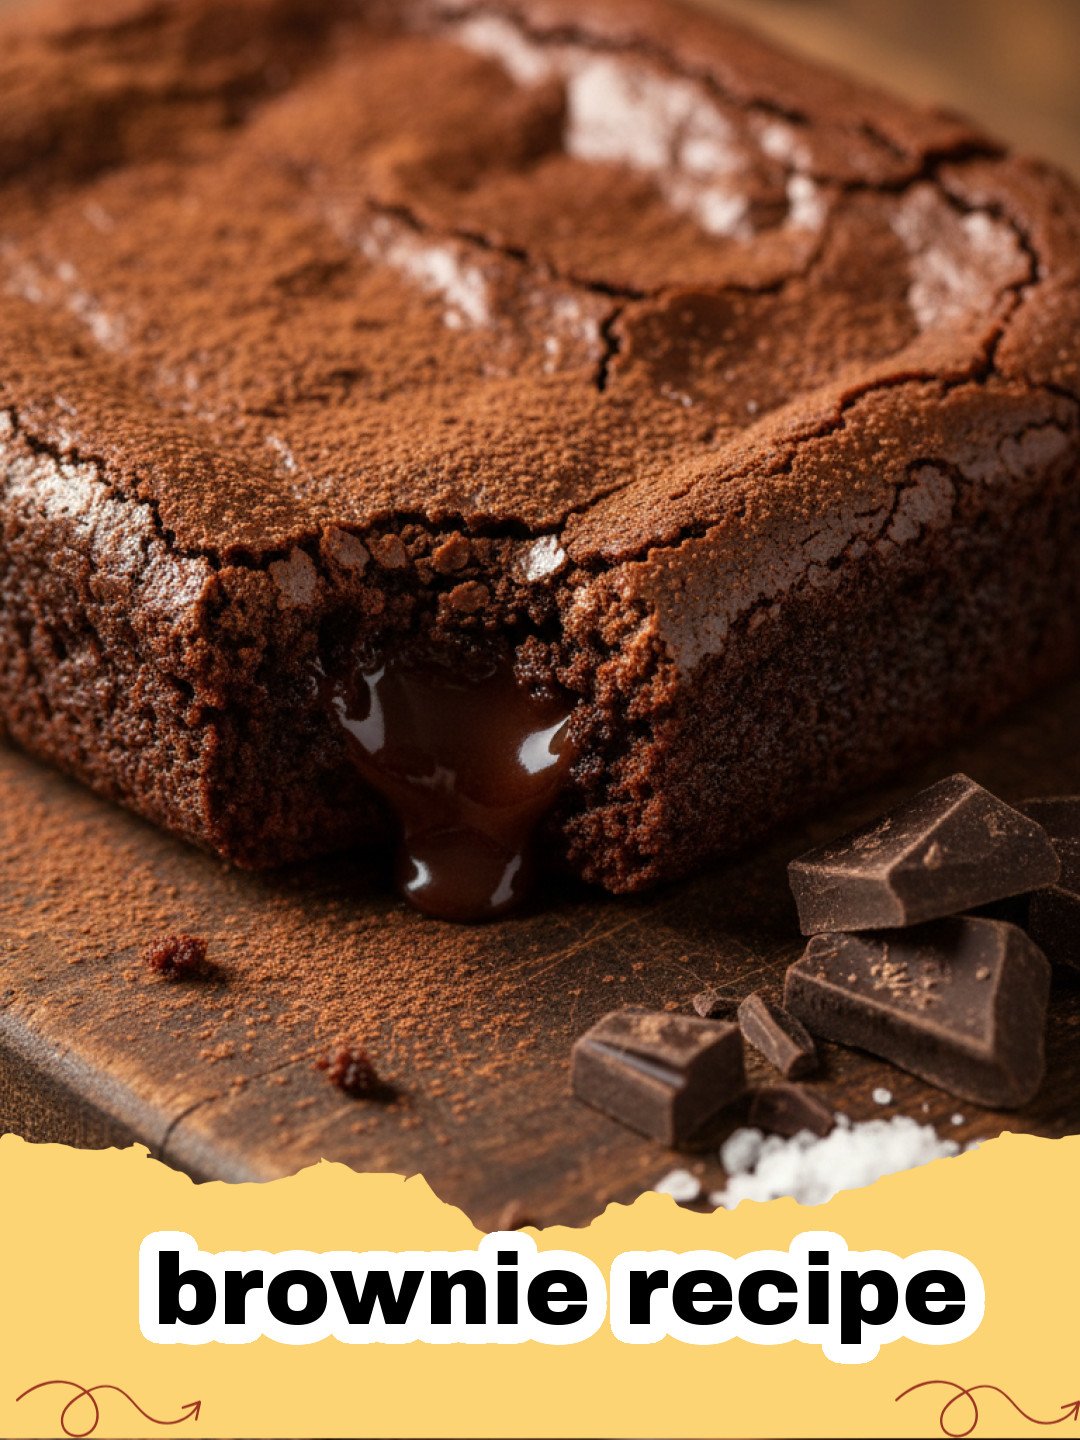
Finding the perfect brownie recipe is like discovering a hidden treasure in your own kitchen. I remember the very first time I tried to bake these as a child; I was mesmerized by how a few simple pantry staples could transform into something so decadent and comforting. My kitchen was a mess of cocoa powder and sticky fingers, but the result—that warm, gooey, chocolatey square—was pure magic. Over the years, I have tested dozens of variations, from the overly cakey ones to the ones that were basically raw batter, all in the pursuit of the absolute best brownie recipe. This version is the result of that long, delicious journey. It hits that elusive sweet spot: a dense, fudgy center paired with a thin, crackly top that shatters like parchment when you bite into it. It is a recipe that brings people together, whether it's for a birthday party, a holiday gathering, or just a quiet Tuesday night when you need a little pick-me-up.
Why This Recipe is a Must-Try
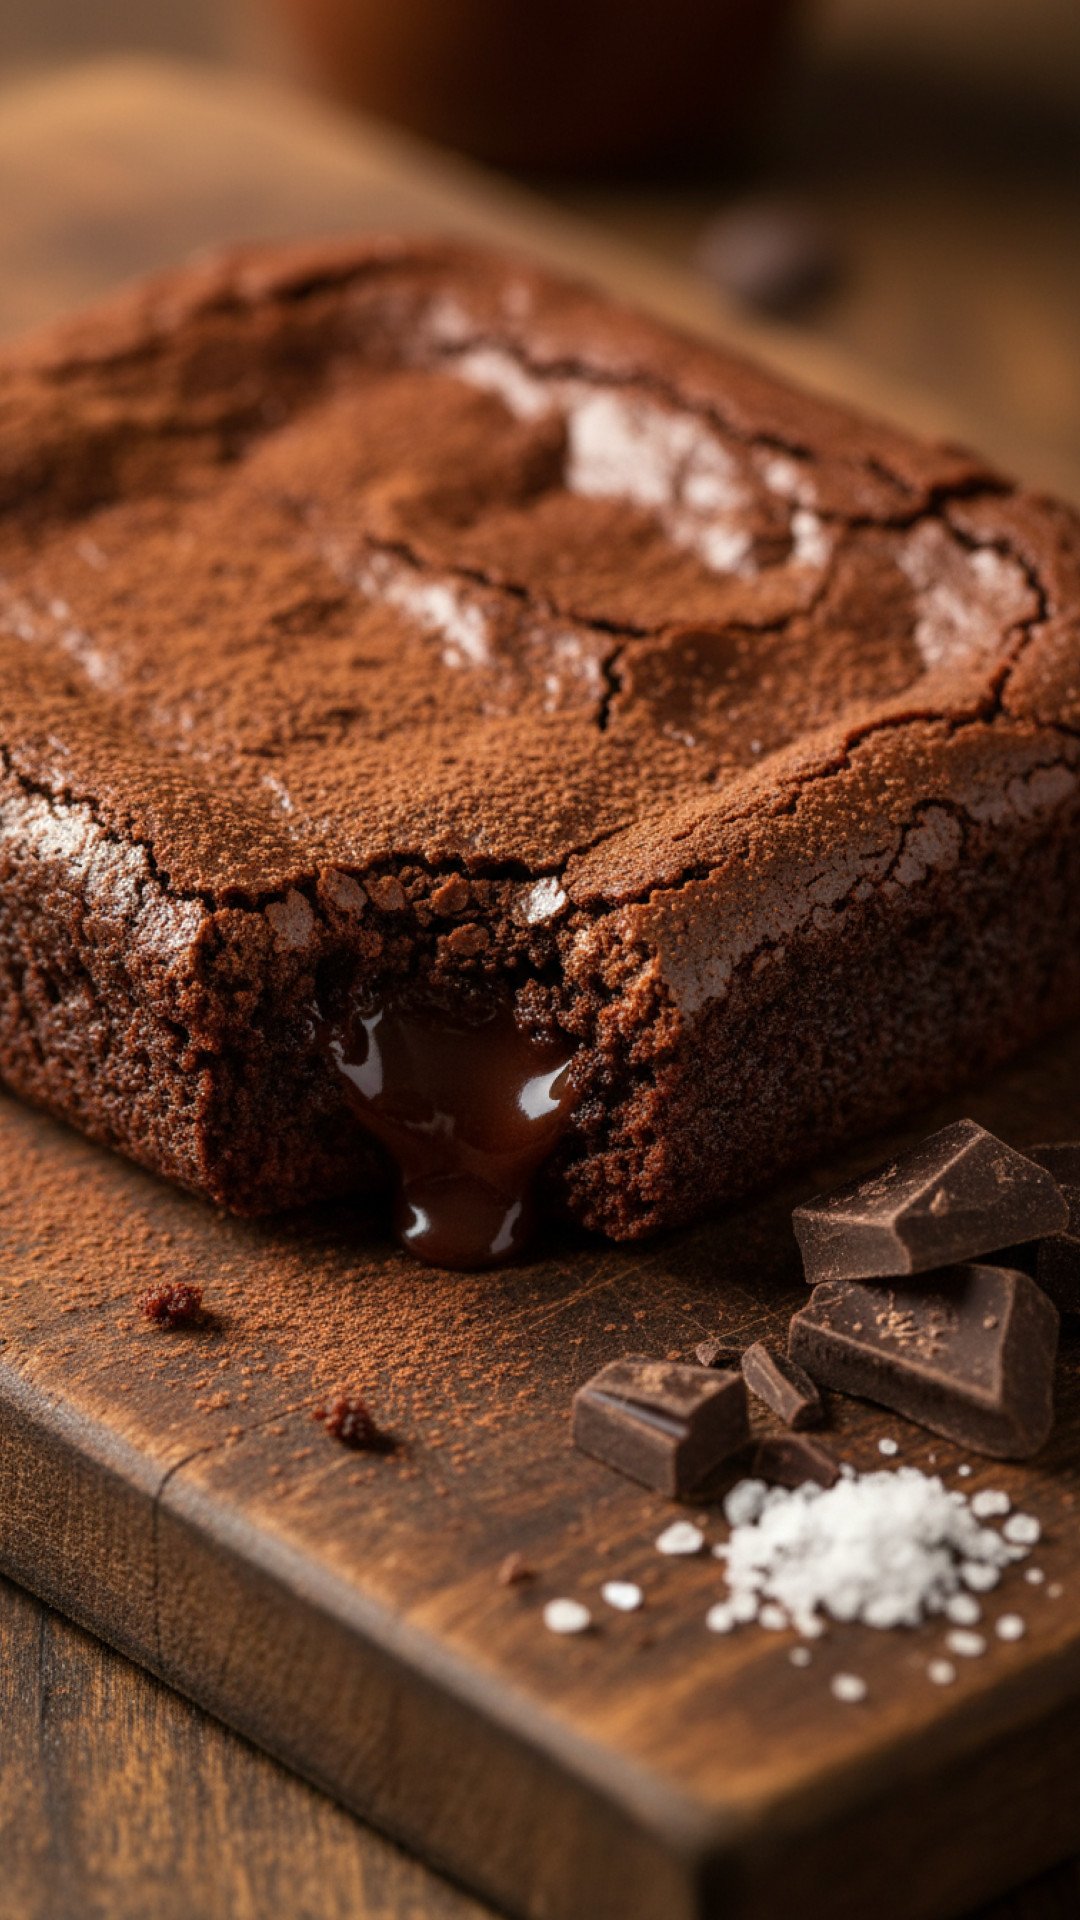
- The Texture: It features a perfectly fudgy and chewy interior without being overly heavy, thanks to the precise ratio of fats to flour.
- The Crackly Top: We use a specific whisking technique that creates that signature shiny, papery crust that every brownie recipe enthusiast dreams of.
- One-Bowl Simplicity: You don't need a stand mixer or a sink full of dirty dishes; this entire brownie recipe can be whisked together in a single large bowl.
- Deep Flavor Profile: By using both high-quality cocoa and a touch of espresso powder, we enhance the natural notes of the chocolate for a professional-grade taste.
While you are in the baking mood, you might also enjoy exploring other seasonal treats. If you love traditional breads, check out The Ultimate Traditional Hot Cross Buns Recipe for a classic spiced experience. For those who prefer something a bit more festive and candy-like, The Best Homemade Peanut Butter Eggs Recipe for Easter is a fantastic way to satisfy your sweet tooth alongside this brownie recipe.
Key Ingredient Notes
To ensure your brownie recipe turns out perfectly every time, it is important to understand the role of your ingredients. First, let's talk about the butter. Use high-quality unsalted butter so you can control the salt content. Melting the butter rather than creaming it is what gives the brownie its dense, fudgy structure rather than a cakey one. Second, the cocoa powder matters immensely. I recommend a Dutch-processed cocoa powder for this brownie recipe because it has a lower acidity and a darker, richer color compared to natural cocoa. It provides that deep, Oreo-like chocolate flavor that we all crave.
The third secret is the sugar. This brownie recipe uses a combination of granulated white sugar and light brown sugar. The white sugar helps create those crisp edges, while the brown sugar adds moisture and a slight molasses undertone that complements the chocolate beautifully. Lastly, don't skip the espresso powder! You won't taste coffee; instead, it acts as a flavor booster that makes the chocolate taste even more like chocolate. This is a common trick used by professional bakers to elevate any standard brownie recipe into something extraordinary.
Step-by-Step Guide with Pro Tips
The process for this brownie recipe is straightforward, but the order of operations is vital for achieving the correct texture. Start by melting your butter and whisking it with the sugars while it is still warm. This helps the sugar dissolve slightly, which is the first step toward that shiny top. When you add your eggs, whisk them vigorously for at least two full minutes. This aeration creates a meringue-like layer that rises to the top during baking, forming the crackle.
When it comes time to add the dry ingredients to your brownie recipe, switch to a spatula. Over-mixing the flour will develop gluten, which will make your brownies tough and bread-like rather than tender. Fold the flour and cocoa in gently until just combined. Pro tip: Always line your baking pan with parchment paper, leaving an overhang on the sides. This allows you to lift the entire block of brownies out once they have cooled, making it much easier to cut them into clean, perfect squares. If you find yourself with leftovers, storing them properly is key. I recommend using Basics Glass Food Storage to keep them airtight and fresh for days.
The Importance of Cooling
I know it is tempting to slice into your brownies the moment they come out of the oven, but patience is a virtue with any brownie recipe. Brownies continue to set as they cool. If you cut them too early, they will be messy and won't have developed their full flavor. Wait at least 30 to 60 minutes. For the cleanest cuts, you can even chill the pan in the refrigerator for an hour before slicing. This yields those sharp, professional-looking edges seen in bakeries.
Variations & Serving Suggestions
The beauty of this brownie recipe is its versatility. Once you have mastered the base, you can get creative with mix-ins. For a bit of crunch, fold in a half-cup of toasted walnuts or pecans. If you are a fan of sweet and salty combinations, sprinkle a generous pinch of flaky sea salt over the batter just before it goes into the oven. You could even swirl in some peanut butter or salted caramel for a marbled effect that looks as good as it tastes.
For serving, nothing beats a warm square from this brownie recipe topped with a massive scoop of vanilla bean ice cream. The cold cream melting into the warm chocolate is a classic for a reason. You can also drizzle some hot fudge or raspberry coulis over the top for a more formal dessert presentation. These brownies are also sturdy enough to be cut into small bite-sized pieces for a dessert platter, making them a hit at any social gathering.
Nutrition Information
Below is the estimated nutritional breakdown for a single serving of this brownie recipe. These values may vary based on the specific brands of ingredients used.
| Nutrient | Amount per Serving |
|---|---|
| Calories | 240 kcal |
| Total Fat | 14g |
| Saturated Fat | 8g |
| Cholesterol | 45mg |
| Sodium | 95mg |
| Total Carbohydrates | 28g |
| Dietary Fiber | 2g |
| Sugars | 22g |
| Protein | 3g |
Conclusion
Mastering the ultimate brownie recipe is a rewarding endeavor that will make you the star of any kitchen. Whether you prefer the corner piece with its chewy edges or the soft, melting center of a middle square, this recipe delivers on every front. Remember to use high-quality ingredients, don't over-mix your batter, and give them plenty of time to cool. Happy baking, and enjoy every chocolatey bite!
FAQs
How do I get the crackly top on this brownie recipe?
The key to a crackly top is whisking the eggs and sugar vigorously for at least 2 minutes. This creates a thin meringue-like layer that rises to the top during baking.
Should I use a glass or metal pan for this brownie recipe?
Metal pans are generally better for brownies as they conduct heat more evenly and produce sharper edges. If using glass, you may need to increase the bake time by 5 minutes.
Can I freeze brownies made from this brownie recipe?
Yes, these brownies freeze beautifully. Wrap them individually in plastic wrap and store them in an airtight container for up to 3 months. Thaw at room temperature before serving.

The Ultimate Fudgy Brownie Recipe
A rich, decadent brownie recipe featuring a fudgy center and a signature crackly top. One bowl and simple ingredients.
- Total Time: PT40M
- Yield: 16 brownies 1x
Ingredients
1/2 cup unsalted butter, melted and warm
1 cup granulated sugar
1/2 cup light brown sugar, packed
2 large eggs, room temperature
2 teaspoons pure vanilla extract
1/2 cup Dutch-processed cocoa powder
1/2 cup all-purpose flour
1/4 teaspoon salt
1/2 teaspoon espresso powder (optional)
1/2 cup semi-sweet chocolate chips (optional)
Instructions
Step 1: Preheat your oven to 350°F (175°C) and line an 8x8 inch baking pan with parchment paper, leaving a slight overhang on the sides for easy removal.
Step 2: In a large mixing bowl, combine the melted butter, granulated sugar, and brown sugar. Whisk vigorously for about 1 minute until well combined.
Step 3: Add the eggs and vanilla extract. Whisk for another 2 minutes until the mixture is light in color and slightly fluffy; this creates the crackly top.
Step 4: Sift in the cocoa powder, flour, salt, and espresso powder. Use a rubber spatula to gently fold the dry ingredients into the wet until just barely combined. Do not overmix.
Step 5: Fold in the chocolate chips if using, then pour the batter into the prepared baking pan and smooth the top with your spatula.
Step 6: Bake for 22-25 minutes. A toothpick inserted into the center should come out with a few moist crumbs attached (not liquid batter).
Step 7: Remove from the oven and allow to cool completely in the pan for at least 30 minutes before lifting the parchment to slice.
Notes
For extra fudgy results, do not overbake. The brownies will continue to firm up as they cool.
- Prep Time: PT15M
- Cook Time: PT25M
- Category: Desserts & Baking
- Cuisine: American
Nutrition
- Serving Size: 1 brownie
- Calories: 240 kcal
- Sugar: 22g
- Sodium: 95mg
- Fat: 14g
- Saturated Fat: 8g
- Unsaturated Fat: 5g
- Trans Fat: 0g
- Carbohydrates: 28g
- Fiber: 2g
- Protein: 3g
- Cholesterol: 45mg
Leave a Reply