
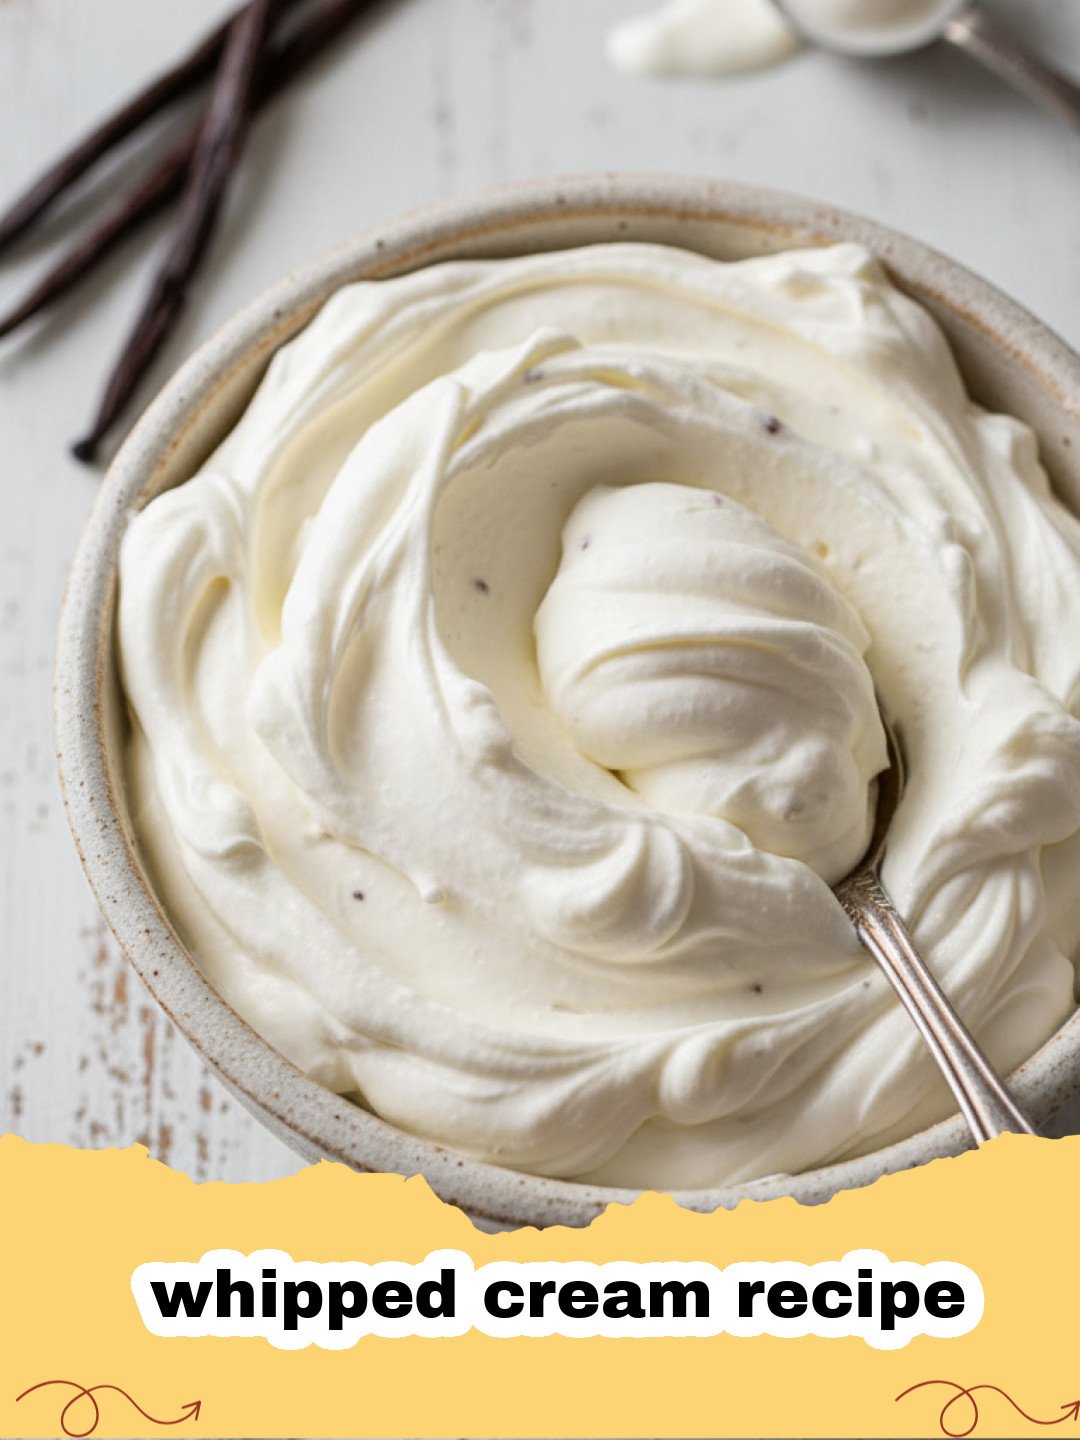
I still vividly remember the first time I truly appreciated a perfect whipped cream recipe. It wasn't on a fancy dessert at a Michelin-star restaurant, but rather a simple, sun-drenched summer afternoon at my grandmother's house. The air was thick with the sweet, comforting scent of her famous strawberry shortcake – a recipe that, incidentally, has become a cherished part of my own culinary repertoire and which I’ve since adapted and proudly shared on the blog (The Ultimate Homemade Strawberry Shortcake: A Taste of Summer Bliss). As she presented the dessert, my eyes were drawn to the pristine, snowy white clouds she gently dolloped onto each serving. This wasn’t the lukewarm, often rubbery stuff from a can; this was something else entirely. It was light, airy, subtly sweet, and dissolved on the tongue like a sweet, ethereal dream. That moment, seeing her effortless mastery, solidified my belief that sometimes, the simplest, most fundamental components are what truly elevate a dish from merely good to utterly unforgettable. Ever since that day, mastering a truly exceptional homemade whipped cream recipe has been a non-negotiable kitchen essential for me. It’s a skill that pays dividends across a dazzling array of desserts, enriches morning coffee drinks, and even transforms humble breakfast delights. Once you experience the unparalleled taste and texture of the real deal, freshly made in your own kitchen, those store-bought tubs will forever pale in comparison. Today, I’m thrilled to guide you through my foolproof whipped cream recipe, designed to help you achieve that same ethereal perfection every single time. It’s a surprisingly straightforward process, requiring minimal effort for a truly maximum reward. Get ready to transform your desserts!
Why This Whipped Cream Recipe is a Must-Try
You might be thinking, "It's just whipped cream, how different can it be?" Oh, but my friend, it can be profoundly different! There are countless reasons why this particular whipped cream recipe is poised to become your new kitchen MVP, your absolute go-to for all things sweet and delightful. Here’s why it stands head and shoulders above any other alternative:
- Unmatched Freshness and Flavor Beyond Compare: The most immediate and striking difference you'll notice is the flavor. Store-bought whipped cream, often laden with artificial flavors, stabilizers, and preservatives, simply cannot compare to the pure, rich, creamy, and subtly sweet flavor of homemade. When you make it yourself, you control every single ingredient, ensuring no artificial additives interfere with that pristine taste. It’s pure, unadulterated dairy goodness.
- Achieve the Perfect Texture, Every Single Time: Have you ever experienced deflated, watery cream that quickly melts into a puddle? Or perhaps the dreaded over-beaten, grainy mess that’s halfway to butter? This meticulously crafted whipped cream recipe guides you step-by-step to that ideal consistency – whether you prefer soft, billowy peaks or sturdy, pipeable firm peaks, you'll nail that ethereal texture consistently.
- Incredibly Versatile and Easily Customizable: The beauty of a basic whipped cream recipe is its adaptability. It's a blank canvas for endless flavor explorations! Whether you crave a delicate hint of vanilla, a sophisticated touch of almond, a refreshing burst of citrus zest, or even a deep, cocoa-infused treat, this fundamental recipe provides the perfect foundation. You can truly make it your own.
- Surprisingly Quick, Effortless, and Economical: Don't let the gourmet results fool you – this is a seriously quick and easy preparation. With just three basic ingredients and a mere few minutes of active time, you can whip up a batch that will impress everyone at your table. It’s far quicker, fresher, and often more economical than making a special trip to the store for a mediocre canned or tubbed version.
Ultimately, mastering this simple whipped cream recipe isn't just about a topping; it’s about unlocking a new dimension of dessert enjoyment. It opens up a world of culinary possibilities, transforming everything from humble berries to elaborate cakes, all with that signature homemade touch.
Key Ingredient Notes for Your Perfect Whipped Cream Recipe
While a whipped cream recipe might appear deceptively simple on the surface, akin to magic unfolding in a bowl, the truth is that the quality, type, and even the temperature of your ingredients are absolutely paramount. These subtle details make all the difference between a sad, soupy mess and a triumphantly fluffy cloud of deliciousness. Here’s a deeper dive into what you need to know about each essential component:
Heavy Cream (or Heavy Whipping Cream) - The Undisputed Star
This is, without a doubt, the cornerstone of our whipped cream recipe! To achieve that glorious, stable texture, you absolutely must use heavy cream, also often labeled as heavy whipping cream. This specific type of cream boasts a milk fat content of 36% or higher. It's crucial not to confuse it with "whipping cream," which typically has a lower fat content (around 30-35%), or even worse, half-and-half, which will simply never whip up properly. While standard whipping cream will technically whip, heavy cream consistently yields a significantly more stable, thicker, and ultimately richer final product that holds its shape beautifully for extended periods. This stability is key for everything from intricate piping to simply resisting deflation on a warm pie. Most critically, your heavy cream must be COLD. And I mean, straight-from-the-fridge, icy-cold. The science behind this is fascinating: cold fat globules emulsify more effectively and create a much more stable foam structure, meaning your cream will whip faster, achieve greater volume, and stay fluffy much, much longer. Don't skip the chill factor for this whipped cream recipe!
Granulated Sugar (or Confectioners' Sugar) - Your Sweetener of Choice
For sweetness, fine granulated sugar works perfectly well. When added gradually and whipped properly, it dissolves easily into the cream, contributing that necessary hint of sweetness without altering the texture. However, a significant number of professional bakers and home cooks alike often prefer confectioners' sugar (also known as powdered sugar or icing sugar) for their whipped cream recipe. Why the preference? Confectioners' sugar typically contains a small amount of cornstarch, which acts as a fantastic stabilizer. This cornstarch helps the whipped cream hold its shape for an even longer duration, making it an excellent choice if you plan to pipe your cream, use it as a cake filling, or simply want it to last longer at a gathering. If stability is a primary concern, especially for make-ahead purposes, opt for confectioners’ sugar. Regardless of your choice, remember that sweetness is personal – feel free to adjust the amount to your exact liking!
Pure Vanilla Extract - The Aromatic Enhancer
A good quality pure vanilla extract is utterly essential for truly enhancing the flavor profile of your homemade whipped cream. It's more than just a sweet scent; it adds a warm, complex, and aromatic depth that beautifully complements the natural richness of the cream without ever overpowering it. Think of it as the secret ingredient that ties all the simple elements together into a harmonious whole. While vanilla is the classic and highly recommended choice for this fundamental whipped cream recipe, it also serves as a gateway to experimentation. You can certainly explore other high-quality extracts, such as almond, peppermint, or even a touch of orange blossom water for different flavor profiles. Just ensure whatever extract you choose is of good quality; artificial extracts can impart an unpleasant aftertaste.
Step-by-Step Guide to the Best Whipped Cream Recipe with Pro Tips
Now that you're armed with the knowledge of key ingredients, let's dive into the practical application. Follow these steps closely, and incorporate the pro tips to ensure your homemade whipped cream is nothing short of absolute perfection. This foolproof whipped cream recipe is designed to make the process as easy and successful as possible, even for beginners!
Essential Equipment for Your Whipping Success:
- Large Mixing Bowl: Opt for a bowl that is generously sized, preferably made of metal or glass. These materials stay colder longer than plastic, which is a significant advantage. A larger bowl also prevents splatters as the cream expands.
- Electric Mixer: A handheld electric mixer or a stand mixer fitted with a whisk attachment is your best friend here. While it's possible to whisk by hand, it requires considerable arm strength and time, especially for a consistent whipped cream recipe.
- Measuring Cups and Spoons: For accurate ingredient proportions, though sugar can be adjusted to taste.
Crucial Pro Tips for Whipped Cream Recipe Success:
- Chill Your Equipment – This is Non-Negotiable!: For the absolute best and most stable results, make it a habit to place your mixing bowl (metal or glass works best) and the whisk attachment of your electric mixer into the freezer for a minimum of 10-15 minutes before you even begin. This simple, often-overlooked step is a game-changer. The cold environment significantly helps the cream maintain its low temperature throughout the whipping process, which in turn helps the fat globules emulsify and aerate faster and more efficiently. The result? A more stable, higher-volume, and longer-lasting whipped cream for your whipped cream recipe.
- Don't Overfill Your Bowl: As cream whips, it significantly increases in volume, often doubling or even tripling. Use a bowl large enough to comfortably accommodate this expansion without the risk of cream spilling over the edges. About half-full is a good starting point.
- The Art of Starting Slow, Finishing Fast: When you begin whipping, start on the lowest speed setting of your electric mixer. This initial slow speed is crucial to prevent any liquid cream from splattering out of the bowl and making a mess. Once the cream begins to show some slight thickening and aeration, gradually increase the speed to medium-high. This graduated approach allows for controlled whipping and better aeration.
- Pay Attention to Stages: Understand the visual cues of whipped cream. Soft peaks are when the cream holds its shape but the tip gently curls over. Medium peaks hold their shape with a slight curl. Stiff peaks stand straight up when the whisk is lifted. Stop whipping as soon as you reach your desired consistency to avoid over-whipping.
- Avoid Over-Whipping at All Costs: This is perhaps the most common pitfall. Whipping cream past the stiff peak stage will quickly lead to a grainy, curdled texture. If you keep going, you'll eventually have butter! Watch it closely and stop your mixer often to check the consistency, especially towards the end. It can go from perfect to grainy in a matter of seconds.
The Whipping Process:
Once your equipment is chilled and ingredients measured, the magical transformation into a glorious whipped cream recipe begins!
- Step 1: Chill Your Equipment Thoroughly. Before you even think about pouring cream, place your large mixing bowl (preferably metal or glass) and the whisk attachment of your electric mixer into the freezer for a minimum of 10-15 minutes. This might seem like an extra step, but trust me, it’s a game-changer. The cold environment significantly helps the cream whip up faster and achieve a more stable, airy consistency.
- Step 2: Combine Cold Ingredients. Remove your chilled bowl and whisk from the freezer. Pour the very cold heavy cream into the bowl. Add your chosen sweetener (granulated or confectioners' sugar) and the pure vanilla extract. Resist the urge to add all ingredients and let them sit; colder is better for starting the whipping process for this whipped cream recipe.
- Step 3: Begin Whipping on Low Speed. Attach the whisk to your electric mixer. Start whipping the cream on the lowest speed setting. This initial slow speed is crucial to prevent any liquid cream from splattering out of the bowl and making a mess. Allow it to mix gently for about 30 seconds to a minute until it starts to slightly combine and show some initial signs of thickening.
- Step 4: Gradually Increase Speed. Once the cream begins to foam and thicken slightly, gradually increase the mixer speed to medium-high. Continue whipping. You’ll notice the cream becoming visibly thicker and more opaque.
- Step 5: Whip to Desired Peaks. Continue whipping, keeping a close eye on the consistency. The cream will go through several stages:
- Soft Peaks: This is when the cream holds its shape but the tip of the peak gently curls over when you lift the whisk. This consistency is perfect for dolloping onto pies, fresh fruit, or hot beverages.
- Medium Peaks: The cream holds its shape more firmly, with the tip standing mostly upright but still having a slight curl. This is a very versatile stage, great for most applications.
- Firm Peaks: The cream holds stiff, distinct peaks that stand straight up when you lift the whisk. This consistency is ideal for piping, filling cakes, or when you need your whipped cream to hold its shape for a longer period.
- Step 6: Serve Immediately or Store. Your perfectly fluffy homemade whipped cream is now ready to be enjoyed! Serve it immediately to experience its freshest, airiest texture. If you need to store it, transfer it to an airtight container. I highly recommend using quality Basics Glass Food Storage containers, as glass helps keep it colder and prevents it from absorbing any off-flavors from the fridge. It will keep well in the refrigerator for up to 2-3 days, though it’s best within the first 24 hours. If it seems a little loose after storage, you can gently re-whisk it for a few seconds to restore some fluffiness.
Delicious Variations & Serving Suggestions for Your Whipped Cream Recipe
Once you’ve mastered this basic whipped cream recipe, the possibilities for customization and serving are endless! Here are some ideas to spark your culinary creativity:
Flavor Variations:
- Vanilla Bean Whipped Cream: For an extra special touch, split a vanilla bean lengthwise, scrape out the seeds, and add them directly to the cream before whipping. The tiny flecks look beautiful and add an intense, sophisticated vanilla flavor.
- Chocolate Whipped Cream: Sift 2-3 tablespoons of unsweetened cocoa powder along with the sugar into the cream before whipping. This creates a truly decadent addition, perfect for topping rich chocolate cakes, brownies, or even hot cocoa.
- Coffee Whipped Cream: Add 1-2 teaspoons of instant espresso powder (dissolved in a tiny bit of hot water and cooled) or a splash of coffee liqueur for a delightful mocha or coffee-flavored cream. This is excellent for tiramisu or coffee-based desserts.
- Citrus Whipped Cream: Add 1-2 teaspoons of fresh lemon, orange, or lime zest (making sure to just get the colored part, not the bitter white pith) for a bright, refreshing twist. This works wonderfully with fruit tarts or alongside Zesty Lemon Berry White Chocolate Summer Cookies.
- Spiced Whipped Cream: A pinch of warm spices like cinnamon, nutmeg, ginger, or a blend of pumpkin spice can transform your cream into a perfect, cozy topping for fall and winter desserts like apple pie or pumpkin treats.
- Almond Whipped Cream: Replace half of the vanilla extract with almond extract for a subtle, nutty, and sophisticated flavor profile.
Serving Suggestions:
- Classic Topping: The most obvious and beloved application! Dollop generously onto almost any dessert – pies, fruit tarts, puddings, crumbles, cheesecakes, and cobblers.
- Fruit Enhancer: Pair with fresh berries (strawberries, blueberries, raspberries), sliced peaches, grilled pineapple, or a simple fruit salad. The simple elegance of a bowl of fresh fruit with homemade whipped cream is truly unbeatable.
- Beverage Booster: Elevate your favorite hot chocolate, iced coffee, milkshakes, or even a festive cocktail with a luxurious swirl of fresh cream.
- Dessert Filler: Use it as a light and airy filling for trifles, éclairs, cream puffs, or as a delightful layer between cakes and cupcakes. This whipped cream recipe is surprisingly stable for these uses.
- Breakfast Treat: Take your breakfast from ordinary to extraordinary with a generous dollop on pancakes, waffles, French toast, or crepes, perhaps with some fresh fruit.
No matter how you choose to use it, this simple yet incredibly effective whipped cream recipe will elevate any dish it accompanies, adding a touch of homemade luxury and flavor that’s simply irresistible.
Nutrition Information for Your Homemade Whipped Cream Recipe
Here's a breakdown of the approximate nutritional content for one serving of this delightful whipped cream recipe. Please note these are estimated values and can vary slightly based on specific ingredient brands and exact portion sizes.
| Nutrient | Amount Per Serving |
|---|---|
| Calories | 70 kcal |
| Carbohydrates | 2 g |
| Cholesterol | 25 mg |
| Total Fat | 7 g |
| Fiber | 0 g |
| Protein | 0 g |
| Saturated Fat | 4 g |
| Sodium | 5 mg |
| Sugar | 2 g |
| Trans Fat | 0 g |
| Unsaturated Fat | 3 g |
The Sweet Conclusion to Your Whipped Cream Recipe Journey
And there you have it – the ultimate guide to making the most exquisite homemade whipped cream! This simple whipped cream recipe is a testament to how often the best things in life are also the easiest to create. From its light-as-air texture to its delicate sweetness, nothing compares to the fresh, pure taste of cream whipped right in your own kitchen.
Whether you're topping a classic apple pie, enhancing a festive mug of hot cocoa, or simply enjoying it with a bowl of fresh berries, mastering this versatile whipped cream recipe is a culinary skill that will serve you well for years to come. So, next time you’re contemplating a dessert, skip the aerosol can and grab that carton of heavy cream. You’ll be utterly amazed at the profound difference a few minutes and this perfect whipped cream recipe can make. Happy whipping, and enjoy the sweet rewards!
FAQs
How long does homemade whipped cream last?
Freshly made whipped cream is best enjoyed immediately for peak fluffiness, but it can be stored in an airtight container in the refrigerator for up to 2-3 days. Its texture may soften slightly over time, but it will still be delicious.
Can I make whipped cream ahead of time for a party?
Yes, you can prepare whipped cream a few hours ahead of time. For optimal results, whip it to firm peaks and store it covered in the refrigerator. If it deflates slightly before serving, you can gently re-whisk it for 10-15 seconds to restore some of its airy texture.
What's the best type of cream to use for whipping?
Always use heavy cream or heavy whipping cream, which has a milk fat content of 36% or higher. This higher fat content is crucial for creating a stable, thick, and fluffy whipped cream that holds its shape well and resists deflation.
Why isn't my whipped cream getting stiff?
The most common reasons for whipped cream not stiffening are using cream that isn't cold enough, using a cream with too low a fat content (like 'whipping cream' instead of 'heavy cream'), or not chilling your mixing bowl and whisk. Ensure all components are very cold for the best results.
Fluffy & Fast: The Best 3-Ingredient Homemade Whipped Cream
A light, airy, and subtly sweet homemade whipped cream that comes together in minutes. Perfect for topping any dessert, beverage, or enjoying on its own. Say goodbye to canned whipped cream forever!
- Total Time: 5 minutes
- Yield: 2 cups 1x
Ingredients
1 cup (240ml) cold heavy cream (36% milk fat or higher)
1-2 tablespoons granulated sugar or confectioners' sugar (to taste)
1/2 teaspoon pure vanilla extract
Instructions
Step 1: Chill your equipment. Place a large mixing bowl (preferably metal or glass) and the whisk attachment of your electric mixer in the freezer for 10-15 minutes. This step is crucial for stable whipped cream.
Step 2: Pour the very cold heavy cream into the chilled bowl. Add the sugar and vanilla extract.
Step 3: Using an electric mixer, start whipping the cream on low speed to prevent splatters. Gradually increase the speed to medium-high.
Step 4: Continue whipping until the cream reaches your desired consistency. For soft peaks (great for dolloping onto pie), stop when the cream holds its shape but the tip gently flops over. For firm peaks (better for piping or filling cakes), whip until the cream holds stiff peaks. Be careful not to over-whip, or it will become grainy and eventually turn into butter.
Step 5: Serve immediately or store in an airtight container in the refrigerator for up to 2-3 days. For best results, use a glass food storage container to help maintain freshness.
Notes
Ensure your cream, bowl, and whisk are all very cold for the best and most stable results. Adjust sugar to your personal preference. For longer-lasting whipped cream, use confectioners' sugar due to its cornstarch content.
- Prep Time: 5 minutes
- Cook Time: 0 minutes
- Category: Desserts & Baking
- Cuisine: American
Nutrition
- Serving Size: 1/4 cup (50g)
- Calories: 70 kcal
- Sugar: 2 g
- Sodium: 5 mg
- Fat: 7 g
- Saturated Fat: 4 g
- Unsaturated Fat: 3 g
- Trans Fat: 0 g
- Carbohydrates: 2 g
- Fiber: 0 g
- Protein: 0 g
- Cholesterol: 25 mg
Leave a Reply