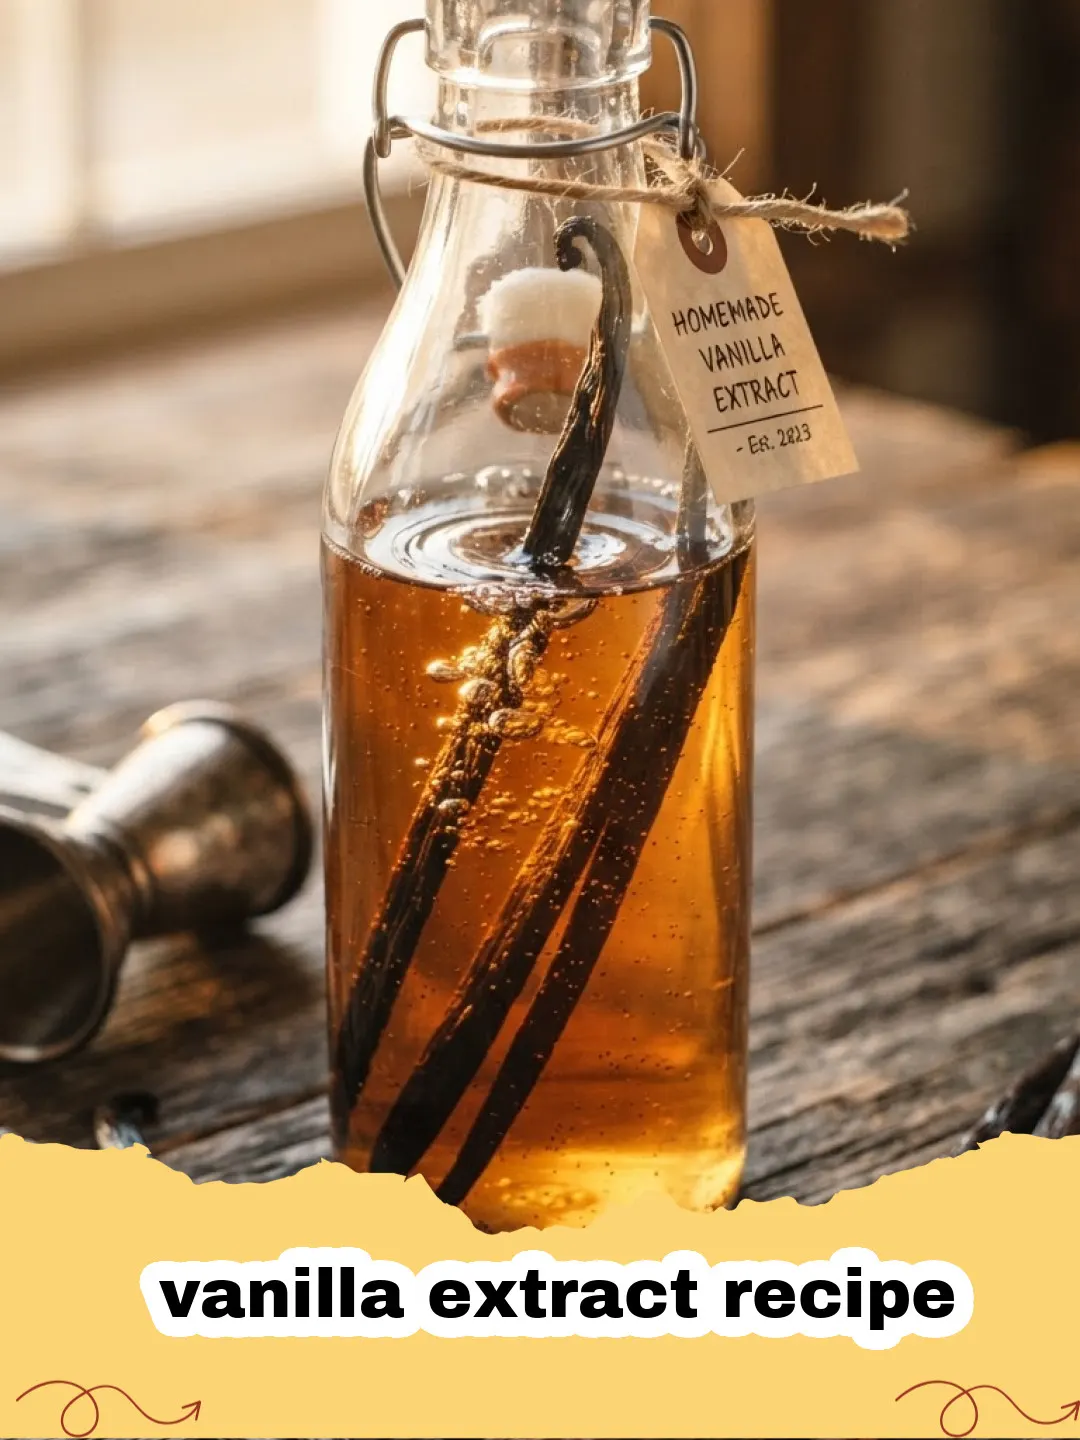
There’s a certain magic that happens in the kitchen when you swap out store-bought ingredients for something homemade. For me, that magic truly began the day I decided to try a vanilla extract recipe. I remember my grandma, a formidable baker whose kitchen always smelled of warm spices and sweet dough, insisting that the secret to truly spectacular baked goods lay in the quality of her vanilla. For years, I just bought whatever was on sale, never quite understanding her devotion. But then, a few Christmases ago, a friend gifted me a small, dark bottle labeled “Homemade Vanilla.” The aroma alone was intoxicating – deep, complex, and utterly unlike anything I’d ever purchased. That one bottle sparked an obsession. I knew I had to learn how to make my own, to capture that incredible depth of flavor and bring my baking to a whole new level. This homemade vanilla extract recipe isn't just about saving money, though it certainly does; it's about crafting an ingredient that imbues every cookie, cake, and custard with an unparalleled warmth and richness. It’s a journey into the heart of flavor, a patience-testing project that yields liquid gold, and a tradition I now lovingly pass on. Trust me, once you go homemade, you’ll never look back. This simple vanilla extract recipe will transform your kitchen.
Why This Recipe is a Must-Try
Unbeatable Flavor Profile
Homemade vanilla extract boasts a depth and complexity that store-bought versions simply cannot match. By slowly infusing high-quality vanilla beans in alcohol, you extract a broader spectrum of aromatic compounds, resulting in a richer, more nuanced flavor. This vanilla extract recipe allows you to control the intensity.
Significant Cost Savings Over Time
While the initial investment in vanilla beans might seem substantial, making your own vanilla extract recipe is incredibly cost-effective in the long run. Good quality pure vanilla extract from the store is expensive, and a single batch of homemade extract can last for years, with the option to 'top off' the bottle, making it a continuous supply.
Customizable to Your Preferences
This homemade vanilla extract recipe offers endless possibilities for customization. You can choose different types of vanilla beans (Madagascar, Tahitian, Mexican) and varying strengths of alcohol (vodka, bourbon, rum) to create unique flavor profiles tailored to your baking needs and personal taste.
A Thoughtful & Impressive Gift
A beautifully bottled batch of homemade vanilla extract makes an exquisite and personal gift for fellow bakers, foodies, or anyone who appreciates quality ingredients. It’s a gift that keeps on giving, and it’s a wonderful way to share the fruits of your labor with loved ones. It’s a highly sought-after vanilla extract recipe to share!
Key Ingredient Notes
Vanilla Beans: The Heart of the Extract
The quality of your vanilla beans directly dictates the flavor of your homemade vanilla extract. For this vanilla extract recipe, I highly recommend using Grade B vanilla beans, also known as 'extract grade' beans. They have a lower moisture content than Grade A (gourmet) beans, which means their flavor compounds are more concentrated and release beautifully over time into the alcohol. Madagascar vanilla beans are a popular choice, offering a classic, creamy, rich vanilla flavor. Tahitian beans provide a more floral and fruity note, while Mexican beans offer a smoky, spicy undertone. Feel free to experiment with different origins to find your favorite. Aim for plump, pliable beans, not dry or brittle ones. Using sufficient beans is crucial for a strong, flavorful vanilla extract recipe.
Alcohol: The Solvent for Flavor
The choice of alcohol is vital for your homemade vanilla extract recipe. A neutral spirit like vodka is the most common choice because it allows the pure vanilla flavor to shine without adding its own distinct taste. Any good quality, inexpensive vodka (80-proof or 40% alcohol by volume) will work perfectly. Avoid anything too cheap that might have an off-putting taste. However, for a more complex flavor profile, you can experiment with other spirits: bourbon adds a warm, smoky, caramel note; rum contributes a sweet, molasses-like depth; and brandy offers a fruity, oaky characteristic. Make sure the alcohol is at least 80 proof (40% ABV) to properly extract and preserve the vanilla compounds. The alcohol acts as a preservative, ensuring your vanilla extract recipe lasts for years.
Glass Bottles: The Infusion Vessel
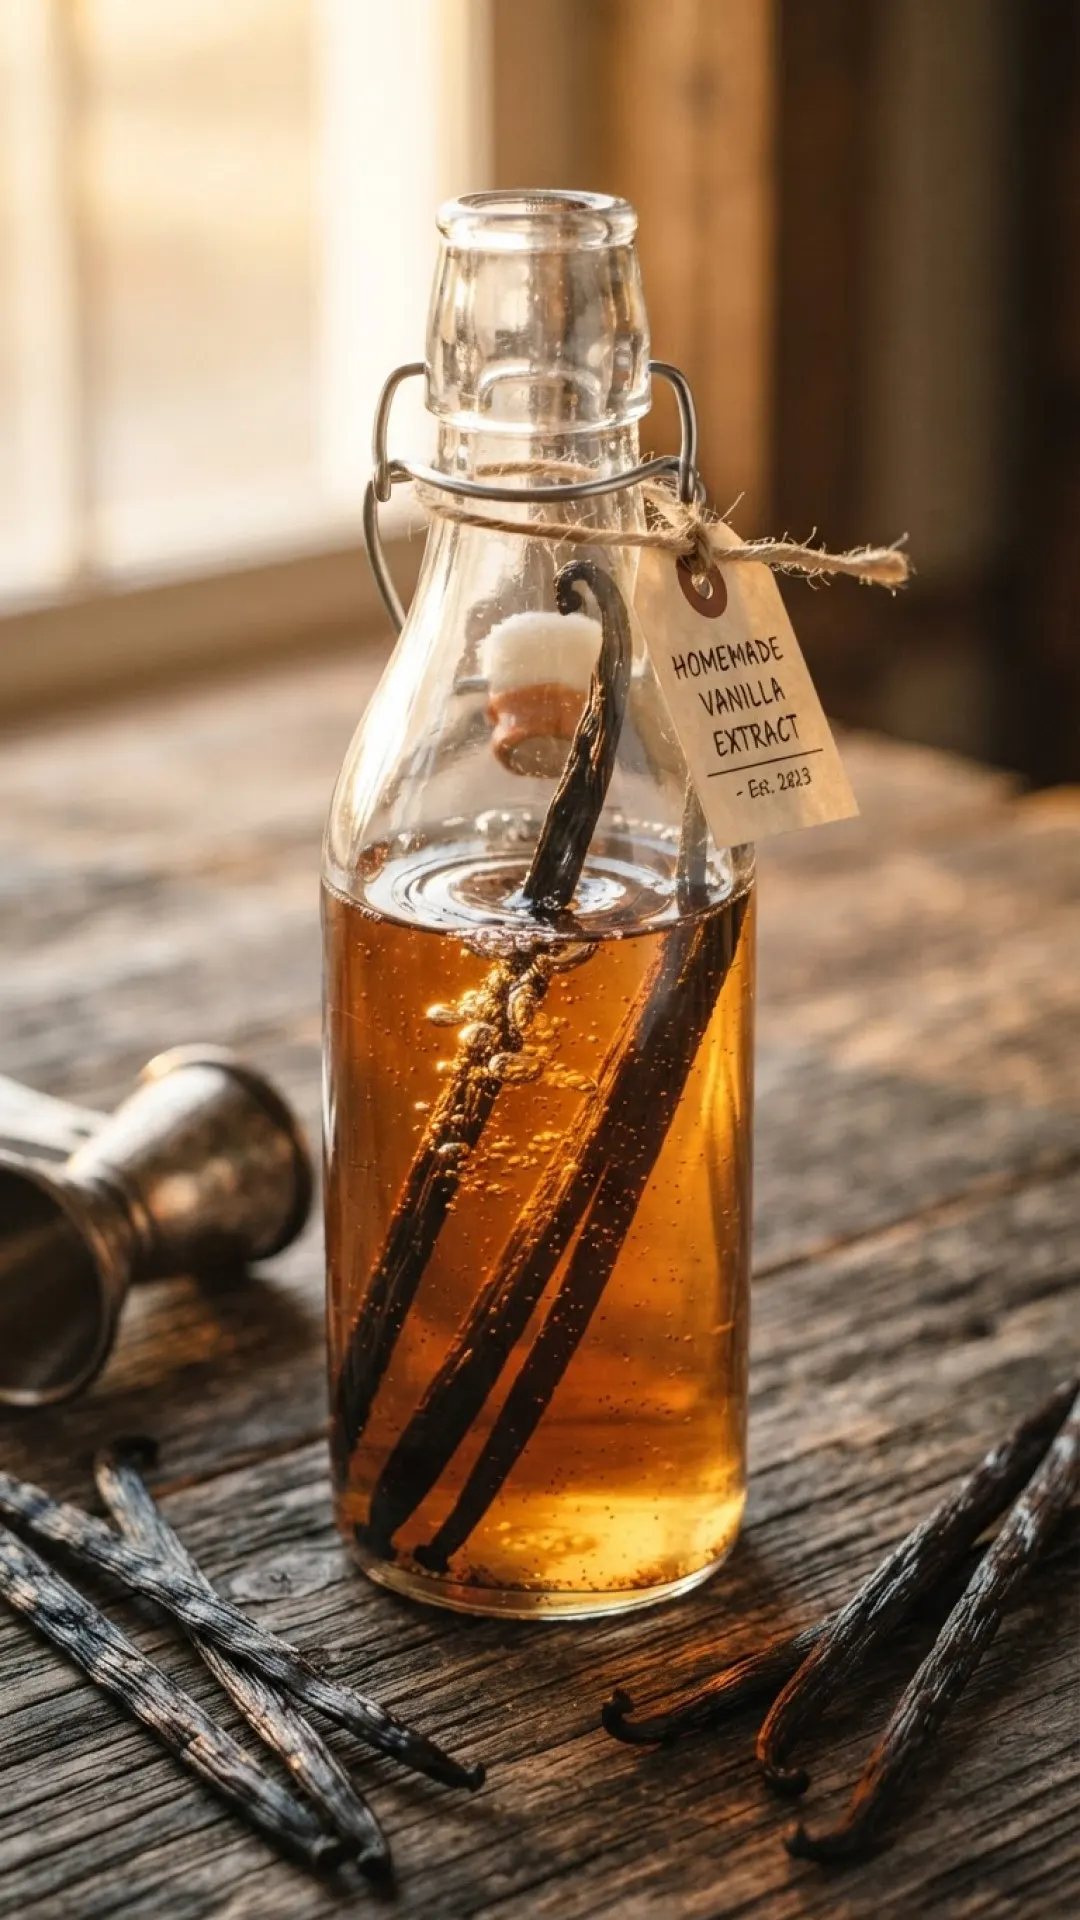
Choosing the right vessel for your homemade vanilla extract recipe is important for proper infusion and long-term storage. Opt for dark amber or cobalt blue glass bottles to protect the extract from light, which can degrade the flavor over time. If you only have clear bottles, store them in a dark pantry or cupboard. Ensure the bottles have tight-fitting caps or corks to prevent evaporation. Swing-top bottles are excellent for this purpose, providing an airtight seal. Clean and sterilize your bottles before use to prevent any unwanted contaminants. You can find excellent options like Basics Glass Food Storage containers that work wonderfully for this project. They are durable and perfect for this vanilla extract recipe.
Step-by-Step Guide with Pro Tips
Preparation is Key
The secret to a potent and flavorful vanilla extract recipe lies in the preparation of your vanilla beans. Don't rush this step!
- Step 1: Gather your vanilla beans, chosen alcohol, and clean glass bottles. Ensure your bottles are sterilized by washing them in hot, soapy water, rinsing thoroughly, and allowing them to air dry completely or drying them in a low oven.
- Step 2: Using a sharp paring knife, carefully split each vanilla bean lengthwise down the middle, from just below the stem end almost to the tip. You want to expose the tiny, fragrant seeds inside. You can leave the very tip intact to keep the bean together, or cut it completely open. If the beans are very long, you can cut them in half crosswise after splitting to ensure they fit well into your bottles.
- Step 3: Place the prepared vanilla beans into your clean glass bottles. For an 8-ounce bottle, aim for about 5-7 whole beans (split). For a larger quantity like a quart, you'd use roughly 20-25 beans. The more beans you use per volume of alcohol, the stronger your finished vanilla extract recipe will be.
- Step 4: Pour your chosen alcohol (vodka, bourbon, rum, etc.) over the vanilla beans in the bottles, ensuring the beans are fully submerged. Leave a small amount of headspace at the top of the bottle.
- Step 5: Securely cap or cork your bottles. Give them a gentle shake to ensure the alcohol fully coats the beans. Label each bottle with the date it was made, the type of alcohol used, and the type of vanilla beans. This helps you track the aging process and replicate your favorite vanilla extract recipe.
The Infusion Process: Patience is a Virtue
This is where the magic of a great vanilla extract recipe truly happens, but it requires patience.
- Step 6: Store your bottles in a cool, dark place, such as a pantry or cupboard. Direct sunlight and heat can degrade the flavor.
- Step 7: For the best results, shake the bottles gently once a week for the first month, and then every few weeks thereafter. This helps redistribute the beans and ensures even extraction of flavor.
- Step 8: The vanilla extract will need to infuse for a minimum of 6-8 weeks. However, for a truly rich, deep flavor, I highly recommend letting it age for 6 months to a year. The longer it infuses, the more robust and complex the flavor will become. You’ll notice the color of the alcohol gradually darkening to a beautiful amber or dark brown. This homemade vanilla extract recipe gets better with age.
- Step 9: Once your vanilla extract has reached your desired strength, you can start using it! There's no need to remove the beans; they will continue to infuse and deepen the flavor.
Pro Tip: The "Top Off" Method
To ensure a continuous supply of homemade vanilla, once you start using the extract, you can simply top off the bottle with more alcohol whenever the liquid level gets low. Just make sure the beans remain fully submerged. Every few years, you might want to replace the old beans with fresh ones to maintain peak flavor intensity for your vanilla extract recipe.
Variations & Serving Suggestions
Experiment with Alcohol Bases
While vodka is the classic choice for a pure vanilla extract recipe, don't be afraid to branch out! Bourbon vanilla extract adds a wonderful warmth and hints of caramel, perfect for pecan pies, banana bread, or a batch of The Ultimate Gooey & Perfect Rice Krispie Treats. Rum vanilla extract brings a sweeter, slightly tropical note, ideal for custards, fruit tarts, or even a spiced holiday drink. Brandy vanilla extract offers a sophisticated, fruity undertone that can elevate elegant desserts. Each spirit creates a slightly different character for your vanilla extract recipe.
Spiced Vanilla Extract
For an extra layer of flavor, consider adding whole spices to your vanilla extract recipe during the infusion process. A cinnamon stick, a few cardamom pods, a star anise, or even a couple of dried chili peppers can create a unique spiced vanilla extract perfect for specific recipes or holiday baking. Just be mindful not to overpower the delicate vanilla flavor. This takes your vanilla extract recipe to a new dimension.
Serving Suggestions & Uses
Once your homemade vanilla extract is ready, the possibilities are endless! Use it in all your favorite baking and cooking recipes where vanilla is called for. It will truly elevate everything from simple sugar cookies to complex layered cakes. A dash in your morning coffee or tea can be a delightful treat. It’s fantastic in homemade whipped cream, ice cream bases, puddings, and even savory dishes that benefit from a hint of sweetness and depth, like glazes for pork or chicken. Imagine the flavor it will bring to My Grandma's Irresistible Lemon Bar Recipe. This homemade vanilla extract recipe is a staple you won't want to live without!
Nutrition Information
As vanilla extract is typically used in small quantities, its nutritional contribution to a dish is usually minimal. The following table provides approximate values for a single serving (1 teaspoon), primarily reflecting the alcohol content.
| Nutrient | Amount per Serving |
|---|---|
| Calories | 12 kcal |
| Carbohydrate Content | 0.1 g |
| Cholesterol Content | 0 mg |
| Fat Content | 0 g |
| Fiber Content | 0 g |
| Protein Content | 0 g |
| Saturated Fat Content | 0 g |
| Serving Size | 1 tsp |
| Sodium Content | 0 mg |
| Sugar Content | 0 g |
| Trans Fat Content | 0 g |
| Unsaturated Fat Content | 0 g |
Conclusion
Embarking on the journey of making your own vanilla extract recipe is more than just a kitchen project; it’s an investment in the future of your baking. The rich, complex flavors developed over months of patient infusion will elevate every dish you create, making your desserts truly unforgettable. From the satisfying aroma that fills your home to the joy of gifting a handmade bottle of liquid gold, this homemade vanilla extract recipe brings a profound sense of accomplishment and culinary delight. So, gather your beans, choose your spirit, and let time work its magic. You’ll soon discover that the best vanilla isn’t bought; it’s crafted with love and patience right in your own kitchen. This simple vanilla extract recipe is a game-changer!
FAQs
What's the best alcohol to use for a vanilla extract recipe?
A neutral, 80-proof spirit like vodka is generally recommended as it allows the pure vanilla flavor to shine. However, you can also use bourbon for a warm, smoky note, rum for a sweeter, molasses-like depth, or brandy for a fruity, oaky character, depending on your desired flavor profile. Always ensure it's at least 40% alcohol by volume.
How long does homemade vanilla extract last?
Properly made and stored, homemade vanilla extract can last for many years, even indefinitely, thanks to the alcohol acting as a preservative. The flavor actually deepens and improves over time. You can continually top off the bottle with more alcohol as you use it, ensuring the vanilla beans remain submerged.
Can I reuse vanilla beans for another batch of extract?
Yes, you can reuse vanilla beans. Once you've used a batch of beans for a year or two, their potency might diminish. You can either dry them out and grind them into vanilla powder or add them to sugar to make vanilla sugar. For a new batch of extract, it's best to start with fresh, potent beans to ensure the highest quality flavor.
What's the difference between Grade A and Grade B vanilla beans for extract?
Grade A (gourmet) vanilla beans are plump and moist, ideal for recipes where the bean itself is used. Grade B (extract grade) vanilla beans are drier and less visually appealing but have a more concentrated vanilla flavor that is perfect for extraction. Their lower moisture content means their flavor compounds are more readily released into alcohol, making them the superior choice for a vanilla extract recipe.
Homemade Vanilla Extract
Craft your own superior vanilla extract with this easy, cost-effective recipe. Using just vanilla beans and alcohol, you can create a rich, aromatic extract that will elevate all your baking.
- Total Time: 6 months, 15 minutes active
- Yield: 16 fluid ounces (approx. 470ml) 1x
Ingredients
10-14 Grade B vanilla beans (Madagascar or Tahitian)
16 fl oz (470ml) 80-proof alcohol (vodka, bourbon, rum, or brandy)
Instructions
Step 1: Gather your vanilla beans, chosen alcohol, and clean glass bottles. Ensure your bottles are sterilized by washing them in hot, soapy water, rinsing thoroughly, and allowing them to air dry completely or drying them in a low oven.
Step 2: Using a sharp paring knife, carefully split each vanilla bean lengthwise down the middle, from just below the stem end almost to the tip. You can leave the very tip intact to keep the bean together, or cut it completely open. If the beans are very long, you can cut them in half crosswise after splitting to ensure they fit well into your bottles.
Step 3: Place the prepared vanilla beans into your clean glass bottles. For an 8-ounce bottle, aim for about 5-7 whole beans (split). For a larger quantity like a quart, you'd use roughly 20-25 beans. The more beans you use per volume of alcohol, the stronger your finished extract will be.
Step 4: Pour your chosen alcohol (vodka, bourbon, rum, etc.) over the vanilla beans in the bottles, ensuring the beans are fully submerged. Leave a small amount of headspace at the top of the bottle.
Step 5: Securely cap or cork your bottles. Give them a gentle shake to ensure the alcohol fully coats the beans. Label each bottle with the date it was made, the type of alcohol used, and the type of vanilla beans.
Step 6: Store your bottles in a cool, dark place, such as a pantry or cupboard. Direct sunlight and heat can degrade the flavor.
Step 7: For the best results, shake the bottles gently once a week for the first month, and then every few weeks thereafter. This helps redistribute the beans and ensures even extraction of flavor.
Step 8: The vanilla extract will need to infuse for a minimum of 6-8 weeks. However, for a truly rich, deep flavor, I highly recommend letting it age for 6 months to a year. The longer it infuses, the more robust and complex the flavor will become. You’ll notice the color of the alcohol gradually darkening to a beautiful amber or dark brown.
Step 9: Once your vanilla extract has reached your desired strength, you can start using it! There's no need to remove the beans; they will continue to infuse and deepen the flavor. For a continuous supply, simply top off the bottle with more alcohol as you use the extract, ensuring beans remain submerged.
Notes
For the best flavor, allow your vanilla extract to infuse for at least 6 months, or even up to a year. Store in a cool, dark place. You can top off your bottle with more alcohol as you use the extract to keep it going for years, just ensure beans remain submerged. Replace beans every 2-3 years for optimal flavor.
- Prep Time: 15 minutes
- Cook Time: 6 months (infusion)
- Category: Desserts & Baking
- Cuisine: American
Nutrition
- Serving Size: 1 tsp
- Calories: 12 kcal
- Sugar: 0 g
- Sodium: 0 mg
- Fat: 0 g
- Saturated Fat: 0 g
- Unsaturated Fat: 0 g
- Trans Fat: 0 g
- Carbohydrates: 0.1 g
- Fiber: 0 g
- Protein: 0 g
- Cholesterol: 0 mg