
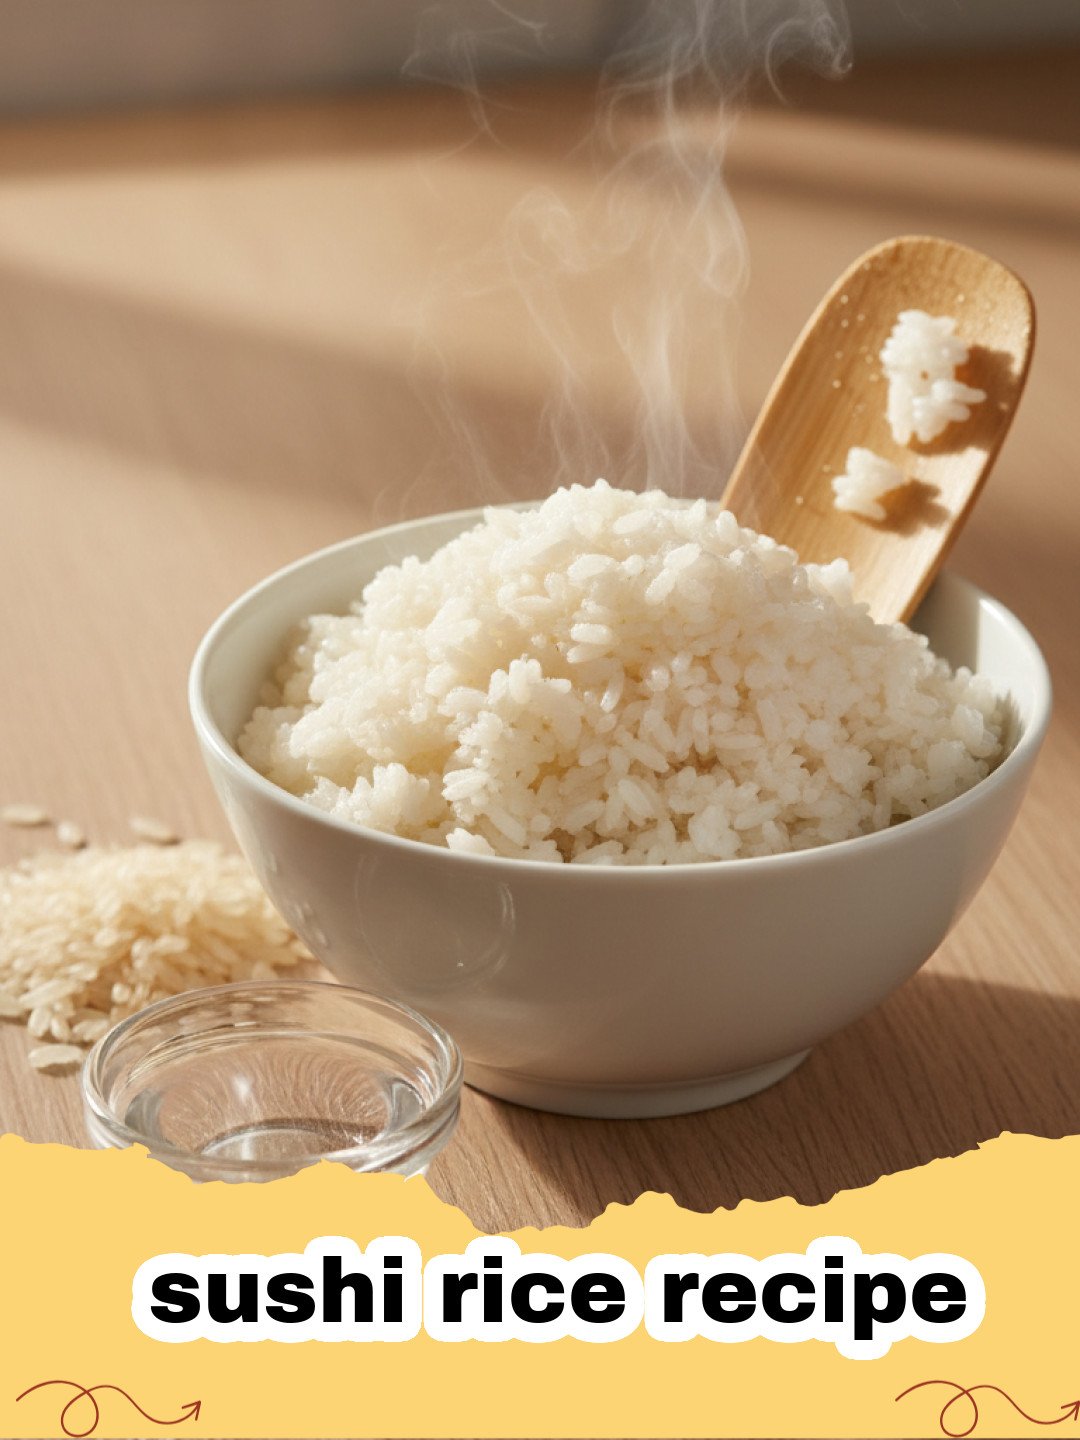
There's something uniquely satisfying about recreating restaurant-quality dishes in your own kitchen, and for me, that journey truly began with mastering the perfect homemade sushi rice recipe. I remember my first attempt at making sushi at home. It was an ambitious undertaking fueled by a craving and a desire to impress. I meticulously prepared the fillings, practiced my rolling technique, but when it came to the rice, I thought, "rice is just rice, right?" Oh, how wrong I was! My initial batch was either too sticky, too dry, or completely devoid of that characteristic tangy-sweet flavor. My homemade rolls crumbled, my nigiri fell apart, and my dreams of becoming a sushi sensei quickly evaporated into a sticky, unappetizing mess. It was a humbling experience, but it ignited a passion to truly understand the foundational element of great sushi. After countless batches, experiments with different vinegars, sugar ratios, and washing techniques, I finally cracked the code to making the most delicious, perfectly textured sushi rice. This isn't just a recipe; it's a guide born from trial and error, designed to empower you to create a sushi experience that will impress even yourself, starting with the very best sushi rice recipe.
Why This Sushi Rice Recipe is a Must-Try
Achieve Authentic Texture: Forget soggy or mushy rice. This sushi rice recipe guarantees perfectly tender, slightly firm, and wonderfully sticky grains that hold their shape without being gluey.
Balanced Flavor Profile: We strike the perfect balance between sweet, tangy, and savory, creating a flavorful base that complements any sushi filling or topping.
Demystifies the Process: I've broken down every step of this essential sushi rice recipe, from washing to seasoning, making it approachable for home cooks of all skill levels.
Versatile Foundation: Once you master this sushi rice recipe, you unlock a world of culinary possibilities, from classic maki rolls and nigiri to deconstructed sushi bowls and poke salads.
Key Ingredient Notes for the Perfect Sushi Rice Recipe
While the overall process for a delicious sushi rice recipe might seem simple, the quality and preparation of a few key ingredients make all the difference.
Sushi Rice (Short-Grain Japanese Rice)
This is non-negotiable for any good sushi rice recipe. Short-grain Japanese rice varieties, such as Nishiki, Kokuho Rose, or premium brands like Tamaki Gold, have a higher starch content and a rounder, plumper grain that becomes perfectly sticky and tender when cooked. Do not substitute with long-grain or even medium-grain rice; they simply won't yield the right texture for this sushi rice recipe. The starch is crucial for that signature cling, allowing your sushi to hold together beautifully.
Rice Vinegar
Also known as "rice wine vinegar," this is the tangy heart of your sushi seasoning. Use unseasoned rice vinegar for the most control over the final flavor of your sushi rice recipe. Seasoned rice vinegar often contains added sugar and salt, which can throw off the delicate balance we're aiming for. The acidity from the vinegar is what gives sushi rice its characteristic bright, clean taste, cutting through the richness of fish and other fillings.
Sugar and Salt
These two humble ingredients transform plain cooked rice into sublime sushi rice. The sugar provides a subtle sweetness that balances the vinegar's tang, while the salt enhances all the flavors. Use fine-grain sugar to ensure it dissolves quickly in the vinegar mixture. Don't be tempted to omit or drastically reduce them; they are essential for creating the signature flavor profile of an authentic sushi rice recipe.
Step-by-Step Guide with Pro Tips for this Sushi Rice Recipe
Preparation is Key
Step 1: Begin by measuring your sushi rice. For this sushi rice recipe, I recommend using 2 cups of dry short-grain sushi rice, which will yield enough for 4-6 servings. Place the measured rice into a large bowl.
Step 2: Now comes the crucial washing process. Add cold water to the bowl, submerging the rice. Swirl the rice gently with your hand for about 30 seconds. You'll notice the water turn cloudy from the excess starch. Drain the cloudy water. Repeat this process 5-7 times, or until the water runs mostly clear. This step is vital for achieving the correct texture in your sushi rice recipe, preventing it from becoming too gummy.
Step 3: After washing, drain the rice thoroughly using a fine-mesh sieve. Let the rice rest in the sieve for at least 30 minutes to an hour. This allows the grains to absorb any remaining surface water evenly, leading to more consistent cooking for your sushi rice recipe.
Cooking the Sushi Rice
Step 4: Transfer the drained rice to a heavy-bottomed pot with a tight-fitting lid. Add 2 cups of cold water to the pot. The 1:1 ratio of rice to water is critical for this sushi rice recipe when using a pot.
Step 5: Bring the water to a rolling boil over medium-high heat. Once boiling, immediately reduce the heat to the lowest setting, cover the pot tightly, and let it simmer for 15 minutes. Resist the urge to lift the lid during this time; trapping the steam is essential for perfectly cooked sushi rice.
Step 6: After 15 minutes, remove the pot from the heat. Keep the lid on and let the rice steam for another 10-15 minutes. This final resting period allows the rice to finish cooking with residual heat and ensures a fluffy texture for your sushi rice recipe.
Seasoning the Sushi Rice
Step 7: While the rice is resting, prepare the sushi vinegar mixture. In a small saucepan, combine 1/2 cup unseasoned rice vinegar, 2 tablespoons granulated sugar, and 1 teaspoon fine sea salt. Heat over low heat, stirring constantly, until the sugar and salt are completely dissolved. Do not boil the mixture. Set aside to cool slightly.
8: Transfer the cooked rice to a large, wide, non-metallic bowl or a traditional Japanese hangiri (wooden rice tub). Using a non-metallic spatula or wooden spoon, gently separate the grains. Avoid smashing the rice.
Step 9: Gradually pour the cooled vinegar mixture over the rice while fanning it with a hand fan or a piece of cardboard. The fanning helps to cool the rice quickly, giving it a beautiful sheen and preventing it from becoming soggy. Continue to gently fold and fan the rice until the seasoning is evenly distributed and the rice has cooled to room temperature. This fanning technique is a signature of a great sushi rice recipe.
Step 10: Once seasoned and cooled, cover the sushi rice with a damp cloth or plastic wrap to prevent it from drying out. Use the rice within a few hours for the best results. For longer storage, transfer to airtight Basics Glass Food Storage containers in the refrigerator, but it's best enjoyed fresh for any sushi rice recipe.
Variations & Serving Suggestions for Your Sushi Rice Recipe
Mastering this fundamental sushi rice recipe opens up a world of culinary creativity. Don't feel limited to just classic sushi rolls. Here are a few ideas to get you started:
Sushi Bowls (Chirashi Don): Layer your perfect sushi rice recipe with sashimi-grade fish, avocado, cucumber, edamame, and a drizzle of soy sauce for a vibrant and customizable meal. For an extra kick, add some homemade pesto!
Spicy Tuna or Salmon Stacks: Press sushi rice into a round mold, top with a mixture of diced raw tuna or salmon tossed with spicy mayo, then layer with avocado. A fantastic appetizer or light lunch.
Onigiri (Rice Balls): Shape the seasoned sushi rice recipe into triangles or ovals, fill with a dab of pickled plum (umeboshi), grilled salmon, or tuna mayo, and wrap with a strip of nori. Perfect for lunchboxes or quick snacks. This is a great way to use leftover sushi rice if you have any.
Sushi Burritos: Roll your sushi rice recipe with your favorite fillings (think grilled chicken, shrimp tempura, mixed greens, and a variety of sauces) in a large nori sheet for a handheld, hearty meal.
Vegetarian Options: This sushi rice recipe pairs beautifully with a medley of fresh vegetables like bell peppers, carrots, sprouts, and even roasted sweet potato. Try it alongside some zucchini pasta for a balanced meal.
Nutrition Information
| Nutrient | Amount per Serving |
|---|---|
| Calories | 350 kcal |
| Carbohydrates | 75g |
| Cholesterol | 0mg |
| Fat | 1g |
| Fiber | 2g |
| Protein | 6g |
| Saturated Fat | 0g |
| Serving Size | 1 cup (cooked) |
| Sodium | 350mg |
| Sugar | 8g |
| Trans Fat | 0g |
| Unsaturated Fat | 0g |
Conclusion
And there you have it – the ultimate sushi rice recipe, your gateway to creating incredible sushi and Japanese-inspired dishes right in your own home! No more bland, clumpy, or poorly seasoned rice. With a little care in washing, precise cooking, and careful seasoning, you'll be producing restaurant-quality sushi rice every single time. This sushi rice recipe is truly the heart and soul of any good sushi, and mastering it will elevate all your culinary endeavors. So, gather your ingredients, follow these steps, and prepare to impress yourself and your loved ones with the delicious, perfectly crafted foundation for all your sushi dreams. Happy rolling!
FAQs
What type of rice is best for a sushi rice recipe?
For an authentic sushi rice recipe, always use short-grain Japanese sushi rice. Varieties like Nishiki, Kokuho Rose, or Tamaki Gold are ideal due to their high starch content, which provides the perfect sticky yet tender texture needed for sushi.
Why is washing the rice so important for a sushi rice recipe?
Washing the rice thoroughly in cold water removes excess surface starch. This crucial step prevents the sushi rice from becoming overly gummy or mushy during cooking, ensuring a fluffy, separate-yet-sticky texture that is characteristic of a great sushi rice recipe.
Can I use seasoned rice vinegar for this sushi rice recipe?
While you technically can, it's highly recommended to use unseasoned rice vinegar for this sushi rice recipe. Seasoned rice vinegar often contains pre-added sugar and salt, which can make it difficult to control the precise flavor balance we aim for in homemade sushi rice. Using unseasoned allows you to customize the sweetness and saltiness perfectly.
How should I store leftover sushi rice?
Sushi rice is best enjoyed fresh, within a few hours of preparation. If you have leftovers, store them in an airtight container at room temperature for a few hours or in the refrigerator for up to one day. However, refrigerated sushi rice will lose some of its ideal texture and may become firmer, so it's best to make only what you plan to use.

Perfect Homemade Sushi Rice
Master the essential foundation of any great sushi dish with this foolproof homemade sushi rice recipe. Achieve perfectly seasoned, tender, and sticky rice that forms the base for incredible maki, nigiri, and sushi bowls.
- Total Time: 40 minutes
- Yield: 4-6 servings 1x
Ingredients
2 cups short-grain Japanese sushi rice
2 cups cold water (for cooking rice)
1/2 cup unseasoned rice vinegar
2 tablespoons granulated sugar
1 teaspoon fine sea salt
Instructions
Step 1: Place the short-grain sushi rice in a large bowl and cover with cold water. Swirl gently for 30 seconds until the water turns cloudy. Drain and repeat 5-7 times until the water runs mostly clear.
Step 2: Drain the washed rice thoroughly using a fine-mesh sieve and let it rest for 30-60 minutes to absorb any remaining surface water evenly.
Step 3: Transfer the drained rice to a heavy-bottomed pot with a tight-fitting lid. Add 2 cups of cold water.
Step 4: Bring the water to a rolling boil over medium-high heat. Once boiling, immediately reduce heat to the lowest setting, cover tightly, and simmer for 15 minutes.
Step 5: Remove the pot from the heat. Keep the lid on and let the rice steam undisturbed for another 10-15 minutes.
Step 6: While the rice rests, prepare the seasoning: In a small saucepan, combine unseasoned rice vinegar, granulated sugar, and fine sea salt. Heat over low heat, stirring constantly, until sugar and salt are completely dissolved. Do not boil. Let cool slightly.
Step 7: Transfer the cooked rice to a large, wide, non-metallic bowl or a hangiri. Using a non-metallic spatula or wooden spoon, gently separate the grains.
Step 8: Gradually pour the cooled vinegar mixture over the rice while fanning it with a hand fan or cardboard. Gently fold and fan the rice until the seasoning is evenly distributed and the rice has cooled to room temperature.
Step 9: Cover the seasoned sushi rice with a damp cloth or plastic wrap to prevent it from drying out. Use immediately or within a few hours for the best texture and flavor.
Notes
For best results, use freshly cooked and seasoned sushi rice. If you have leftovers, store them in an airtight container in the refrigerator for up to 1 day, but the texture will change slightly.
- Prep Time: 15 minutes
- Cook Time: 25 minutes
- Category: Main Dishes & Savory Recipes
- Cuisine: Japanese
Nutrition
- Serving Size: 1 cup (cooked)
- Calories: 350 kcal
- Sugar: 8g
- Sodium: 350mg
- Fat: 1g
- Saturated Fat: 0g
- Unsaturated Fat: 0g
- Trans Fat: 0g
- Carbohydrates: 75g
- Fiber: 2g
- Protein: 6g
- Cholesterol: 0mg
Leave a Reply