
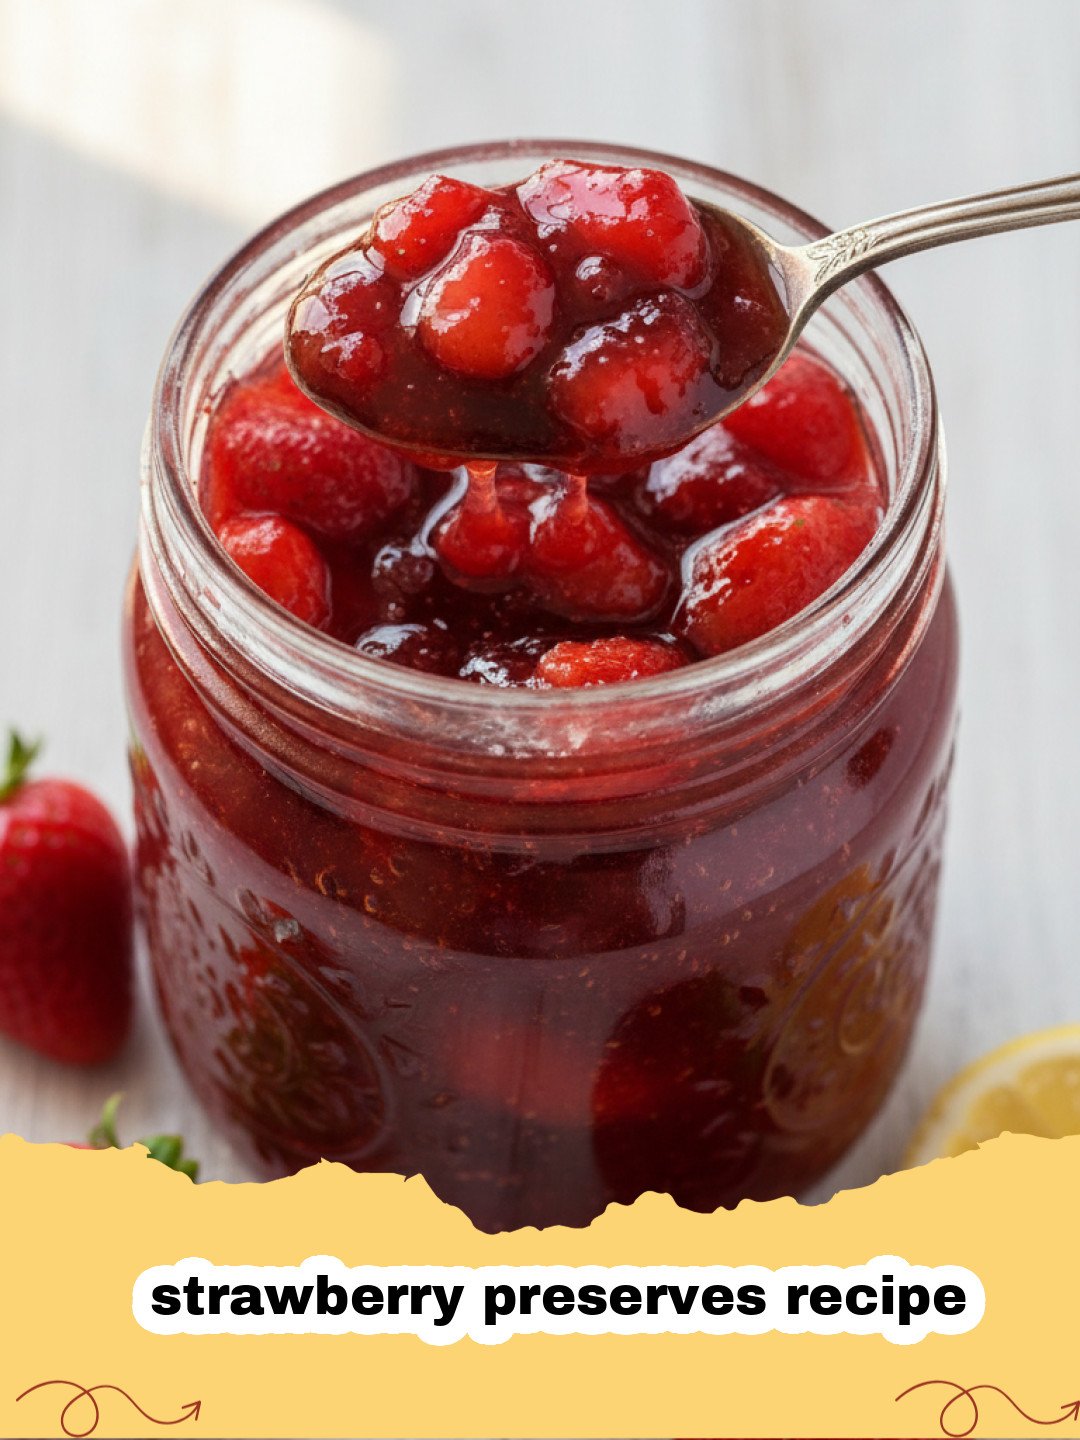
There are some smells that instantly transport you back in time, aren't there? For me, the sweet, heady aroma of fresh strawberries simmering on the stove is one of them. It takes me straight back to my grandmother’s kitchen, sunbeams dancing on the worn linoleum, and her hands, flour-dusted and wise, gently stirring a bubbling pot. She wasn't just making jam; she was bottling sunshine, love, and the very essence of summer. That magical scent is precisely why mastering a classic strawberry preserves recipe has become a cherished annual ritual in my own home. It’s more than just fruit and sugar; it’s a connection to tradition, a labor of love, and a delicious way to capture the fleeting beauty of ripe, red strawberries. This isn’t just any recipe; it’s the one that brings that nostalgic warmth and incredible flavor to your pantry, ensuring you can enjoy the taste of summer long after the season ends.
My grandmother taught me that the best things take time, but also that they don't have to be complicated. This strawberry preserves recipe embodies that philosophy perfectly. While it requires a little patience, the process is incredibly straightforward, yielding a preserve that’s bursting with vibrant strawberry flavor, beautiful color, and that perfect, slightly chunky texture we all adore. Forget store-bought; once you make your own homemade strawberry preserves, there’s truly no going back. Imagine spreading this luscious preserve on a warm scone, swirling it into yogurt, or gifting it to a loved one. It’s a small jar of pure happiness!
Why This Strawberry Preserves Recipe is a Must-Try
- Unmatched Freshness and Flavor: Store-bought preserves simply cannot compare to the intense, natural taste of homemade preserves made with peak-season strawberries. This strawberry preserves recipe highlights the fruit's true essence.
- Simple Ingredients, Incredible Results: You only need a few basic ingredients – strawberries, sugar, and lemon juice – to create something truly extraordinary. No artificial colors, flavors, or preservatives!
- Perfectly Customizable: While this classic strawberry preserves recipe is perfect as is, it's also a fantastic base for adding your own twist, from a hint of vanilla to a touch of spice.
- A Rewarding Culinary Experience: The process of turning fresh berries into glistening jars of preserves is deeply satisfying and creates beautiful gifts from the heart.
- Versatile Delight: Enjoy this luscious strawberry preserves recipe on toast, pancakes, yogurt, or as a filling for cakes and pastries. The possibilities are endless!
Key Ingredient Notes for the Best Strawberry Preserves Recipe
The beauty of this strawberry preserves recipe lies in its simplicity, which means the quality of your ingredients truly shines. Here are a few notes on what you'll need:
Fresh Strawberries: The Star of the Show
Choosing the right strawberries is paramount. Opt for ripe, red, fragrant berries that are in season. Farmers' markets are often the best place to find these gems. Avoid under-ripe or over-ripe fruit; you want them firm but juicy. Gently wash them under cool water, then hull them (remove the green leafy tops) and slice them if they are very large. For this strawberry preserves recipe, smaller berries can be left whole or halved.
Granulated Sugar: More Than Just Sweetness
Sugar is essential for more than just taste in a strawberry preserves recipe. It acts as a preservative, helps to extract moisture from the fruit, and contributes to the preserves' texture by interacting with the pectin. While it might seem like a lot, the sugar content is necessary for proper jelling and shelf stability. Resist the urge to drastically reduce it, especially if you plan to store the preserves for an extended period, unless you're experienced with low-sugar pectin products.
Lemon Juice: The Unsung Hero
Don't skip the lemon juice! It plays a crucial role in this strawberry preserves recipe. Lemon juice adds a bright, tangy counterpoint to the sweetness, preventing the preserves from tasting one-dimensional. More importantly, the acidity in lemon juice helps activate the natural pectin in the strawberries, which is vital for achieving that perfect set. Without it, your preserves might remain too runny. Freshly squeezed lemon juice is always best.
Step-by-Step Guide with Pro Tips for Your Strawberry Preserves Recipe
Making your own strawberry preserves recipe is a delightful journey. Follow these steps carefully, and you'll be rewarded with jars of homemade goodness.
Step 1: Prepare your strawberries. Gently wash fresh, ripe strawberries and hull them. If the berries are very large, you can slice them in half or quarters; otherwise, leave smaller ones whole. Place the prepared strawberries in a large, non-reactive pot or Dutch oven.
Step 2: Add the sugar and lemon juice. Sprinkle the granulated sugar over the strawberries. Pour in the fresh lemon juice. Gently toss everything together until the strawberries are well coated. This combination of ingredients is the magic behind a successful strawberry preserves recipe.
Step 3: Let it macerate. Cover the pot and let the mixture sit at room temperature for at least 2-4 hours, or ideally overnight in the refrigerator. This crucial step allows the sugar to draw out the natural juices from the strawberries, creating a beautiful syrup and enhancing the fruit's flavor. You'll notice a lot of liquid forming at the bottom of the pot.
Step 4: Begin cooking. Place the pot over medium-high heat. Bring the mixture to a full rolling boil, stirring frequently to prevent sticking. Continue to boil, stirring often, for about 15-20 minutes, or until the strawberries soften and the syrup begins to thicken. This is where your strawberry preserves recipe really comes to life.
Step 5: Skim the foam. As the preserves cook, foam will rise to the surface. Use a large spoon to skim off this foam. Skimming improves the clarity and appearance of your finished strawberry preserves.
Step 6: Test for set. To check if your preserves have reached the setting point, place a small plate in the freezer before you start cooking. After about 15 minutes of boiling, spoon a small amount of the hot preserves onto the chilled plate. Return the plate to the freezer for 1-2 minutes. Retrieve the plate and push the edge of the preserve with your finger. If it wrinkles, it's ready. If it’s still runny, continue to cook and re-test every 2-3 minutes. This test is key to perfect strawberry preserves recipe consistency.
Step 7: Ladle into jars. Once the preserves have reached the desired set, remove the pot from the heat. Carefully ladle the hot strawberry preserves into sterilized canning jars, leaving about 1/4 inch of headspace. Wipe the rims of the jars clean with a damp cloth.
Step 8: Seal the jars (optional but recommended for long storage). If you plan to store your preserves for extended periods, process them in a boiling water bath canner for 10 minutes. For detailed canning instructions, consult a reliable canning guide. Otherwise, cool completely and store in the refrigerator. For easy, short-term storage, transfer to Basics Glass Food Storage containers.
Step 9: Cool and store. Allow the jars to cool completely at room temperature. As they cool, you should hear the lids 'pop' as they seal. Once cooled, label your jars with the date. Store sealed jars in a cool, dark place for up to one year. Refrigerate after opening. Enjoy your homemade strawberry preserves recipe creation!
Variations & Serving Suggestions for Your Strawberry Preserves Recipe
Once you've mastered this classic strawberry preserves recipe, feel free to get creative! The versatility of homemade strawberry preserves is truly remarkable.
Exciting Variations:
- Strawberry Vanilla Preserves: Add a vanilla bean pod (split lengthwise) to the strawberries during maceration and cooking. Remove the pod before jarring, or scrape out the seeds and mix them in.
- Strawberry Balsamic Preserves: Introduce a tablespoon or two of good quality balsamic vinegar during the last 5 minutes of cooking. The vinegar adds a sophisticated depth and tang.
- Strawberry Rhubarb Preserves: Replace half of the strawberries with chopped rhubarb for a delightful sweet-tart combination. This is a fantastic way to enjoy two spring favorites together!
- Spicy Strawberry Preserves: For a subtle kick, add a pinch of red pepper flakes or a thinly sliced jalapeño (seeds removed for less heat) during the cooking process.
Delicious Serving Suggestions:
- Classic Breakfast: Spread generously on toast, biscuits, or croissants. It’s also incredible swirled into a bowl of oatmeal or over a stack of The Ultimate Fluffy Dutch Baby Pancake.
- Yogurt and Granola: Layer with plain Greek yogurt and crunchy granola for a wholesome and delicious breakfast or snack.
- Dessert Topping: Spoon over vanilla ice cream, panna cotta, or cheesecake. Use it as a filling for tarts, crêpes, or even a classic Victoria sponge cake.
- Savory Pairings: Don't limit preserves to sweet dishes! A dollop of strawberry preserves can be a fantastic accompaniment to a cheese board, especially with soft cheeses like brie or goat cheese. It also makes a surprising glaze for roast pork or chicken.
- Beverages: Stir a spoonful into sparkling water for a refreshing strawberry soda, or use it to flavor cocktails. For another refreshing summer drink, check out our Ultimate Refreshing Watermelon Juice Recipe.
Nutrition Information
Here's a breakdown of the estimated nutrition information for one serving of this classic strawberry preserves recipe:
| Nutrient | Amount per Serving |
|---|---|
| Calories | 55 kcal |
| Carbohydrate Content | 14 g |
| Cholesterol Content | 0 mg |
| Fat Content | 0 g |
| Fiber Content | 0.5 g |
| Protein Content | 0.1 g |
| Saturated Fat Content | 0 g |
| Sodium Content | 0 mg |
| Sugar Content | 13 g |
| Trans Fat Content | 0 g |
| Unsaturated Fat Content | 0 g |
*Estimates based on a 1 tablespoon serving size.
Embrace the joy of making your own delicious strawberry preserves. This strawberry preserves recipe isn't just about canning; it's about creating memories, sharing flavors, and bringing a little bit of summer's magic into every day. Happy preserving!
FAQs
What is the difference between strawberry jam and strawberry preserves?
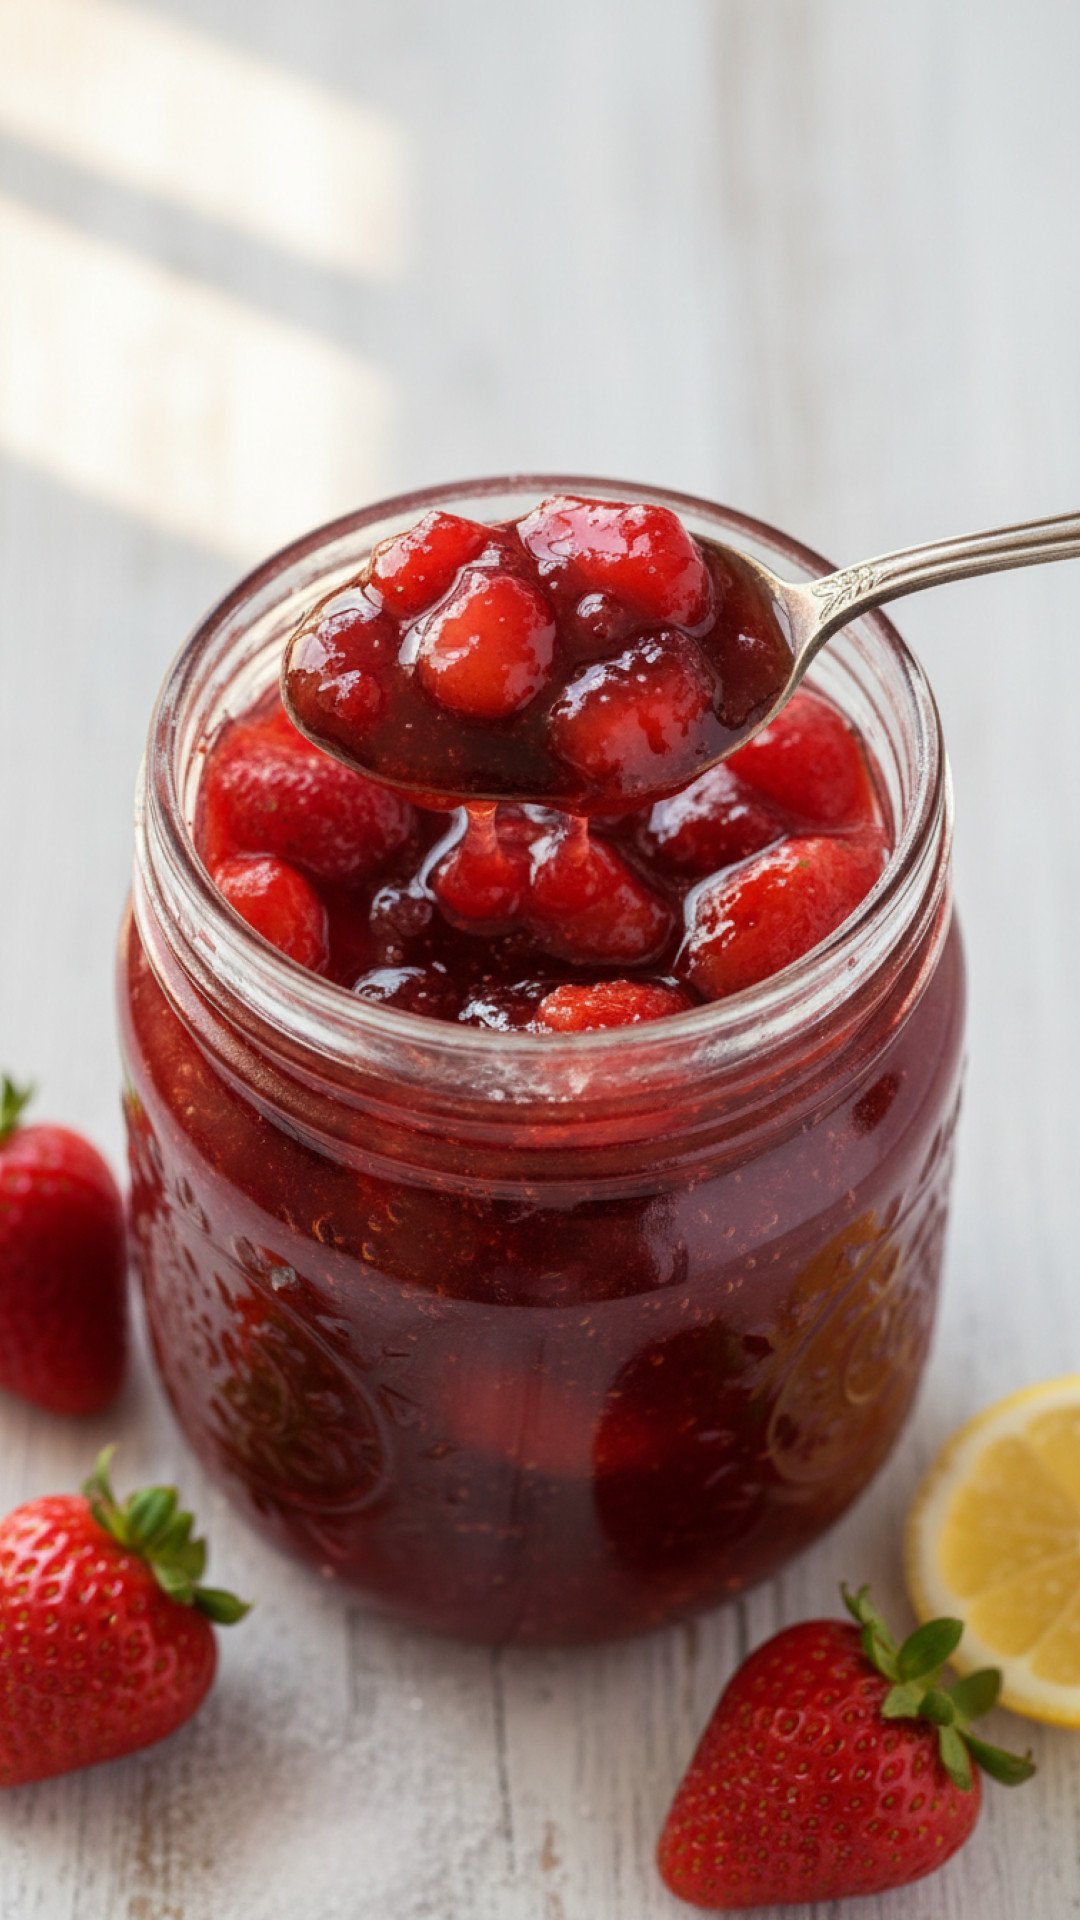
The main difference lies in the fruit's form. Strawberry jam typically uses crushed or finely chopped fruit, resulting in a smooth consistency. Strawberry preserves, on the other hand, feature whole or large pieces of fruit suspended in a syrup, offering a chunkier texture and a more pronounced fruit flavor, which is exactly what this strawberry preserves recipe delivers.
How do I know if my strawberry preserves are set properly?
The best way to check is using the chilled plate test. Spoon a small amount of hot preserves onto a plate that has been in the freezer for a few minutes. Return the plate to the freezer for 1-2 minutes. If, when you push the edge of the preserve with your finger, it wrinkles, it's ready. If it's still runny, continue cooking and re-test every couple of minutes. A candy thermometer reaching 220u00b0F (104u00b0C) is also an indicator, but the wrinkle test is more reliable for this strawberry preserves recipe.
Can I reduce the amount of sugar in this strawberry preserves recipe?
Sugar plays a crucial role in both preserving the fruit and achieving the proper set. While it's possible to reduce sugar, it will affect the preserves' shelf life and consistency. If you significantly reduce the sugar, you may need to use a low-sugar pectin product to ensure it sets, and the preserves will require refrigeration for storage rather than being shelf-stable after canning. For a classic, shelf-stable strawberry preserves recipe, it's best to follow the recommended sugar content.
How long do homemade strawberry preserves last?
If properly processed in a boiling water bath and sealed, homemade strawberry preserves can last for up to one year in a cool, dark pantry. Once opened, or if stored without canning, they should be refrigerated and consumed within 2-3 weeks. Always check for any signs of spoilage before consuming.

Classic Homemade Strawberry Preserves
Capture the essence of summer with this easy-to-follow classic strawberry preserves recipe. Made with fresh, ripe strawberries, sugar, and lemon juice, these preserves boast a vibrant flavor and perfect texture, ideal for toast, desserts, and gifting.
- Total Time: 2 hours 40 minutes (includes 2 hours maceration)
- Yield: Approximately 4-5 half-pint jars 1x
Ingredients
4 lbs fresh ripe strawberries, hulled
4 cups granulated sugar
1/4 cup fresh lemon juice
Instructions
Step 1: Prepare your strawberries. Gently wash fresh, ripe strawberries and hull them. If the berries are very large, you can slice them in half or quarters; otherwise, leave smaller ones whole. Place the prepared strawberries in a large, non-reactive pot or Dutch oven.
Step 2: Add the sugar and lemon juice. Sprinkle the granulated sugar over the strawberries. Pour in the fresh lemon juice. Gently toss everything together until the strawberries are well coated.
Step 3: Let it macerate. Cover the pot and let the mixture sit at room temperature for at least 2-4 hours, or ideally overnight in the refrigerator. This crucial step allows the sugar to draw out the natural juices from the strawberries, creating a beautiful syrup.
Step 4: Begin cooking. Place the pot over medium-high heat. Bring the mixture to a full rolling boil, stirring frequently to prevent sticking. Continue to boil, stirring often, for about 15-20 minutes, or until the strawberries soften and the syrup begins to thicken.
Step 5: Skim the foam. As the preserves cook, foam will rise to the surface. Use a large spoon to skim off this foam to improve the clarity and appearance of your finished strawberry preserves.
Step 6: Test for set. To check if your preserves have reached the setting point, place a small plate in the freezer before you start cooking. After about 15 minutes of boiling, spoon a small amount of the hot preserves onto the chilled plate. Return the plate to the freezer for 1-2 minutes. Retrieve the plate and push the edge of the preserve with your finger. If it wrinkles, it's ready. If it’s still runny, continue to cook and re-test every 2-3 minutes.
Step 7: Ladle into jars. Once the preserves have reached the desired set, remove the pot from the heat. Carefully ladle the hot strawberry preserves into sterilized canning jars, leaving about 1/4 inch of headspace. Wipe the rims of the jars clean with a damp cloth.
Step 8: Seal the jars (optional but recommended for long storage). If you plan to store your preserves for extended periods, process them in a boiling water bath canner for 10 minutes. Otherwise, cool completely and store in the refrigerator.
Step 9: Cool and store. Allow the jars to cool completely at room temperature. As they cool, you should hear the lids 'pop' as they seal. Once cooled, label your jars with the date. Store sealed jars in a cool, dark place for up to one year. Refrigerate after opening. Enjoy!
Notes
For best results, use fresh, peak-season strawberries. Adjust cooking time slightly based on your stove and desired consistency. Always ensure jars are sterilized if canning for long-term storage.
- Prep Time: 15 minutes
- Cook Time: 25 minutes
- Category: Desserts & Baking
- Cuisine: American
Nutrition
- Serving Size: 1 tablespoon
- Calories: 55 kcal
- Sugar: 13 g
- Sodium: 0 mg
- Fat: 0 g
- Saturated Fat: 0 g
- Unsaturated Fat: 0 g
- Trans Fat: 0 g
- Carbohydrates: 14 g
- Fiber: 0.5 g
- Protein: 0.1 g
- Cholesterol: 0 mg
Leave a Reply