

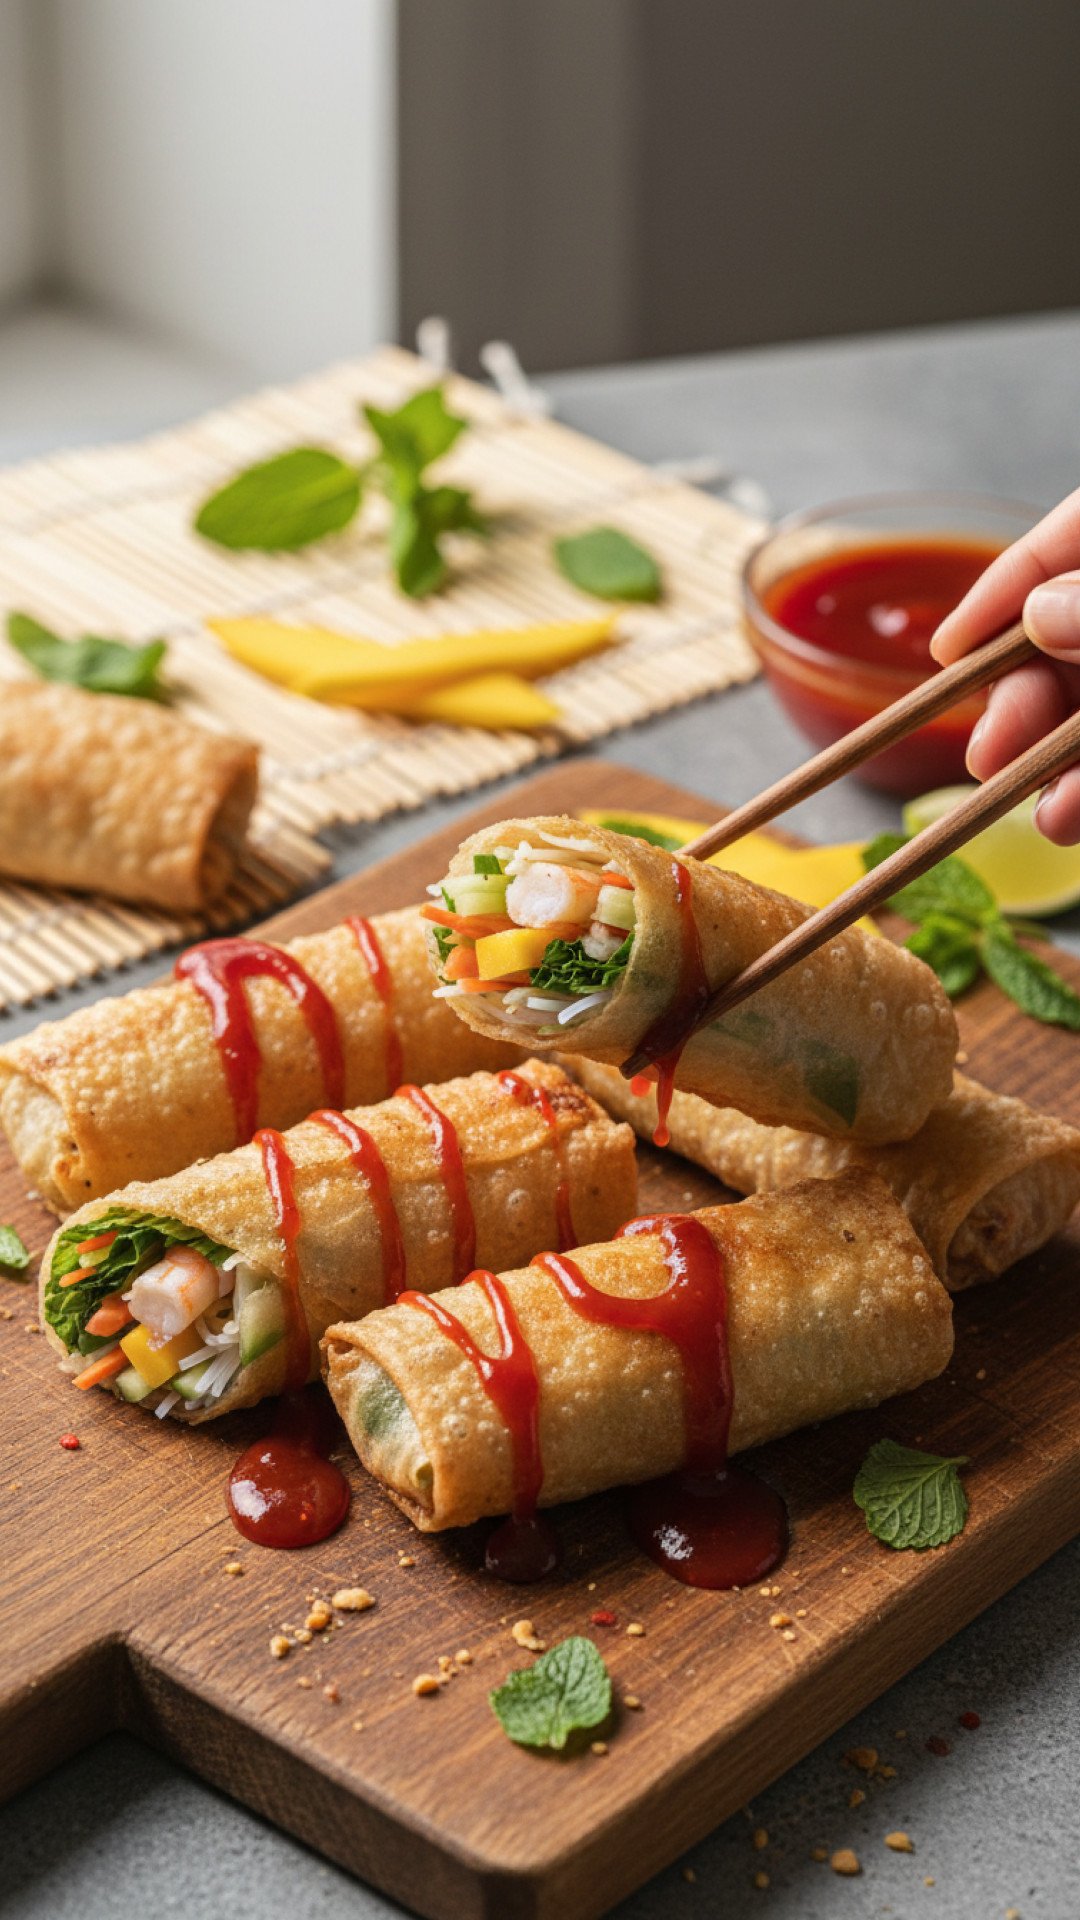
Finding the perfect spring roll recipe was a journey that took me through dozens of small street stalls and high-end kitchens before I finally nailed the balance of crunch and flavor. I remember the first time I tried to make them in my own tiny kitchen; I ended up with wrappers that were either too soggy or exploded in the hot oil like a science experiment gone wrong. But that is the beauty of cooking; every failure is just a step toward mastery. Over the years, this spring roll recipe has become my absolute go-to for family gatherings, potlucks, and those nights when I just crave something salty, savory, and undeniably satisfying. There is something incredibly therapeutic about the rhythmic chopping of cabbage and the delicate art of rolling each wrapper into a perfect cylinder. Whether you are a seasoned home cook or a complete beginner, this guide will help you achieve that restaurant-quality finish right in your own home kitchen.
Why This Recipe is a Must-Try
- Ultimate Crunch: This spring roll recipe focuses on a specific drying and frying technique that ensures the exterior is shatteringly crisp while the inside remains moist and flavorful.
- Fully Customizable: Once you master the base, you can swap proteins or veggies to suit any dietary preference, including vegan or gluten-free options.
- Freezer Friendly: These rolls are perfect for meal prep; you can freeze them before frying and have a gourmet snack ready in minutes.
- Budget-Friendly Ingredients: Most of the ingredients are staples or very affordable, making this a high-impact dish without a high price tag.
Key Ingredient Notes
The heart of any successful spring roll recipe lies in the quality and preparation of its components. First and foremost, the wrappers are crucial. If you are looking for a lighter, more translucent option, you might want to check out Beyond the Wrap: Exploring Delicious & Versatile Rice Paper Recipes, but for the classic fried version, wheat-based spring roll pastry is the gold standard. These wrappers are thinner than egg roll skins, leading to a much lighter crunch.
Another vital component is the filling moisture control. Cabbage and carrots naturally release water when heated. To prevent your spring roll recipe from becoming a soggy mess, it is essential to sauté the vegetables briefly and then let them drain and cool completely. I also recommend using glass noodles (mung bean vermicelli). These noodles act like little sponges, soaking up any excess savory juices from the meat and seasoning, ensuring every bite is packed with concentrated flavor without the grease.
Step-by-Step Guide with Pro Tips
Making this spring roll recipe starts with the filling. Heat a splash of oil in a wok and toss in minced garlic and ginger. Add your ground protein—pork or shrimp are classic choices—and cook until browned. Next, fold in your shredded cabbage and carrots. The secret to a professional spring roll recipe is to keep the vegetables slightly crisp; do not overcook them into mush. Season with soy sauce, sesame oil, and a pinch of white pepper.
Once your filling is prepared and cooled, it is time for the assembly. Lay one wrapper on a clean surface in a diamond shape. Place about two tablespoons of filling on the bottom third. Fold the bottom corner over the filling, then tuck in the sides tightly. Roll it upward, sealing the final corner with a dab of cornstarch slurry (cornstarch mixed with a little water). If you have leftovers or want to organize your ingredients beforehand, using a high-quality container like the Basics Glass Food Storage set is a great way to keep everything fresh and organized in your fridge.
For the frying process, maintain an oil temperature of 350°F (175°C). If the oil is too cold, the wrappers will absorb too much fat; if it is too hot, they will burn before the inside is warmed through. Fry them in small batches to avoid crowding the pan, which can lower the temperature. For those who want to compare different styles, you might enjoy reading about The Ultimate Fresh & Flavorful Homemade Spring Roll Recipe to see how the fresh, non-fried versions differ in technique.
Variations & Serving Suggestions
The versatility of this spring roll recipe is truly endless. For a vegetarian version, simply double the mushrooms (shiitake works best) and add shredded tofu for protein. If you want a bit of a kick, adding finely minced Thai bird's eye chilies to the filling provides a wonderful heat that contrasts with the sweet dipping sauces. Speaking of sauces, while a standard sweet chili sauce is classic, I often serve these with a spicy peanut sauce or a light lime-soy dipping liquid. These rolls also make a fantastic accompaniment to a larger Asian-inspired feast, perhaps served alongside a hot bowl of noodles or a fresh citrus salad.
Nutrition Information
Understanding the nutritional profile of your favorite dishes is important for balanced eating. Below is a breakdown of the estimated values for this spring roll recipe per serving (approximately 2 rolls).
| Nutrient | Amount per Serving |
|---|---|
| Calories | 245 kcal |
| Carbohydrates | 28g |
| Protein | 8g |
| Fat | 11g |
| Saturated Fat | 2g |
| Sodium | 480mg |
| Fiber | 2g |
| Sugar | 3g |
Conclusion
Mastering this spring roll recipe is a rewarding culinary achievement that will surely impress your guests and satisfy your cravings. The key is patience during the rolling process and ensuring your filling is cool and dry before you begin. Once you take that first bite of a perfectly golden, crispy roll that you made from scratch, you will never want to go back to the frozen store-bought versions again. Happy cooking, and I hope this becomes a staple in your kitchen just as it has in mine!
FAQs
Can I bake these spring rolls instead of frying them?
Yes, you can bake this spring roll recipe. Brush each roll generously with oil and bake at 400u00b0F (200u00b0C) for about 15-20 minutes, turning halfway through, until they are golden and crisp.
How do I keep my spring rolls from getting soggy?
The secret is to ensure the filling is as dry as possible. Let the cooked vegetables drain in a colander and cool completely before you begin the wrapping process. Also, avoid overcrowding the frying pan.
Can I freeze these spring rolls for later?
Absolutely! This spring roll recipe is perfect for freezing. Place the uncooked rolls on a tray in a single layer to freeze solid, then transfer them to a freezer bag. Fry them directly from frozen, adding an extra minute to the cook time.
Crispy Homemade Spring Rolls
A foolproof spring roll recipe for achieving restaurant-quality, golden-brown crispy rolls with a savory vegetable and pork filling.
- Total Time: PT1H
- Yield: 20 rolls 1x
Ingredients
20 spring roll wrappers (thawed if frozen)
1/2 lb ground pork or minced shrimp
2 cups shredded green cabbage
1 cup grated carrots
1/2 cup glass noodles, soaked and chopped
2 cloves garlic, minced
1 tablespoon ginger, grated
2 tablespoons soy sauce
1 tablespoon oyster sauce
1 teaspoon toasted sesame oil
1 teaspoon sugar
Vegetable oil for frying
1 tablespoon cornstarch mixed with 2 tablespoons water (slurry)
Instructions
Step 1: Prepare the glass noodles by soaking them in warm water for 10 minutes, then drain and chop them into 1-inch pieces.
Step 2: Heat a tablespoon of oil in a large skillet or wok over medium-high heat. Add garlic and ginger, sautéing for 30 seconds until fragrant.
Step 3: Add the ground pork or shrimp to the skillet and cook until fully browned and crumbled.
Step 4: Toss in the cabbage, carrots, and glass noodles. Stir-fry for 2-3 minutes until the vegetables are slightly softened but still retain some crunch.
Step 5: Stir in the soy sauce, oyster sauce, sesame oil, and sugar. Mix well and cook for another minute.
Step 6: Spread the filling on a large baking sheet and let it cool completely. This is a vital step to prevent the wrappers from tearing.
Step 7: Place one spring roll wrapper in a diamond shape. Add 2 tablespoons of filling near the bottom corner.
Step 8: Lift the bottom corner over the filling, tucking it under slightly, then fold the left and right corners toward the center. Roll tightly toward the top corner.
Step 9: Brush the top corner with the cornstarch slurry and press firmly to seal the roll.
Step 10: Heat oil in a deep pan to 350°F. Fry the rolls in batches for 3-5 minutes until golden brown and crispy. Drain on paper towels before serving.
Notes
Ensure the filling is completely cool before wrapping to avoid soggy rolls. Do not overfill the wrappers.
- Prep Time: PT45M
- Cook Time: PT15M
- Category: Main Dishes & Savory Recipes
- Cuisine: Asian
Nutrition
- Serving Size: 2 rolls
- Calories: 245 kcal
- Sugar: 3g
- Sodium: 480mg
- Fat: 11g
- Saturated Fat: 2g
- Unsaturated Fat: 9g
- Trans Fat: 0g
- Carbohydrates: 28g
- Fiber: 2g
- Protein: 8g
- Cholesterol: 15mg
Leave a Reply