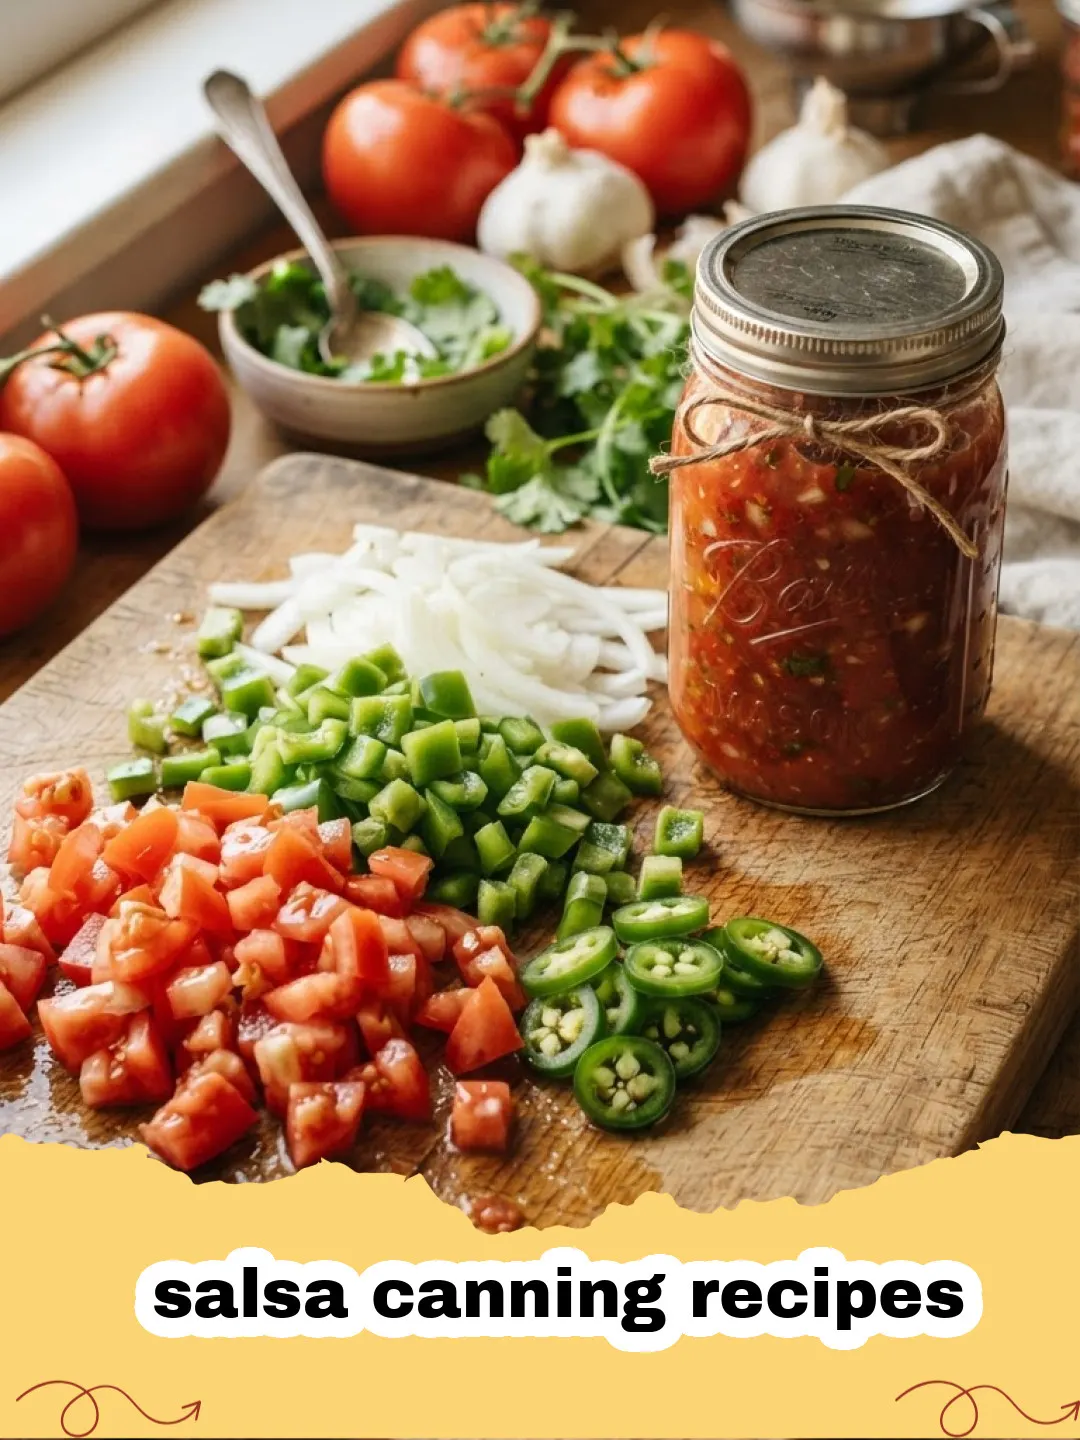
Mastering salsa canning recipes changed my kitchen forever, turning a chaotic pile of garden produce into organized, colorful jars of liquid gold. There is a specific kind of magic that happens in late August. The air carries a hint of crispness in the morning, but the afternoons are still sweltering, pushing the tomato vines to their absolute limit. I remember standing in my grandmother's kitchen, the windows steamed up from the boiling water bath, and the intoxicating scent of cilantro, cumin, and roasting peppers filling every corner. She taught me that salsa canning recipes weren't just about preserving food; they were about capturing the very essence of summer so we could taste the sunshine in the middle of a bleak January blizzard. Every pop of a sealing lid was like a tiny round of applause for our hard work. Today, I want to share that joy with you, providing a foolproof way to fill your pantry with vibrant, restaurant-quality salsa.
Why This Recipe is a Must-Try
- Ultimate Flavor Control: Unlike store-bought versions, these salsa canning recipes allow you to balance the acidity, heat, and sweetness exactly to your liking.
- Garden Efficiency: It is the single best way to use up a massive harvest of Roma tomatoes and peppers before they go soft on the counter.
- Year-Round Freshness: By following proper canning techniques, you ensure that your chips will always have a companion that tastes like it was picked five minutes ago.
- Perfect for Gifting: A jar of homemade salsa is the ultimate gesture of friendship, far superior to anything you could find in a gift basket at the mall.
When you dive into the world of salsa canning recipes, you start to realize that the quality of your output is directly tied to the quality of your input. This isn't the place for bruised or overripe fruit. You want tomatoes that are firm, peppers that are snappy, and onions that bring a sharp, clean bite. If you find yourself with an abundance of tomatoes and want to try something slightly different, you might also enjoy my guide on The Ultimate Roasted Roma Tomato Sauce, which shares many of the same preparation techniques used here.
Key Ingredient Notes
The Tomatoes
For the most successful salsa canning recipes, Roma or paste tomatoes are your best friends. They have a lower water content and more flesh, which means your salsa won't turn into a watery soup. If you use slicing tomatoes, you'll need to spend much more time simmering the mixture down to reach that chunky, scoopable consistency we all crave.
The Acid
Safety is paramount when discussing salsa canning recipes. Tomatoes are borderline in terms of pH level, so adding a standardized acid like commercial lemon juice or 5% acidity vinegar is non-negotiable. This ensures that the environment inside the jar is too acidic for harmful bacteria to grow. This is a lesson many learn when first exploring The Ultimate Guide to a Classic Canning Pickles Recipe, where acidity is the hero of preservation.
The Peppers
You can mix and match your peppers as long as you keep the total volume the same. Jalapeños provide that classic kick, but adding a few Habaneros can elevate the heat, while Bell peppers or Anaheims can keep things mild and sweet. Just remember: do not change the total weight of the vegetables in these salsa canning recipes, as that could alter the pH balance.
Step-by-Step Guide with Pro Tips
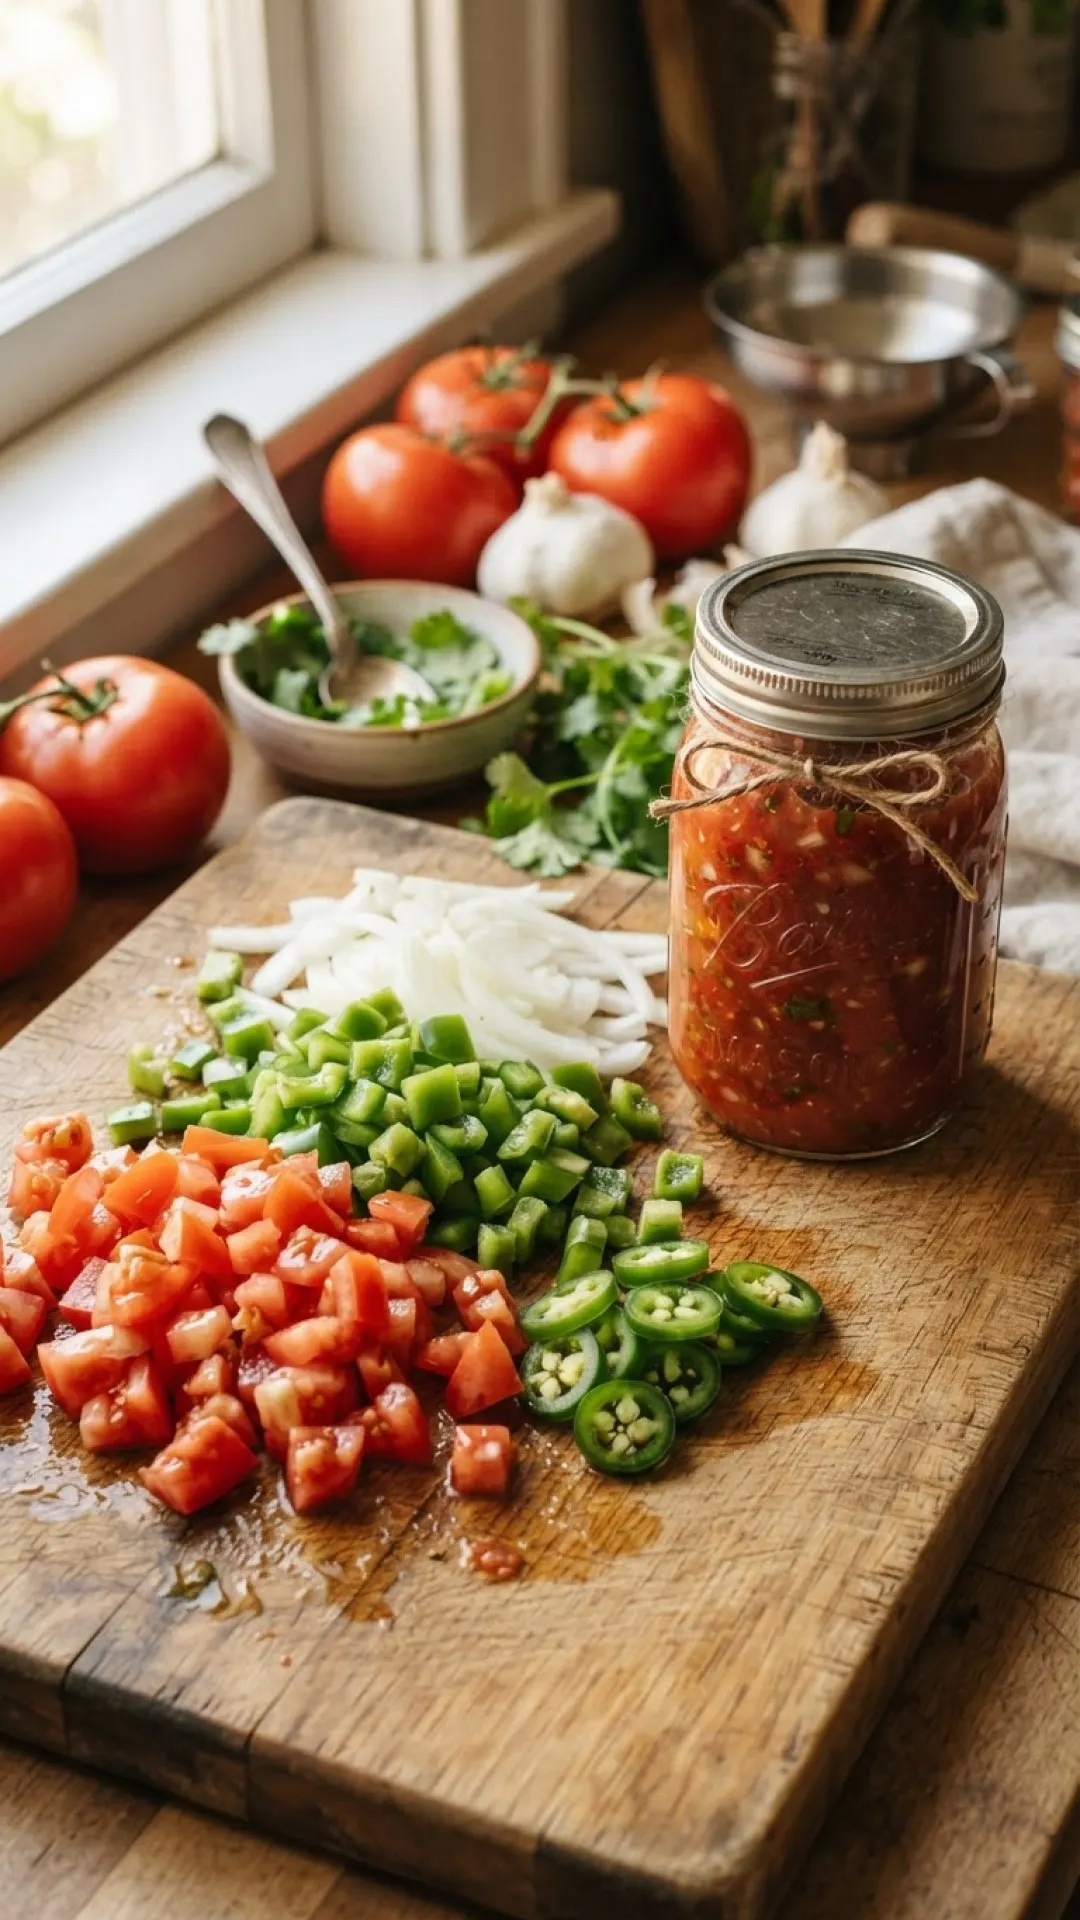
Preparation is the heartbeat of all great salsa canning recipes. Start by organizing your workspace. You’ll need a large heavy-bottomed pot, a water bath canner, and sterilized jars. For storing any fresh ingredients or leftovers that don't make it into the canning pot, I highly recommend using high-quality Basics Glass Food Storage containers to keep everything organized.
Preparing the Produce
The first hurdle in salsa canning recipes is the peeling. Score a small 'X' on the bottom of each tomato and drop them into boiling water for 30-60 seconds, then immediately into an ice bath. The skins will slip right off. Once peeled, core them and chop them into uniform pieces. Consistency in chopping ensures that every bite is balanced.
The Simmering Phase
Combine your chopped tomatoes, peppers, onions, garlic, and spices in your large pot. Bring the mixture to a boil and then reduce the heat. This is where the flavors of your salsa canning recipes begin to meld together. You’ll see the color deepen and the aroma intensify. Be sure to stir frequently to prevent any scorching on the bottom of the pot.
The Canning Process
Ladle the hot salsa into your warm jars, leaving about 1/2 inch of headspace. Wipe the rims meticulously; even a tiny speck of salsa can prevent a proper seal. Place the lids and bands on, tightening to finger-tip tension. Process the jars in a boiling water bath for the time specified for your altitude. This is the critical final step in all salsa canning recipes that makes them shelf-stable.
Variations & Serving Suggestions
One of the beauties of salsa canning recipes is the ability to adapt them for different occasions. For a smoky twist, you can roast your peppers and onions on the grill before adding them to the pot. This adds a layer of complexity that mimics the best authentic Mexican cantinas.
Serving Ideas
- The Classic Dip: Serve with thick, salty corn chips and a side of fresh guacamole.
- Enchilada Base: Use a jar of your canned salsa as a quick and easy sauce for chicken or beef enchiladas.
- Breakfast Boost: Pour a generous amount over a plate of Huevos Rancheros or mix it into your morning scrambled eggs.
- Marinade: The acidity in these salsa canning recipes makes them a fantastic marinade for grilled flank steak or chicken breasts.
Nutrition Information
Understanding the nutritional profile of your homemade preserves helps you appreciate the health benefits of using whole, fresh ingredients. Below is the breakdown for a standard serving of our salsa.
| Nutrient | Amount per Serving |
|---|---|
| Calories | 25 kcal |
| CarbohydrateContent | 5g |
| CholesterolContent | 0mg |
| FatContent | 0.2g |
| FiberContent | 1.5g |
| ProteinContent | 1g |
| SaturatedFatContent | 0g |
| ServingSize | 2 tbsp |
| SodiumContent | 180mg |
| SugarContent | 3g |
| TransFatContent | 0g |
| UnsaturatedFatContent | 0.1g |
Conclusion
Embarking on the journey of salsa canning recipes is one of the most rewarding skills a home cook can develop. It bridges the gap between the bounty of the summer garden and the cozy meals of winter. Whether you are a seasoned pro or a first-time canner, the satisfaction of seeing those red jars lined up on your pantry shelf is unparalleled. So, gather your tomatoes, sharpen your knives, and get ready to create something truly delicious. Happy canning!
FAQs
Can I use any type of tomato for salsa canning recipes?
While you can use any tomato, Roma or paste tomatoes are highly recommended for salsa canning recipes because they have more flesh and less water, resulting in a thicker, less watery salsa.
Is it safe to reduce the vinegar or lemon juice in these recipes?
No, it is not safe to reduce the acid in salsa canning recipes meant for water bath processing. The acid is crucial to prevent the growth of botulism spores.
How long does home-canned salsa last in the pantry?
If processed correctly and stored in a cool, dark place, jars from salsa canning recipes will typically maintain peak quality for 12 to 18 months.
Can I add corn or black beans to my canned salsa?
Adding low-acid ingredients like corn or beans changes the pH of the recipe. Unless the recipe was specifically tested for those ingredients, it is safer to add them when you open the jar to serve rather than before canning.
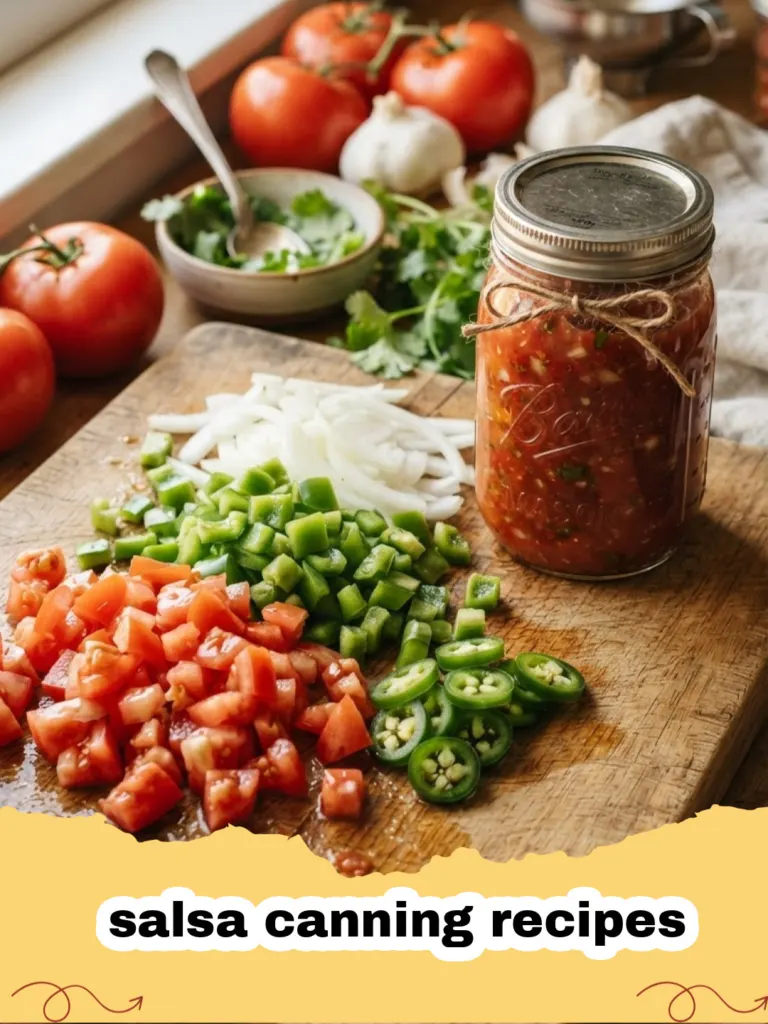
Zesty Garden Fresh Canned Salsa
A vibrant, perfectly balanced, and shelf-stable salsa that captures the peak flavors of summer. Ideal for canning and long-term storage.
- Total Time: PT105M
- Yield: 6 pints 1x
Ingredients
7 lbs Roma tomatoes, peeled, cored, and chopped
2 lbs onions, finely chopped
1 lb bell peppers, chopped
1/2 lb jalapeño peppers, seeded and finely chopped
1 cup bottled lemon juice or lime juice
2 tbsp salt
1 tbsp sugar (optional, to balance acidity)
3 cloves garlic, minced
1 tbsp ground cumin
1/2 cup fresh cilantro, finely chopped
Instructions
Step 1: Prepare your canning equipment by washing jars and lids in hot, soapy water and keeping them warm in your water bath canner.
Step 2: Peel the tomatoes by blanching them in boiling water for 60 seconds and then plunging them into an ice bath; the skins should slip off easily.
Step 3: Core and chop the peeled tomatoes, placing them in a large, heavy-bottomed stainless steel pot.
Step 4: Add the chopped onions, bell peppers, jalapeños, garlic, salt, sugar, cumin, and lemon juice to the pot.
Step 5: Bring the mixture to a boil over medium-high heat, stirring constantly to ensure the bottom doesn't burn.
Step 6: Reduce the heat and let the salsa simmer for 20-30 minutes until it reaches your desired thickness.
Step 7: Stir in the fresh cilantro during the last 5 minutes of simmering to preserve its bright flavor.
Step 8: Ladle the hot salsa into the warm jars, leaving 1/2 inch of headspace at the top.
Step 9: Remove air bubbles by sliding a non-metallic spatula around the inside of the jar and wipe the rims clean with a damp cloth.
Step 10: Place the lids and bands on the jars, tightening to fingertip-tight, and process in a boiling water bath for 15-20 minutes (adjust for altitude).
Step 11: Remove jars from the canner and let them cool undisturbed for 24 hours before checking the seals and storing in a cool, dark place.
Notes
Always use bottled lemon or lime juice for consistent acidity levels required for safe water bath canning. Do not reduce the amount of acid specified.
- Prep Time: PT60M
- Cook Time: PT45M
- Category: Drinks, Snacks & Holiday Treats
- Cuisine: Mexican-American
Nutrition
- Serving Size: 2 tbsp
- Calories: 25 kcal
- Sugar: 3g
- Sodium: 180mg
- Fat: 0.2g
- Saturated Fat: 0g
- Unsaturated Fat: 0.1g
- Trans Fat: 0g
- Carbohydrates: 5g
- Fiber: 1.5g
- Protein: 1g
- Cholesterol: 0mg