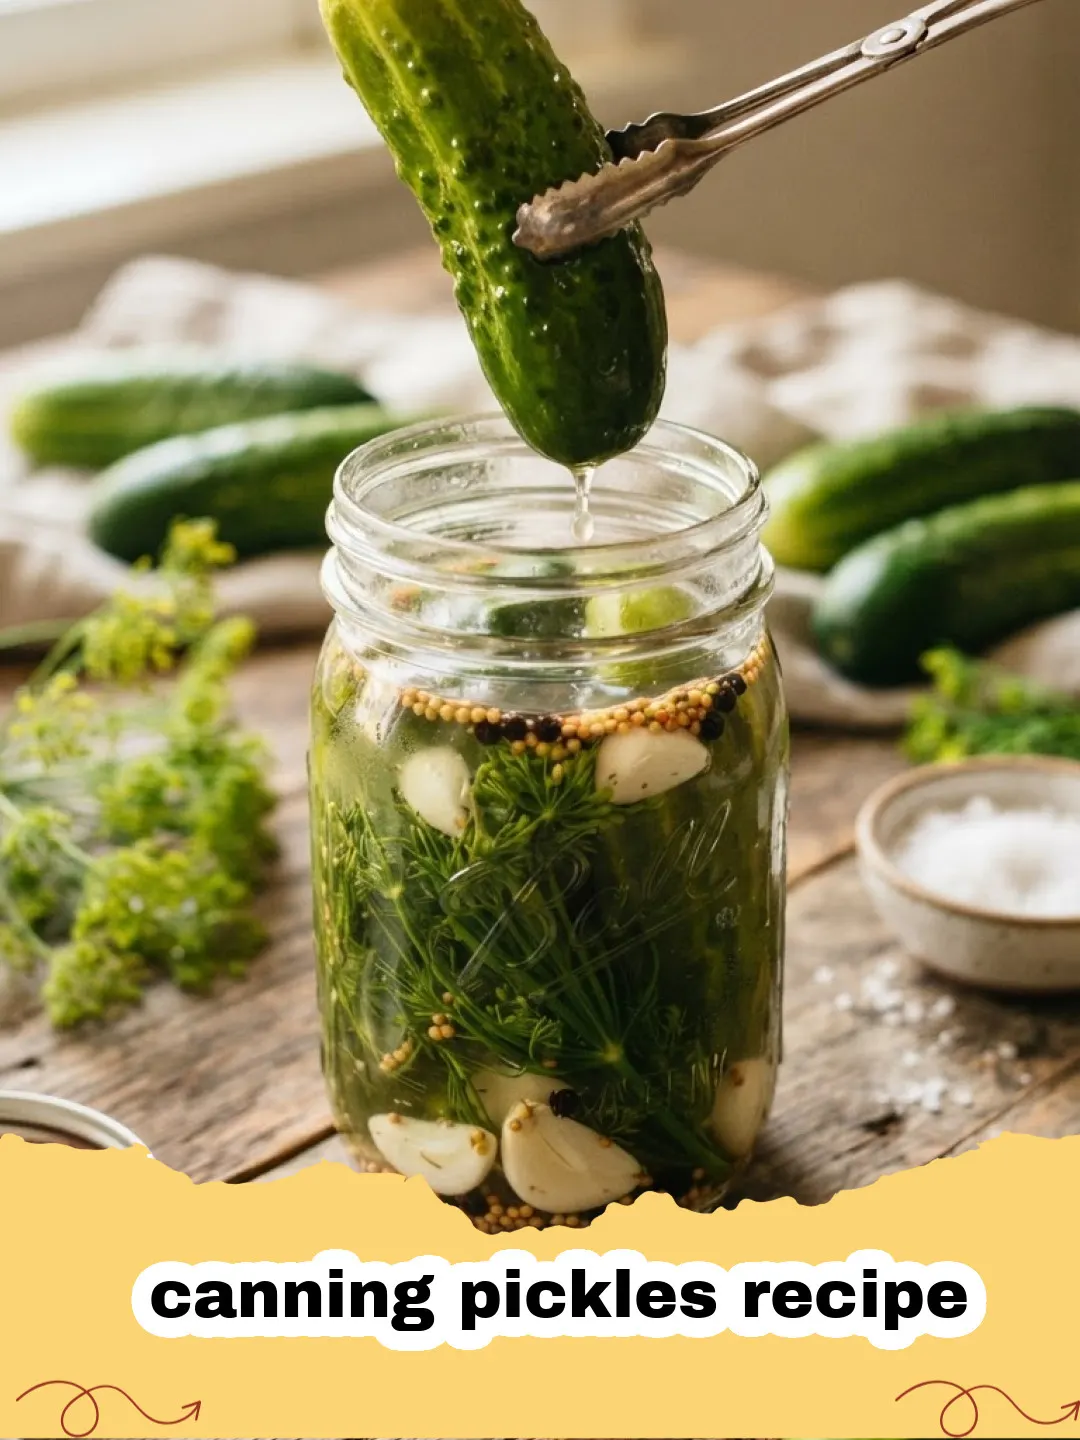
There’s something truly magical about opening a jar of homemade pickles in the dead of winter, isn’t there? It transports you right back to the sun-drenched days of summer, to gardens overflowing with bounty, and to the comforting hum of the kitchen as fresh produce is transformed into pantry staples. I remember my grandmother’s kitchen, a vibrant hub of activity every late summer. The air would be thick with the scent of vinegar and dill, and jars would clink together like a symphony. My job, as a curious little girl, was to help wash the cucumbers – a task I took very seriously, imagining each scrub would contribute to the perfect crunch. This classic canning pickles recipe isn't just about preserving food; it's about preserving memories, flavors, and a little piece of summer joy. It’s a tradition I’ve carried forward, finding immense satisfaction in creating something so simple yet so profoundly delicious from scratch. If you've ever dreamt of rows of glistening pickle jars on your shelf, or simply yearned for a pickle that tastes like pure sunshine, you've come to the right place. This guide will walk you through every step of mastering a truly exceptional canning pickles recipe.
Why This Canning Pickles Recipe is a Must-Try
- Unbeatable Flavor: Forget store-bought! Our canning pickles recipe yields pickles bursting with fresh dill, garlic, and a perfectly balanced tangy brine that’s far superior to anything you’ll find in a jar at the grocery store.
- Crisp Perfection: We share tips and tricks to ensure your pickles stay delightfully crunchy, from selecting the right cucumbers to proper preparation methods. This canning pickles recipe focuses on texture as much as taste.
- Empowering & Rewarding: There’s immense satisfaction in making and preserving your own food. Following this canning pickles recipe isn't just cooking; it’s a journey into self-sufficiency and culinary artistry.
- Economical & Sustainable: Preserve your garden's excess or take advantage of farmers' market deals. This canning pickles recipe helps reduce food waste and keeps your pantry stocked with wholesome goodness.
Key Ingredient Notes for Your Canning Pickles Recipe
The success of any great recipe often hinges on the quality and understanding of its core ingredients. This canning pickles recipe is no exception. Let's delve into a few critical components:
Cucumbers
Not all cucumbers are created equal for pickling! You need specific 'pickling cucumbers,' sometimes labeled 'Kirby' or 'gherkin' cucumbers. These varieties are shorter, often bumpy, and have thinner skins and fewer seeds, making them ideal for a crisp texture. Avoid slicing or English cucumbers, which have too much water content and will result in soggy pickles. Source them fresh from a local farm or your garden for the best results. The fresher, the crisper your pickles will be. If you can't get them immediately into the brine, store them in the refrigerator.
Dill
When it comes to dill, this canning pickles recipe calls for fresh dill. You have a few options: fresh dill heads (the flowering part), dill weed (the feathery leaves), or dill seeds. For the most robust, classic dill flavor, a combination of fresh dill heads and dill seeds is often preferred. Dill heads contribute a wonderful, nuanced dill flavor, while dill seeds provide a more concentrated punch. If using only dill weed, you might need a bit more to achieve the same intensity. Dried dill weed can be used in a pinch, but fresh is always best for a vibrant flavor profile.
Pickling Salt
Do not substitute regular table salt for pickling salt in this canning pickles recipe! Pickling salt is pure, fine-grained sodium chloride, free of anti-caking agents and iodine. These additives, found in most table salts, can turn your brine cloudy and potentially alter the color and texture of your pickles. Kosher salt can sometimes be used if it's pure and non-iodized, but check the label carefully. The purity of pickling salt is crucial for a clear brine and proper preservation.
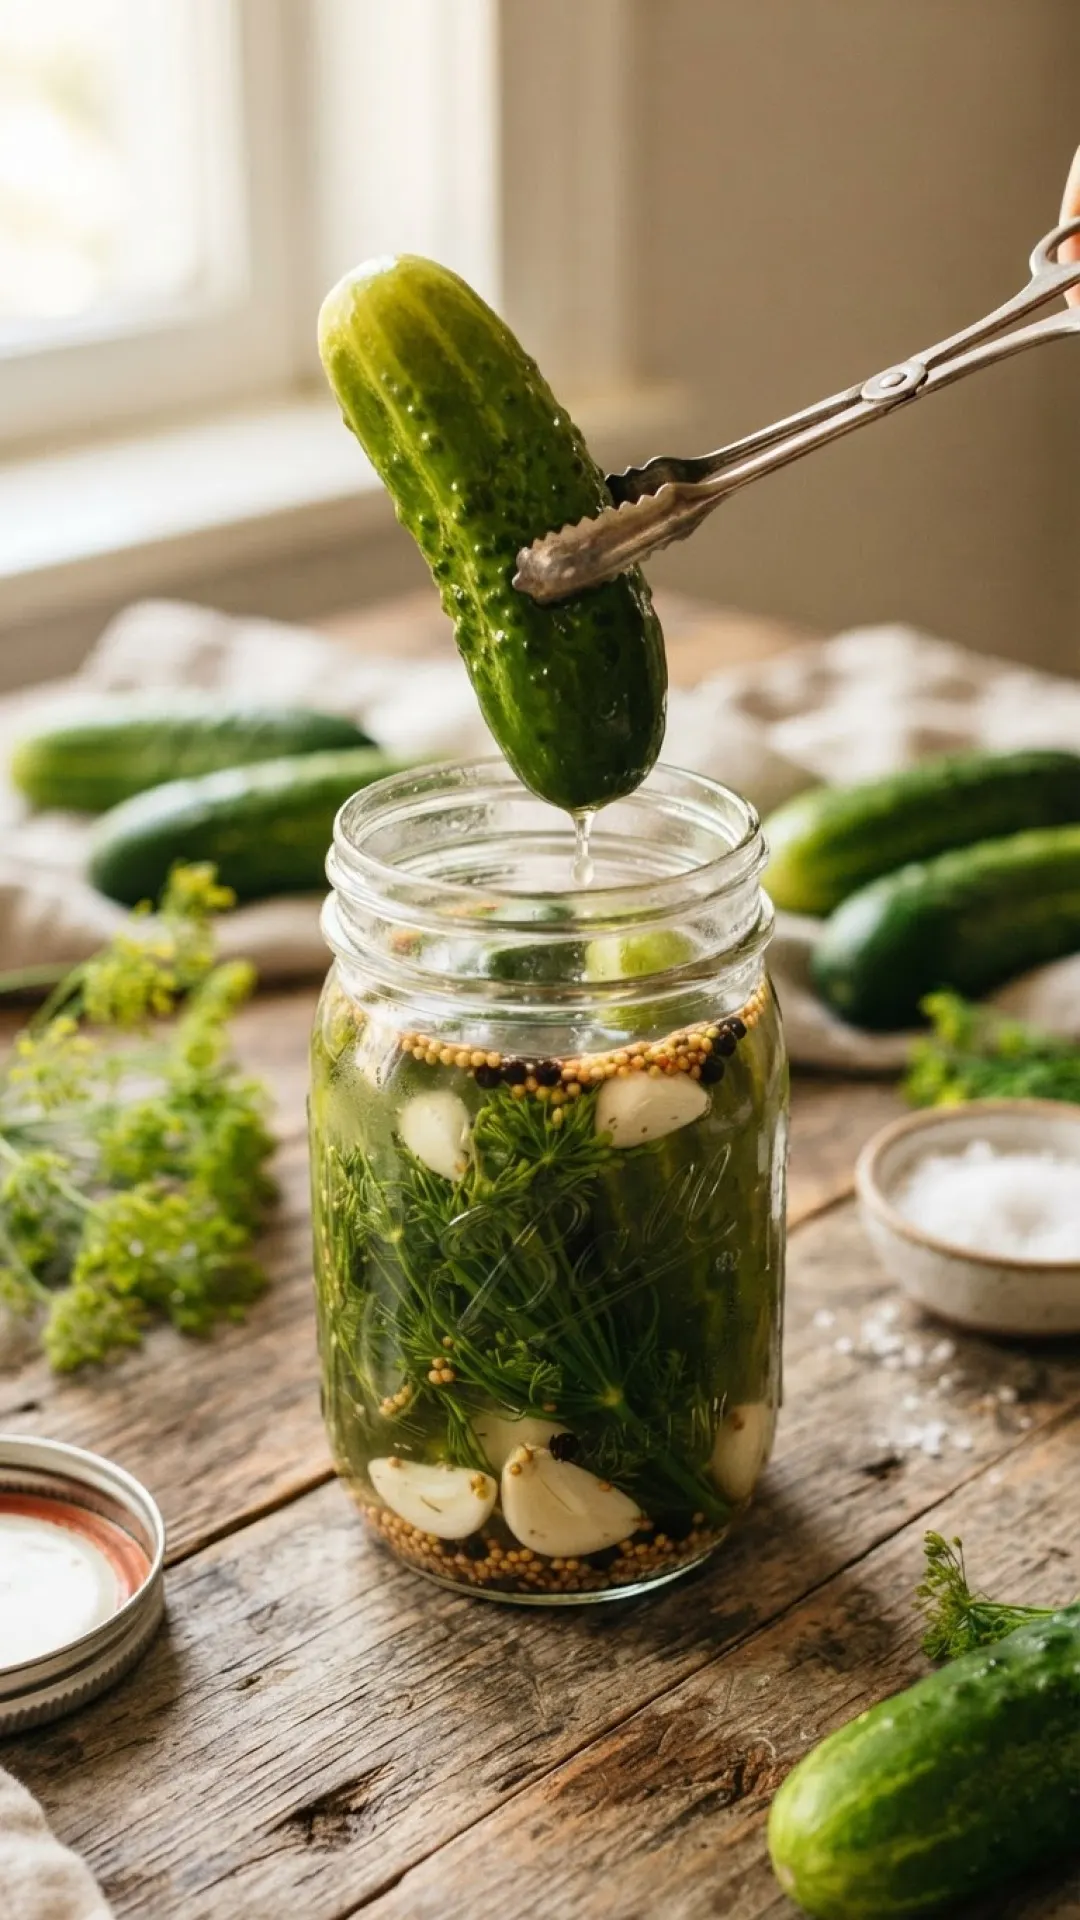
Step-by-Step Guide with Pro Tips for this Canning Pickles Recipe
Mastering this canning pickles recipe is all about precision and care. Follow these steps for perfect, crunchy pickles every time.
- Step 1: Gather Your Equipment. You'll need canning jars (quart or pint size), new lids, canning rings, a large water bath canner with a rack, a jar lifter, a funnel, and a non-reactive pot for the brine. Make sure all your jars are clean and free of chips or cracks.
- Step 2: Prepare Your Jars. Wash jars thoroughly with hot soapy water, rinse well. Sterilize jars by placing them in the water bath canner, filling with water to cover, and bringing to a boil for 10 minutes. Keep them hot until ready to fill. Set new lids in a small saucepan of simmering (not boiling) water to soften the sealing compound.
- Step 3: Prepare the Cucumbers. Wash cucumbers thoroughly. For optimal crispness, slice off both blossom and stem ends. You can leave them whole, cut them into spears, or slice them into rounds. If making spears, aim for uniform thickness. For extra crispness, consider soaking cucumbers in an ice bath for 1-2 hours after washing.
- Step 4: Pack the Jars. To each hot, sterilized jar, add 1-2 cloves of garlic (peeled), 1 teaspoon of pickling spice, and 1-2 dill heads or 1 tablespoon of dill seeds/dill weed. Pack the prepared cucumbers tightly into the jars, leaving about 1/2 inch headspace from the rim. For spears, pack vertically.
- Step 5: Prepare the Brine. In your non-reactive pot, combine 6 cups of white vinegar (5% acidity), 6 cups of water, and 1/2 cup of pickling salt. Bring the mixture to a rolling boil, stirring to dissolve the salt completely. This is the heart of your canning pickles recipe.
- Step 6: Fill the Jars with Brine. Carefully pour the hot brine over the cucumbers in each jar, ensuring the cucumbers are completely submerged. Maintain 1/2 inch headspace. Use a non-metallic utensil (like a chopstick) to remove air bubbles by gently running it around the inside of the jar.
- Step 7: Seal and Process. Wipe jar rims clean with a damp cloth to ensure a good seal. Place hot lids on jars and screw on rings finger-tight. Carefully lower jars onto the rack in the hot water bath canner, ensuring jars are covered by at least 1 inch of water. Bring the water to a rolling boil and process pint jars for 10 minutes, or quart jars for 15 minutes (adjust for altitude if necessary).
- Step 8: Cool and Store. Once processing time is complete, turn off the heat and remove the canner lid. Let jars rest in the hot water for 5 minutes before carefully removing them with a jar lifter to a towel-lined counter. Do not disturb for 12-24 hours. You'll hear the satisfying 'pop' as they seal! Check seals by pressing on the center of the lid; it should not flex. Store properly sealed jars in a cool, dark place for optimal longevity. This canning pickles recipe allows for long-term storage, often up to a year or more.
Variations & Serving Suggestions for this Canning Pickles Recipe
Once you’ve mastered the classic canning pickles recipe, the possibilities for customization are endless! Here are a few ideas to inspire your pickling adventures:
Spicy Dill Pickles
For those who love a kick, add 1-2 dried red chili peppers or a 1/2 teaspoon of red pepper flakes to each jar along with the garlic and dill. You can also include a thin slice of a fresh hot pepper like jalapeño or serrano. This simple addition elevates the traditional canning pickles recipe to a whole new level of zest.
Sweet & Sour Pickles
Adjust the brine by reducing the salt slightly (e.g., to 1/4 cup) and adding 1/2 to 1 cup of sugar, depending on your desired sweetness. You can also incorporate additional spices like mustard seeds, celery seeds, and a bay leaf for a more complex flavor profile. This variation works beautifully for bread and butter-style pickles too. If you enjoy other preserved sweet and tangy flavors, you might also like The Quintessential Sweet & Tangy Zucchini Relish: A Taste of Summer Preserved.
Garlic Lover’s Pickles
Can you ever have too much garlic? Not in pickles! Double or even triple the amount of garlic cloves per jar for an intensely garlicky pickle. Crushing the cloves slightly before adding them will release even more of their pungent flavor into your canning pickles recipe.
Serving Suggestions
- Classic Sandwich Companion: A must-have alongside any deli sandwich, burger, or hot dog. The crisp, tangy bite cuts through richness beautifully.
- Charcuterie Boards: Arrange a selection of your homemade pickles on a charcuterie board. Their vibrant color and sharp taste provide a wonderful contrast to cured meats and cheeses.
- Salad Boost: Chop them up and add to potato salad, tuna salad, or even a green salad for an unexpected burst of flavor and crunch.
- Fried Pickles: Batter and deep-fry them for a decadent snack or appetizer. They're a crowd-pleaser!
- Snack Time: Honestly, sometimes a cold pickle straight from the jar is all you need. They're incredibly refreshing.
Nutrition Information
| Nutrient | Amount Per Serving (1 pickle spear) |
|---|---|
| Calories | 5 kcal |
| Carbohydrate Content | 1 g |
| Cholesterol Content | 0 mg |
| Fat Content | 0 g |
| Fiber Content | 0.5 g |
| Protein Content | 0.2 g |
| Saturated Fat Content | 0 g |
| Serving Size | 1 spear |
| Sodium Content | 150 mg |
| Sugar Content | 0.5 g |
| Trans Fat Content | 0 g |
| Unsaturated Fat Content | 0 g |
Conclusion
There’s nothing quite like the pride and satisfaction that comes from a well-stocked pantry, especially when it’s filled with jars of delicious, homemade pickles created from this canning pickles recipe. From the satisfying crunch to the burst of tangy, dilly flavor, these pickles are a testament to the simple joys of preserving. Whether you’re a seasoned canner or just starting out, this guide provides all the knowledge you need to create perfect jars of summer. So, gather your ingredients, fire up your canner, and embrace the wonderful world of home canning. You’ll be enjoying the fruits (or rather, vegetables!) of your labor for months to come. Remember, practice makes perfect, and every jar you make adds to your skill and your joy. If you're not quite ready for canning, you could always try a quicker option like this The Ultimate Easy Refrigerator Pickle Recipe: Crisp, Tangy, and Ready in Minutes! for instant gratification. Happy pickling! And don't forget, having the right storage for your ingredients and finished products can make all the difference, consider some Basics Glass Food Storage to keep everything organized and fresh.
FAQs
What kind of cucumbers are best for this canning pickles recipe?
For the best results with this canning pickles recipe, use pickling cucumbers like Kirbys or gherkins. These varieties have thinner skins and fewer seeds, which helps them stay crisp. Avoid slicing cucumbers, as they tend to become soggy.
How do I ensure my pickles stay crisp when using this canning pickles recipe?
Several factors contribute to crisp pickles in this canning pickles recipe: use very fresh pickling cucumbers, trim both the blossom and stem ends, consider an ice bath soak before packing, and ensure your brine has the correct salt-to-vinegar ratio. Some people also add a grape leaf or a commercial pickling crisping agent to each jar.
Can I use regular table salt instead of pickling salt for this canning pickles recipe?
No, it's strongly recommended to use pickling salt for this canning pickles recipe. Table salt often contains anti-caking agents and iodine, which can make your brine cloudy and potentially alter the color and texture of your pickles. Pickling salt is pure and free of these additives, ensuring a clear brine and proper preservation.
How long do homemade canned pickles last?
Properly sealed and stored homemade canned pickles from this canning pickles recipe will last in a cool, dark place for at least one year, and often longer. Once opened, they should be refrigerated and consumed within a few weeks for best quality and safety.
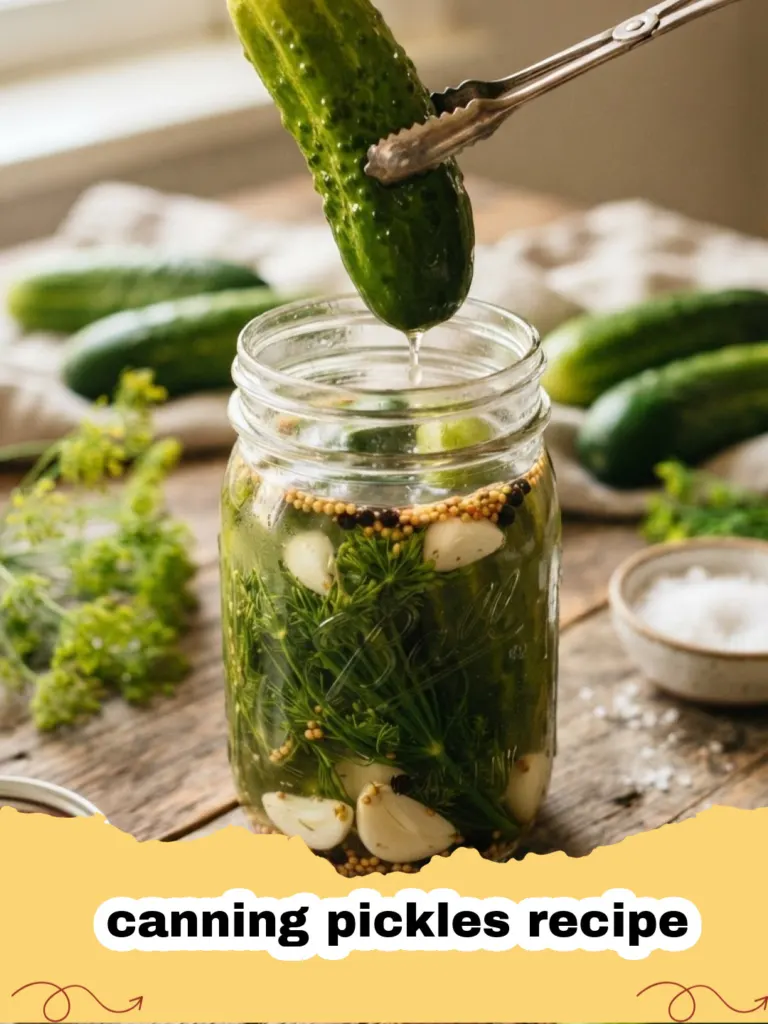
Classic Crisp Dill Pickles (Canning Pickles Recipe)
A timeless and reliable canning pickles recipe for crunchy, flavorful dill pickles, perfect for preserving the taste of summer's bounty. This recipe focuses on simple, quality ingredients for the best homemade results.
- Total Time: 1 hour 30 minutes
- Yield: 6-7 Quart Jars 1x
Ingredients
12-14 lbs pickling cucumbers (Kirby or gherkin)
12-14 fresh dill heads or 1/4 cup dill seeds (divided)
12-14 cloves garlic, peeled (divided)
6-7 tsp pickling spice (divided)
6 cups white vinegar (5% acidity)
6 cups water
1/2 cup pickling salt
Instructions
Step 1: Thoroughly wash canning jars, new lids, and rings. Sterilize jars by submerging them in a water bath canner, covering with water, and boiling for 10 minutes. Keep jars hot in the canner until ready to fill. Place lids in simmering (not boiling) water to soften the sealing compound.
Step 2: Wash cucumbers thoroughly. For maximum crispness, trim 1/16 inch off both the blossom and stem ends. Cut cucumbers into spears, slices, or leave them whole, ensuring uniform sizes. For an extra firm crunch, you can soak cucumbers in an ice bath for 1-2 hours after washing.
Step 3: To each hot, sterilized quart jar, add 1-2 peeled garlic cloves, 1-2 fresh dill heads (or 1.5-2 teaspoons of dill seeds), and 1 teaspoon of pickling spice.
Step 4: Tightly pack the prepared cucumbers into the jars, leaving a 1/2-inch headspace from the rim. If using spears, pack them vertically.
Step 5: In a large, non-reactive pot, combine the white vinegar, water, and pickling salt. Bring the mixture to a rolling boil over medium-high heat, stirring until the salt is completely dissolved. This hot brine is essential for this canning pickles recipe.
Step 6: Carefully ladle the hot brine over the packed cucumbers in each jar, ensuring the cucumbers are fully submerged and maintaining the 1/2-inch headspace. Use a non-metallic utensil (like a chopstick) to gently remove any trapped air bubbles by running it around the inside of the jar.
Step 7: Wipe jar rims clean with a damp cloth to ensure a proper seal. Center hot lids on the jars and screw on the canning rings finger-tight.
Step 8: Carefully place the filled jars onto the rack in the hot water bath canner. Ensure the jars are covered by at least 1 inch of water. Bring the water to a full, rolling boil. Process quart jars for 15 minutes (or pint jars for 10 minutes). Adjust processing time for altitudes above 1,000 feet.
Step 9: Once processing is complete, turn off the heat and remove the canner lid. Let the jars rest in the hot water for 5 minutes before carefully removing them with a jar lifter to a towel-lined counter. Do not disturb the jars for 12-24 hours to allow them to cool and seal naturally.
Step 10: After 12-24 hours, check for proper seals by pressing the center of each lid. It should be concave and not flex when pressed. Any unsealed jars can be reprocessed within 24 hours (with new lids) or refrigerated and consumed within a few weeks. Store properly sealed jars in a cool, dark place for up to 1 year for optimal flavor and quality. Enjoy your delicious homemade canning pickles recipe!
Notes
For extra crispness, some people add a grape leaf or a small amount of pickling crisping agent (like pickle crisp granules) to each jar. Ensure your cucumbers are fresh and firm for the best texture. Always use 5% acidity vinegar for safe canning.
- Prep Time: 45 minutes
- Cook Time: 15 minutes
- Category: Main Dishes & Savory Recipes
- Cuisine: American
Nutrition
- Serving Size: 1 spear
- Calories: 5 kcal
- Sugar: 0.5 g
- Sodium: 150 mg
- Fat: 0 g
- Saturated Fat: 0 g
- Unsaturated Fat: 0 g
- Trans Fat: 0 g
- Carbohydrates: 1 g
- Fiber: 0.5 g
- Protein: 0.2 g
- Cholesterol: 0 mg