
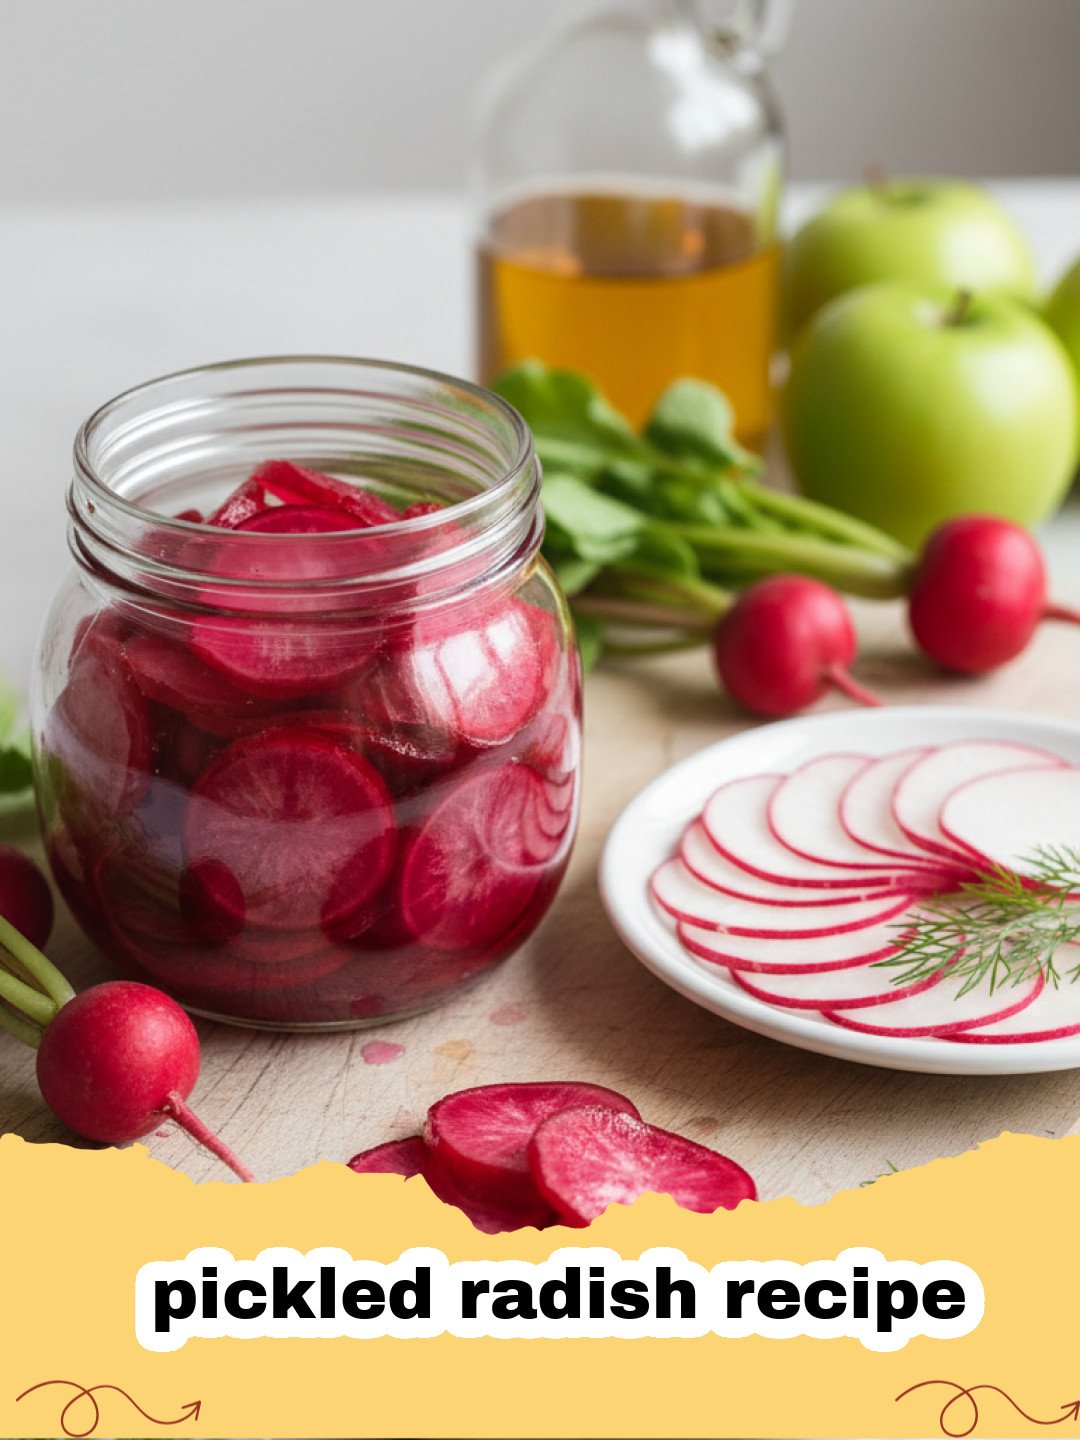
There are some culinary discoveries that just stick with you, changing the way you look at a humble ingredient forever. For me, that moment happened on a scorching summer afternoon during a visit to a small, family-run farm stand. I was helping my grandmother pick out fresh produce, and nestled among vibrant greens and juicy tomatoes was a jar of what looked like ruby-red jewels. “Those are pickled radishes, dear,” my grandma explained, her eyes twinkling with a hint of nostalgia. She bought a jar, and that evening, alongside grilled chicken and a simple salad, we tried them. The initial crisp snap, followed by a burst of tangy, slightly spicy, and subtly sweet flavor, was an absolute revelation. It wasn’t just a side dish; it was a flavor enhancer, a texture transformer, a little spark of joy that elevated the entire meal. That day, my fascination with this simple yet profound pickled radish recipe began, and I’ve been perfecting my own version ever since. It’s a recipe that brings back those warm memories of discovering new tastes with my grandmother, and I can’t wait to share it with you.
The beauty of this pickled radish recipe lies in its simplicity and versatility. Radishes, often overlooked or relegated to a raw crunch in salads, truly shine when pickled. The sharp, peppery bite softens into a mellow tang, while retaining their signature crispness and stunning color. Whether you're a seasoned pickler or a complete novice, this guide will walk you through creating a batch of these delightful, vibrant morsels that will undoubtedly become a staple in your kitchen. Get ready to add a fantastic pop of color and an irresistible zing to everything from tacos to salads, sandwiches, and beyond!
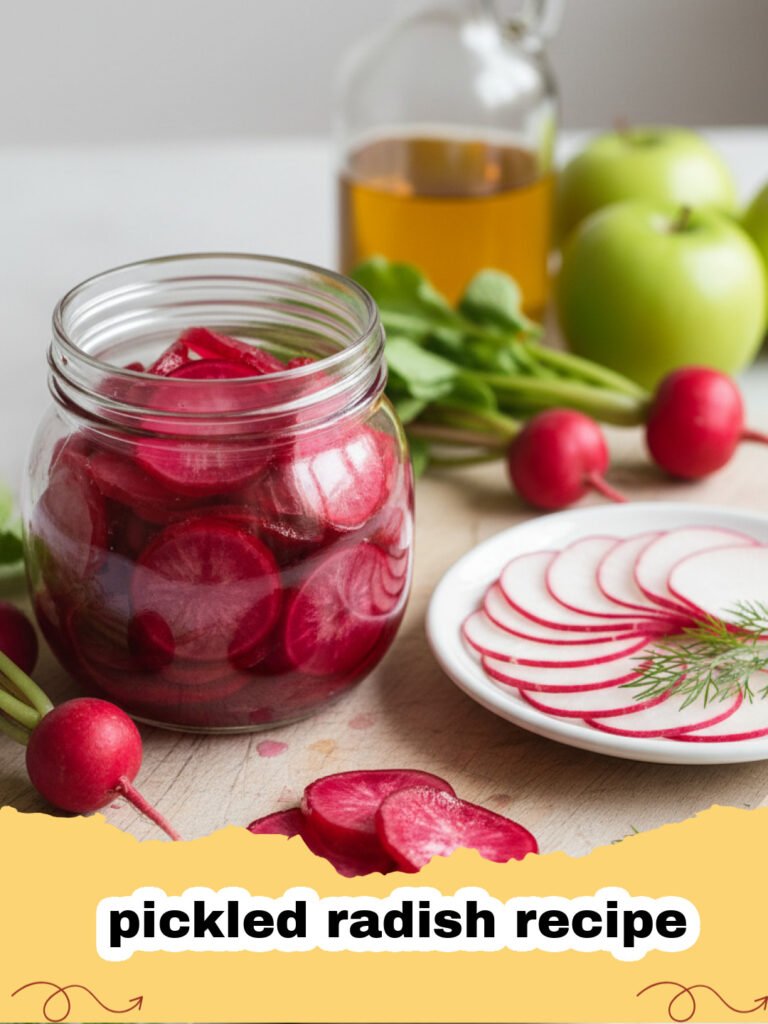
Why This Pickled Radish Recipe is a Must-Try
- Unbeatable Flavor & Texture: This pickled radish recipe transforms ordinary radishes into an extraordinary condiment, offering a perfect balance of tang, subtle sweetness, and a satisfying crunch that elevates any dish.
- Incredibly Versatile: From brightening up heavy meals to adding a gourmet touch to everyday snacks, these pickled radishes are a true culinary chameleon.
- Quick & Easy to Make: With minimal prep time and simple ingredients, you'll have a batch of delicious pickled radishes ready in no time, making it an ideal recipe for busy weeknights or impromptu gatherings.
- Stunning Visual Appeal: Their vibrant pink and red hues add a beautiful pop of color to any plate, making your meals not just taste good, but look fantastic too!
Key Ingredient Notes
While the beauty of this pickled radish recipe is its simplicity, understanding a few key ingredients can make all the difference in achieving that perfect balance of flavor and texture.
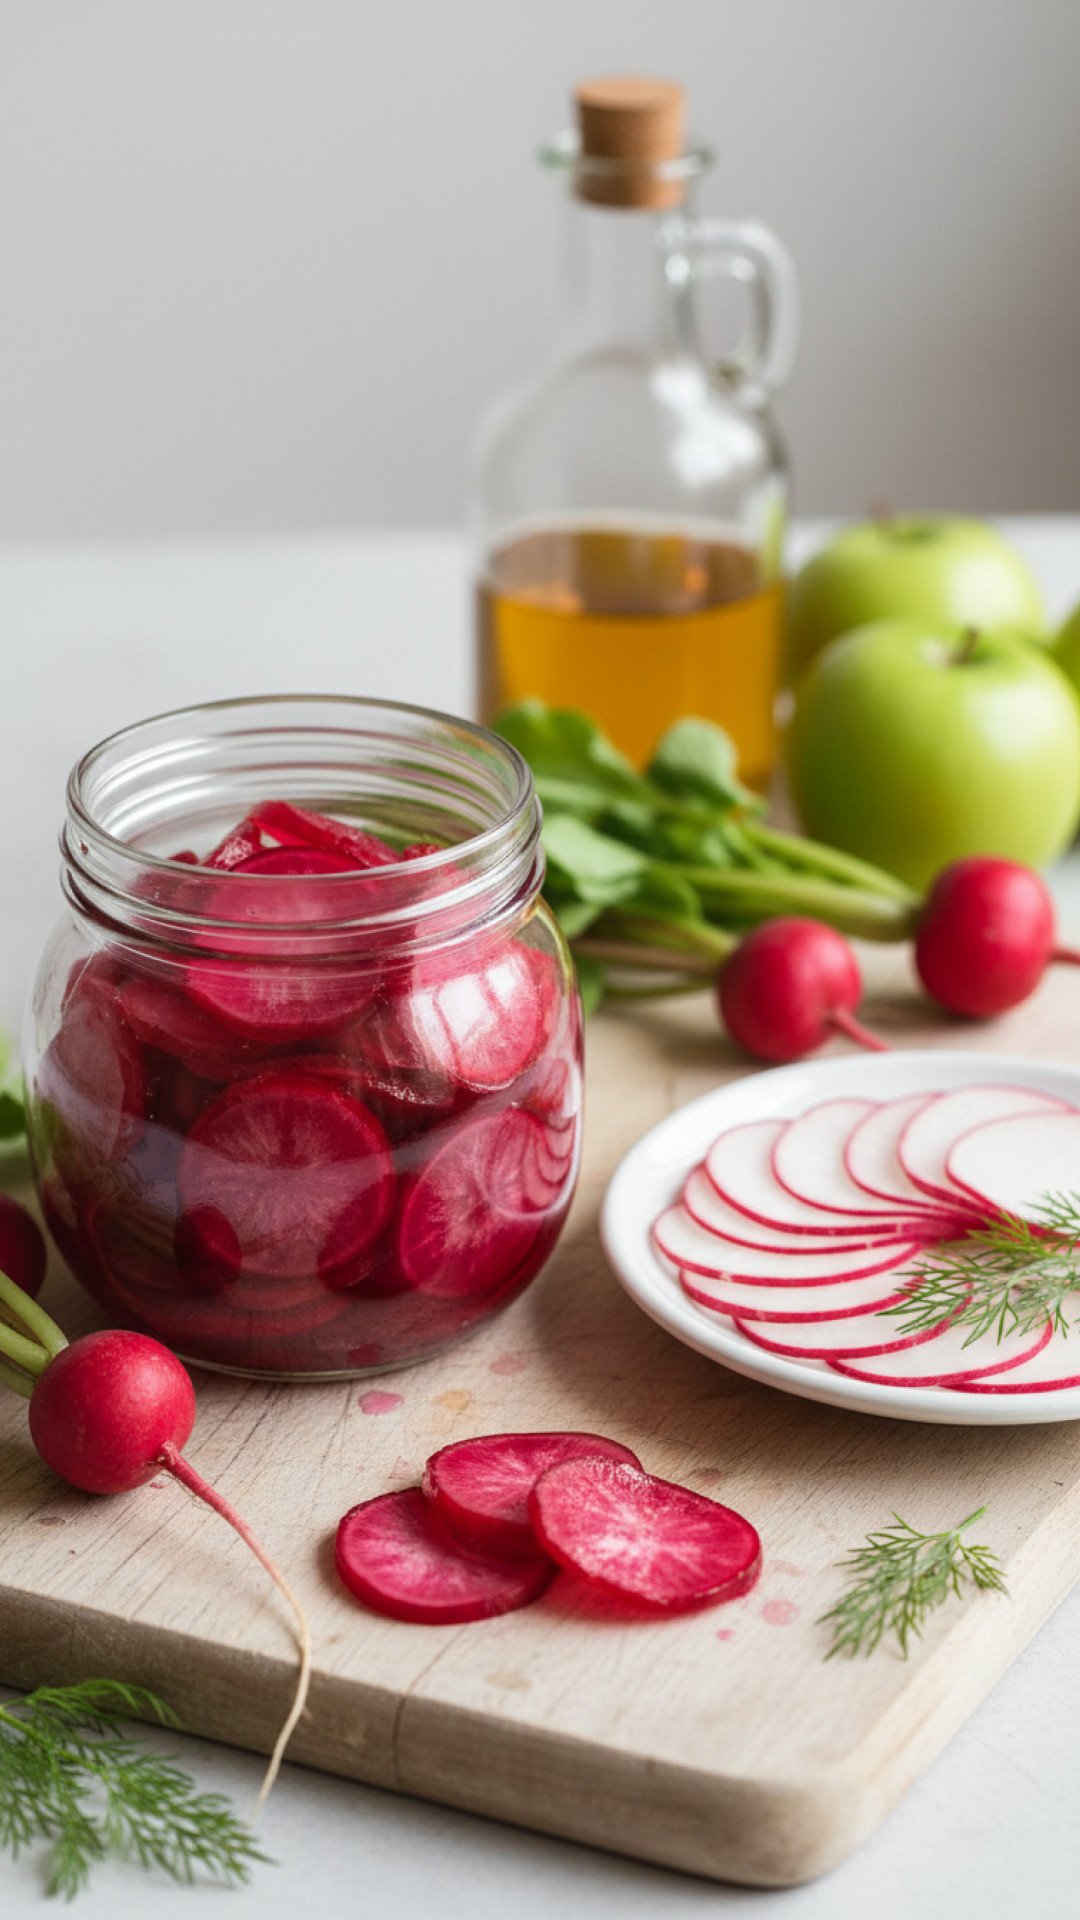
Radishes
Choose fresh, firm radishes with bright, unblemished skins. Any variety works – traditional red globe radishes are most common and give that beautiful pink hue, but daikon, watermelon radishes, or even French breakfast radishes can be wonderful too. The fresher they are, the crispier your pickled radishes will be. Trim the greens and root ends before slicing.
Vinegar
The type of vinegar you choose significantly impacts the final flavor. White vinegar is the most neutral and allows the radish flavor to shine. However, apple cider vinegar offers a fruitier, slightly mellower tang, while rice vinegar provides a delicate, subtly sweet and less acidic profile, often favored in Asian-inspired dishes. Feel free to experiment or combine different vinegars to find your favorite pickling liquid for this pickled radish recipe.
Sweetener (Sugar)
A little sugar isn't just for sweetness; it balances the acidity of the vinegar and enhances the overall flavor profile. White granulated sugar is standard, but you can also use maple syrup or honey for a different nuance. Adjust the amount to your taste – some prefer a tangier pickle, others a slightly sweeter one. Remember, the sugar is key to mellowing the sharpness of the radishes and the vinegar in this pickled radish recipe.
Step-by-Step Guide with Pro Tips
Mastering this pickled radish recipe is a breeze when you follow these steps carefully. You'll be amazed at how quickly you can create a batch of these tangy, crunchy delights.
- Step 1: Prepare your radishes. Thoroughly wash about 1 pound of fresh radishes. Trim off the green tops and the root ends. For the best pickling, slice them thinly and uniformly. A mandoline slicer is fantastic for this, ensuring even thickness which allows for consistent pickling. If slicing by hand, aim for about 1/16 to 1/8 inch thick slices.
- Step 2: Pack the jar(s). Tightly pack the sliced radishes into clean, heat-proof glass jars. You can sterilize your jars by washing them in hot, soapy water, rinsing well, and then placing them in a 200°F (95°C) oven for 10 minutes, or running them through a dishwasher. Into each jar, add your aromatics: 1-2 cloves of thinly sliced garlic, 1/2 teaspoon of whole black peppercorns, and a pinch of red pepper flakes (optional, for a little heat).
- Step 3: Prepare the pickling brine. In a small saucepan, combine 1 cup of water, 1 cup of vinegar (white, apple cider, or rice vinegar), 1 tablespoon of granulated sugar, and 1 teaspoon of sea salt. Bring the mixture to a gentle boil over medium-high heat, stirring occasionally until the sugar and salt have fully dissolved.
- Step 4: Pour the brine. Carefully pour the hot pickling brine over the radishes in the jars, ensuring they are completely submerged. Tap the jars gently on the counter to release any air bubbles. If needed, you can use a small weight or a fermentation lid to keep the radishes under the liquid.
- Step 5: Cool and seal. Let the jars cool completely to room temperature on your countertop. Once cool, secure the lids tightly.
- Step 6: Refrigerate and enjoy! Transfer the jars to the refrigerator. The pickled radishes will be ready to eat in as little as 30 minutes, but their flavor will deepen and develop after at least 2 hours, and they'll be even better the next day. They will keep well in the refrigerator for up to 2-3 weeks. For optimal freshness and safety, store them in high-quality Basics Glass Food Storage containers.
Pro Tips for the Best Pickled Radishes:
- Slice Evenly: This is crucial for consistent texture and flavor absorption. A mandoline makes this task incredibly easy.
- Don't Overcook the Brine: Just bring it to a boil until sugar and salt dissolve. Prolonged boiling can evaporate the vinegar, altering the acidity.
- Experiment with Aromatics: Beyond garlic and peppercorns, try dill sprigs, mustard seeds, coriander seeds, or a slice of fresh ginger for different flavor profiles.
- Re-use the Brine (Carefully): While you can technically re-use brine, it's generally safer and yields better results to make a fresh batch for each new set of pickles.
- Chill Thoroughly: The colder they are, the crisper and more refreshing your pickled radishes will be.
Variations & Serving Suggestions
This basic pickled radish recipe is just the beginning! The possibilities for customization and serving are endless. Here are some ideas to inspire you:
Flavor Variations:
- Spicy Pickled Radishes: Increase the red pepper flakes, or add a few slices of fresh jalapeño or serrano peppers to the jar.
- Herby Pickled Radishes: Add fresh dill sprigs, thyme, or rosemary to the jar for an aromatic twist.
- Asian-Inspired: Use rice vinegar, a touch of sesame oil in the brine, and a few thin slices of fresh ginger along with the garlic for a delicious Asian-inspired pickled radish recipe.
- Sweet & Tangy: Increase the sugar slightly and add a few whole star anise pods to the brine for a unique, complex sweetness.
Serving Suggestions:
- Tacos & Burrito Bowls: The bright acidity of pickled radishes cuts through the richness of meats and cheeses, making them an ideal topping for any taco or burrito bowl.
- Salads: Add a handful to your favorite green salad or grain bowl for an extra layer of crunch and flavor. They pair wonderfully with a classic Italian pasta salad too!
- Sandwiches & Burgers: Replace traditional pickles with these zesty radishes for a refreshing twist.
- Cheese Boards & Charcuterie: Their vibrant color and tangy taste make them a fantastic addition to any cheese or charcuterie spread, providing a welcome contrast.
- Grilled Meats & Fish: Serve them as a side condiment to grilled chicken, steak, or flaky white fish to brighten the meal.
- Avocado Toast: A sprinkle of chopped pickled radishes on avocado toast adds a delightful crunch and tang.
- As a Side Dish: Simply enjoy them straight from the jar as a crisp, refreshing snack. They even make a great garnish for dishes like crispy fried zucchini, offering a much-needed acidic counterpoint.
Nutrition Information
| Nutrient | Amount Per Serving |
|---|---|
| Calories | 15 kcal |
| Carbohydrate Content | 3g |
| Cholesterol Content | 0mg |
| Fat Content | 0g |
| Fiber Content | 1g |
| Protein Content | 0g |
| Saturated Fat Content | 0g |
| Serving Size | 1/4 cup |
| Sodium Content | 150mg |
| Sugar Content | 2g |
| Trans Fat Content | 0g |
| Unsaturated Fat Content | 0g |
Conclusion
And there you have it – your very own batch of homemade pickled radishes, ready to infuse your meals with a burst of zesty, tangy goodness! This simple pickled radish recipe is more than just a way to preserve vegetables; it's an invitation to explore new flavor dimensions and to elevate everyday dishes into something truly special. Remember that summer day at the farm stand? It taught me that sometimes, the simplest things can bring the most joy to our culinary lives. So go ahead, give this pickled radish recipe a try, experiment with flavors, and enjoy the satisfying crunch and vibrant taste. Your taste buds (and your Instagram feed!) will thank you. Happy pickling!
FAQs
How long do homemade pickled radishes last?
When stored in an airtight container in the refrigerator, homemade pickled radishes typically last for about 2-3 weeks. For the best flavor and texture, it's recommended to consume them within the first two weeks.
Can I use other types of radishes for this pickled radish recipe?
Absolutely! While red globe radishes are commonly used for their vibrant color, this pickled radish recipe works beautifully with other varieties like daikon, watermelon radishes, or French breakfast radishes. Just ensure they are fresh and firm.
What can I do with leftover pickled radish brine?
Leftover pickled radish brine can be repurposed! You can use it as a salad dressing base, a marinade for chicken or fish, a liquid for cooking grains, or even to quick-pickle other vegetables like cucumbers or onions (though note that its pickling power diminishes over time).
Do I need to sterilize my jars for quick pickling?
For quick pickling (refrigerator pickles) that will be consumed within a few weeks, thorough cleaning of jars with hot, soapy water and rinsing well is generally sufficient. However, sterilizing jars (by baking them in a 200u00b0F oven for 10 minutes or running through a dishwasher) provides an extra layer of safety and can slightly extend shelf life. Always use clean jars and lids.
Zesty Homemade Pickled Radishes
This easy pickled radish recipe transforms humble radishes into vibrant, tangy, and crunchy delights perfect for tacos, salads, sandwiches, and more! A quick pickling method yields fantastic results in just hours.
- Total Time: 20 minutes (plus chilling time)
- Yield: 2 (pint) jars 1x
Ingredients
1 lb fresh radishes (red globe, daikon, or watermelon)
2 cups water, divided
2 cups vinegar (white, apple cider, or rice vinegar)
2 tbsp granulated sugar
2 tsp sea salt
4 cloves garlic, thinly sliced
1 tsp whole black peppercorns
1/4 - 1/2 tsp red pepper flakes (optional, for heat)
Instructions
Step 1: Wash and prepare the radishes. Thoroughly wash the radishes and trim off the green tops and root ends. Using a mandoline or a sharp knife, slice the radishes thinly and uniformly, aiming for about 1/16 to 1/8 inch thick.
Step 2: Pack the jars. Divide the sliced radishes evenly between two clean, heat-proof pint-sized glass jars. Add 2 thinly sliced garlic cloves, 1/2 teaspoon of whole black peppercorns, and 1/8 - 1/4 teaspoon of red pepper flakes (if using) to each jar.
Step 3: Prepare the pickling brine. In a small saucepan, combine 1 cup of water, 1 cup of vinegar, 1 tablespoon of granulated sugar, and 1 teaspoon of sea salt. Bring the mixture to a gentle boil over medium-high heat, stirring until the sugar and salt are completely dissolved. Do not overboil.
Step 4: Pour the hot brine. Carefully pour the hot pickling brine over the radishes in each jar, ensuring all radishes are fully submerged. Tap the jars gently on the counter to release any trapped air bubbles.
Step 5: Cool and seal. Allow the jars to cool completely to room temperature on your countertop. Once cool, secure the lids tightly.
Step 6: Refrigerate and enjoy. Transfer the sealed jars to the refrigerator. The pickled radishes can be enjoyed after 30 minutes, but their flavor will be best after at least 2 hours, and even better the next day. They will keep well in the refrigerator for up to 2-3 weeks.
Notes
For extra crispness, you can blanch your radish slices in ice water for 5 minutes before packing them into jars. Adjust sugar and salt to your personal taste preference. Experiment with different spices like mustard seeds or dill for varied flavor profiles. Always ensure radishes are fully submerged in brine for best preservation.
- Prep Time: 15 minutes
- Cook Time: 5 minutes
- Category: Main Dishes & Savory Recipes
- Cuisine: American
Nutrition
- Serving Size: 1/4 cup
- Calories: 15 kcal
- Sugar: 2g
- Sodium: 150mg
- Fat: 0g
- Saturated Fat: 0g
- Unsaturated Fat: 0g
- Trans Fat: 0g
- Carbohydrates: 3g
- Fiber: 1g
- Protein: 0g
- Cholesterol: 0mg
Leave a Reply