

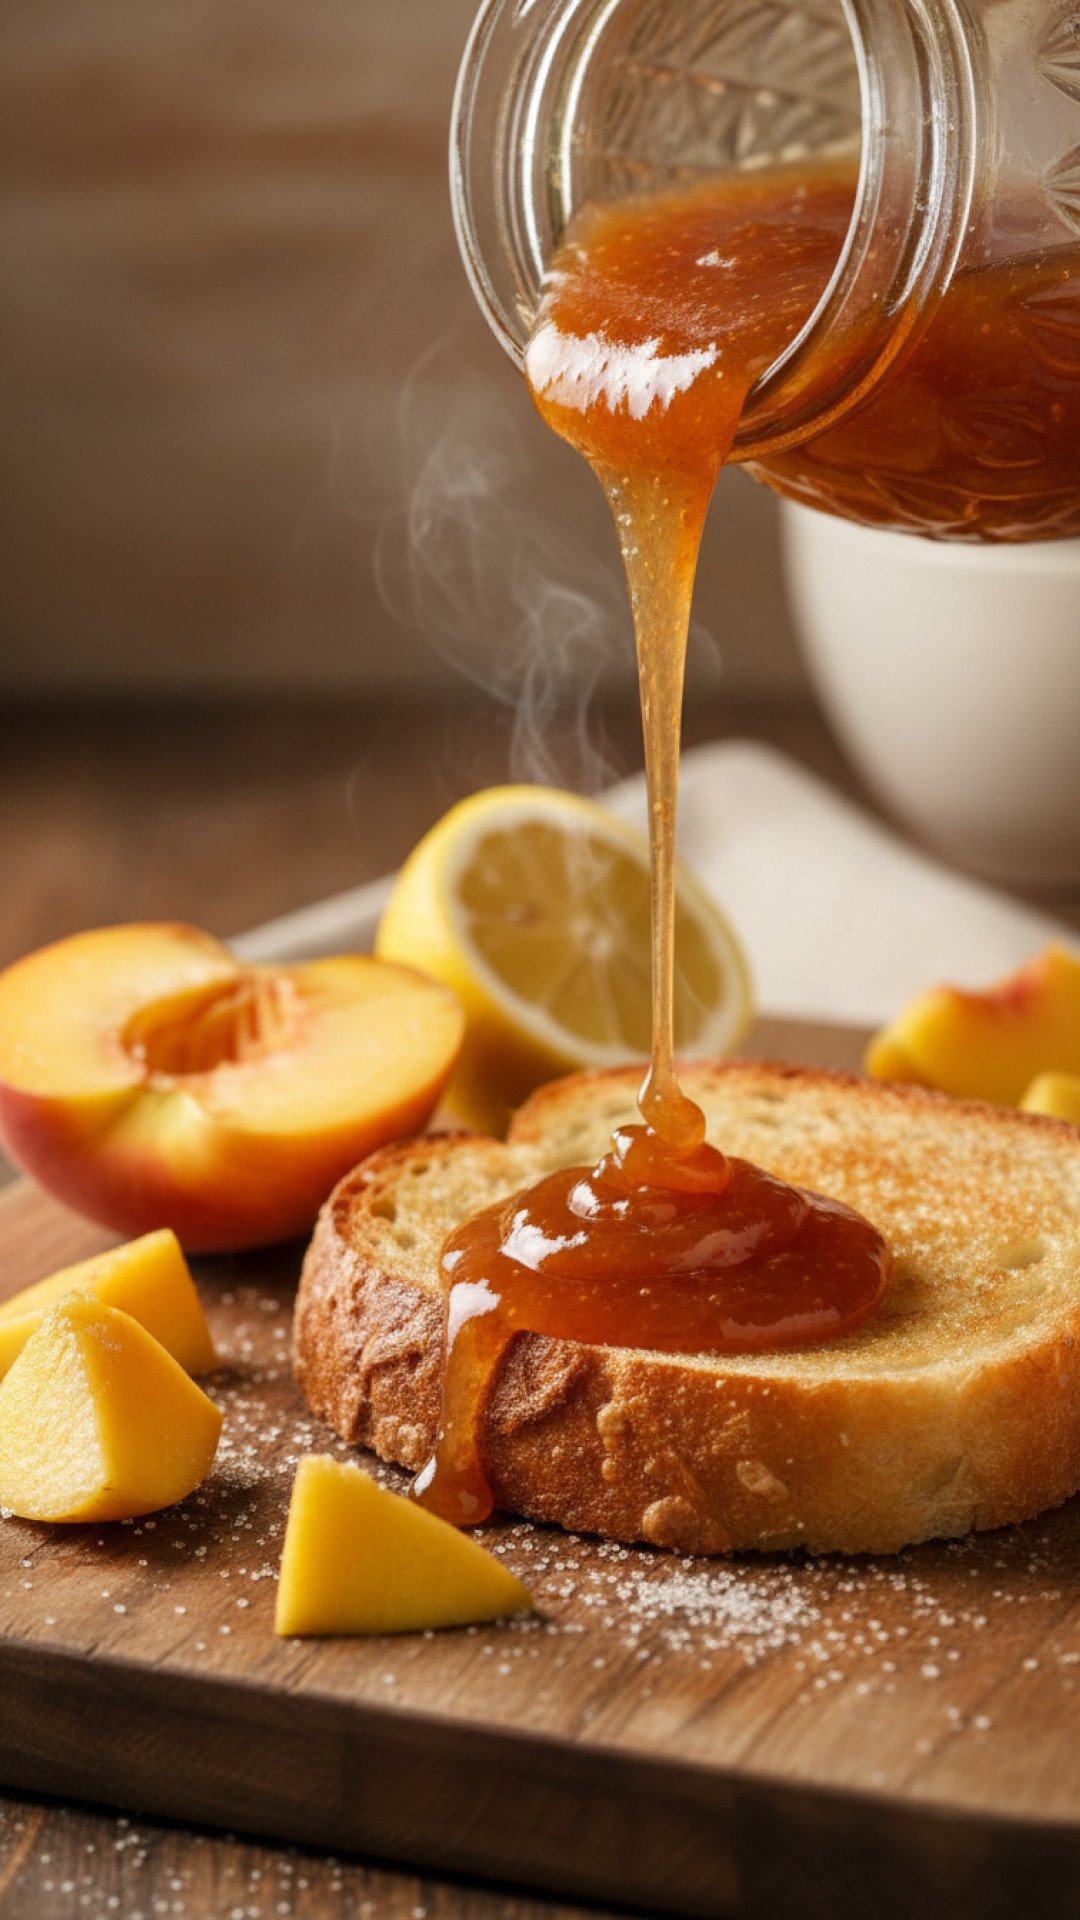
There are some smells that instantly transport you back to childhood, aren't there? For me, it's the sweet, heady aroma of peaches simmering on the stove. My grandmother, bless her heart, had an annual ritual of canning during peak peach season. Her kitchen would become a steamy, fragrant sanctuary, filled with bushels of ripe, fuzzy fruit. I'd sit at her worn wooden table, carefully peeling peaches (a task I often messed up, but she'd just smile and fix it), watching her work her magic. The highlight, of course, was always tasting the first warm spoonful of her fresh peach jam, spread thick on a slice of homemade bread. It was pure sunshine, bottled for the colder months. This peach jam recipe isn't just about preserving fruit; it's about preserving memories, a taste of home, and the simple joy of summer. It’s a labor of love, but one that rewards you with jars of golden deliciousness, ready to brighten any breakfast, brunch, or snack.
Over the years, I've refined my own take on her classic, aiming for that perfect balance of sweetness and vibrant peach flavor. This isn't just any peach jam recipe; it's a culmination of tradition, a touch of modern technique, and a whole lot of heart. So, roll up your sleeves, embrace the sticky fingers, and let's make some magic. Your kitchen will smell divine, and your pantry will thank you.
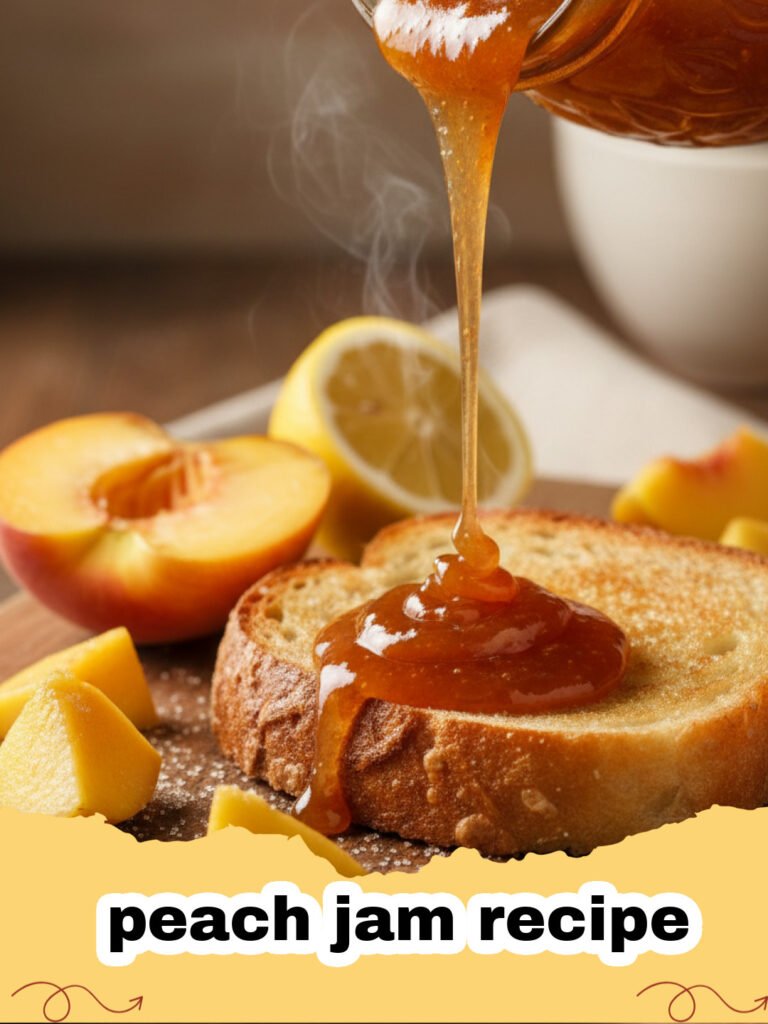
Why This Peach Jam Recipe is a Must-Try
- Captures Peak Season Flavor: This peach jam recipe truly locks in the sweet, juicy essence of summer peaches, allowing you to enjoy them long after the season ends.
- Simple & Rewarding: While canning might seem intimidating, this peach jam recipe breaks it down into manageable, satisfying steps, perfect for beginners and seasoned canners alike.
- Versatile & Delicious: Beyond toast, this homemade peach jam is fantastic in desserts, on charcuterie boards, or even as a glaze for savory dishes.
- No Artificial Additives: You control every ingredient, ensuring a pure, wholesome spread without any unwanted preservatives or artificial flavors.
Key Ingredient Notes
Ripe Peaches
The success of this peach jam recipe hinges on the quality of your peaches. Choose ripe, fragrant peaches that yield slightly to gentle pressure. Freestone varieties are generally easier to peel, but clingstone peaches work just fine with a little more patience. If your peaches aren't perfectly ripe, let them sit on your counter for a day or two until they soften and smell wonderfully peachy. Avoid bruised or overripe peaches, as they can affect the jam's flavor and texture. For an extra pop of flavor, consider using a mix of yellow and white peaches.
Sugar (Granulated)
Sugar does more than just sweeten; it acts as a preservative and helps the jam set. While it might seem like a lot, reducing the sugar too much can prevent the jam from gelling properly and shorten its shelf life. For this peach jam recipe, we use a classic ratio that ensures both deliciousness and stability. Don't worry about it being overly sweet; the natural tartness of the peaches and lemon juice balances it out beautifully. You can experiment with cane sugar or even a touch of brown sugar for a deeper flavor, but granulated sugar is the standard for clarity and consistent results.
Lemon Juice
Lemon juice is a non-negotiable ingredient in this peach jam recipe. It serves two crucial purposes: first, it adds acidity, which brightens the peach flavor and prevents the jam from tasting flat. Second, and most importantly for canning, it lowers the pH of the jam, which is essential for proper gelling and safe storage. The pectin in peaches needs an acidic environment to set correctly. Always use fresh lemon juice for the best flavor; bottled can sometimes have a slightly metallic taste.
Step-by-Step Guide with Pro Tips
Making a delicious peach jam recipe is a journey, not a race. Take your time, enjoy the process, and soon you'll have jars of pure peach perfection.
Preparation is Key
Step 1: Begin by sterilizing your canning jars and lids. Wash them thoroughly in hot, soapy water, then rinse. For jars, either boil them in a large pot for 10 minutes or run them through a hot sanitize cycle in your dishwasher. Keep them hot until ready to fill. Lids and bands should be simmered (not boiled) in hot water according to manufacturer instructions.
Step 2: Prepare your peaches. Bring a large pot of water to a rolling boil. Score a small 'X' on the bottom of each peach. Carefully drop a few peaches into the boiling water for 30-60 seconds, then immediately transfer them to an ice bath using a slotted spoon. This process, called blanching, helps the skins slip off easily. Peel, pit, and chop the peaches into small pieces or mash them to your desired consistency for this peach jam recipe.
Step 3: In a large, heavy-bottomed pot or Dutch oven, combine the prepared peaches and fresh lemon juice. Stir well to combine. And if you find yourself with an abundance of peaches beyond what this peach jam recipe calls for, consider trying The Ultimate Fresh Peach Salsa Recipe for a savory twist.
Cooking the Jam
Step 4: Add the granulated sugar to the peach and lemon juice mixture in the pot. Stir thoroughly until the sugar begins to dissolve. Bring the mixture to a full rolling boil over high heat, stirring constantly to prevent sticking. A full rolling boil is one that cannot be stirred down.
Step 5: Continue boiling, stirring frequently, until the jam reaches its setting point. This can take anywhere from 15-30 minutes, depending on your fruit and heat. To test for a set, you have a few options:
- Cold Plate Test: Place a small plate in the freezer before you start. Drop a teaspoon of hot jam onto the cold plate, wait 30 seconds, then push it with your finger. If it wrinkles, it's ready.
- Temperature Test: Use a candy thermometer. The jam is set when it reaches 220°F (104°C) at sea level.
- Spoon Test: Dip a cold metal spoon into the jam, lift it, and tilt it sideways. If two drops merge and sheet off the spoon, it’s set.
Step 6: Once the jam has reached its setting point, remove it from the heat. Carefully skim off any foam that has risen to the surface using a metal spoon. This makes for a clearer, more appealing jam. At this point, your kitchen will be filled with the most incredible aroma of this delicious peach jam recipe.
Canning and Storage
Step 7: Ladle the hot peach jam into the hot, sterilized jars, leaving about 1/4 inch of headspace. Wipe the rims clean with a damp cloth to ensure a good seal. Place the hot lids on the jars, then screw on the bands until finger-tight.
Step 8: Process the filled jars in a boiling water canner for 10 minutes (adjusting for altitude as necessary). After processing, carefully remove the jars from the canner and place them on a towel-lined counter, leaving space between them. Do not disturb for 12-24 hours. You should hear popping sounds as the lids seal. Once your peach jam recipe is complete and cooled, store it in airtight containers. I highly recommend using quality Basics Glass Food Storage jars for canning or refrigeration, as they ensure freshness and longevity.
Step 9: Check seals. If any jar did not seal (the lid will not be concave), refrigerate that jam and consume it within 3 weeks. Properly sealed jars of this peach jam recipe can be stored in a cool, dark place for up to 1 year.
Variations & Serving Suggestions
This classic peach jam recipe is fantastic as is, but it also serves as a wonderful base for creative additions!
- Spiced Peach Jam: Add 1/2 teaspoon of ground cinnamon, 1/4 teaspoon of ground nutmeg, and a pinch of ground cloves to the peaches along with the sugar for a warm, autumnal twist.
- Peach-Vanilla Jam: Scrape the seeds from one vanilla bean and add them to the jam mixture during cooking. You can also toss in the spent vanilla bean pod for extra flavor, removing it before jarring.
- Ginger Peach Jam: Grate 1-2 tablespoons of fresh ginger and add it to the peaches at the start of cooking for a zesty kick.
- Serving Suggestions: Spread this glorious peach jam recipe on toast, scones, or croissants. Swirl it into plain yogurt or oatmeal for a burst of fruitiness. It's also heavenly as a filling for tarts, thumbprint cookies, or as a topping for The Ultimate Homemade Fresh Peach Ice Cream. Don't forget to try it alongside soft cheeses on a charcuterie board – the sweet and savory combination is divine!
Nutrition Information
| Nutrient | Amount (per serving) |
|---|---|
| Calories | 55 kcal |
| Carbohydrates | 14 g |
| Cholesterol | 0 mg |
| Fat | 0 g |
| Fiber | 0 g |
| Protein | 0 g |
| Saturated Fat | 0 g |
| Serving Size | 1 tbsp |
| Sodium | 0 mg |
| Sugar | 13 g |
| Trans Fat | 0 g |
| Unsaturated Fat | 0 g |
(Note: Nutrition values are estimates and may vary based on specific ingredients and preparation methods for this peach jam recipe.)
Conclusion
There's something incredibly satisfying about looking at a row of homemade peach jam jars, knowing you've captured a little piece of summer's bounty. This peach jam recipe is more than just a sweet spread; it's a taste of tradition, a dash of comfort, and a testament to the joy of making something truly special with your own hands. Whether you're making it for yourself, for gifts, or simply to fill your home with that nostalgic peach aroma, I hope this recipe brings as much joy to your kitchen as it does to mine. Happy jamming!
FAQs
What kind of peaches are best for this peach jam recipe?
Freestone peaches are generally easiest to work with for this peach jam recipe because their pits separate easily from the flesh. However, any ripe, fragrant peach variety will work well. The key is to use peaches that are at their peak ripeness for the best flavor.
Do I need to add pectin to this peach jam recipe?
This particular peach jam recipe does not call for added pectin. Peaches naturally contain some pectin, and with the right amount of sugar and acidity from lemon juice, the jam will set without commercial pectin. The long, slow boil helps activate the natural pectin.
How do I know when my peach jam recipe is set?
There are several ways to check for the setting point of this peach jam recipe. The most reliable is the cold plate test: place a spoonful of hot jam on a chilled plate, wait 30 seconds, then push it with your finger. If it wrinkles, it's ready. A candy thermometer can also be used, looking for a temperature of 220u00b0F (104u00b0C) at sea level.
How long will homemade peach jam last?
When properly sealed and processed in a boiling water bath, homemade peach jam can last for up to 1 year when stored in a cool, dark place. Once opened, refrigerate the jam and consume it within 2-3 weeks.
Classic Homemade Peach Jam
A delightful and easy peach jam recipe that captures the essence of summer. Perfect for toast, desserts, and gifting.
- Total Time: 1 hour 15 minutes
- Yield: 6 half-pint jars 1x
Ingredients
5 lbs ripe peaches (about 12 medium peaches)
1/4 cup fresh lemon juice
4 cups granulated sugar (approximately, depending on peach sweetness)
Instructions
Step 1: Sterilize your canning jars and lids. Wash them thoroughly in hot, soapy water, then rinse. For jars, either boil them in a large pot for 10 minutes or run them through a hot sanitize cycle in your dishwasher. Keep them hot until ready to fill. Lids and bands should be simmered (not boiled) in hot water according to manufacturer instructions.
Step 2: Prepare your peaches. Bring a large pot of water to a rolling boil. Score a small 'X' on the bottom of each peach. Carefully drop a few peaches into the boiling water for 30-60 seconds, then immediately transfer them to an ice bath using a slotted spoon. This process, called blanching, helps the skins slip off easily. Peel, pit, and chop the peaches into small pieces or mash them to your desired consistency for this peach jam recipe.
Step 3: In a large, heavy-bottomed pot or Dutch oven, combine the prepared peaches and fresh lemon juice. Stir well to combine.
Step 4: Add the granulated sugar to the peach and lemon juice mixture in the pot. Stir thoroughly until the sugar begins to dissolve. Bring the mixture to a full rolling boil over high heat, stirring constantly to prevent sticking. A full rolling boil is one that cannot be stirred down.
Step 5: Continue boiling, stirring frequently, until the jam reaches its setting point. This can take anywhere from 15-30 minutes, depending on your fruit and heat. To test for a set, you can use the cold plate test (drop a spoonful on a chilled plate, if it wrinkles when pushed, it's ready) or a candy thermometer (jam sets around 220°F/104°C).
Step 6: Once the jam has reached its setting point, remove it from the heat. Carefully skim off any foam that has risen to the surface using a metal spoon. This makes for a clearer, more appealing jam.
Step 7: Ladle the hot peach jam into the hot, sterilized jars, leaving about 1/4 inch of headspace. Wipe the rims clean with a damp cloth to ensure a good seal. Place the hot lids on the jars, then screw on the bands until finger-tight.
Step 8: Process the filled jars in a boiling water canner for 10 minutes (adjusting for altitude as necessary). After processing, carefully remove the jars from the canner and place them on a towel-lined counter, leaving space between them. Do not disturb for 12-24 hours. You should hear popping sounds as the lids seal.
Step 9: Check seals. If any jar did not seal (the lid will not be concave), refrigerate that jam and consume it within 3 weeks. Properly sealed jars of this peach jam recipe can be stored in a cool, dark place for up to 1 year.
Notes
Always use ripe, fresh peaches for the best flavor. Adjust sugar slightly based on the sweetness of your peaches, but be mindful that sugar is crucial for setting. Proper sterilization and processing are key for safe, shelf-stable jam. For an extra aromatic touch, you can add a vanilla bean pod to the jam during cooking and remove it before jarring.
- Prep Time: 30 minutes
- Cook Time: 45 minutes
- Category: Desserts & Baking
- Cuisine: American
Nutrition
- Serving Size: 1 tbsp
- Calories: 55 kcal
- Sugar: 13 g
- Sodium: 0 mg
- Fat: 0 g
- Saturated Fat: 0 g
- Unsaturated Fat: 0 g
- Trans Fat: 0 g
- Carbohydrates: 14 g
- Fiber: 0 g
- Protein: 0 g
- Cholesterol: 0 mg
Leave a Reply