

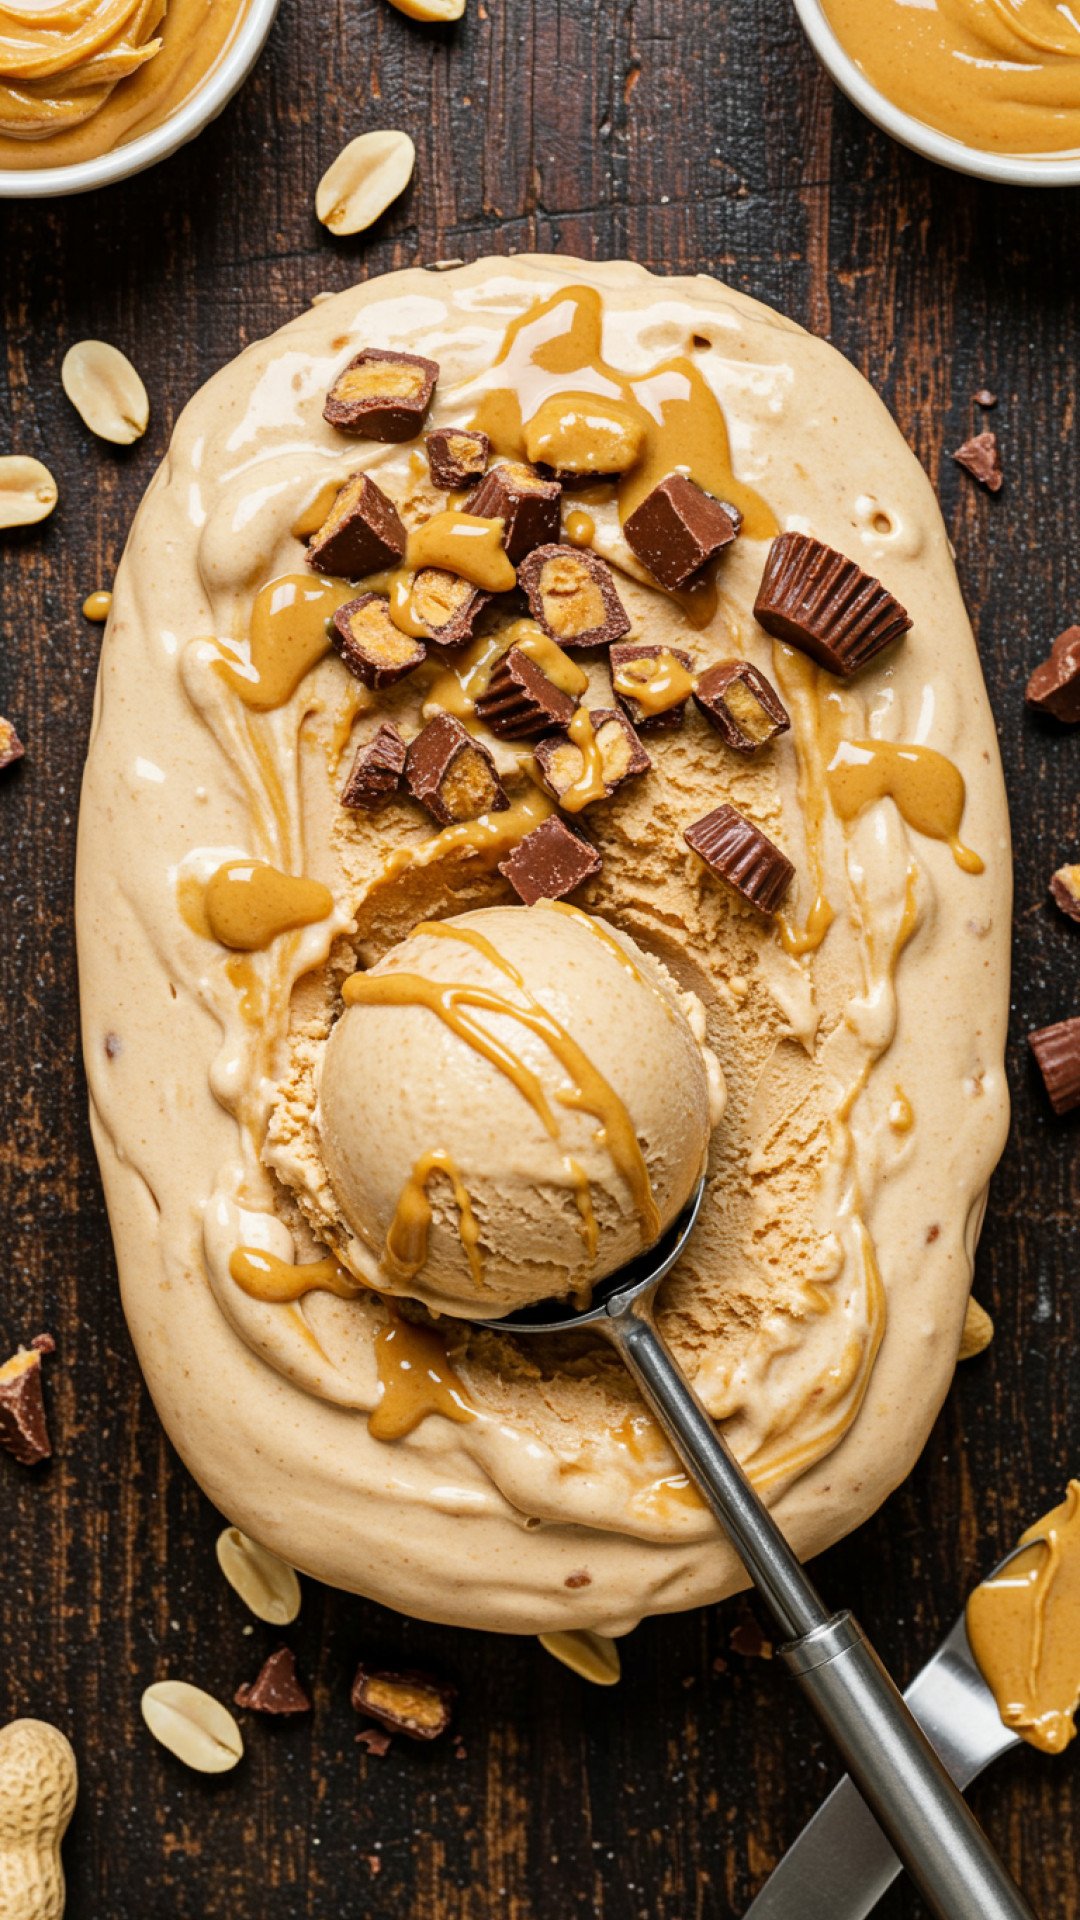
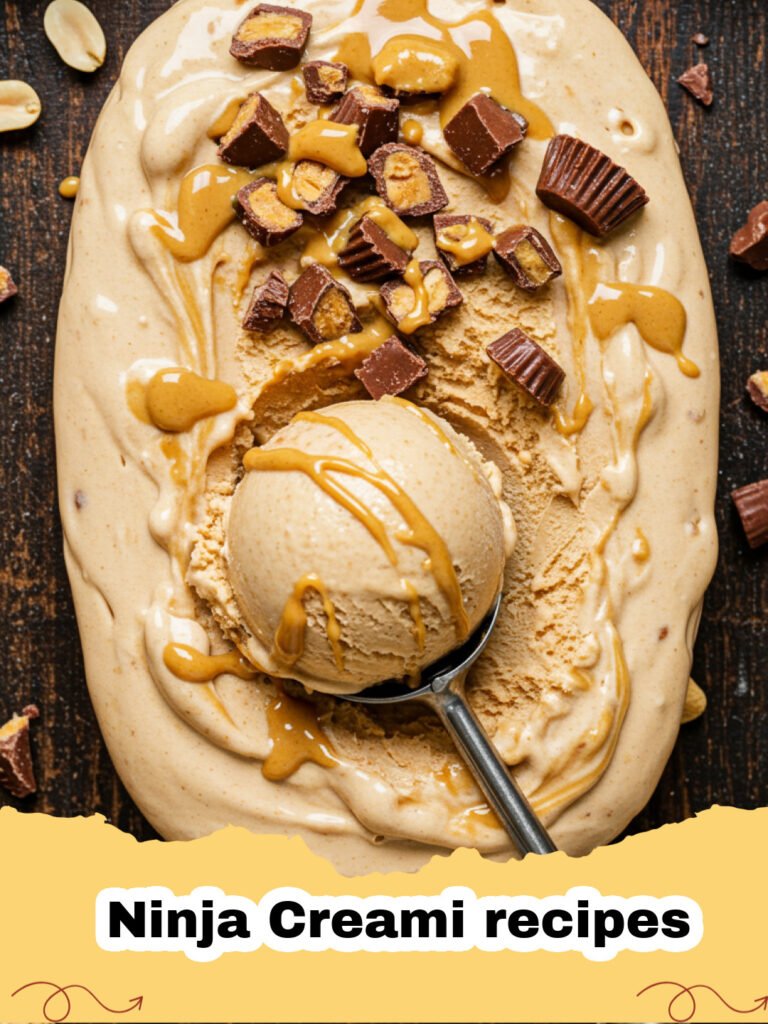
Ninja Creami recipes have completely transformed the way I look at dessert in my own kitchen. I remember the first time I pulled that sleek machine out of the box, feeling a mix of skepticism and excitement. As someone who has spent years churning traditional ice cream or settling for store-bought pints that were either too icy or too full of stabilizers, I wasn't sure if a home appliance could really deliver that silky-smooth texture everyone was raving about. However, after my first batch of vanilla bean protein ice cream, I was hooked. The ability to take a frozen block of liquid and turn it into a decadent, creamy masterpiece in minutes is nothing short of culinary sorcery. Whether you are looking for a healthy alternative to traditional treats or want to experiment with bold, gourmet flavors, exploring various Ninja Creami recipes is an adventure every food lover should embark on.
Why This Recipe is a Must-Try
- Unbeatable Texture: Unlike traditional churns, these Ninja Creami recipes utilize specialized technology that shaves frozen blocks into micro-crystals, resulting in a density and smoothness that mimics high-end gelato.
- Complete Customization: When you dive into Ninja Creami recipes, you have total control over the sugar content, dairy types, and mix-ins, making it perfect for keto, vegan, or high-protein lifestyles.
- Minimal Prep Time: Most Ninja Creami recipes require less than five minutes of active preparation before you pop the pint into the freezer.
- Versatility: From refreshing fruit sorbets to rich chocolate indulgences, the range of possible Ninja Creami recipes is virtually limitless, ensuring you never get bored.
Key Ingredient Notes
When crafting the perfect base for your Ninja Creami recipes, the choice of liquid is paramount. For a rich, traditional feel, whole milk and heavy cream are the gold standard. However, many people find success using ultra-filtered milk like Fairlife, which provides a higher protein content and a naturally creamier mouthfeel without the extra fat. Another secret weapon in many successful Ninja Creami recipes is the addition of a thickener. Using a tablespoon of sugar-free instant pudding mix or a pinch of guar gum can prevent the ice cream from becoming too brittle or crumbly after the first spin. Finally, don't underestimate the power of high-quality extracts. Since freezing dulls flavors slightly, a generous splash of pure vanilla bean paste or high-grade cocoa powder is essential to make your Ninja Creami recipes stand out from the crowd.
Step-by-Step Guide with Pro Tips
The journey to the perfect pint involves more than just hitting a button; it is about understanding the science behind Ninja Creami recipes. First, ensure your mixture is thoroughly combined before freezing. I always recommend using a hand frother or a small blender to emulsify the ingredients. If you are experimenting with protein-based Ninja Creami recipes, this step prevents the powder from settling at the bottom. Once mixed, the pint must sit in a level spot in your freezer for a full 24 hours at approximately -7°F. Skipping this wait time is the number one reason why Ninja Creami recipes fail to reach the desired consistency.
When you are ready to process, if the top of your frozen pint has a "hump" or is uneven, scrape it flat with a spoon before inserting it into the machine. This protects the blade and ensures an even shave. If your first spin comes out looking like sand or Dippin' Dots, don't panic! This is common in many Ninja Creami recipes, especially those with lower fat content. Simply add a tablespoon of liquid (milk or water) and hit the "Re-spin" button. This second pass is often the magic touch that brings the whole pint together into a luscious, scoopable treat. For those who love a bit of texture, this is also the time to add your favorite spring cookie recipes as mix-ins to create a delightful crunch.
Variations & Serving Suggestions
One of the best parts about mastering Ninja Creami recipes is the ability to pivot based on the season. In the heat of summer, you might crave a light lemon sorbet or a tropical mango swirl. These fruit-forward Ninja Creami recipes often require nothing more than a can of fruit in juice and a splash of lime. For a more sophisticated dinner party, you can serve a floral-infused pint alongside a refreshing peach bellini recipe to impress your guests with a balanced palette of flavors.
If you find yourself with leftover ice cream, make sure to level off the top of the pint before putting it back in the freezer. To keep your ingredients organized while prepping multiple batches of Ninja Creami recipes, I highly recommend storing any extra mix-ins in Basics Glass Food Storage containers. This keeps your nuts, chocolate chips, and cookie crumbles fresh and ready for your next creation. When serving, a pinch of flaky sea salt or a drizzle of warm honey can elevate even the simplest Ninja Creami recipes into a five-star dessert experience.
Nutrition Information
| Nutrient | Amount per Serving |
|---|---|
| Calories | 210 kcal |
| Carbohydrate Content | 12g |
| Cholesterol Content | 15mg |
| Fat Content | 6g |
| Fiber Content | 2g |
| Protein Content | 28g |
| Saturated Fat Content | 3.5g |
| Serving Size | 1 Pint |
| Sodium Content | 180mg |
| Sugar Content | 4g |
| Trans Fat Content | 0g |
| Unsaturated Fat Content | 2g |
Conclusion
In conclusion, the world of Ninja Creami recipes is a playground for both the health-conscious and the dessert enthusiast. By understanding the basics of freezing times, the importance of stabilizers, and the power of the re-spin, you can unlock a new level of culinary creativity. These Ninja Creami recipes allow you to enjoy your favorite frozen treats without the guilt or the mysterious additives found in commercial brands. So, grab your machine, prep a few pints tonight, and get ready to experience the smoothest, most delicious ice cream you've ever made at home. Happy churning!
FAQs
Why are my Ninja Creami recipes coming out powdery?
If your Ninja Creami recipes result in a powdery or crumbly texture, it usually means the mixture is too cold or lacks enough fat/sugar. Simply add a tablespoon of liquid and use the 'Re-spin' button to fix this.
Can I use almond milk in Ninja Creami recipes?
Yes, you can use almond milk, but because of its high water content, the result may be icier. Adding a thickener like guar gum or pudding mix helps keep dairy-free Ninja Creami recipes creamy.
Do I really need to freeze for 24 hours?
Yes! For the best Ninja Creami recipes, a full 24-hour freeze ensures the base is solid enough for the blade to shave it into the correct micro-crystal texture.
How do I store leftovers of my Ninja Creami recipes?
Level the top of the remaining ice cream in the pint and freeze. When you want to eat it again, you may need to 'Re-spin' it to restore the creamy texture.
Classic Vanilla Bean Protein Ice Cream
An ultra-smooth, high-protein vanilla ice cream base that serves as the foundation for endless Ninja Creami recipes.
- Total Time: 24 hours 7 minutes
- Yield: 1 Pint 1x
Ingredients
2 cups Fairlife 2% milk
1 scoop (30g) Vanilla Whey Protein Powder
1 tbsp Sugar-free Vanilla Pudding Mix
1 tsp Vanilla Bean Paste
Pinch of sea salt
Instructions
Step 1: Combine the milk, protein powder, pudding mix, vanilla bean paste, and salt in a large measuring cup or bowl.
Step 2: Use a hand frother or whisk to blend the ingredients until completely smooth and the powder is fully dissolved.
Step 3: Pour the mixture into the Ninja Creami pint container, ensuring you do not exceed the max fill line.
Step 4: Place the lid on the pint and freeze on a level surface for exactly 24 hours.
Step 5: Remove the pint from the freezer and process on the 'Lite Ice Cream' setting.
Step 6: If the mixture is crumbly, add 1 tablespoon of milk and select the 'Re-spin' function until creamy.
Notes
Always freeze for the full 24 hours for the best results. If the top is uneven, scrape it flat before processing.
- Prep Time: 5 minutes
- Cook Time: 2 minutes
- Category: Desserts & Baking
- Cuisine: American
Nutrition
- Serving Size: 1 Pint
- Calories: 210 kcal
- Sugar: 4g
- Sodium: 180mg
- Fat: 6g
- Saturated Fat: 3.5g
- Unsaturated Fat: 2g
- Trans Fat: 0g
- Carbohydrates: 12g
- Fiber: 2g
- Protein: 28g
- Cholesterol: 15mg
Leave a Reply