
Growing up, summer wasn't just about endless days at the pool or chasing fireflies; it was about the magic of homemade treats. One of my fondest memories involves a particular kitchen adventure: making an ice cream in a bag recipe. I must have been around eight or nine, and my grandma, with her endless patience and infectious enthusiasm, would declare 'Today's the day for science and dessert!' We'd gather the simple ingredients – milk, cream, sugar, and a splash of vanilla – then the real fun began. Two ziplock bags, one small for the creamy mixture and one large filled with ice and rock salt. The instructions were simple: shake, shake, shake! My little brother and I would take turns, giggling as the bags grew colder and the liquid inside slowly transformed into a rich, creamy delight. Our hands would get freezing, but the anticipation of that first spoonful of freshly made vanilla ice cream made every shiver worth it. It wasn't just a dessert; it was an experience, a science experiment, and a moment of pure joy shared with family. That simple ice cream in a bag recipe taught me that the best things often come from the simplest efforts, and that some memories are just as sweet as the treats they accompany. Now, as an adult, I love recreating that magic, especially for my nieces and nephews. It’s still just as thrilling to watch their eyes light up as they realize they’ve just made their own delicious ice cream from scratch. It’s a timeless activity that combines fun, a little bit of learning, and a whole lot of deliciousness. This classic ice cream in a bag recipe is not just a recipe; it's an invitation to create wonderful, sweet memories.
Why This Ice Cream in a Bag Recipe is a Must-Try
This isn't just any dessert; it's an experience! Here’s why the ice cream in a bag recipe should be next on your culinary adventure list:
- Instant Gratification: Forget waiting hours for your ice cream maker! This method delivers delicious, creamy ice cream in as little as 10-15 minutes of shaking. It's the perfect solution when a sudden ice cream craving hits.
- Fun for All Ages: Making this ice cream in a bag recipe is a fantastic activity for kids and adults alike. It’s a hands-on, engaging project that gets everyone involved, making it ideal for parties, playdates, or a cozy family night. Plus, it’s a great way to sneak in a little science lesson about freezing points!
- Minimal Equipment, Maximum Flavor: You don't need any fancy gadgets or expensive ice cream machines. Just a few common kitchen items and simple ingredients are all it takes to create a surprisingly rich and creamy dessert. This truly accessible ice cream in a bag recipe proves that gourmet taste doesn't require a gourmet kitchen.
- Endlessly Customizable: While classic vanilla is a wonderful starting point, this ice cream in a bag recipe is a blank canvas for your creativity. Easily add different flavors, mix-ins, and toppings to suit every palate. The possibilities are as endless as your imagination!
- Perfect for Summer: On a hot day, there's nothing quite like homemade ice cream. This quick method means you can whip up a refreshing treat without heating up the kitchen, making it a quintessential summer delight. It’s also a great follow-up after enjoying other summer favorites like a fresh blueberry crumble.
Key Ingredients for Your Ice Cream in a Bag Recipe
While the magic of this ice cream in a bag recipe lies in the shaking, the ingredients play crucial roles in achieving that perfect creamy texture and delightful flavor. Let’s dive into what makes them so special:
Heavy Cream: The Creaminess King
Heavy cream is the star of our show, providing the rich, luscious base for our ice cream. Its high-fat content (typically 36% or more) is what gives ice cream its signature creamy texture. As the mixture churns and freezes, these fat molecules stabilize, preventing large ice crystals from forming and ensuring a smooth, decadent mouthfeel. For the best results with this ice cream in a bag recipe, opt for full-fat heavy cream – it makes all the difference.
Granulated Sugar: More Than Just Sweetness
Sugar, of course, sweetens our ice cream, but it also plays a vital structural role. Beyond its primary function, sugar actually helps to lower the freezing point of the mixture, which contributes to a softer, less icy final product. It also enhances the texture, making the ice cream smoother and more scoopable. Adjust the amount to your personal preference, but remember it's essential for both flavor and consistency in your ice cream in a bag recipe.
Rock Salt (or Kosher Salt): The Freezing Catalyst
This is where the science really comes into play for our ice cream in a bag recipe! Rock salt isn't added to the ice cream itself but to the ice in the larger bag. When salt dissolves in water (from the melting ice), it significantly lowers the freezing point of the water. This means the ice-salt mixture can get much colder than ice alone (well below 32°F or 0°C) without turning completely solid. This super-cold brine then draws heat away from your cream mixture much more efficiently, causing it to freeze quickly into ice cream. Using a coarser salt like rock salt or kosher salt is best because it dissolves slower and creates a more sustained cold environment compared to fine table salt. This is the secret ingredient that makes this speedy ice cream in a bag recipe possible.
The Ultimate Step-by-Step Guide to Your Ice Cream in a Bag Recipe
Ready to make some magic? Follow these simple steps for a perfect batch of homemade ice cream. This ice cream in a bag recipe is designed to be straightforward and fun, so let's get shaking!
Gather Your Tools and Ingredients:
- Small resealable plastic bag (quart-sized, preferably freezer-safe)
- Large resealable plastic bag (gallon-sized, heavy-duty is best)
- Measuring cups and spoons
- A kitchen towel or gloves (to protect your hands from the cold)
- Ice (enough to fill the gallon bag about two-thirds full)
- Rock salt or kosher salt (about 1/2 cup per batch)
- Ingredients: heavy cream, milk, sugar, vanilla extract
Now, let's get to the fun part of this ice cream in a bag recipe!
Step 1: In the small resealable bag, combine the heavy cream, milk, sugar, and vanilla extract. Ensure all the sugar is dissolved by gently squeezing and massaging the bag. Press out as much air as possible before sealing it tightly. This is your ice cream mixture.
Step 2: Fill the large resealable bag about two-thirds full with ice. Add the rock salt or kosher salt to the ice. The salt is crucial here; it lowers the freezing point of the ice, allowing it to get cold enough to freeze your ice cream mixture quickly. This is the scientific heart of the ice cream in a bag recipe.
Step 3: Place the sealed small bag containing the ice cream mixture inside the large bag with the ice and salt. Seal the large bag tightly, making sure to remove as much air as possible. Double-check both seals to prevent leaks!
Step 4: Wrap the large bag in a kitchen towel or put on gloves. This will protect your hands from the extreme cold. Now, it’s time to shake, shake, shake! Vigorously shake and toss the bag for 5-10 minutes. You'll notice the liquid in the small bag starting to thicken and solidify into creamy ice cream. Don't be afraid to get creative with your shaking technique – up, down, side to side!
Step 5: After about 5-7 minutes, open the large bag and inspect the small bag. If the ice cream isn't firm enough, reseal and continue shaking for another few minutes. The exact time depends on how vigorously you shake and how cold your ice-salt mixture is. You’re looking for a soft-serve consistency for this ice cream in a bag recipe.
Step 6: Once your ice cream has reached the desired consistency, carefully remove the small bag from the large bag. Wipe off any excess salt water from the outside of the small bag to prevent it from getting into your ice cream. This is a critical step to ensure your delicious treat isn’t salty!
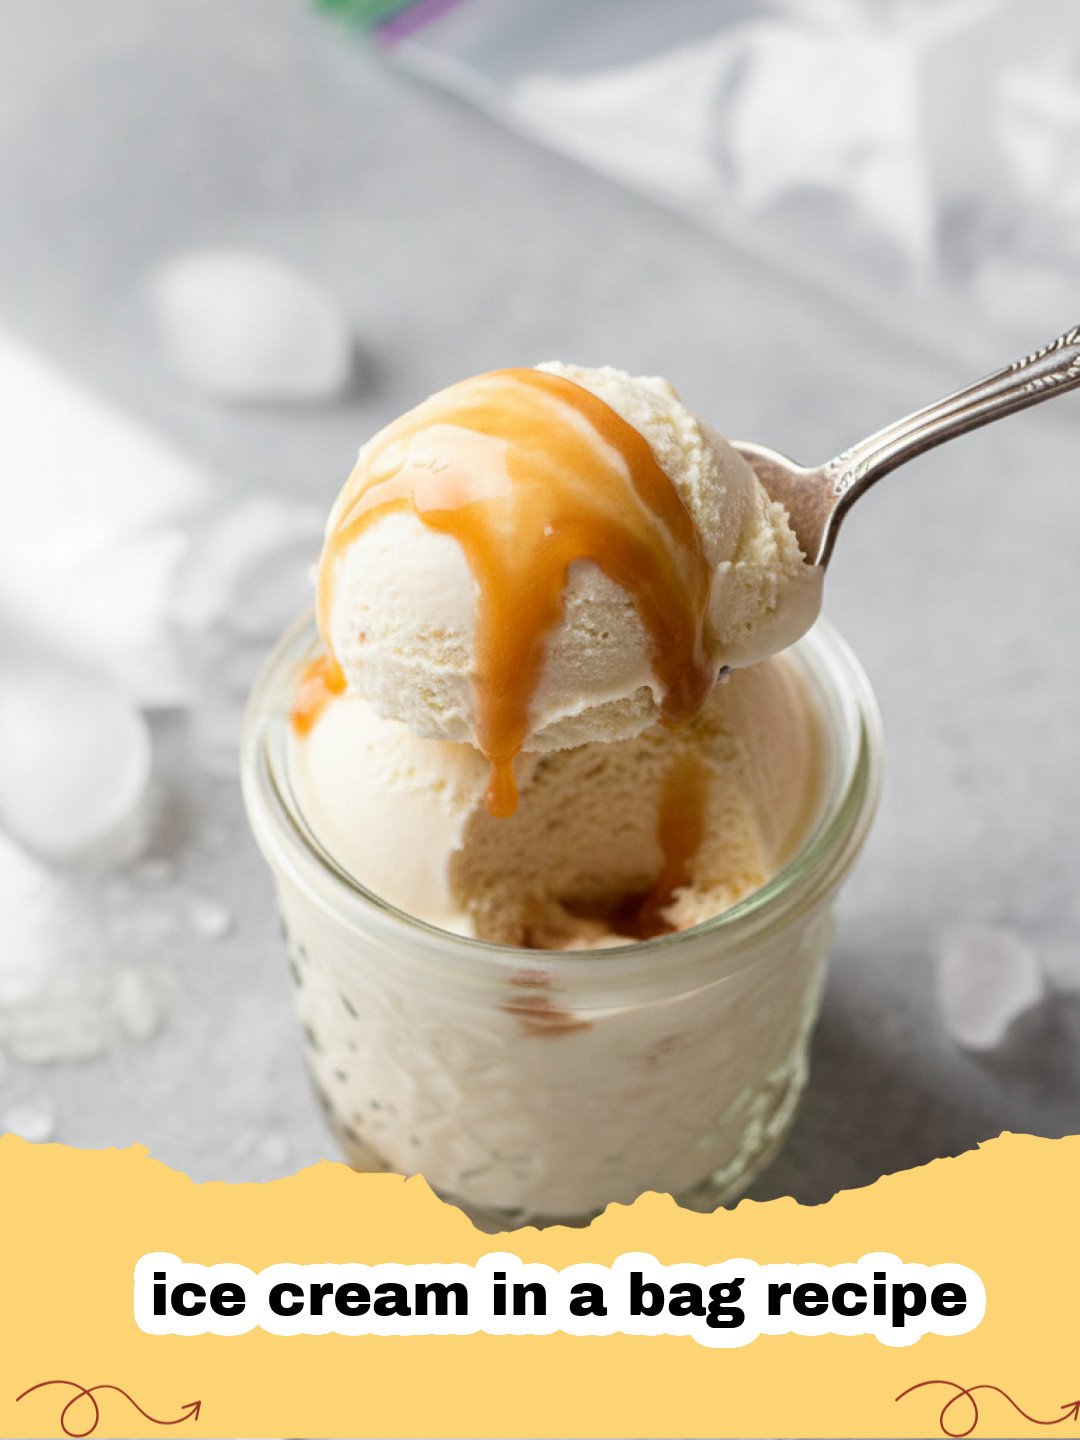
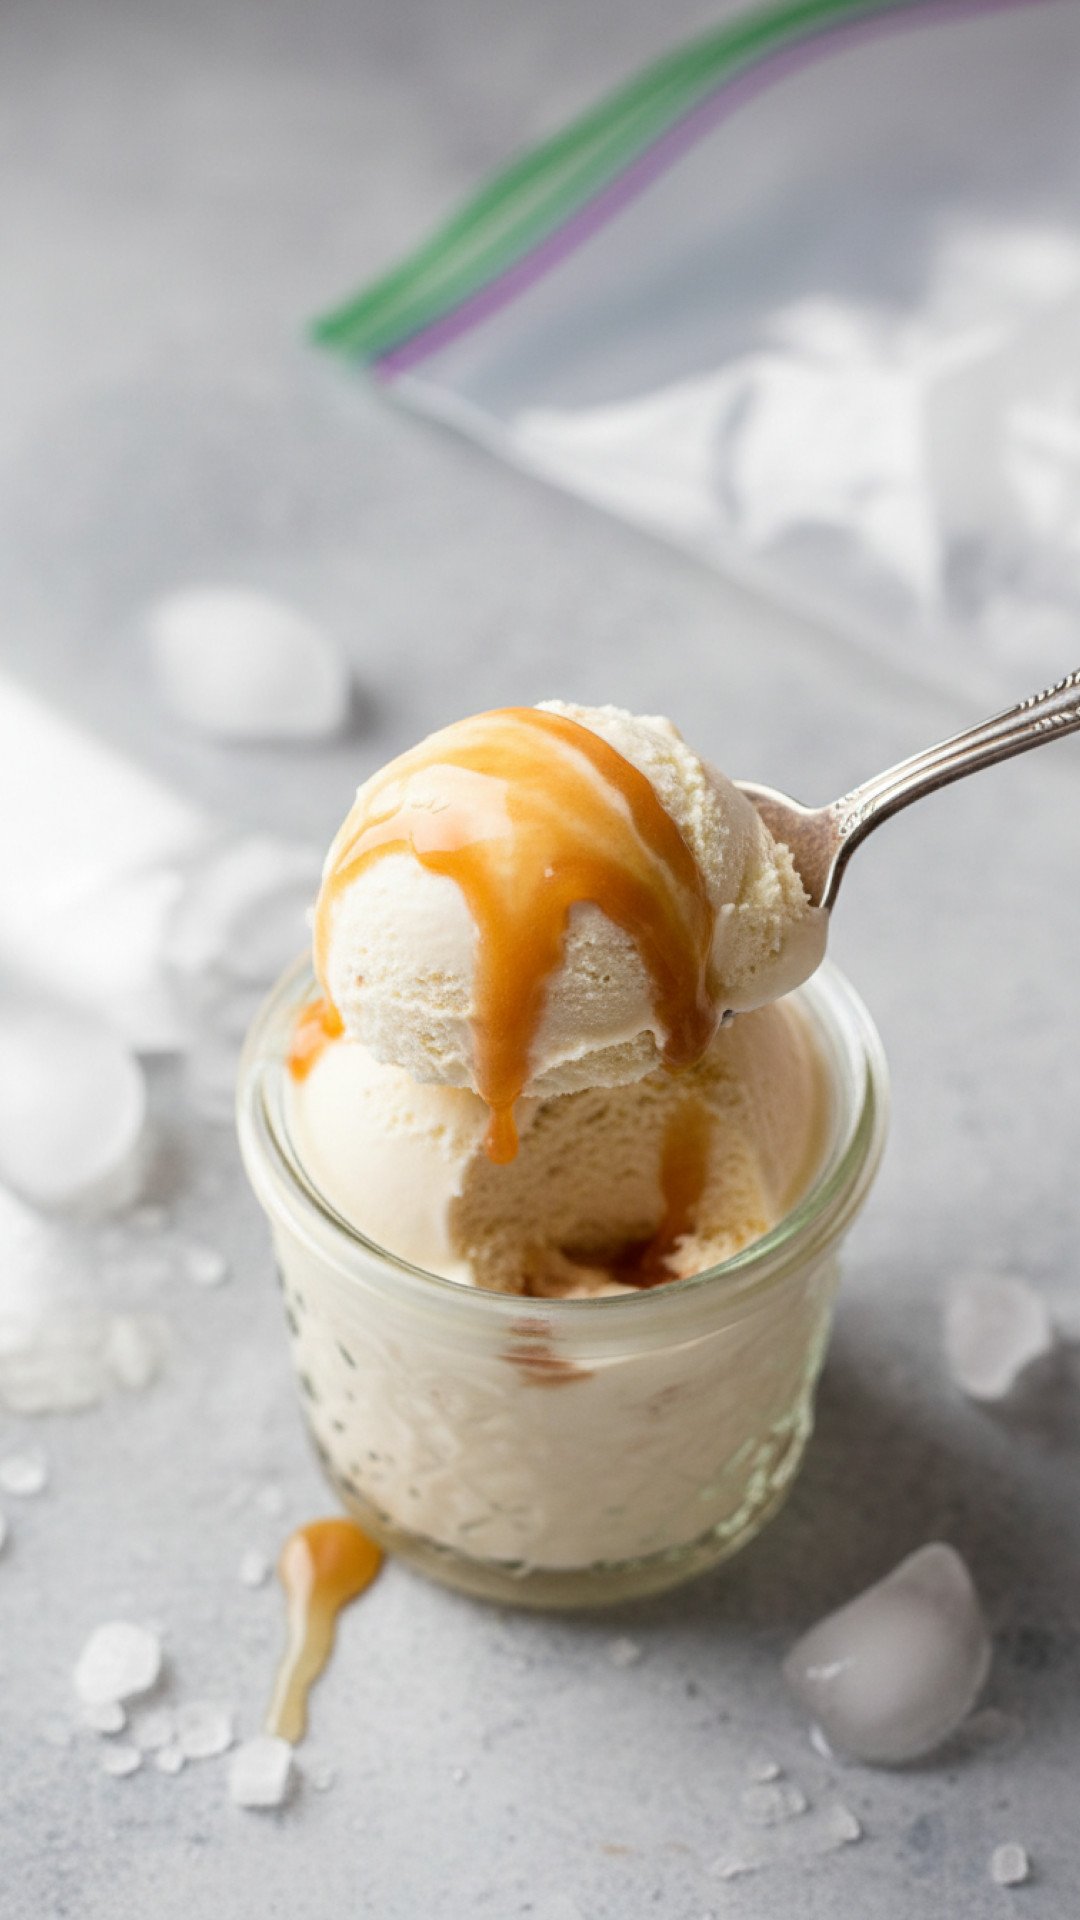
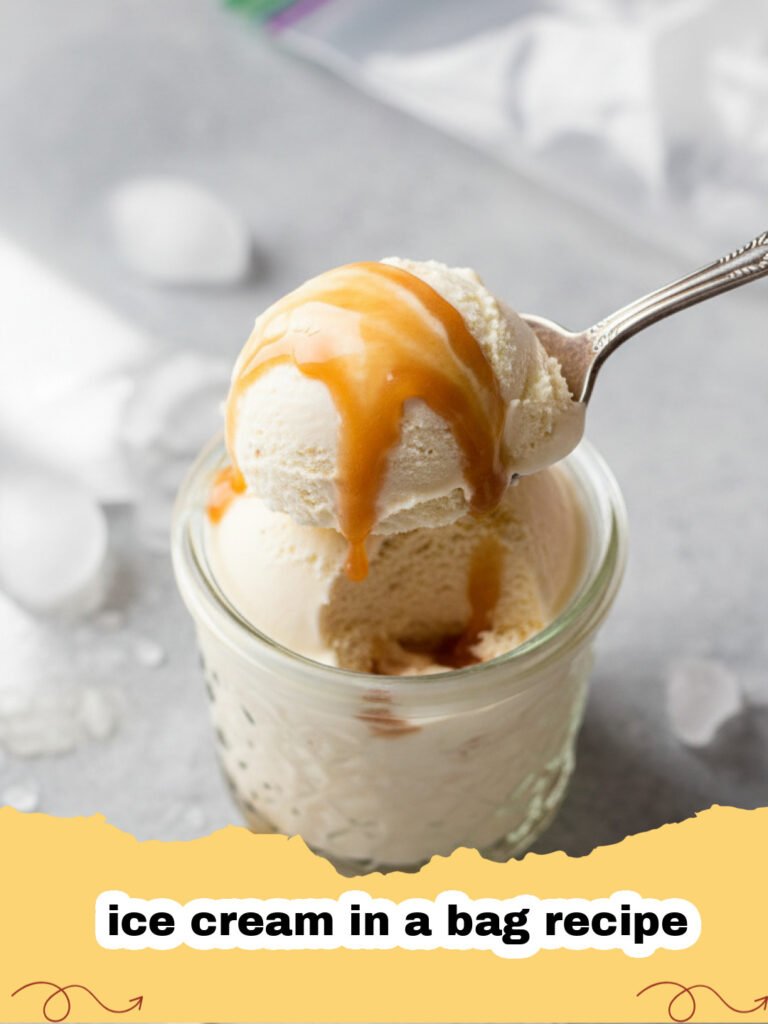
Step 7: Open the small bag and use a spoon to scoop out your freshly made ice cream in a bag recipe creation into a bowl. Enjoy immediately! If you can't finish it all, transfer it to an airtight container (like a Basics Glass Food Storage container) and store in the freezer, though freshly made is always best.
Creative Variations & Serving Suggestions for Your Ice Cream in a Bag Recipe
Once you've mastered the classic vanilla ice cream in a bag recipe, the possibilities for flavor innovation are endless! Here are some ideas to spark your creativity and make each batch uniquely delicious:
Flavor Variations:
- Chocolate Dream: Add 1-2 tablespoons of unsweetened cocoa powder to your cream mixture in Step 1. For extra indulgence, mix in a handful of chocolate chips during the last minute of shaking. This chocolate ice cream in a bag recipe is a crowd-pleaser!
- Fruity Fresh: Incorporate 1/4 cup of fruit puree (like strawberry, raspberry, or peach) into your base mixture. For a vibrant, tangy treat, consider making some tropical berry popsicles while you're at it!
- Coffee Lover's Delight: Stir in 1-2 teaspoons of instant coffee granules or espresso powder (dissolved in a tiny bit of hot water first) for a sophisticated coffee-flavored ice cream.
- Mint Chocolate Chip: Add a few drops of peppermint extract and a handful of mini chocolate chips for a refreshing and classic combination.
- Nutty Indulgence: Mix in a tablespoon of peanut butter, almond butter, or hazelnut spread for a rich, nutty flavor. You can also add chopped nuts.
Mix-Ins & Toppings:
The fun doesn't stop once the ice cream is made! Elevate your ice cream in a bag recipe with these delightful additions:
- Crushed Cookies or Candies: Oreos, chocolate chip cookies, M&M's, or gummy bears – anything goes!
- Sprinkles: A classic for a reason, sprinkles add a festive touch and a bit of crunch.
- Fresh Fruit: Sliced berries, bananas, or peaches are perfect for a healthier, fresh topping.
- Sauces: Drizzle with chocolate syrup, caramel sauce, or a fruit coulis.
- Whipped Cream: A dollop of whipped cream is always a welcome addition.
Serve your custom-made ice cream in a bag recipe in small bowls, waffle cones, or even directly from the bag for a truly casual and fun experience. It's an unforgettable treat any way you scoop it!
Ice Cream in a Bag Recipe Nutrition Information
| Nutrient | Amount Per Serving (approx.) |
|---|---|
| Calories | 350 kcal |
| Carbohydrate Content | 28 g |
| Cholesterol Content | 100 mg |
| Fat Content | 26 g |
| Fiber Content | 0 g |
| Protein Content | 4 g |
| Saturated Fat Content | 16 g |
| Serving Size | 1 cup |
| Sodium Content | 50 mg |
| Sugar Content | 26 g |
| Trans Fat Content | 1 g |
| Unsaturated Fat Content | 8 g |
*Nutritional information is an estimate and may vary based on specific ingredients and portion sizes.
Conclusion: Sweet Memories, Made Easy
There you have it – the ultimate, easy, and incredibly fun ice cream in a bag recipe! This isn't just a dessert; it's a memory-making activity that brings joy and deliciousness to any occasion. From the eager anticipation of shaking the bag to the first blissful spoonful, every moment of creating this homemade treat is special. Whether you're a seasoned chef or a kitchen novice, this recipe guarantees a delightful outcome with minimal fuss. So, gather your ingredients, call your loved ones, and prepare for an unforgettable culinary adventure. This simple ice cream in a bag recipe proves that the best things in life are often the simplest, and certainly the sweetest. Happy shaking!
FAQs
What kind of salt should I use for ice cream in a bag?
For the best results with an ice cream in a bag recipe, use rock salt or coarse kosher salt. These larger salt crystals dissolve slower and create a colder brine around your ice cream mixture, which is essential for rapid freezing. Fine table salt can work in a pinch, but it dissolves too quickly, making the ice less effective for a sustained period.
Why do you put salt on the ice for ice cream in a bag?
Salt is added to the ice (not the ice cream mixture itself!) because it lowers the freezing point of water. This means the ice and salt mixture can get much colder than ice alone (below 32u00b0F or 0u00b0C). This super-cold brine then rapidly absorbs heat from the cream mixture, causing it to freeze quickly and turn into delicious ice cream in minutes.
Can I use different types of milk or cream for this ice cream in a bag recipe?
Yes, you can experiment! While heavy cream and whole milk provide the creamiest results due to their fat content, you can use lighter milks or even dairy-free alternatives. However, be aware that substituting lower-fat options or dairy-free milks might result in a slightly icier texture, as fat helps prevent large ice crystals from forming. For the classic rich taste of an ice cream in a bag recipe, stick to full-fat dairy.
How do I prevent the ice cream in a bag from leaking or getting salty?
To prevent leaks, use high-quality, heavy-duty freezer bags and double-check that both the small bag (with the cream) and the large bag (with ice and salt) are sealed tightly, with as much air removed as possible. To avoid salty ice cream, always wipe down the outside of the small bag thoroughly with a clean towel after removing it from the ice-salt mixture, before opening and serving. This ensures no salt-water residue gets into your sweet treat.
Classic 15-Minute Ice Cream in a Bag Recipe
A fun, easy, and quick way to make delicious homemade ice cream with just a few ingredients and some enthusiastic shaking. Perfect for kids, parties, or a spontaneous summer treat!
- Total Time: 15-20 minutes
- Yield: 2 servings 1x
Ingredients
1 cup heavy cream
1/2 cup whole milk
1/4 cup granulated sugar (or to taste)
1 teaspoon vanilla extract
About 4-6 cups ice
1/2 cup rock salt or kosher salt
1 quart-sized resealable plastic bag
1 gallon-sized heavy-duty resealable plastic bag
Instructions
Step 1: In the small (quart-sized) resealable bag, combine the heavy cream, whole milk, granulated sugar, and vanilla extract. Seal the bag tightly, pressing out as much air as possible.
Step 2: Fill the large (gallon-sized) resealable bag about two-thirds full with ice. Add the rock salt (or kosher salt) over the ice. This salt is crucial for making the ice mixture colder than freezing point.
Step 3: Place the sealed small bag containing the ice cream mixture inside the large bag with the ice and salt. Seal the large bag tightly, ensuring no air is left inside and both bags are securely closed.
Step 4: Wrap the large bag in a kitchen towel or put on gloves to protect your hands from the cold. Vigorously shake, toss, and massage the bag for 5-10 minutes. You'll notice the liquid in the small bag beginning to solidify into ice cream.
Step 5: After about 5-7 minutes, open the large bag to check the consistency of the ice cream in the small bag. If it's not firm enough, reseal both bags and continue shaking for a few more minutes until it reaches a soft-serve consistency.
Step 6: Carefully remove the small bag from the large bag. Wipe off any excess salt water from the outside of the small bag with a clean towel to prevent it from contaminating your ice cream.
Step 7: Open the small bag and use a spoon to scoop out your freshly made ice cream into a bowl. Enjoy immediately with your favorite toppings!
Notes
For best results, use heavy-duty freezer bags to prevent leaks. Double-bagging the cream mixture (placing the small bag inside another small bag) can also add an extra layer of security. Wear gloves or wrap the bag in a towel to protect your hands from the cold while shaking. For a firmer ice cream, you can place the finished product in the freezer for an additional 15-20 minutes after shaking.
- Prep Time: 10 minutes
- Cook Time: 5-10 minutes
- Category: Desserts & Baking
- Cuisine: American
Nutrition
- Serving Size: 1 cup
- Calories: 350 kcal
- Sugar: 26 g
- Sodium: 50 mg
- Fat: 26 g
- Saturated Fat: 16 g
- Unsaturated Fat: 8 g
- Trans Fat: 1 g
- Carbohydrates: 28 g
- Fiber: 0 g
- Protein: 4 g
- Cholesterol: 100 mg
Leave a Reply