
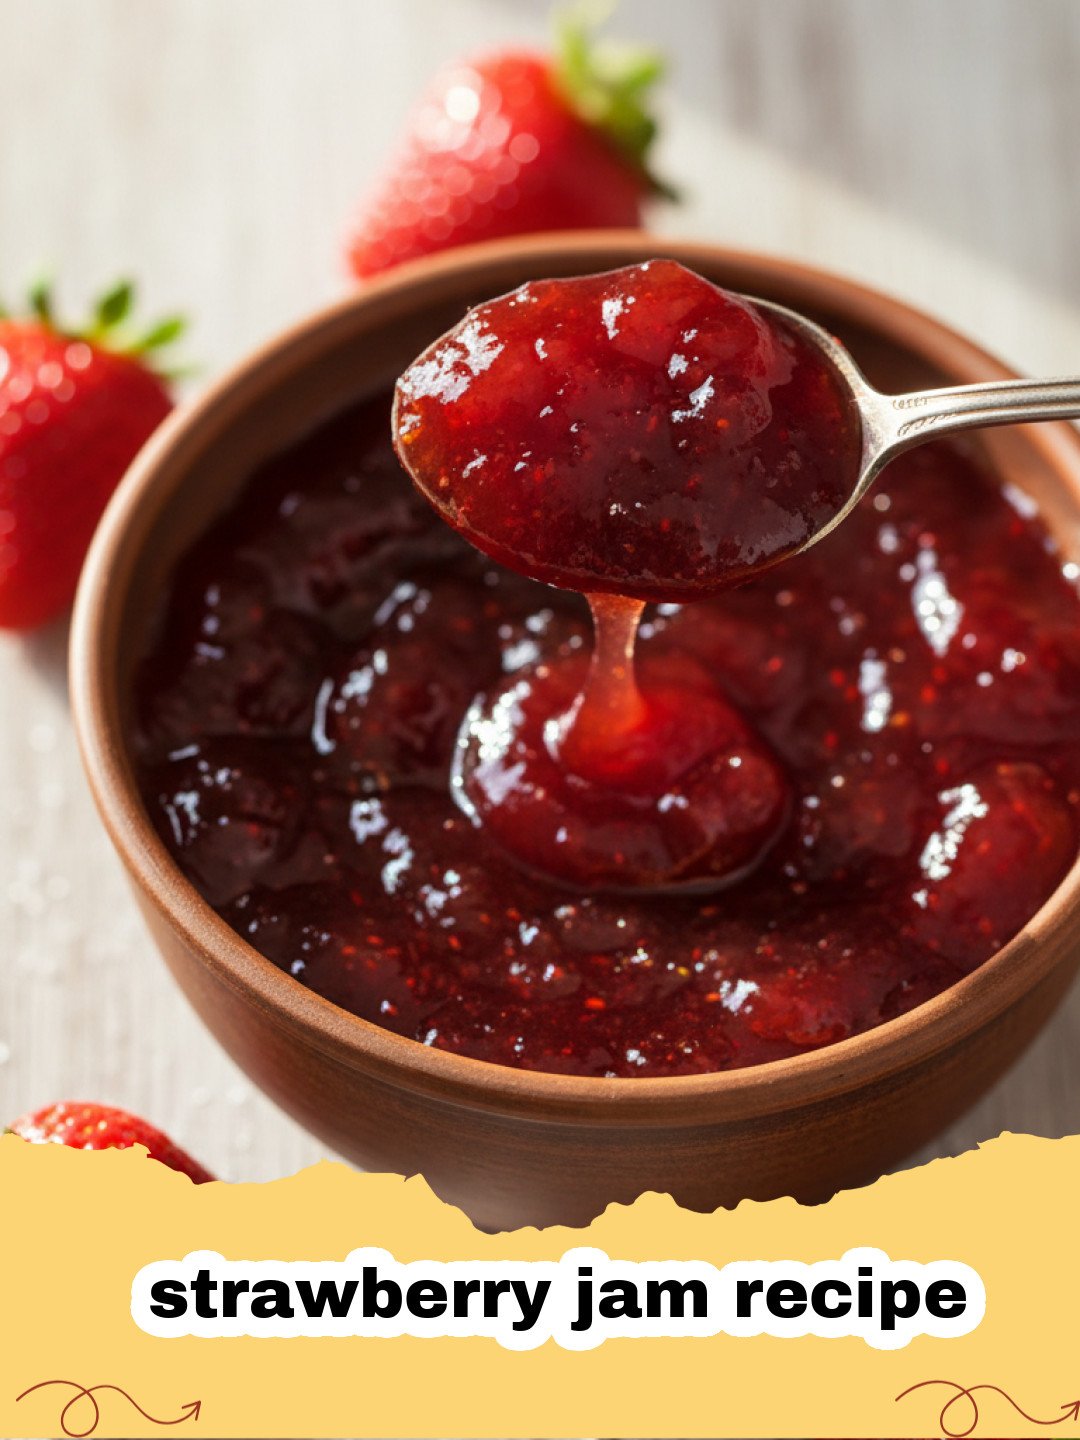
There’s something truly magical about the aroma of fresh strawberries simmering on the stove, transforming into a glistening, ruby-red preserve. For me, the journey to mastering the perfect strawberry jam recipe started in my grandmother's kitchen. I must have been no older than six, perched on a wobbly stool, watching her nimble fingers hulling basket after basket of ripe, fragrant strawberries. The air was thick with the sweet scent of summer, a symphony of berries, sugar, and a hint of lemon. Grandma, with her flour-dusted apron and a smile that could warm the chilliest winter day, taught me that making jam wasn't just about following steps; it was an act of love, patience, and preserving the essence of a season. Every year, we'd spend a glorious afternoon together, her sharing stories of her own childhood, and me, eager to stir the bubbling concoction, always under her watchful eye. The satisfaction of hearing the 'pop' of the sealed jars later that evening was unparalleled. It was more than just a sweet spread; it was a jar filled with memories, a tangible piece of summer that we could enjoy all year round. That connection, that feeling of creating something wholesome and delicious from scratch, is what I hope to share with you today through this incredible strawberry jam recipe.
Over the years, I've refined her traditional methods, incorporating a few modern insights while holding onto the heart of her wisdom. This particular strawberry jam recipe is designed for simplicity, allowing the natural brightness of the strawberries to truly shine. It's not overly complicated, doesn't require a pectin additive (though you can use it if you prefer a firmer set), and yields a spectacular, intensely fruity jam that will make you swear off store-bought versions forever. So, dust off your largest pot, gather your berries, and let's embark on a delicious adventure together. This isn't just about making jam; it's about making memories, just like my grandma and I did.
Why This Strawberry Jam Recipe is a Must-Try
- Pure Strawberry Flavor: This strawberry jam recipe focuses on fresh, ripe strawberries, letting their natural sweetness and tartness dominate, creating a jam that tastes like biting into summer itself.
- No Added Pectin (Optional): We harness the natural pectin in lemons and the strawberries themselves, resulting in a beautifully set jam without the need for commercial pectin, if desired. This often gives a softer, more rustic texture.
- Simple & Rewarding: With just a few basic ingredients and straightforward steps, even beginners can achieve success with this strawberry jam recipe. The payoff? Jars of homemade goodness that are incredibly satisfying to make and share.
- Versatile & Delicious: Perfect on toast, scones, or as a filling for desserts like our Ultimate Zesty Lemon Bars or even swirled into yogurt. This strawberry jam recipe elevates any meal.
Key Ingredient Notes
Fresh, Ripe Strawberries
The star of our strawberry jam recipe! Choose firm, bright red strawberries without any white or green spots. Organic, locally sourced berries often have the best flavor. While frozen strawberries can work in a pinch, fresh ones truly yield the best taste and texture for this strawberry jam recipe.
Granulated Sugar
Sugar isn't just for sweetness; it plays a crucial role in setting the jam and preserving it. The ratio of sugar to fruit is important for both flavor and shelf stability. Don't be tempted to drastically reduce the sugar, as it affects the jam's ability to gel and its longevity. This strawberry jam recipe uses a balanced amount to highlight the fruit.
Fresh Lemon Juice
Lemon juice is a non-negotiable ingredient in this strawberry jam recipe. It provides essential acid, which is vital for activating the natural pectin in the fruit, helping the jam to set. It also brightens the flavor, cutting through the sweetness and adding a lovely tang. Always use fresh lemon juice for the best results!
Step-by-Step Guide with Pro Tips
Getting your hands sticky is part of the fun of making this strawberry jam recipe. Follow these steps carefully, and you'll be rewarded with luscious homemade jam.
Before you begin, ensure your canning jars are clean and sterilized. You can sterilize them by washing them thoroughly in hot, soapy water, rinsing, and then either boiling them in water for 10 minutes or running them through a dishwasher's sanitizing cycle. Keep them hot until ready to fill.
- Step 1: Prepare the Strawberries. Wash your fresh strawberries thoroughly under cold running water. Hull them by removing the green tops and any white core. You can use a small paring knife or a strawberry huller. Depending on their size, you can leave them whole, halve them, or quarter them. For a smoother jam, slice them smaller; for a chunkier jam, leave them larger. Measure out 4 cups of prepared strawberries. This is the foundation of your delicious strawberry jam recipe.
- Step 2: Macerate the Strawberries. In a large, heavy-bottomed pot or Dutch oven, combine the prepared strawberries and granulated sugar. Stir gently until the sugar is evenly distributed. Cover the pot and let the mixture sit at room temperature for at least 2-4 hours, or ideally overnight in the refrigerator. This process, called maceration, draws out the liquid from the strawberries, creating a natural syrup and enhancing their flavor, which is key for this strawberry jam recipe.
- Step 3: Start Cooking. Add the fresh lemon juice to the strawberry-sugar mixture. Place the pot over medium-high heat. Bring the mixture to a rolling boil, stirring frequently to prevent scorching, especially at the bottom of the pot. A rolling boil is when the mixture continues to bubble vigorously even when you stir it.
- Step 4: Skim and Boil. Once a rolling boil is achieved, reduce the heat slightly to maintain a vigorous, but manageable, boil. Continue to cook, stirring occasionally, and skimming off any foam that rises to the surface with a spoon. This foam is natural and harmless but can make the jam cloudy. This stage is crucial for developing the rich flavor of your strawberry jam recipe.
- Step 5: Test for Set. This is the most critical part of making any strawberry jam recipe! To test if the jam is set, you can use one of these methods:
- Cold Plate Test: Before you start cooking, place a few small ceramic plates in the freezer. When you think the jam might be ready (after about 15-20 minutes of boiling), spoon a small amount onto a cold plate. Let it sit for 1 minute, then push your finger through it. If it wrinkles, it's ready.
- Temperature Test: Use a candy thermometer. The jam is usually set when it reaches 220°F (104°C) at sea level.
- Spoon Test: Dip a cold metal spoon into the jam, lift it, and turn it horizontally. If two drops merge and sheet off the spoon together, it's ready.
- Step 6: Ladle into Jars. Once the jam has reached its setting point, remove the pot from the heat. Carefully ladle the hot jam into your hot, sterilized jars, leaving about 1/4 inch of headspace from the rim. Wipe the rims clean with a damp cloth to ensure a good seal. Place lids and screw on bands finger-tight.
- Step 7: Process Jars (Optional but Recommended for Shelf Stability). For long-term shelf stability, process the filled jars in a boiling water canner. Place the jars on a rack in a large pot, ensuring they are covered by at least 1-2 inches of water. Bring to a boil and process for 10 minutes. Turn off the heat, remove the canner lid, and let the jars sit for 5 minutes before carefully removing them. This ensures your strawberry jam recipe will last.
- Step 8: Cool and Store. Place the hot jars on a wire rack or a clean towel, undisturbed, for 12-24 hours. You should hear the satisfying 'pop' as the lids seal. Check the seals by pressing on the center of the lid; if it doesn't flex, it's sealed. Store sealed jars of your homemade strawberry jam recipe in a cool, dark place for up to a year. Unsealed jars or opened jars should be refrigerated and consumed within 3 weeks. You can also store your finished jam in Basics Glass Food Storage containers in the fridge for everyday use.
Pro Tip: Troubleshooting Your Strawberry Jam Recipe
- Jam Not Setting? Don't panic! It's likely you didn't cook it long enough. Return the jam to the pot, add a tablespoon of lemon juice, and boil it again, re-testing for a set. If it still doesn't set after a second attempt, it's still delicious as a sauce or syrup!
- Too Thick? If your jam sets too firmly, you can gently reheat it with a little water or fruit juice to thin it out before serving.
Variations & Serving Suggestions
This classic strawberry jam recipe is fantastic on its own, but here are some ideas to mix things up:
- Strawberry-Basil Jam: Add a few fresh basil leaves during the last 5 minutes of cooking. Remove before jarring for a subtle, herbaceous twist.
- Strawberry-Rhubarb Jam: Replace 1-2 cups of strawberries with chopped rhubarb for a delightful tartness.
- Spicy Strawberry Jam: A pinch of red pepper flakes or a thinly sliced jalapeño (seeds removed) can add a surprising kick.
- Serving Ideas: Enjoy your homemade strawberry jam recipe spread generously on warm toast, fluffy pancakes, or crispy waffles. Swirl it into plain yogurt or oatmeal for a burst of fruity flavor. It's also an excellent filling for cakes, tarts, or thumbprint cookies. And of course, don't forget the classic scone with clotted cream – a truly indulgent treat! Another great idea is to use it as a topping for a refreshing Classic Fruit Pizza.
Nutrition Information
Curious about what's in a spoonful of this delicious strawberry jam recipe? Here's an estimate per serving:
| Nutrient | Amount (per 1 tbsp) |
|---|---|
| Calories | 50 kcal |
| Carbohydrates | 13 g |
| Sugars | 12 g |
| Fat | 0 g |
| Saturated Fat | 0 g |
| Trans Fat | 0 g |
| Cholesterol | 0 mg |
| Sodium | 1 mg |
| Protein | 0 g |
| Fiber | 0.5 g |
| Unsaturated Fat | 0 g |
Conclusion
There's nothing quite like the taste of homemade. This strawberry jam recipe isn't just about creating a delicious spread; it's about connecting with a tradition, celebrating the bounty of summer, and bringing a little extra warmth and sweetness into your home. Each jar is a little parcel of sunshine, ready to brighten your breakfast or sweeten your dessert. So go ahead, embrace the joy of making your own jam. You'll find that this easy strawberry jam recipe quickly becomes a cherished staple in your kitchen, providing pure, unadulterated strawberry bliss, spoonful after delicious spoonful. Happy jamming!
FAQs
Do I need to add pectin to this strawberry jam recipe?
No, this strawberry jam recipe is designed to set naturally without added commercial pectin. The combination of ripe strawberries, sugar, and the acidity from fresh lemon juice helps activate the fruit's natural pectin, allowing the jam to set beautifully on its own. For a firmer set, ensure you use slightly under-ripe strawberries, which contain more natural pectin.
How do I know when my homemade strawberry jam recipe is set?
The most common ways to test for a set are the cold plate test or using a candy thermometer. For the cold plate test, spoon a small amount of hot jam onto a frozen plate, let it cool for 1 minute, then push it with your finger. If it wrinkles, it's ready. With a thermometer, the jam is typically set when it reaches 220u00b0F (104u00b0C) at sea level.
Why did my strawberry jam recipe not set?
If your jam didn't set, it's most likely because it wasn't cooked long enough to reach the gelling point, or the fruit didn't have enough natural pectin. Don't worry! You can return the jam to the pot, add an extra tablespoon of lemon juice, and boil it again, re-testing for a set. If it still doesn't set, it's still delicious as a strawberry sauce or syrup for pancakes, yogurt, or ice cream.
How long does homemade strawberry jam last?
When properly processed in a boiling water canner and sealed, homemade strawberry jam can last for up to one year in a cool, dark place. Once opened, or if not processed in a canner, the jam should be refrigerated and consumed within 3 weeks. Always check the seal before opening; if the lid flexes, the jar is not sealed and should be refrigerated.

Homemade Strawberry Jam Recipe (No Pectin Needed)
Learn how to make the ultimate homemade strawberry jam recipe from scratch! This simple, no-pectin-needed recipe captures the pure essence of summer strawberries in a sweet, vibrant spread, perfect for toast, desserts, and gifting. A delightful and rewarding way to preserve the season's bounty.
- Total Time: 1 hour (plus maceration time)
- Yield: About 4-5 half-pint jars 1x
Ingredients
4 cups fresh strawberries, hulled and quartered (about 2 lbs or 900g)
4 cups granulated sugar (about 800g)
1/4 cup fresh lemon juice
Instructions
Step 1: Prepare the Strawberries. Wash fresh strawberries thoroughly, hull them, and quarter them (or slice smaller for a smoother jam, larger for a chunkier jam). Measure out 4 cups of prepared strawberries.
Step 2: Macerate the Strawberries. In a large, heavy-bottomed pot, combine the prepared strawberries and granulated sugar. Stir gently until sugar is evenly distributed. Cover and let sit at room temperature for 2-4 hours, or overnight in the refrigerator, to draw out the fruit juices.
Step 3: Start Cooking. Add the fresh lemon juice to the strawberry-sugar mixture. Place the pot over medium-high heat and bring to a rolling boil, stirring frequently to prevent scorching.
Step 4: Skim and Boil. Once a rolling boil is achieved, reduce heat slightly to maintain a vigorous boil. Continue to cook, stirring occasionally and skimming off any foam that rises to the surface, for 20-30 minutes.
Step 5: Test for Set. To check if the jam is set, use the cold plate test (spoon a small amount onto a frozen plate, wait 1 minute, then push with your finger; if it wrinkles, it's ready) or a candy thermometer (jam should reach 220°F / 104°C).
Step 6: Ladle into Jars. Remove the pot from heat. Carefully ladle the hot jam into hot, sterilized canning jars, leaving 1/4 inch of headspace. Wipe rims clean, then place lids and screw on bands finger-tight.
Step 7: Process Jars (Optional). For long-term shelf stability, process jars in a boiling water canner for 10 minutes. Remove and let sit for 5 minutes before taking out.
Step 8: Cool and Store. Place jars on a wire rack to cool undisturbed for 12-24 hours. Check seals (lids should not flex). Store sealed jars in a cool, dark place for up to a year. Refrigerate unsealed or opened jars and consume within 3 weeks.
Notes
Always use fresh, ripe strawberries for the best flavor and natural pectin content. For a firmer set without added pectin, ensure your strawberries are slightly under-ripe, as they contain more pectin. Adjust sugar to your preference, but remember it aids in preservation and gelling.
- Prep Time: 30 minutes
- Cook Time: 30 minutes
- Category: Desserts & Baking
- Cuisine: American
Nutrition
- Serving Size: 1 tbsp
- Calories: 50 kcal
- Sugar: 12 g
- Sodium: 1 mg
- Fat: 0 g
- Saturated Fat: 0 g
- Unsaturated Fat: 0 g
- Trans Fat: 0 g
- Carbohydrates: 13 g
- Fiber: 0.5 g
- Protein: 0 g
- Cholesterol: 0 mg
Leave a Reply