
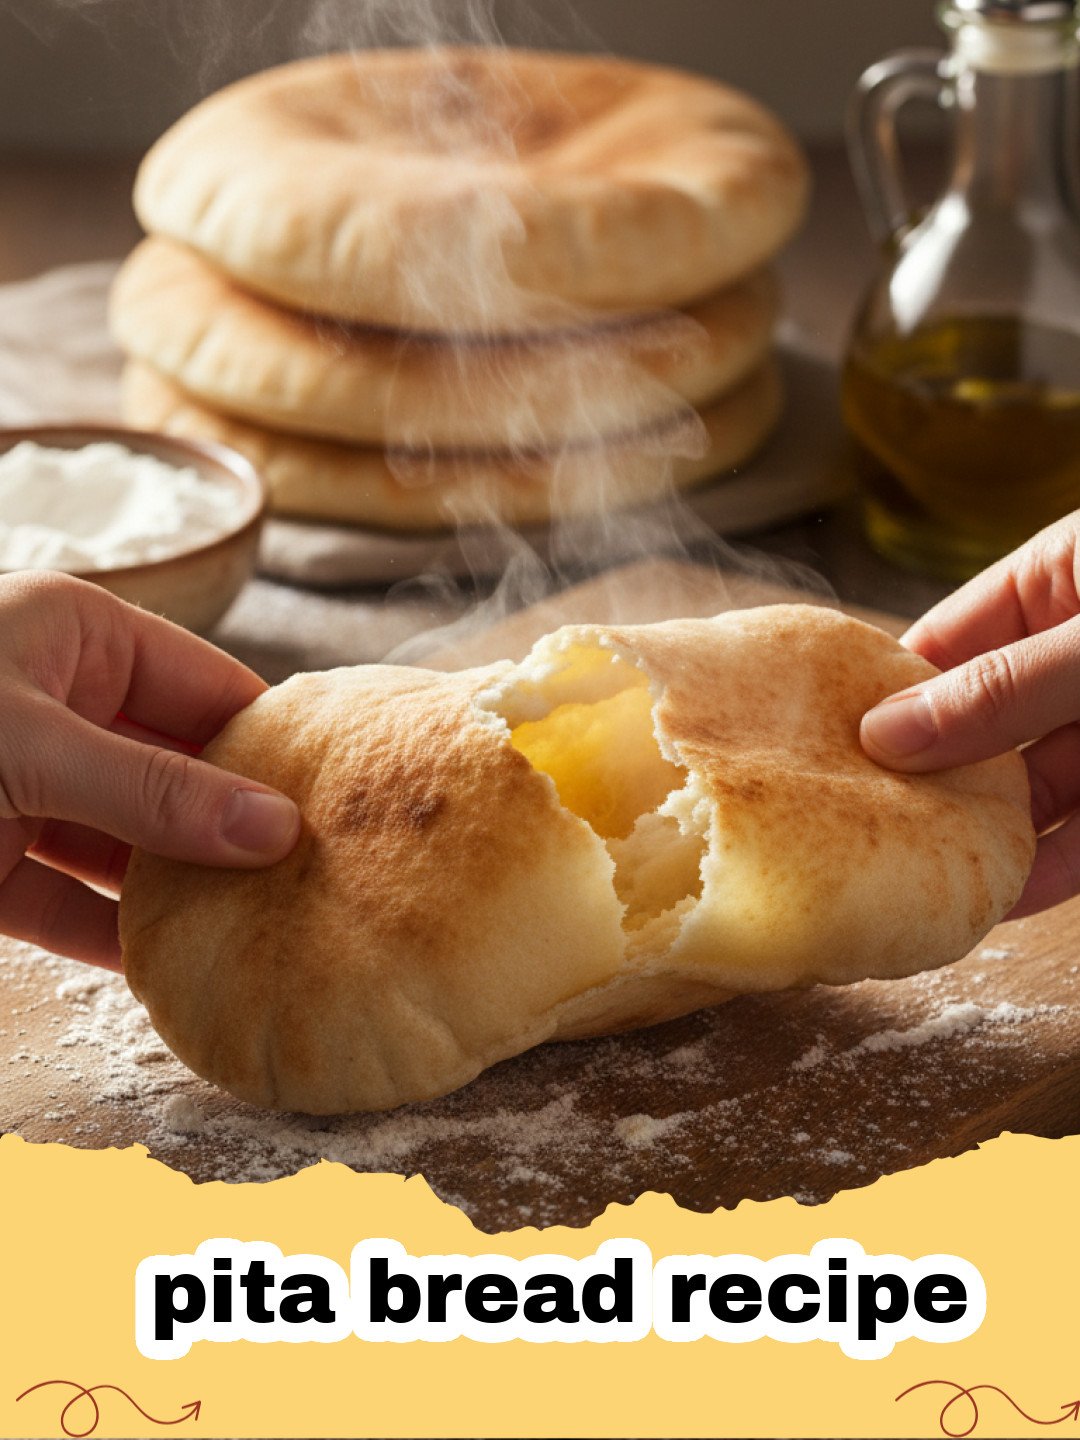
There’s a warmth that fills my kitchen, a comforting aroma that instantly transports me back to bustling marketplaces and family gatherings. For years, I chased that elusive scent, trying to replicate the soft, pillowy pockets of perfection I remembered. My journey to master the pita bread recipe wasn't a sprint, but a delightful, dough-covered marathon. I recall countless attempts – some too dense, some too crispy, others just refusing to puff up into those magical air pockets. It felt like a culinary enigma. But through trial, error, and a healthy dose of persistence, I finally cracked the code to making the most incredible, homemade pita bread right in my own home. This isn't just about baking; it's about connecting with a tradition, creating something truly special, and experiencing the sheer joy of tearing into a warm, fresh pita, still steaming from the oven. This homemade pita bread recipe is more than just a set of instructions; it’s an invitation to a delicious experience.
The first time I saw a flat disk of dough magically inflate in a scorching hot oven, I gasped. It was pure kitchen alchemy! That moment solidified my love for baking and my determination to share this simple pleasure. Forget the bland, store-bought versions; once you try this easy pita bread recipe, you’ll never look back. It’s a game-changer for dips, sandwiches, and even as a side for your favorite meals. So, tie on your apron, gather your ingredients, and let’s dive into creating the most perfect, fluffy pita bread you've ever tasted.
Why This Pita Bread Recipe is a Must-Try
- Unbeatable Freshness & Flavor: Nothing compares to the taste and aroma of warm, freshly baked pita bread. The subtle yeast flavor and tender crumb are simply divine. This pita bread recipe guarantees a superior product to anything you can buy pre-packaged.
- Surprisingly Simple to Make: Don't be intimidated by yeast! This pita bread recipe breaks down the process into easy-to-follow steps, making it accessible even for novice bakers. The magic mostly happens during the rising and baking.
- Versatile & Customizable: Once you master this basic pita bread recipe, the possibilities are endless. Use it for sandwiches, dips, pizzas, or even as a base for creative appetizers.
- Healthier & Wholesome: Making pita bread at home allows you to control the ingredients, avoiding preservatives and unnecessary additives often found in store-bought options. This fresh pita bread recipe is a healthier choice for your family.
Key Ingredient Notes for Your Pita Bread Recipe
All-Purpose Flour
While some recipes might call for bread flour for extra chewiness, I find that good quality all-purpose flour works perfectly for this pita bread recipe, yielding a tender yet sturdy pocket. Make sure your flour is fresh; old flour can affect the rise and texture. You can also experiment with a portion of whole wheat flour for a nuttier flavor, but start with the recommended all-purpose for your first attempt at this pita bread recipe.
Yeast (Active Dry or Instant)
Yeast is the lifeblood of your pita bread, responsible for its rise and signature air pockets. I typically use active dry yeast, which requires blooming in warm water first. If you're using instant yeast, you can often mix it directly with the dry ingredients, but blooming it first is always a good practice to ensure it's alive and active. The warmer (but not hot!) the water, the more quickly the yeast will activate, leading to a faster rise for your pita bread recipe.
Olive Oil
A good quality extra virgin olive oil not only adds a lovely subtle flavor but also contributes to the pita's tenderness and elasticity. Don't skimp on this ingredient; it truly makes a difference in the overall texture and taste of your homemade pita bread recipe. It helps create that desirable soft crumb.
Step-by-Step Guide with Pro Tips for this Pita Bread Recipe
Preparing the Dough
The foundation of a great pita is a well-made dough. This pita bread recipe focuses on simplicity and achieving that perfect texture.
- Pro Tip for Kneading: Don't rush the kneading process. Whether by hand or with a stand mixer, proper kneading develops the gluten, which is crucial for the pita to puff up. The dough should be smooth, elastic, and pass the windowpane test (stretch a small piece thinly enough to see light through it without tearing). This is key for a successful pita bread recipe.
First Rise (Bulk Fermentation)
Allowing the dough to rise properly is essential for flavor development and texture. This pita bread recipe suggests a warm place.
- Pro Tip for Rising: A warm, draft-free environment is ideal. You can create a warm spot by turning your oven on for a minute, then turning it off and placing the covered bowl inside. The dough should double in size, indicating the yeast has done its job. This rest is vital for any good pita bread recipe.
Shaping the Pitas
This is where the magic starts to take form. Consistency in thickness is important for uniform puffing.
- Pro Tip for Rolling: Roll the dough evenly to about 1/4-inch thickness. Uneven thickness can lead to some parts puffing and others remaining flat. Use a light hand and plenty of flour to prevent sticking. This precision is what makes a great pita bread recipe truly shine.
Second Rise (Proofing)
A short second rise helps relax the gluten and prepares the pitas for their dramatic puff.
- Pro Tip for Proofing: Don't over-proof! Just 15-20 minutes is enough to relax the dough before baking. Too long and the pitas might collapse in the oven instead of puffing. This patience is a secret weapon in any successful pita bread recipe.
Baking the Pitas
High heat is the secret to those incredible pockets. Get your oven and baking surface very hot.
- Pro Tip for Puffing: The key to perfectly puffed pitas is a very hot oven (500°F / 260°C) and a preheated baking surface, like a pizza stone or an inverted baking sheet. The sudden blast of heat causes the moisture in the dough to turn into steam, inflating the pita into a pocket. Bake one or two at a time to maintain oven temperature. This is the most exciting part of this pita bread recipe!
Variations & Serving Suggestions
Whole Wheat Pita Bread Recipe
For a healthier, nuttier option, substitute up to half of the all-purpose flour with whole wheat flour. You might need to add a little more water as whole wheat absorbs more liquid. The resulting pita will be denser but still delicious and a great twist on this pita bread recipe.
Herb-Infused Pita
Add 1-2 tablespoons of dried herbs like oregano, thyme, or rosemary to the dry ingredients for an aromatic twist. Fresh minced garlic can also be added for a savory kick. This elevates the standard pita bread recipe significantly.
Serving Suggestions:
- Classic Dipping: Serve warm pita with The Ultimate Authentic Greek Tzatziki Sauce, hummus, baba ghanoush, or your favorite olive tapenade. This is arguably the best way to enjoy any pita bread recipe.
- Sandwiches & Wraps: Use the pockets for falafel, gyros, chicken shawarma, or even simple veggie wraps. Homemade pita pockets elevate any filling.
- Pita Pizzas: Top with tomato sauce, cheese, and your favorite toppings for quick and easy personal pizzas.
- With Salads: Tear fresh pita and serve alongside a hearty salad like The Ultimate Grilled Steak Salad Recipe with Zesty Herb Vinaigrette.
- Crispy Pita Chips: Cut leftover pita into triangles, brush with olive oil and spices, then bake until crisp for homemade pita chips.
Once your delicious homemade pita bread is ready, store any leftovers properly to maintain their freshness. Place cooled pitas in an airtight container or a resealable plastic bag. They will stay fresh at room temperature for 2-3 days, or you can freeze them for longer storage. For freezing, stack them with parchment paper in between and place them in a freezer-safe bag or an Basics Glass Food Storage container. Reheat frozen pita directly in a toaster, oven, or microwave for a few seconds until warm and pliable. Enjoying fresh pita bread has never been easier!
Nutrition Information
| Nutrient | Amount Per Serving |
|---|---|
| Calories | 180 kcal |
| Carbohydrates | 35g |
| Cholesterol | 0mg |
| Fat | 2g |
| Fiber | 2g |
| Protein | 6g |
| Saturated Fat | 0.3g |
| Sodium | 300mg |
| Sugar | 1g |
| Trans Fat | 0g |
| Unsaturated Fat | 1.7g |
Conclusion
Baking your own pita bread from scratch is a deeply rewarding experience. From the simple act of mixing flour and yeast to witnessing those incredible pockets puff up in the oven, every step of this pita bread recipe is a joy. The resulting fresh, warm, and tender pita will elevate any meal, making store-bought versions a distant memory. So go ahead, give this pita bread recipe a try. Share the warmth, share the flavor, and savor the simple pleasure of homemade goodness. Happy baking!
FAQs
How do I get my pita bread to puff up?
The key to perfectly puffed pita bread is a very hot oven (500u00b0F / 260u00b0C) and a preheated baking surface like a pizza stone or inverted baking sheet. The sudden blast of heat causes the moisture in the dough to rapidly turn into steam, creating those signature pockets. Also, ensure your dough is properly kneaded and rolled to an even thickness.
Can I make pita bread ahead of time?
Yes, you can! Freshly baked pita is best, but you can bake a batch and store them. Cooled pita bread can be stored in an airtight container or a resealable bag at room temperature for 2-3 days, or frozen for up to 3 months. Reheat gently in a toaster, oven, or microwave until warm and pliable.
What's the best way to store homemade pita bread?
Once completely cooled, place your homemade pita bread in an airtight container or a resealable plastic bag. This will keep them soft and fresh at room temperature for 2-3 days. For longer storage, you can freeze them for up to 3 months. When freezing, stack them with parchment paper in between to prevent sticking.
Can I use whole wheat flour for this pita bread recipe?
Absolutely! You can substitute up to half of the all-purpose flour with whole wheat flour for a nuttier flavor and added fiber. Keep in mind that whole wheat flour absorbs more liquid, so you might need to add an extra tablespoon or two of water to achieve the desired dough consistency. The resulting pita will be slightly denser but equally delicious.

Homemade Fluffy Pita Bread
Learn how to make the most delicious, soft, and perfectly puffed homemade pita bread with this easy-to-follow recipe. Ideal for dipping, stuffing, or serving with your favorite Mediterranean dishes.
- Total Time: 45 minutes (plus 1.5-2 hours rising time)
- Yield: 8 pitas 1x
Ingredients
1 cup warm water (105-115°F / 40-46°C)
1 teaspoon active dry yeast
1 teaspoon granulated sugar
2 1/2 cups all-purpose flour, plus more for dusting
1 teaspoon salt
2 tablespoons olive oil, plus more for greasing
Instructions
Step 1: In a small bowl, combine the warm water, yeast, and sugar. Stir gently and let sit for 5-10 minutes, until the mixture is foamy. This activates the yeast.
Step 2: In a large mixing bowl (or stand mixer bowl), combine the flour and salt. Pour in the yeast mixture and olive oil. Mix with a spoon or dough hook until a shaggy dough forms.
Step 3: Knead the dough on a lightly floured surface (or with a dough hook) for 7-10 minutes, until it's smooth, elastic, and no longer sticky. If using a mixer, it should clear the sides of the bowl.
Step 4: Lightly grease a clean bowl with olive oil. Place the dough in the bowl, turning it once to coat. Cover the bowl with plastic wrap or a clean kitchen towel and let it rise in a warm, draft-free place for 1 to 1.5 hours, or until doubled in size.
Step 5: Gently punch down the risen dough and turn it out onto a lightly floured surface. Divide the dough into 8 equal pieces. Roll each piece into a smooth ball.
Step 6: Cover the dough balls with a clean kitchen towel and let them rest for 10-15 minutes. This helps relax the gluten, making them easier to roll.
Step 7: Preheat your oven to 500°F (260°C). Place a pizza stone or an inverted heavy baking sheet in the oven while it preheats. It needs to be screaming hot.
Step 8: On a lightly floured surface, roll each dough ball into a round disk, about 6-7 inches (15-18 cm) in diameter and 1/4 inch (0.6 cm) thick. Ensure an even thickness for proper puffing.
Step 9: Carefully transfer 1-2 pita rounds (depending on your oven and baking surface size) onto the hot baking surface. Bake for 2-3 minutes, or until the pita puffs up dramatically and has light golden-brown spots on the bottom. Flip and bake for another 1 minute, or until the other side is lightly golden.
Step 10: Remove the puffed pita from the oven and transfer it to a wire rack. Cover with a clean kitchen towel to keep it soft and warm while you bake the remaining pitas. Repeat with the rest of the dough. Serve warm and enjoy!
Notes
For best results, use a kitchen scale to measure flour accurately. Ensure your oven and baking surface are very hot to achieve the characteristic puff. Leftover pita can be stored in an airtight container for 2-3 days at room temperature or frozen for up to 3 months.
- Prep Time: 30 minutes
- Cook Time: 15 minutes
- Category: Desserts & Baking
- Cuisine: Mediterranean, Middle Eastern
Nutrition
- Serving Size: 1 pita (approx. 60g)
- Calories: 180 kcal
- Sugar: 1g
- Sodium: 300mg
- Fat: 2g
- Saturated Fat: 0.3g
- Unsaturated Fat: 1.7g
- Trans Fat: 0g
- Carbohydrates: 35g
- Fiber: 2g
- Protein: 6g
- Cholesterol: 0mg
Leave a Reply