
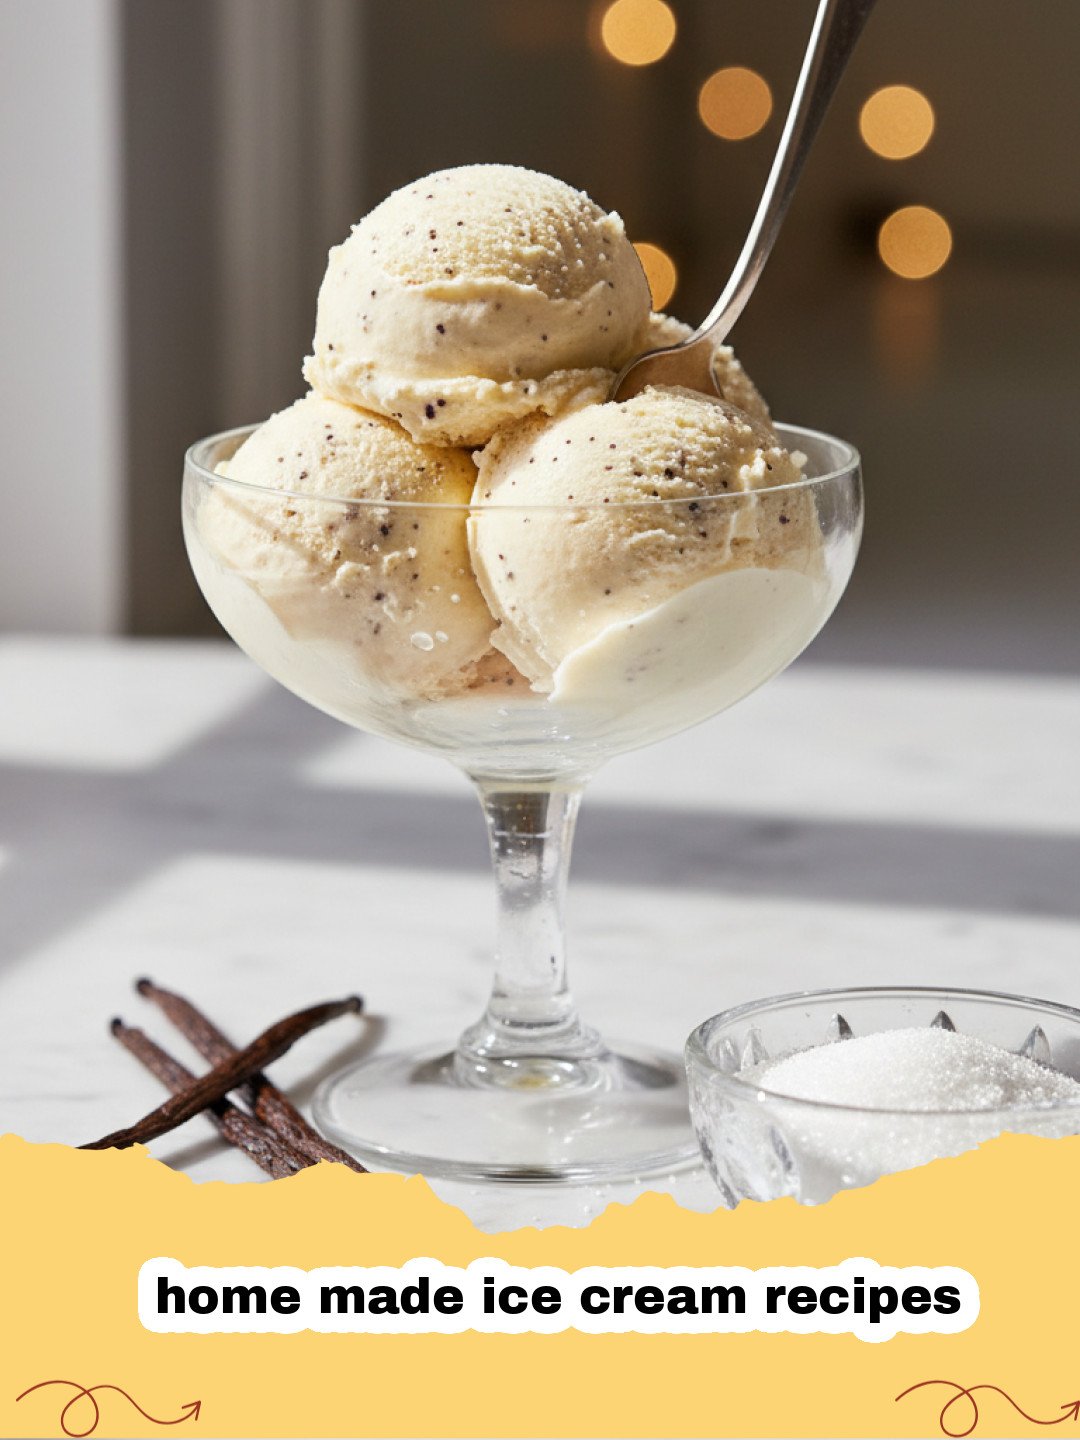
I remember those sweltering summer afternoons at Grandma's house. The air was thick with humidity, and the only salvation was the promise of her legendary ice cream. It wasn't store-bought; it was always one of her special home made ice cream recipes, churned with love and a hand-crank machine on the porch. The rhythmic thump-thump-thump of the ice and salt, the anticipation building with every turn, and then – that first spoonful. Pure, unadulterated bliss. That creamy, rich texture, the speckles of real vanilla bean, melting slowly on the tongue… it tasted like summer itself. For years, I chased that memory, experimenting with countless home made ice cream recipes, trying to replicate that magic. And after many delicious, and sometimes less-than-perfect, attempts, I’ve finally perfected a recipe that brings me right back to Grandma’s porch. It’s simple, yes, but it’s the ultimate foundation for so many wonderful frozen treats. This particular vanilla bean rendition is a testament to the joy and satisfaction that comes from creating something truly special with your own hands. Forget the store-bought tubs; once you taste this, you’ll understand why mastering home made ice cream recipes is a game-changer. I can’t wait to share it with you, so you can start creating your own cherished summer memories.
Why This Home Made Ice Cream Recipe is a Must-Try
Unparalleled Silky Smooth Texture
This is not your average icy, crystal-filled homemade ice cream. By employing a classic custard base with egg yolks, we create a rich, emulsified mixture that results in an incredibly silky, decadent texture that melts slowly and luxuriously on your tongue. It’s the hallmark of truly exceptional home made ice cream recipes.
Deep, Authentic Vanilla Flavor
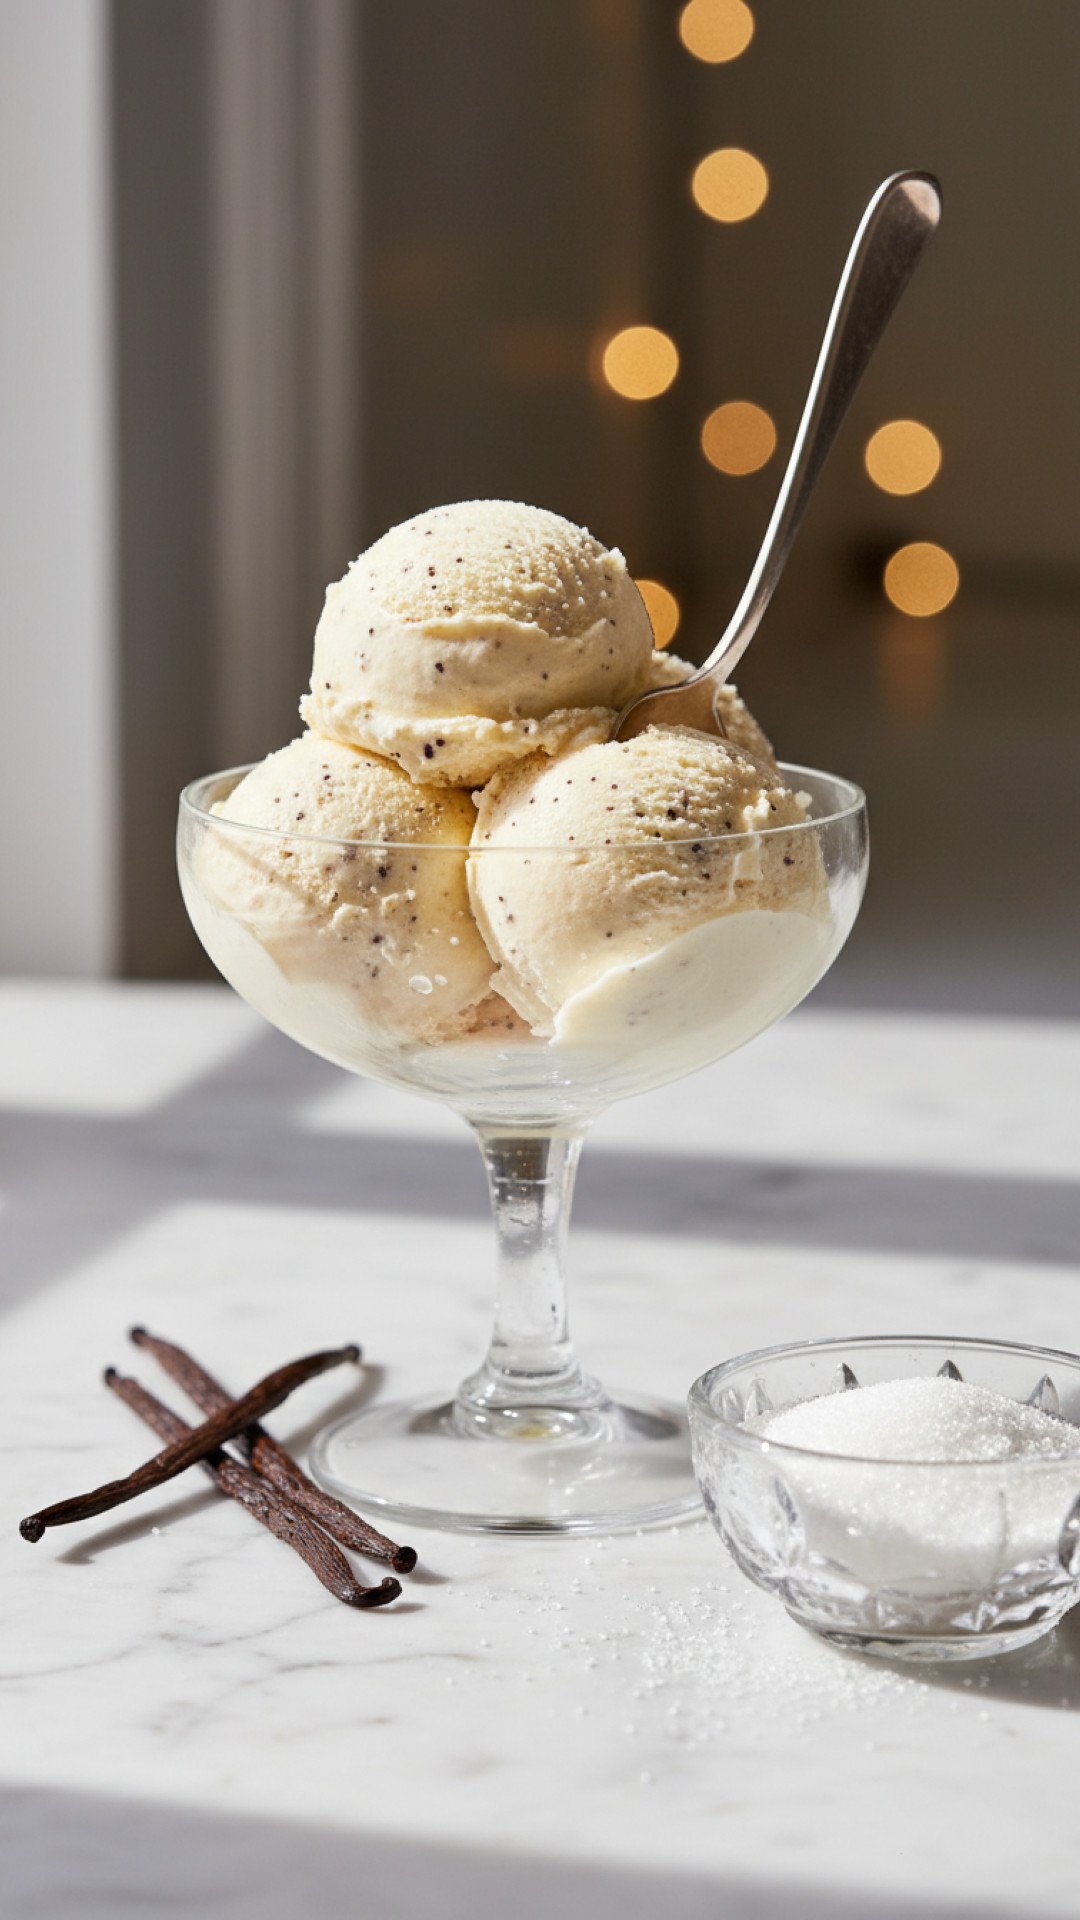
Using a whole vanilla bean infuses the cream with an unmistakable depth of flavor and aromatic notes that pure vanilla extract simply can’t replicate. Those beautiful black specks are a visual promise of the rich taste within, elevating this to one of the best home made ice cream recipes you’ll ever make.
No Artificial Anything
When you make ice cream at home, you control every single ingredient. No weird stabilizers, no artificial flavors, just pure, wholesome goodness. It's a clean, delicious treat you can feel good about serving to your family and friends. This commitment to fresh ingredients is what sets great home made ice cream recipes apart.
Endless Customization & Versatility
While vanilla is a classic, this rich base is a blank canvas for countless flavor variations. Once you've mastered this fundamental recipe, you'll unlock a world of possibilities for your future home made ice cream recipes, from fruit purees to chocolate chips and beyond.
Key Ingredient Notes for Perfect Home Made Ice Cream
The success of truly exceptional home made ice cream recipes lies in understanding the role of each ingredient. Here are the stars of our show:
Heavy Cream and Whole Milk: The Foundation of Creaminess
The ratio of heavy cream to whole milk is crucial for the richness and fat content, which directly impacts the texture of your ice cream. Heavy cream, with its high-fat percentage, provides the luscious, full-bodied mouthfeel we crave. Whole milk adds liquid for churning while still contributing some fat. Don't be tempted to use low-fat milk products here; fat is flavor and texture in the world of home made ice cream recipes. It helps prevent large ice crystals from forming, ensuring that coveted smooth consistency.
Egg Yolks: The Secret to Silky Custard
Egg yolks are the unsung heroes of many classic home made ice cream recipes. They act as natural emulsifiers, binding the fat and water molecules together, which further prevents ice crystal formation and creates that signature rich, silky texture of a French-style custard ice cream. They also contribute a beautiful golden hue and an added layer of richness. The tempering process (slowly incorporating hot liquid into the yolks) is vital to ensure they don't scramble. It might seem intimidating, but it’s a simple technique that elevates your home made ice cream to professional levels.
Vanilla Bean: Flavor Beyond Compare
While good quality vanilla extract is fine, a fresh vanilla bean takes this recipe from great to extraordinary. The tiny black seeds are packed with complex aromatic compounds that create a deep, nuanced vanilla flavor that can't be replicated by extract alone. The pod itself also infuses flavor during the steeping process. If using extract as a substitute for cost or availability, make sure it’s a pure, high-quality variety, and add it at the very end of the cooking process to preserve its delicate notes. However, for the ultimate experience in home made ice cream recipes, the vanilla bean is truly worth the splurge.
Step-by-Step Guide with Pro Tips for Silky Smooth Home Made Ice Cream
Creating delicious home made ice cream recipes is a process, but each step is straightforward and incredibly rewarding. Follow these instructions carefully for the best results.
Preparing the Custard Base: The Heart of Your Ice Cream
- Step 1: In a medium, heavy-bottomed saucepan, combine 1 cup of the heavy cream, the whole milk, 1/2 cup of the granulated sugar, the scraped vanilla bean seeds (don't forget to add the empty pod too for extra flavor!), and a pinch of salt. Place over medium heat, stirring occasionally to dissolve the sugar. Heat until the mixture just begins to simmer gently around the edges. You'll see tiny bubbles, but do not allow it to come to a rolling boil. Remove the saucepan from the heat, cover it, and let it steep for at least 30 minutes. This allows the vanilla flavor to deeply infuse into the cream. This steeping is a crucial step for truly flavorful home made ice cream recipes.
- Step 2: While your cream mixture is steeping, grab a separate medium-sized bowl. Whisk the 5 large egg yolks and the remaining 1/4 cup of granulated sugar together until the mixture is pale yellow and slightly thickened. This usually takes a couple of minutes of vigorous whisking.
- Step 3: After the steeping period, carefully remove the vanilla bean pod from the cream mixture. Now, it’s time to temper the egg yolks. This technique prevents the eggs from scrambling when they meet the hot cream. Slowly, and while whisking constantly, pour about 1/2 cup of the hot cream mixture into your egg yolk mixture. Continue to whisk as you slowly pour the tempered egg mixture back into the saucepan with the remaining hot cream.
- Step 4: Return the saucepan to medium-low heat. Cook, stirring constantly with a wooden spoon or heatproof spatula. Continue stirring until the custard thickens enough to generously coat the back of the spoon. If you run your finger across the spoon and it leaves a clean line, it's ready. The temperature should be around 175-180°F (79-82°C). This typically takes 5-8 minutes. Be patient and do not boil, or you’ll end up with scrambled eggs in your custard!
Chilling and Churning: The Final Frontier for Home Made Ice Cream
- Step 5: Immediately remove the custard from the heat. For an extra silky smooth texture, strain the custard through a fine-mesh sieve into a clean, large bowl. This catches any tiny bits of cooked egg or vanilla pod that might have escaped. Stir in the remaining 1 cup of cold heavy cream and the optional teaspoon of pure vanilla extract for an extra flavor boost.
- Step 6: Cover the bowl with plastic wrap, pressing the wrap directly onto the surface of the custard. This prevents a skin from forming as it chills. Refrigerate the custard for at least 4 hours, or even better, overnight. This chilling step is absolutely crucial for the best texture. A well-chilled base will churn more efficiently and result in smoother home made ice cream.
- Step 7: Once the custard is thoroughly chilled, pour the mixture into the frozen bowl of your ice cream maker. Churn according to the manufacturer's instructions. This usually takes between 25-35 minutes. You're looking for a consistency similar to soft-serve ice cream.
- Step 8: For a firmer, scoopable ice cream, transfer the freshly churned ice cream to an airtight container. We highly recommend using durable Basics Glass Food Storage containers for this, as they don't absorb odors and keep ice cream fresh. Press a piece of parchment paper or plastic wrap directly onto the surface of the ice cream before sealing the lid. This prevents unsightly and unappetizing ice crystals from forming. Freeze for at least 2-4 hours, or until it reaches your desired firmness. Then, scoop and enjoy your magnificent home made ice cream!
Variations & Serving Suggestions for Your Home Made Ice Cream
Once you've mastered this classic vanilla bean home made ice cream, the world of dessert opens up! This base is incredibly versatile, allowing you to explore countless delicious home made ice cream recipes and serving ideas.
Flavor Variations:
- Chocolate Lovers: Add 1/2 cup of unsweetened cocoa powder to the cream mixture in Step 1. You can also fold in chocolate chips or chunks after churning.
- Coffee Infusion: Add 2 tablespoons of instant espresso powder or coffee grounds (in a tea bag for easy removal) to the cream mixture in Step 1.
- Mint Chocolate Chip: Add 1 teaspoon of pure peppermint extract along with the vanilla extract in Step 5, and fold in 1/2 cup of finely chopped dark chocolate after churning.
- Fruit Swirl: After churning, gently swirl in 1/2 cup of a fruit puree like raspberry, strawberry, or even a luscious homemade peach puree. This creates beautiful streaks of color and bursts of fruitiness, adding another dimension to your home made ice cream.
- Nutty Crunch: Fold in 1/2 cup of toasted chopped nuts (pecans, walnuts, almonds) during the last few minutes of churning, or after for a more prominent crunch.
- Cookie Dough/Brownie Batter: After churning, fold in small chunks of your favorite edible cookie dough or brownie batter. These additions make for incredibly popular home made ice cream recipes.
Serving Suggestions:
- Classic Scoop: Sometimes, the simplest way is the best. Enjoy a generous scoop on its own to truly savor the vanilla bean flavor.
- Sundae Bar: Set up a sundae bar with various toppings: hot fudge, caramel sauce, whipped cream, sprinkles, chopped nuts, and fresh berries.
- Alongside Baked Goods: This vanilla bean ice cream is the perfect accompaniment to almost any warm dessert. Imagine it melting slowly over a slice of The Ultimate Homestyle Blueberry Crisp, a warm apple pie, or a rich chocolate lava cake.
- Affogato: Pour a shot of hot espresso over a scoop of cold vanilla ice cream for a sophisticated and simple dessert.
- Milkshakes: Blend with a splash of milk and your favorite mix-ins for a creamy milkshake.
- Ice Cream Sandwiches: Press softened ice cream between two cookies (like chocolate chip or oatmeal) and refreeze for a delightful treat.
Don't be afraid to experiment with your home made ice cream recipes. That's where the real fun is!
Nutrition Information
Here's a breakdown of the estimated nutritional content per serving for our Silky Smooth Vanilla Bean Home Made Ice Cream:
| Nutrient | Amount Per Serving (1/2 cup) |
|---|---|
| Calories | 320 kcal |
| Carbohydrate Content | 28g |
| Cholesterol Content | 180mg |
| Fat Content | 22g |
| Fiber Content | 0g |
| Protein Content | 5g |
| Saturated Fat Content | 13g |
| Serving Size | 1/2 cup |
| Sodium Content | 40mg |
| Sugar Content | 27g |
| Trans Fat Content | 0g |
| Unsaturated Fat Content | 7g |
Please note: These values are estimates and may vary based on exact ingredient brands and preparation methods.
Conclusion
There's something truly magical about home made ice cream recipes. It’s more than just a dessert; it’s an experience, a memory in the making. This Silky Smooth Vanilla Bean Home Made Ice Cream isn't just a treat; it's a labor of love that rewards you with the creamiest, most flavorful ice cream you’ve ever tasted. From the rich custard base to the fragrant vanilla bean, every spoonful is pure indulgence. So, gather your ingredients, fire up your ice cream maker, and prepare to delight your taste buds. I hope this recipe brings as much joy to your kitchen and your table as it has to mine. Happy churning, and enjoy the blissful simplicity of truly incredible home made ice cream!
FAQs
How do I prevent my home made ice cream from becoming icy?
Icy ice cream is often caused by too much water content or slow freezing. Using a proper custard base (with egg yolks) helps, as does ensuring your mixture is thoroughly chilled before churning. Also, transfer the churned ice cream to an airtight container, press plastic wrap directly onto its surface, and freeze it quickly for the best smooth texture.
Can I make this recipe without an ice cream maker?
While this recipe is designed for an ice cream maker for optimal texture, you can attempt a no-churn method. Whip 2 cups of very cold heavy cream to stiff peaks, then gently fold it into the thoroughly chilled custard base. Freeze this mixture in an airtight container, stirring every 30-45 minutes for the first 2-3 hours to break up ice crystals. However, the texture will be different u2013 more like a frozen mousse than traditional churned ice cream.
What are the best ways to store home made ice cream?
Store your home made ice cream in an airtight, shallow container. Press plastic wrap or parchment paper directly onto the surface of the ice cream before sealing the lid. This critical step prevents ice crystals from forming and helps absorb freezer odors. For optimal freshness and texture, it's best consumed within 1-2 weeks.
What's the difference between using a vanilla bean and vanilla extract in home made ice cream recipes?
A vanilla bean provides a deeper, more complex, and visually appealing flavor with its tiny black flecks, a hallmark of gourmet home made ice cream. Vanilla extract offers a strong, pure vanilla taste and is more economical. For the best, most nuanced flavor, use a vanilla bean. You can also add a touch of high-quality extract at the very end for an extra aromatic boost.

Silky Smooth Vanilla Bean Home Made Ice Cream
A rich, creamy, custard-based vanilla bean ice cream recipe that tastes like pure summer nostalgia. Perfect for beginners and seasoned churners alike, delivering unparalleled smoothness.
- Total Time: 45 minutes active + 4+ hours chilling
- Yield: 1.5 quarts (approx. 6 servings) 1x
Ingredients
2 cups heavy cream, divided
1 cup whole milk
3/4 cup granulated sugar, divided
1 vanilla bean, split lengthwise and scraped
Pinch of salt
5 large egg yolks
1 teaspoon pure vanilla extract (optional, for extra boost)
Instructions
Step 1: Combine 1 cup heavy cream, whole milk, 1/2 cup granulated sugar, vanilla bean seeds and pod, and salt in a medium saucepan. Heat over medium heat, stirring occasionally, until the mixture just begins to simmer around the edges. Do not boil. Remove from heat, cover, and let steep for 30 minutes to infuse the vanilla flavor.
Step 2: While the cream mixture steeps, whisk the egg yolks and remaining 1/4 cup granulated sugar in a separate medium bowl until pale yellow and slightly thickened.
Step 3: After steeping, remove the vanilla bean pod from the cream mixture. Slowly temper the egg yolks by gradually whisking about 1/2 cup of the hot cream mixture into the egg yolk mixture. Continue to whisk constantly as you slowly pour the tempered egg mixture back into the saucepan with the remaining cream.
Step 4: Return the saucepan to medium-low heat. Cook, stirring constantly with a wooden spoon or heatproof spatula, until the custard thickens enough to coat the back of the spoon (it should reach about 175-180°F or 79-82°C). Do not boil or the eggs will scramble.
Step 5: Immediately remove the custard from the heat and strain it through a fine-mesh sieve into a clean bowl. This ensures a silky smooth texture by catching any tiny bits of cooked egg or vanilla pod. Stir in the remaining 1 cup heavy cream and the optional vanilla extract.
Step 6: Cover the bowl with plastic wrap, pressing it directly onto the surface of the custard to prevent a skin from forming. Refrigerate for at least 4 hours, or preferably overnight, until thoroughly chilled. This chilling step is crucial for the best texture in home made ice cream recipes.
Step 7: Once thoroughly chilled, pour the mixture into your ice cream maker and churn according to the manufacturer's instructions. This typically takes 25-35 minutes, resulting in a soft-serve consistency.
Step 8: For a firmer ice cream, transfer the churned ice cream to an airtight container. Press a piece of parchment paper or plastic wrap directly onto the surface to prevent ice crystals, then freeze for at least 2-4 hours, or until firm. Enjoy your delicious home made ice cream!
Notes
For a slightly lighter version, you can substitute half of the heavy cream with half-and-half, but the texture will be less rich. Always ensure your mixture is thoroughly chilled before churning for the best results. Using a high-quality vanilla bean makes a significant difference.
- Prep Time: 30 minutes
- Cook Time: 15 minutes
- Category: Desserts & Baking
- Cuisine: American
Nutrition
- Serving Size: 1/2 cup
- Calories: 320 kcal
- Sugar: 27g
- Sodium: 40mg
- Fat: 22g
- Saturated Fat: 13g
- Unsaturated Fat: 7g
- Trans Fat: 0g
- Carbohydrates: 28g
- Fiber: 0g
- Protein: 5g
- Cholesterol: 180mg
Leave a Reply