

The first time I attempted a dill pickle recipe, it was a disaster. I was a young, enthusiastic home cook, fresh out of college, armed with a newfound appreciation for farmers' markets and a severe lack of canning knowledge. My grandma, bless her heart, was an expert at preserving, but her methods were more 'a little of this, a little of that' than precise measurements. I remember calling her, panicking because my brine looked cloudy, and she just laughed, telling me, 'Honey, pickles are about patience and a little bit of magic!' That year, my 'magic' resulted in a batch of rather mushy, surprisingly bland cucumbers that tasted more like sad, watery vegetables than the crisp, tangy delights I remembered from her cellar. I was disheartened, almost giving up on the art of pickling altogether. But the memory of those perfectly crunchy, garlicky spears she used to make, always present at every family barbecue and picnic, gnawed at me. I was determined to crack the code. Over the years, I experimented, failed, and learned, poring over old cookbooks, consulting seasoned homesteaders, and tweaking ratios until finally, I found it – the perfect dill pickle recipe. It wasn't just about the brine; it was about the freshness of the cucumbers, the quality of the dill, and yes, a generous dash of that 'magic' my grandma spoke of. This recipe isn't just a set of instructions; it's a journey, a connection to traditions, and a promise of that satisfying 'crunch' that makes all the effort worthwhile. It's the taste of summer captured in a jar, ready to brighten any meal or stand proudly as a snack all on its own. If you've ever dreamt of making your own phenomenal pickles, this dill pickle recipe is for you.
Why This Dill Pickle Recipe is a Must-Try
- Unbeatable Crunch: Forget soggy store-bought pickles! This dill pickle recipe guarantees an incredibly satisfying, crisp bite every single time.
- Fresh & Flavorful: Using fresh ingredients and a balanced brine, this dill pickle recipe delivers a vibrant, tangy, and garlicky flavor profile that elevates any dish.
- Customizable Goodness: While it's a classic dill pickle recipe, it's also a fantastic canvas for your own flavor experiments. Add more spice, different herbs, or a touch of sweetness if you dare!
- Economical & Rewarding: Making your own pickles is not only cost-effective but also immensely satisfying. Plus, you control exactly what goes into your food with this homemade dill pickle recipe.
Key Ingredient Notes for Your Dill Pickle Recipe
The success of any dill pickle recipe hinges on the quality of its core components. Here’s what to look for:
Cucumbers: The Star of the Show
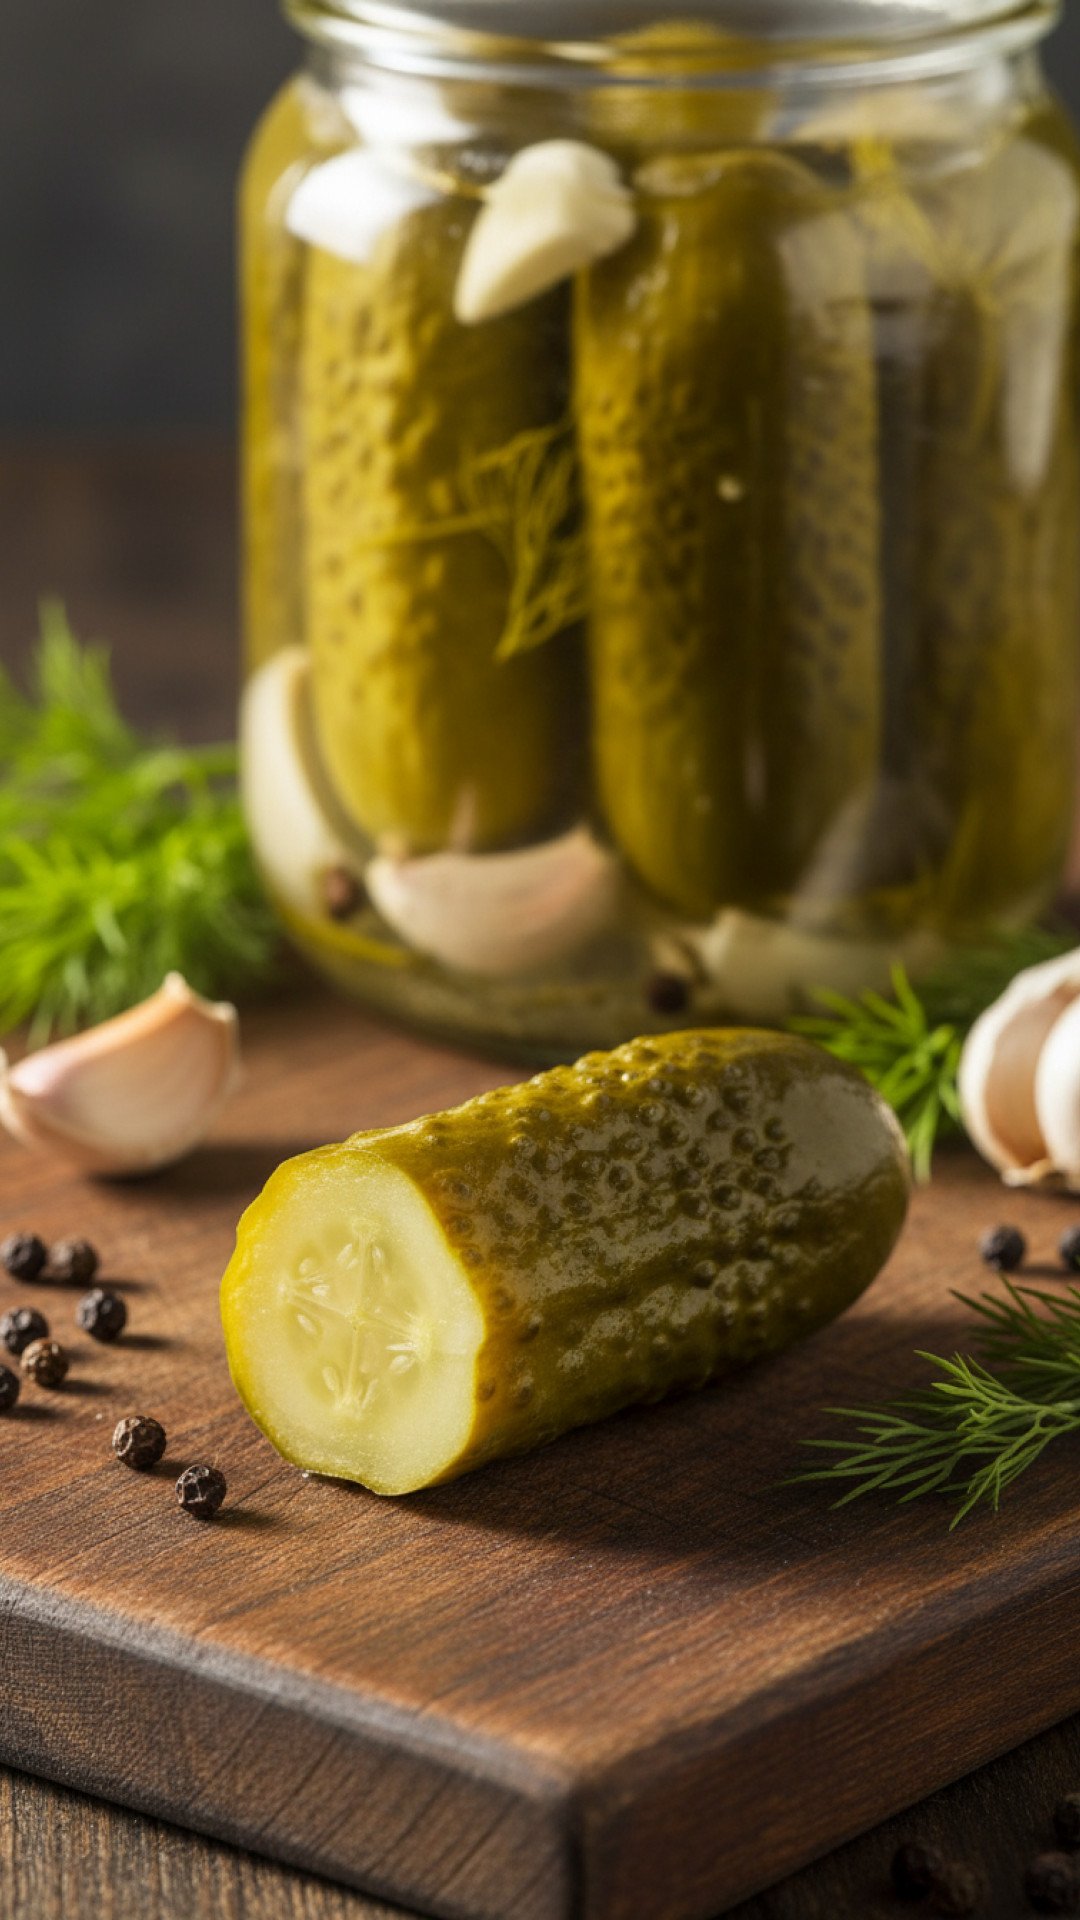
For the best dill pickle recipe, you absolutely must use pickling cucumbers. These are typically shorter, fatter, and have bumpy skins, unlike slicing cucumbers found in most grocery stores. Varieties like Kirby or Boston Pickling are ideal. Why? They have fewer seeds and thicker walls, which helps them stay firm and crunchy after pickling. Seek them out at farmers' markets or grow your own if possible. Pick them fresh, and pickle them within 24 hours for optimal results. A good dill pickle recipe starts with excellent cukes.
Dill: Fresh is Best
The name says it all – dill is paramount for a classic dill pickle recipe. You'll want to use fresh dill, specifically dill heads (the feathery flower heads) if you can find them, or a generous amount of fresh dill sprigs. Dried dill can work in a pinch, but it won't impart the same bright, herbaceous flavor. The aroma and essential oils in fresh dill are what give this dill pickle recipe its signature taste.
Garlic: Aromatic Powerhouse
Don't skimp on fresh garlic for this dill pickle recipe! Whole, peeled cloves are best. You can lightly smash them to release more flavor. The pungent, aromatic qualities of garlic are essential for balancing the tartness of the vinegar and adding depth to your homemade dill pickle recipe.
Step-by-Step Guide with Pro Tips for Your Dill Pickle Recipe
This dill pickle recipe is straightforward, but a few pro tips can make all the difference in achieving pickle perfection.
- Prep Your Cucumbers: Wash and scrub your cucumbers thoroughly. Trim off both ends. Some people like to slice off a tiny bit of the blossom end (the end opposite the stem) as it contains enzymes that can make pickles soft.
- Brine Ratio Matters: The vinegar-to-water ratio is crucial for safety and flavor. For this dill pickle recipe, we use a 1:1 ratio of vinegar to water, plus salt. This provides enough acidity for preservation and the perfect tang.
- Sterilize Your Jars: This is non-negotiable for food safety. You can sterilize jars by boiling them for 10 minutes, running them through a dishwasher's sanitize cycle, or heating them in the oven. Lids should be simmering in hot water (not boiling) to soften the seal.
- Packing Perfection: Pack your jars tightly but without bruising the cucumbers. The tighter they are packed, the less space there is for air, which is good. Add your spices and dill first, then the cucumbers.
- Hot Brine, Cold Pack: Pouring hot brine over cold-packed cucumbers helps them absorb the flavors and creates a good seal. Ensure the brine completely covers the cucumbers, leaving about 1/2 inch of headspace.
- Water Bath Canning: For shelf-stable pickles, process your filled jars in a boiling water bath. This creates a vacuum seal. Make sure your jars are fully submerged in the boiling water for the specified time. This is a crucial step for long-term storage of this dill pickle recipe.
- Patience is Key: After canning, store your pickles in a cool, dark place for at least 3-4 weeks (preferably 6 weeks!) before opening. This allows the flavors to fully meld and develop. The waiting is the hardest part of any dill pickle recipe!
Variations & Serving Suggestions for Your Dill Pickle Recipe
This classic dill pickle recipe is fantastic on its own, but there are countless ways to enjoy and adapt it.
Spice It Up!
If you like a kick, add red pepper flakes or small dried chili peppers to your jars before pouring in the brine. For a unique twist, try a pinch of mustard seeds or coriander seeds to complement the traditional dill and garlic in this dill pickle recipe.
Sweet & Tangy
For a bread and butter pickle style, add a tablespoon or two of sugar to your brine recipe. This will soften the tartness and introduce a delightful sweetness. Remember, this changes the flavor profile significantly from a classic dill pickle recipe, but it's delicious!
Herbaceous Additions
Beyond dill, consider adding a sprig of fresh tarragon or a few bay leaves to your jars for an extra layer of complexity. Just a small amount can make a big difference in your homemade dill pickle recipe.
Serving Suggestions
- Classic Sandwich Companion: A must-have with any sandwich, from a simple grilled cheese to a towering Reuben.
- Burger Bestie: Sliced thinly, they are essential for burgers and hot dogs.
- Snack Attack: Just grab a spear straight from the jar for a refreshing, crunchy snack.
- Salad Sensation: Dice them up and add to potato salad, tuna salad, or even a simple green salad for a tangy bite.
- Frying Fun: Don't forget fried pickles! A delicious appetizer that highlights the tangy crunch of this dill pickle recipe.
- Pickle Juice Power: Don't discard the pickle juice! It's fantastic for brining chicken, adding to salad dressings, or as a post-workout electrolyte boost. You can even use it in a quick pickled banana pepper recipe for another zesty treat.
- Charcuterie Boards: A beautiful addition to any cheese and meat board, offering a sharp contrast to rich flavors.
Speaking of snacks, if you're looking for another satisfying crunch, you might enjoy making some Crispy Garlic Parmesan Roasted Chickpeas. They pair wonderfully with these homemade pickles!
Nutrition Information
Making your own dill pickle recipe means you control the ingredients, keeping it healthier than many store-bought options.
| Nutrient | Amount Per Serving |
|---|---|
| Calories | 15 kcal |
| Carbohydrate Content | 3 g |
| Cholesterol Content | 0 mg |
| Fat Content | 0 g |
| Fiber Content | 1 g |
| Protein Content | 1 g |
| Saturated Fat Content | 0 g |
| Serving Size | 1 spear (approx. 50g) |
| Sodium Content | 300 mg |
| Sugar Content | 1 g |
| Trans Fat Content | 0 g |
| Unsaturated Fat Content | 0 g |
Conclusion
Crafting your own dill pickle recipe is a rewarding culinary adventure that connects you to generations of home preservers. There's an unmatched satisfaction in hearing that crisp snap and tasting the vibrant, garlicky tang of a pickle you've made yourself. This dill pickle recipe is more than just food; it's a taste of summer, a staple for any gathering, and a testament to the joy of homemade goodness. So gather your fresh cucumbers, sterilize your jars, and get ready to experience the magic of the perfect dill pickle recipe. You'll wonder why you ever bought them from the store!
Remember to store your delicious creations in high-quality Basics Glass Food Storage containers once opened to maintain their freshness and crunch.
FAQs
What kind of cucumbers are best for this dill pickle recipe?
For the best crunchy results with this dill pickle recipe, you should use pickling cucumbers like Kirby or Boston Pickling varieties. These cucumbers are smaller, firmer, and have thinner skins, making them ideal for preserving and maintaining a crisp texture.
How long do homemade dill pickles last?
When properly processed using the water bath canning method, sealed homemade dill pickles can last for at least one year in a cool, dark pantry. Once opened, they should be stored in the refrigerator and consumed within 2-3 weeks for optimal freshness and flavor from this dill pickle recipe.
Why are my homemade pickles not crunchy?
Several factors can lead to soft pickles in a dill pickle recipe: using the wrong type of cucumber (slicing vs. pickling), not trimming the blossom end of the cucumber, an incorrect brine ratio, or inadequate processing time. Ensure you use fresh pickling cucumbers and follow the recipe's brine and canning instructions precisely.
Can I make this dill pickle recipe without canning?
Yes, you can make refrigerator pickles using this dill pickle recipe. Simply prepare the cucumbers and brine as instructed, pour the hot brine over the packed jars, seal them, and let them cool on the counter before refrigerating. Refrigerator pickles are not shelf-stable and must be kept in the fridge, consumed within 2-4 weeks. The flavors will develop faster, usually within 3-5 days.
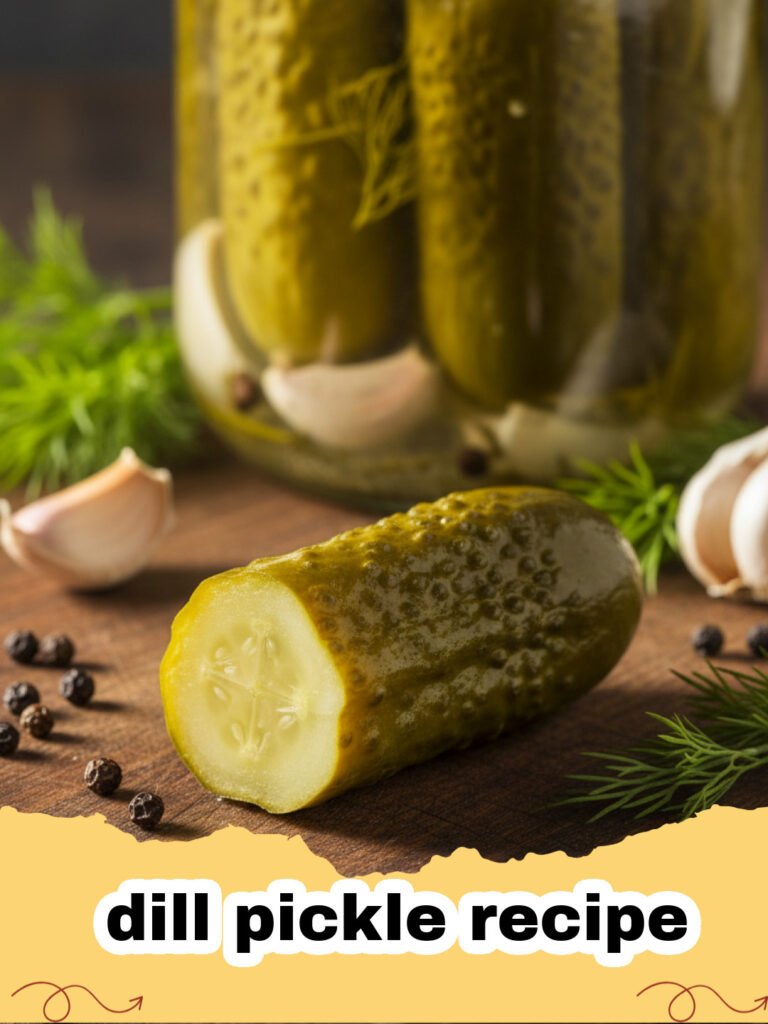
The Ultimate Crunchy Homemade Dill Pickles
Unlock the secret to perfectly crisp, tangy, and garlicky dill pickles with this classic homemade recipe. Ideal for sandwiches, burgers, or enjoying straight from the jar!
- Total Time: 45 minutes + 3-6 weeks curing time
- Yield: 4-5 pint jars 1x
Ingredients
8-10 pickling cucumbers (Kirby or Boston Pickling), about 2-2.5 lbs
4 cups white vinegar (5% acidity)
4 cups water
1/4 cup pickling salt (non-iodized)
8-10 cloves garlic, peeled and lightly smashed (2 per pint jar)
4-5 sprigs fresh dill weed or 4-5 dill heads (1 per pint jar)
2 tsp mustard seeds (1/2 tsp per pint jar)
2 tsp black peppercorns (1/2 tsp per pint jar)
Optional: 1/2 tsp red pepper flakes per jar for a spicy kick
Instructions
Step 1: Prepare your canning jars and lids by sterilizing them. Wash jars thoroughly with hot soapy water, rinse, and then place them in a large pot. Cover with water and boil for 10 minutes. Keep jars in hot water until ready to fill. Place lids and rings in a separate small saucepan with hot (not boiling) water to soften the sealing compound.
Step 2: Wash cucumbers thoroughly. Trim off both ends of each cucumber. If desired, cut cucumbers into spears, slices, or leave them whole if small enough to fit in your jars.
Step 3: To each sterilized pint jar, add 2 cloves of garlic, 1 sprig or head of fresh dill, 1/2 teaspoon mustard seeds, and 1/2 teaspoon black peppercorns. Add red pepper flakes now if desired.
Step 4: Tightly pack the cucumbers into the prepared jars. Try to get them as snug as possible without bruising them.
Step 5: In a large pot, combine white vinegar, water, and pickling salt. Bring the mixture to a rolling boil over high heat, stirring to dissolve the salt. This is your pickling brine for the dill pickle recipe.
Step 6: Carefully pour the hot brine over the cucumbers in each jar, leaving 1/2 inch of headspace (space between the liquid and the rim of the jar). Tap the jars gently to release any trapped air bubbles. Use a non-metallic utensil to push down any cucumbers that might be floating.
Step 7: Wipe the rims of the jars with a clean, damp cloth. Center a hot lid on each jar and screw on the band until fingertip tight (snug but not overly tight).
Step 8: Place the filled jars into your boiling water canner, ensuring they are fully submerged by at least 1 inch of water. Bring the water back to a full rolling boil and process for 10 minutes (for pint jars). Adjust processing time for your altitude if necessary.
Step 9: Carefully remove the jars from the canner using a jar lifter and place them on a clean towel or cooling rack, ensuring they are not touching each other. Let them cool undisturbed for 12-24 hours. You should hear the lids 'ping' as they seal.
Step 10: Check seals by pressing the center of each lid. If the lid does not flex, it is sealed. Store sealed jars in a cool, dark place for at least 3-4 weeks (preferably 6 weeks) before opening to allow the flavors to develop fully. Unsealed jars should be refrigerated and consumed within a few weeks. Enjoy your homemade dill pickle recipe!
Notes
For best results, use the freshest pickling cucumbers possible. Always ensure your canning equipment is clean and sanitized to prevent spoilage. Adjust spice levels to your preference. Once opened, store refrigerated and consume within 2-3 weeks.
- Prep Time: 30 minutes
- Cook Time: 15 minutes (water bath processing)
- Category: Drinks, Snacks & Holiday Treats
- Cuisine: American
Nutrition
- Serving Size: 1 spear (approx. 50g)
- Calories: 15 kcal
- Sugar: 1 g
- Sodium: 300 mg
- Fat: 0 g
- Saturated Fat: 0 g
- Unsaturated Fat: 0 g
- Trans Fat: 0 g
- Carbohydrates: 3 g
- Fiber: 1 g
- Protein: 1 g
- Cholesterol: 0 mg
Leave a Reply