

Ah, the Ninja Creami. For years, I’d dreamt of making restaurant-quality ice cream and sorbets right in my own kitchen, but the clunky, salt-and-ice churners always felt like too much fuss. Then, a few Christmases ago, a shiny new gadget arrived under the tree: my very own Ninja Creami. My first attempt at a creami ninja recipe was a simple vanilla bean, and it was nothing short of magical. I remember the rich, creamy texture, the delicate specks of vanilla, and that unparalleled freshness that only homemade can offer. It wasn't just ice cream; it was a revelation! Since then, my Creami has been a constant companion in my culinary adventures, transforming everything from leftover fruit smoothies to protein shakes into decadent frozen treats. This particular vanilla bean recipe has become my go-to, the foundation for countless other creations, and today, I'm thrilled to share my perfected version with you, so you can experience that same homemade magic.
Why This Creami Ninja Recipe is a Must-Try
- Unbeatable Creaminess: The Ninja Creami’s unique processing creates an incredibly smooth, scoopable texture that traditional ice cream makers can only dream of achieving. This creami ninja recipe truly highlights that capability.
- Simple Ingredients, Superior Flavor: You don't need a long list of exotic items. High-quality vanilla and a few pantry staples are all it takes to create a deeply satisfying dessert with this creami ninja recipe.
- Versatile Base: This vanilla ice cream serves as the perfect canvas for endless additions. Mix in chocolate chips, fruit, cookies, or swirls of caramel after the initial churn to customize every serving.
- Quick & Easy Prep: The active prep time is minimal. While it requires freezing overnight, the hands-on effort for this creami ninja recipe is surprisingly low, making gourmet ice cream accessible any day of the week.
Key Ingredient Notes
Real Vanilla Bean Paste or Extract
This is where the magic happens! Don't skimp on the vanilla. While a good quality vanilla extract works well, vanilla bean paste takes this creami ninja recipe to the next level. You'll see those beautiful little specks of vanilla bean, and the flavor is far more complex and aromatic. If using a whole vanilla bean, split it lengthwise, scrape out the seeds, and infuse them into the warm cream mixture. The better your vanilla, the more transcendent your creami ninja recipe will be.
Heavy Cream and Whole Milk
The balance of heavy cream and whole milk is crucial for the desired richness and texture. Heavy cream provides the fat content necessary for that luxurious, creamy mouthfeel, while whole milk thins it just enough to be perfectly scoopable after processing in your Ninja Creami. Using lower-fat alternatives will result in a much icier, less satisfying result, so stick to the full-fat dairy for the best experience with this creami ninja recipe.
Sweetener of Choice
While I prefer granulated sugar for its classic flavor profile and ability to dissolve easily, you have options. You can use maple syrup, honey, or a sugar substitute if you're looking for an alternative. Just be aware that different sweeteners can slightly alter the final texture and freezing point. For this particular creami ninja recipe, I recommend granulated sugar for consistent results.
Step-by-Step Guide with Pro Tips
Making this incredible creami ninja recipe is straightforward, but a few pro tips will ensure perfection every time.
Pro Tip 1: Dissolve Sugar Thoroughly
Ensure your sugar is completely dissolved in the warm dairy mixture. Undissolved sugar can lead to a grainy texture in your final ice cream. Whisk vigorously!
Pro Tip 2: Chill Completely
Don't rush the chilling process. The mixture needs to be thoroughly cold before it goes into the freezer for its overnight freeze. This helps in achieving a smoother final product from your Ninja Creami.
Pro Tip 3: Freeze Level and Solid
When freezing the pint, make sure the surface is as level as possible. This helps the Ninja Creami blade work more efficiently and prevents uneven churning. Freeze until solid – typically 18-24 hours. A well-frozen block is key for a successful creami ninja recipe.
Pro Tip 4: Re-spin if Needed
Sometimes, after the first spin, your ice cream might be a little crumbly. This is normal! Simply add a tablespoon or two of milk (or cream) and hit the 'Re-spin' button. This extra spin usually transforms it into the perfect, creamy consistency. This is a common step for many a creami ninja recipe.
Pro Tip 5: Store Smartly
If you're not eating it all immediately (which is a challenge!), transfer any leftovers to an airtight container. I love using Basics Glass Food Storage containers for this. When ready to enjoy again, you might need to re-spin it in your Creami if it has refrozen too hard. This helps maintain the lovely texture of this creami ninja recipe.
Variations & Serving Suggestions
This vanilla bean creami ninja recipe is fantastic on its own, but it's also a dream base for endless flavor combinations! Here are a few ideas:
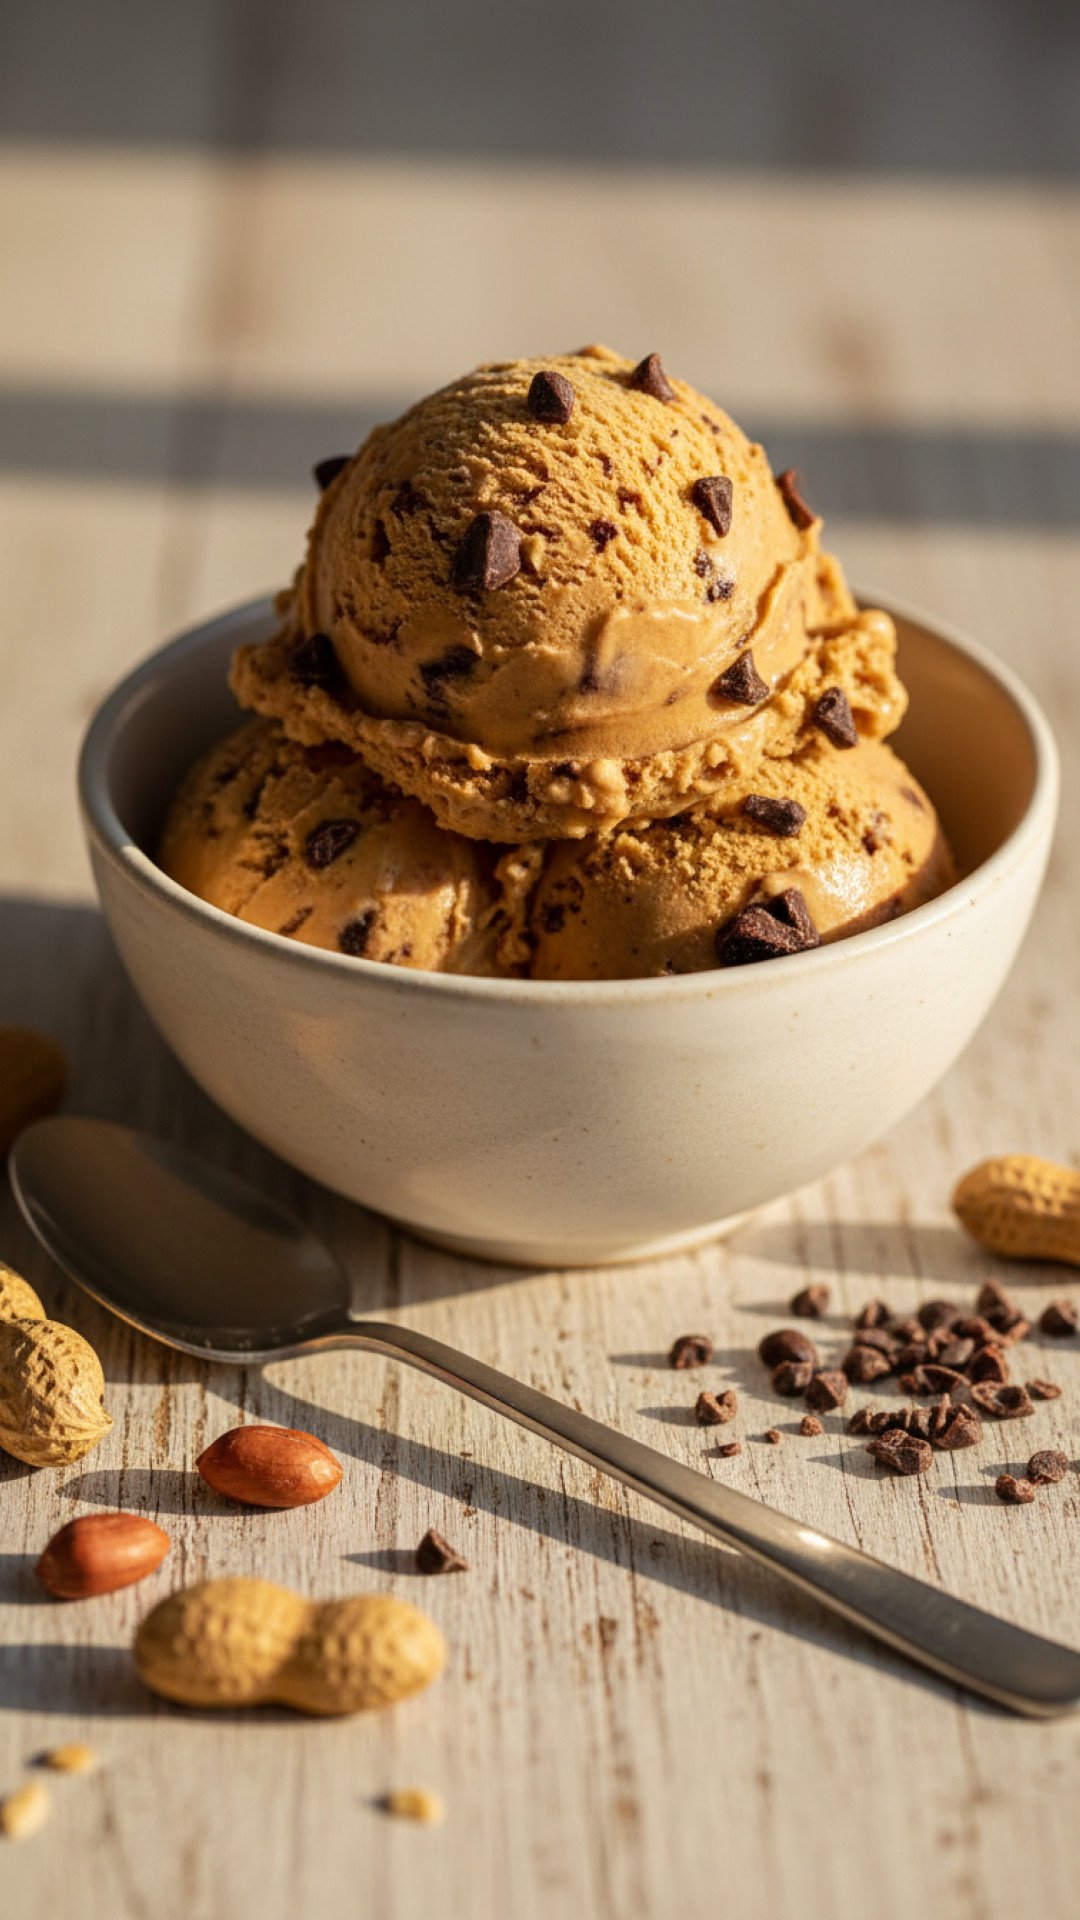
- Chocolate Chip: After the initial process, create a tunnel down the center of your pint and fill with your favorite chocolate chips or chunks. Select the 'Mix-in' function.
- Berry Swirl: Swirl in a homemade berry compote (strawberries, raspberries, or blueberries) after the first churn using the 'Mix-in' function.
- Coffee Infusion: Add 1-2 teaspoons of instant espresso powder to the dairy mixture before freezing for a rich coffee ice cream.
- Salted Caramel Swirl: Drizzle in generous amounts of store-bought or homemade salted caramel sauce after the initial spin, then use the 'Mix-in' function.
- Cookie Dough: Fold in small chunks of edible cookie dough during the 'Mix-in' cycle for a classic treat.
- Brownie Batter: For an extra indulgent treat, serve a scoop of this ice cream alongside warm Fudgy Brownie Cookies.
Serve scoops of this delightful ice cream in bowls, on cones, or as an accompaniment to pies, crumbles, or warm brownies. A simple drizzle of chocolate sauce or a sprinkle of toasted nuts can elevate it further. No matter how you serve it, this creami ninja recipe is sure to impress!
Nutrition Information
Here’s a general nutritional breakdown for one serving of this delightful creami ninja recipe. Please note that these are estimates and can vary based on specific ingredient brands and portion sizes.
| Nutrient | Amount (per serving) |
|---|---|
| Calories | 320 kcal |
| Carbohydrates | 28 g |
| Cholesterol | 85 mg |
| Total Fat | 23 g |
| Fiber | 0 g |
| Protein | 4 g |
| Saturated Fat | 14 g |
| Serving Size | 1/2 cup (approx. 100g) |
| Sodium | 45 mg |
| Sugar | 25 g |
| Trans Fat | 0.5 g |
| Unsaturated Fat | 8 g |
Conclusion
There's nothing quite like the joy of creating something delicious from scratch, and this vanilla bean creami ninja recipe truly embodies that feeling. It’s a simple yet elegant dessert that proves you don't need fancy culinary skills to make extraordinary treats. Whether you're a seasoned Creami user or just starting your frozen dessert journey, this recipe is guaranteed to be a hit. So go ahead, dust off your Ninja Creami, gather your ingredients, and prepare to indulge in the creamiest, most flavorful homemade vanilla ice cream you’ve ever tasted. Enjoy every luxurious, vanilla-flecked scoop!
If you're looking for other fresh and vibrant flavors to explore in your kitchen, why not try making Homemade Basil Pesto? It's a fantastic way to capture the essence of summer!
FAQs
Why is my Creami Ninja recipe crumbly after the first spin?
It's very common for Ninja Creami recipes, especially those with lower fat content or less sugar, to appear crumbly or powdery after the initial spin. This is perfectly normal. Simply add 1-2 tablespoons of cold milk or cream to the pint and hit the 'RE-SPIN' button. This extra processing usually transforms it into a perfectly creamy, scoopable consistency.
Can I use skim milk or low-fat milk for this creami ninja recipe?
While you can substitute lower-fat dairy, it's not recommended for the best results. The fat content in heavy cream and whole milk is crucial for achieving that luxurious, creamy texture characteristic of a great creami ninja recipe. Using skim or low-fat milk will likely result in a more icy, less rich final product.
How long does the vanilla bean ice cream need to freeze before I can process it in the Creami?
For optimal results with your creami ninja recipe, the mixture needs to be frozen solid for at least 18-24 hours. Freezing overnight is usually the easiest way to ensure it's completely firm. If it's not frozen solid enough, the machine may struggle to process it correctly.
Can I add mix-ins to this creami ninja recipe?
Absolutely! This vanilla bean creami ninja recipe is an excellent base for mix-ins. After the initial processing (and any re-spins needed to get the base creamy), create a 1-inch wide tunnel down the center of your pint. Fill it with your desired mix-ins like chocolate chips, cookie pieces, fruit, or caramel sauce, then select the 'MIX-IN' function on your Ninja Creami.

Dreamy Vanilla Bean Ninja Creami Ice Cream
Indulge in the ultimate homemade vanilla bean ice cream, crafted to perfection in your Ninja Creami. This recipe delivers an incredibly smooth, rich, and scoopable treat with beautiful vanilla specks, perfect on its own or as a base for endless mix-ins.
- Total Time: 18 hours 10 minutes (includes freeze time)
- Yield: 4 servings (approximately 2 Ninja Creami pints) 1x
Ingredients
2 cups heavy cream
1 cup whole milk
1/2 cup granulated sugar
1 tablespoon high-quality vanilla bean paste (or 2 tsp vanilla extract, or seeds from 1 vanilla bean)
Pinch of salt
Instructions
Step 1: In a medium saucepan, combine the heavy cream, whole milk, granulated sugar, and salt.
Step 2: Heat the mixture over medium heat, stirring constantly, until the sugar is completely dissolved. Do not boil. Remove from heat.
Step 3: Stir in the vanilla bean paste (or vanilla extract/seeds). Taste and adjust sweetness if desired, keeping in mind that cold flavors are less pronounced.
Step 4: Pour the mixture evenly into two Ninja Creami pint containers. Ensure the mixture level is below the MAX fill line.
Step 5: Place lids on the pints and freeze them on a level surface for at least 18-24 hours, or until completely solid. Freezing overnight is ideal.
Step 6: Once frozen solid, remove one pint from the freezer and remove the lid. Place the pint into the outer bowl of your Ninja Creami.
Step 7: Install the paddle into the outer bowl lid and lock the lid onto the outer bowl. Place the outer bowl assembly into the Creami machine.
Step 8: Select the 'ICE CREAM' function. The machine will process the frozen mixture.
Step 9: After the first spin, check the consistency. If it's crumbly or powdery, add 1-2 tablespoons of cold whole milk (or cream) and select the 'RE-SPIN' function.
Step 10: Continue re-spinning, adding a tablespoon of liquid each time, until you reach your desired creamy, scoopable consistency. This often takes 1-2 re-spins. For mix-ins, create a 1-inch wide hole down the center of the pint, add your desired mix-ins, and select the 'MIX-IN' function.
Step 11: Serve immediately and enjoy! Store any leftovers in an airtight container in the freezer. If refrozen solid, you may need to re-spin before serving again.
Notes
For best results, use full-fat dairy products. If your ice cream is crumbly after the first spin, don't worry! A quick re-spin with a tablespoon or two of milk will usually yield perfect results. This recipe can be easily doubled to make more pints for future enjoyment. The key to a great Creami texture is ensuring the mixture is frozen solid before processing.
- Prep Time: 10 minutes
- Cook Time: 0 minutes
- Category: Desserts & Baking
- Cuisine: American
Nutrition
- Serving Size: 1/2 cup (approx. 100g)
- Calories: 320 kcal
- Sugar: 25 g
- Sodium: 45 mg
- Fat: 23 g
- Saturated Fat: 14 g
- Unsaturated Fat: 8 g
- Trans Fat: 0.5 g
- Carbohydrates: 28 g
- Fiber: 0 g
- Protein: 4 g
- Cholesterol: 85 mg
Leave a Reply