
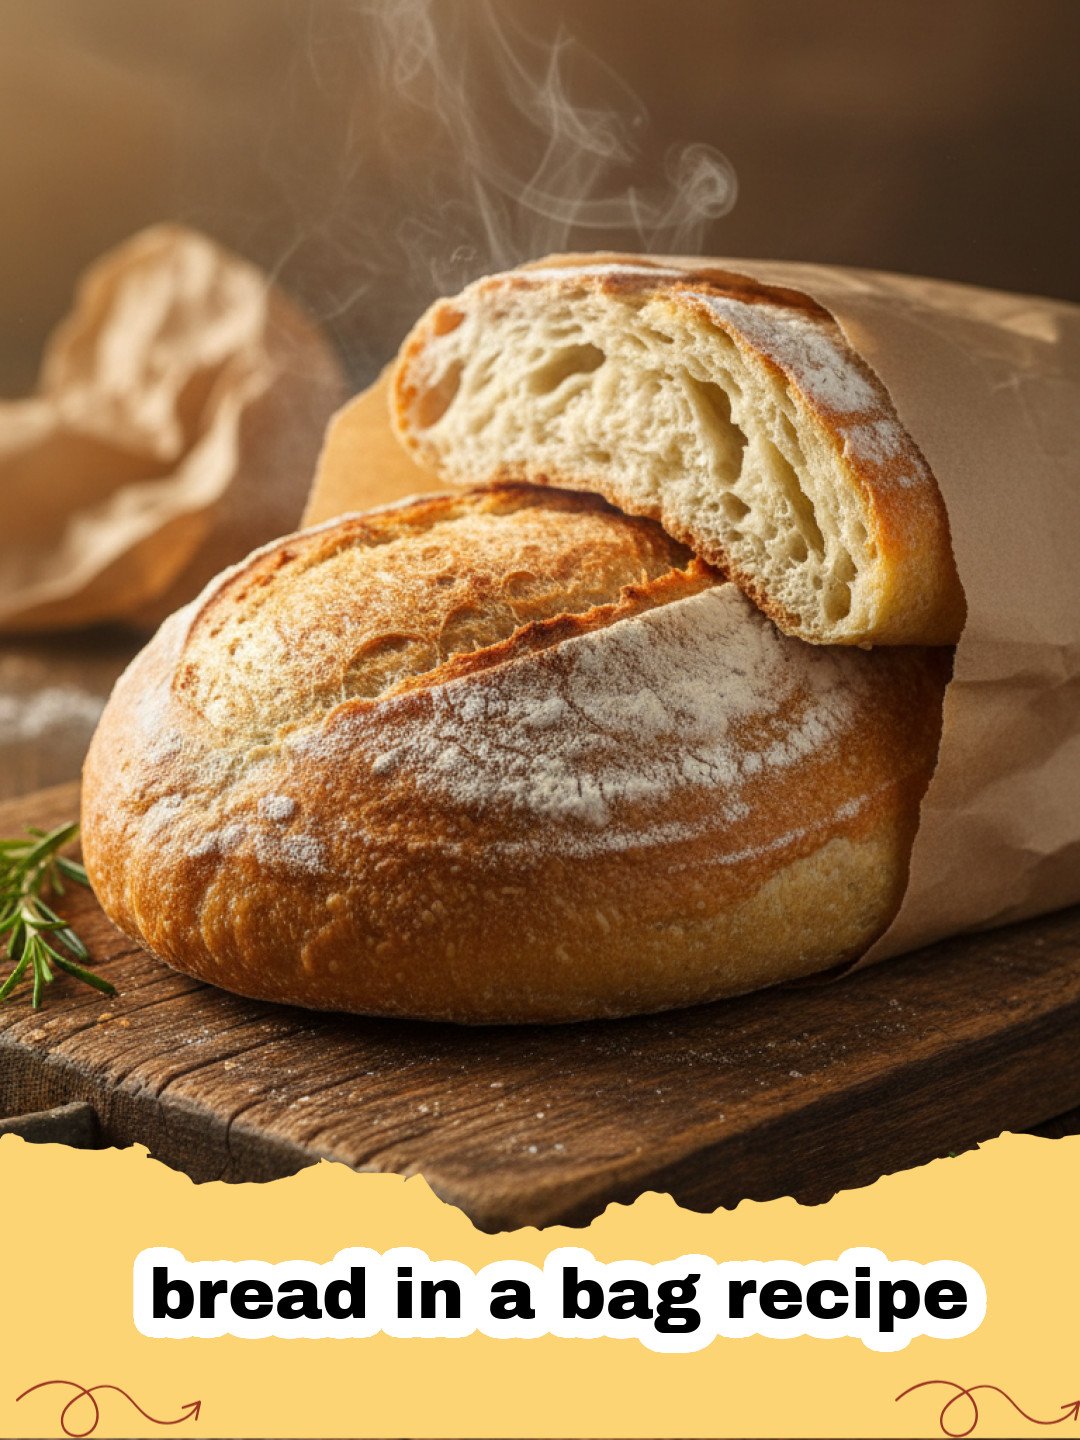
There's a special kind of magic that fills a home with the scent of freshly baked bread. For years, I envied those who effortlessly pulled golden loaves from their ovens, convinced that baking bread was a mystical art reserved for seasoned bakers. My own attempts often resulted in dense, sad bricks or dough that stubbornly refused to rise. Then, one dreary afternoon, while flipping through an old community cookbook I inherited from my Aunt Clara, I stumbled upon a handwritten note for a 'bread in a bag' recipe. It promised simplicity, no-knead ease, and a result that even a novice like me could achieve. Skeptical but hopeful, I gathered the few ingredients. What followed was a culinary revelation! The process was so straightforward, almost playful, and the result? A wonderfully soft, crusty loaf that tasted like pure comfort. This bread in a bag recipe transformed my baking confidence and became a beloved staple in my kitchen. It's more than just a recipe; it's an invitation to experience the joy of homemade bread without the fuss, and it's perfect for anyone, especially those who think they can't bake.
Why This Bread in a Bag Recipe is a Must-Try
- Unbelievably Simple: Forget complicated techniques and endless kneading. This bread in a bag recipe simplifies the entire process, making it accessible for absolute beginners.
- No-Mess Preparation: Mixing the dough directly in a bag means less cleanup and no sticky hands. It's a game-changer for busy households!
- Deliciously Versatile: The basic bread in a bag recipe yields a beautiful, plain loaf perfect for any meal, but it's also a fantastic canvas for creative additions.
- Instant Gratification: While it does require rising time, the active prep work for this bread in a bag recipe is minimal, letting you enjoy fresh bread with less effort.
Key Ingredient Notes
While the beauty of this bread in a bag recipe lies in its simplicity, understanding your core ingredients can elevate your baking from good to truly exceptional.
All-Purpose Flour
For this bread in a bag recipe, all-purpose flour works wonderfully, providing a tender crumb and a pleasant crust. However, if you want a chewier texture and a more robust rise, you can experiment with bread flour, which has a higher protein content. Just be aware that bread flour might absorb a little more liquid, so you might need to adjust slightly. Always spoon and level your flour into measuring cups for accuracy, as too much flour can make your bread dry and tough.
Active Dry Yeast
Yeast is the magical ingredient that makes our bread rise. Active dry yeast needs to be 'activated' or bloomed in warm liquid before mixing. Ensure your water or milk is between 105-115°F (40-46°C). If it's too cold, the yeast won't activate; too hot, and it will kill the yeast. If your yeast doesn't get foamy after 5-10 minutes, it's likely dead, and you should start with a fresh packet. This bread in a bag recipe relies on active yeast for its characteristic rise and airy texture.
Sugar (Granulated)
A small amount of sugar in this bread in a bag recipe isn't just for sweetness; it's food for the yeast! The yeast feeds on the sugar, producing carbon dioxide gas, which causes the dough to rise. It also contributes to the beautiful golden-brown crust and a hint of flavor. Don't omit it, even if you prefer savory bread!
Step-by-Step Guide with Pro Tips
Get ready to bake the easiest loaf of your life with this foolproof bread in a bag recipe!
- Step 1: In a large, sturdy 1-gallon zip-top bag, combine the warm water, active dry yeast, and granulated sugar. Gently shake the bag to mix, then let it sit for 5-10 minutes. The mixture should become foamy, indicating the yeast is active. This crucial first step ensures your bread in a bag recipe will rise perfectly.
- Step 2: Add the salt and half of the all-purpose flour (about 2 cups) to the bag. Seal the bag, pressing out as much air as possible, then gently mix by squeezing and kneading the bag with your hands until the flour is mostly incorporated.
- Step 3: Open the bag and add the remaining flour (2 to 2.5 cups), one cup at a time, mixing after each addition until a shaggy, soft dough forms. You might not need all of the flour; the dough should be slightly sticky but manageable. Do not overmix. This bread in a bag recipe is all about gentle handling.
- Step 4: Add the olive oil to the bag. Reseal, pressing out air, and continue to gently knead the dough in the bag for about 5-7 minutes. The dough should become smoother and more elastic.
- Step 5: Lightly grease the inside of the bag with a little extra olive oil, ensuring the dough is coated. Seal the bag again, leaving some room for expansion. Place the bag in a warm spot and let the dough rise until doubled in size, about 1-1.5 hours, depending on the temperature of your kitchen. This is a key resting period for the bread in a bag recipe to develop flavor.
- Step 6: Once doubled, gently punch down the dough inside the bag to release the air. Turn the dough out onto a lightly floured surface. Shape it into a round or oblong loaf.
- Step 7: Lightly grease a baking sheet or line with parchment paper. Place the shaped dough on the prepared sheet. Cover loosely with plastic wrap or a clean kitchen towel and let it rise for a second time, about 30-45 minutes, or until noticeably puffy. Preheat your oven to 375°F (190°C) during the last 15 minutes of this rise. For a perfect companion, consider serving this fresh bread with a homemade cocktail sauce!
- Step 8: Just before baking, you can lightly brush the top of the loaf with water or an egg wash for a crispier or shinier crust, respectively. You can also make a few shallow slashes across the top with a sharp knife or bread lame.
- Step 9: Bake for 25-35 minutes, or until the crust is golden brown and the internal temperature reaches 200-210°F (93-99°C). If the top is browning too quickly, you can loosely tent it with aluminum foil. This delicious bread in a bag recipe is almost ready!
- Step 10: Remove the bread from the oven and transfer it to a wire rack to cool completely before slicing. This allows the internal structure to set and prevents a gummy texture. Enjoy your perfectly baked bread, perhaps alongside a classic Italian salad!
Variations & Serving Suggestions
This basic bread in a bag recipe is incredibly versatile. Once you've mastered the foundational loaf, the possibilities are endless!
Savory Variations:
- Herb & Garlic: Add 2 cloves of minced garlic and 2 tablespoons of dried Italian herbs (or fresh rosemary/thyme) to the dough in Step 3. Perfect for dipping in olive oil.
- Cheddar & Jalapeño: Incorporate 1 cup of shredded sharp cheddar cheese and 1-2 finely diced jalapeños (seeds removed for less heat) during Step 3. This makes an amazing grilled cheese sandwich!
- Sun-Dried Tomato & Olive: Mix in 1/2 cup chopped sun-dried tomatoes (oil-packed, drained) and 1/4 cup chopped Kalamata olives with the last addition of flour.
Sweet Variations:
- Cinnamon Swirl: Before the second rise, roll out the dough into a rectangle, spread with 2 tablespoons softened butter, sprinkle with 1/4 cup cinnamon sugar, and roll up tightly. Place in a loaf pan.
- Raisin & Walnut: Add 1/2 cup raisins and 1/4 cup chopped walnuts to the dough with the final flour addition. Great for breakfast toast.
Serving Suggestions:
- Serve warm slices with butter, jam, or honey.
- Use it for gourmet sandwiches or paninis.
- Perfect for sopping up sauces from stews or soups, like our slow cooker beef chili.
- Toast slices for bruschetta or garlic bread.
- Leftovers can be cut into croutons or used for bread pudding.
Remember, the bread in a bag recipe makes homemade bread a breeze, so don't be afraid to get creative!
Nutrition Information
Here's an estimate of the nutritional values for one serving of this delightful bread in a bag recipe. Please note that these are approximate and can vary based on exact ingredients and portion sizes. Consider storing any extra loaves or dough in Basics Glass Food Storage containers to maintain freshness!
| Nutrient | Amount Per Serving |
|---|---|
| Calories | 250 kcal |
| Carbohydrate Content | 48g |
| Cholesterol Content | 0mg |
| Fat Content | 3g |
| Fiber Content | 2g |
| Protein Content | 8g |
| Saturated Fat Content | 0.5g |
| Serving Size | 1 slice (approx. 60g) |
| Sodium Content | 320mg |
| Sugar Content | 2g |
| Trans Fat Content | 0g |
| Unsaturated Fat Content | 2.5g |
Conclusion
There you have it – the ultimate bread in a bag recipe that proves baking delicious, homemade bread doesn't have to be intimidating or messy. This recipe is a testament to simplicity and taste, delivering a warm, crusty loaf that will fill your home with an irresistible aroma and your belly with pure satisfaction. Whether you're a seasoned baker looking for an easy weeknight option or a complete novice eager to dip your toes into the world of bread making, this bread in a bag recipe is your perfect starting point. So grab a bag, gather your ingredients, and get ready to experience the simple joy of baking your very own loaf. Happy baking!
FAQs
Can I use instant yeast instead of active dry yeast for this bread in a bag recipe?
Yes, you can! If using instant yeast for this bread in a bag recipe, you can skip the activation step. Simply add it directly to the flour and other dry ingredients, then proceed with adding the warm water and olive oil. The rise times might be slightly shorter with instant yeast.
How do I know if my bread in a bag recipe dough has risen enough?
For the first rise in the bag, the dough should roughly double in size. For the second rise on the baking sheet, it should look visibly puffy and airy. A good test is the 'poke test': gently press two fingers into the dough; if the indentations slowly spring back but don't completely disappear, it's ready.
What if my bread in a bag recipe loaf doesn't rise?
The most common reasons for a lack of rise in a bread in a bag recipe are inactive yeast (water too hot or too cold, or old yeast), too much flour making the dough too stiff, or the dough not being in a warm enough environment to rise. Double-check your yeast's expiration date and water temperature, and ensure your kitchen isn't too chilly.
Can I add seeds or nuts to this bread in a bag recipe?
Absolutely! This bread in a bag recipe is very adaptable. You can add up to 1/2 cup of seeds (like sesame, poppy, or sunflower) or chopped nuts (walnuts, pecans) during Step 3, along with the final addition of flour. This adds wonderful texture and flavor to your homemade loaf.
Easy No-Knead Bread in a Bag Recipe
Discover the magic of baking fresh, homemade bread with this incredibly simple, no-knead bread in a bag recipe. Perfect for beginners, this method eliminates mess and complexity, yielding a delicious, crusty loaf every time. Experience the joy of baking with minimal effort and maximum flavor!
- Total Time: 1 hour 45 minutes
- Yield: 1 large loaf (12-16 slices) 1x
Ingredients
1 ½ cups (360ml) warm water (105-115°F / 40-46°C)
1 packet (2 ¼ teaspoons) active dry yeast
2 tablespoons granulated sugar
1 teaspoon salt
4 ½ - 5 cups (540-600g) all-purpose flour, plus more for dusting
2 tablespoons olive oil, plus more for greasing
Instructions
Step 1: In a large, sturdy 1-gallon zip-top bag, combine the warm water, active dry yeast, and granulated sugar. Gently shake the bag to mix, then let it sit for 5-10 minutes. The mixture should become foamy, indicating the yeast is active.
Step 2: Add the salt and half of the all-purpose flour (about 2 cups) to the bag. Seal the bag, pressing out as much air as possible, then gently mix by squeezing and kneading the bag with your hands until the flour is mostly incorporated.
Step 3: Open the bag and add the remaining flour (2 to 2.5 cups), one cup at a time, mixing after each addition until a shaggy, soft dough forms. You might not need all of the flour; the dough should be slightly sticky but manageable. Do not overmix.
Step 4: Add the olive oil to the bag. Reseal, pressing out air, and continue to gently knead the dough in the bag for about 5-7 minutes. The dough should become smoother and more elastic.
Step 5: Lightly grease the inside of the bag with a little extra olive oil, ensuring the dough is coated. Seal the bag again, leaving some room for expansion. Place the bag in a warm spot and let the dough rise until doubled in size, about 1-1.5 hours, depending on the temperature of your kitchen.
Step 6: Once doubled, gently punch down the dough inside the bag to release the air. Turn the dough out onto a lightly floured surface. Shape it into a round or oblong loaf.
Step 7: Lightly grease a baking sheet or line with parchment paper. Place the shaped dough on the prepared sheet. Cover loosely with plastic wrap or a clean kitchen towel and let it rise for a second time, about 30-45 minutes, or until noticeably puffy. Preheat your oven to 375°F (190°C) during the last 15 minutes of this rise.
Step 8: Just before baking, you can lightly brush the top of the loaf with water or an egg wash for a crispier or shinier crust, respectively. You can also make a few shallow slashes across the top with a sharp knife or bread lame.
Step 9: Bake for 25-35 minutes, or until the crust is golden brown and the internal temperature reaches 200-210°F (93-99°C). If the top is browning too quickly, you can loosely tent it with aluminum foil.
Step 10: Remove the bread from the oven and transfer it to a wire rack to cool completely before slicing. This allows the internal structure to set and prevents a gummy texture.
Notes
For best results, ensure your yeast is fresh and your water is at the correct temperature. Avoid adding too much flour, as this can make the bread dense. The dough should be slightly sticky before the first rise. Store leftover bread at room temperature in an airtight container for up to 3 days, or freeze for longer storage.
- Prep Time: 15 minutes
- Cook Time: 30 minutes
- Category: Desserts & Baking
- Cuisine: American
Nutrition
- Serving Size: 1 slice (approx. 60g)
- Calories: 250 kcal
- Sugar: 2g
- Sodium: 320mg
- Fat: 3g
- Saturated Fat: 0.5g
- Unsaturated Fat: 2.5g
- Trans Fat: 0g
- Carbohydrates: 48g
- Fiber: 2g
- Protein: 8g
- Cholesterol: 0mg
Leave a Reply