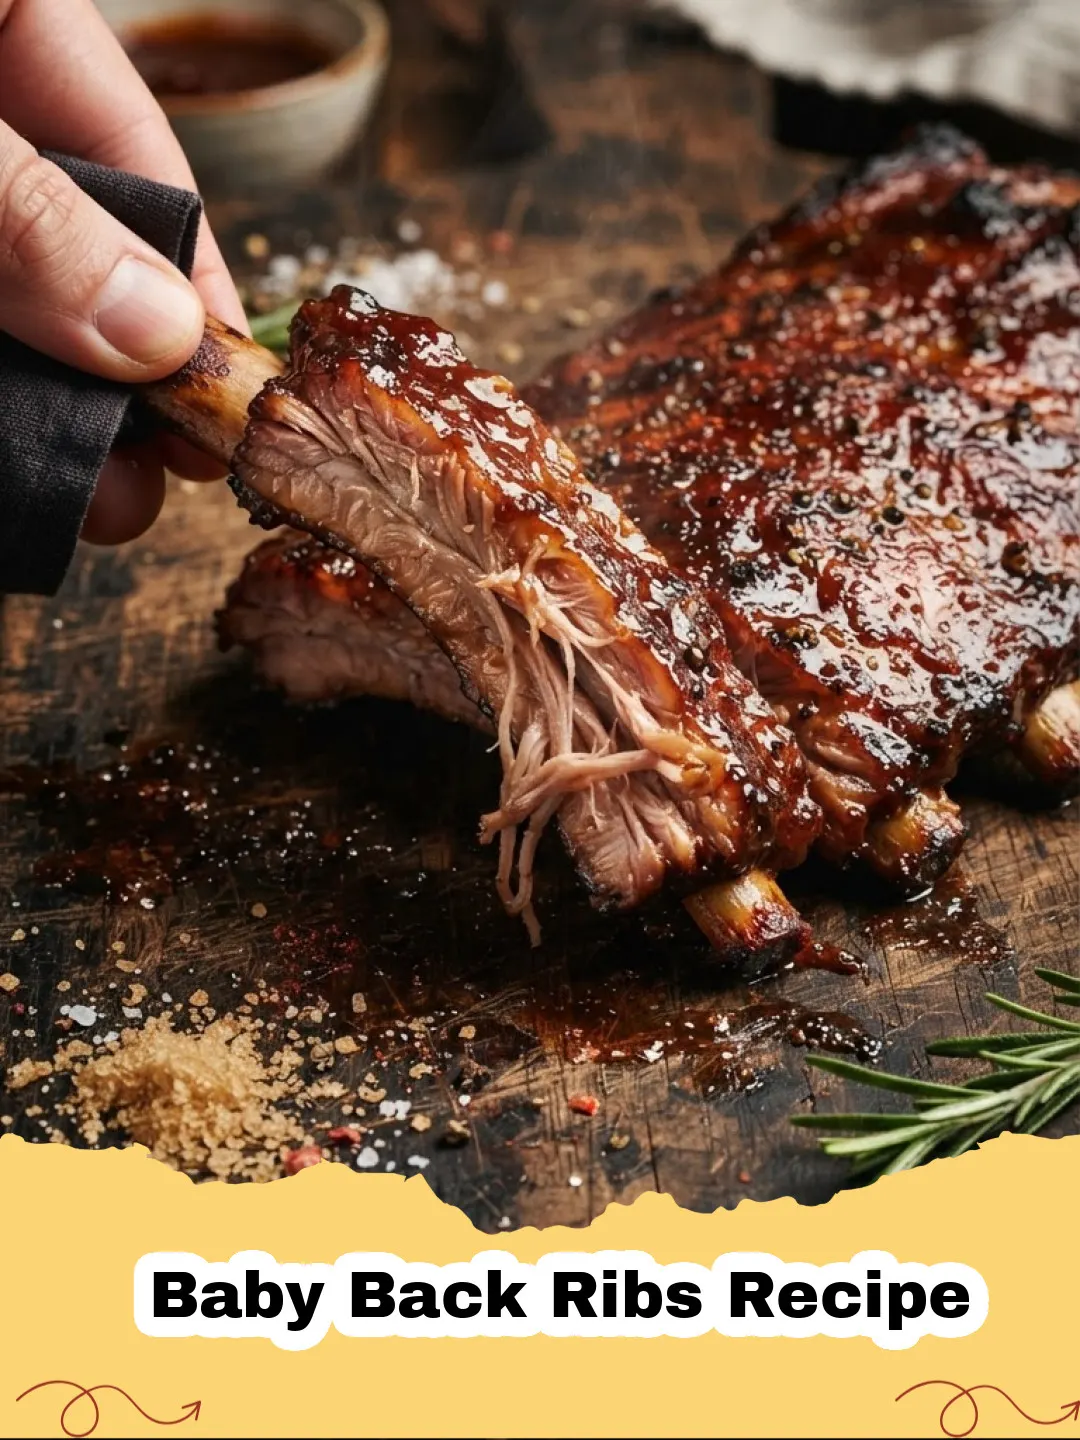
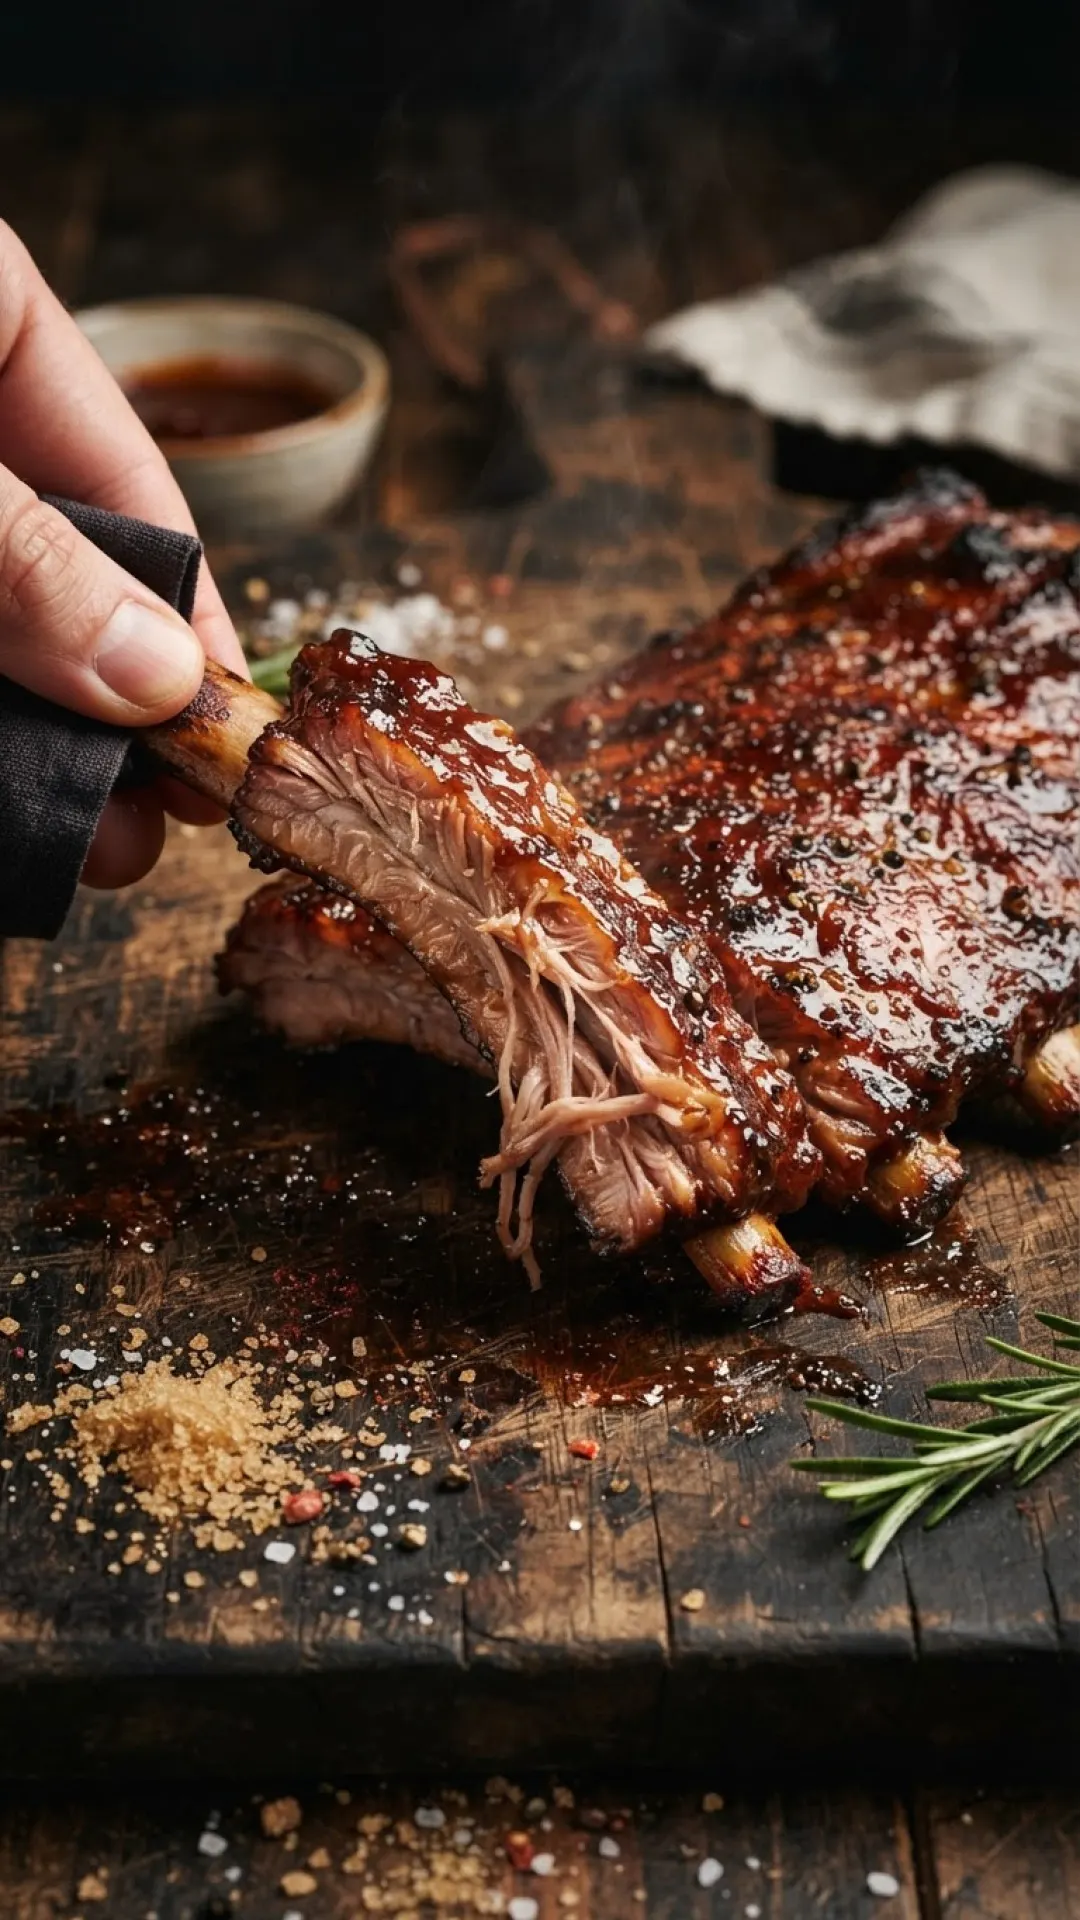
There’s a certain magic that happens when you bite into a perfectly cooked rib – that tender, smoky, sweet-and-savory goodness that just melts in your mouth. For years, the idea of making a restaurant-quality Baby Back Ribs Recipe at home felt like an insurmountable challenge, relegated to the realm of seasoned pitmasters with fancy smokers. I remember one disastrous attempt where I ended up with dry, chewy ribs that tasted more like leather than a labor of love. My family, bless their hearts, tried to be polite, but the silence at the dinner table spoke volumes. It was a low point in my culinary journey. But I’m not one to back down from a challenge, especially when it involves delicious food. After countless experiments, tweaks, and a whole lot of patience, I finally cracked the code to making the most incredible, fall-off-the-bone baby back ribs right in my own kitchen oven. This isn't just any Baby Back Ribs Recipe; it’s the culmination of persistence, passion, and a desire to bring that ultimate BBQ experience home without the need for a huge smoker. And trust me, it’s going to be a game-changer for your next family dinner or backyard bash!
Why This Baby Back Ribs Recipe is a Must-Try
- Unbelievable Tenderness: We’re talking ribs that literally fall off the bone with the gentlest pull, thanks to a low and slow cooking method.
- Explosion of Flavor: A homemade dry rub infused with a perfect balance of sweet, smoky, and savory spices, complemented by a luscious BBQ glaze. This Baby Back Ribs Recipe delivers on taste!
- Foolproof & Accessible: No smoker? No problem! This recipe utilizes your oven for consistent, mouthwatering results, making it approachable for home cooks of all skill levels.
- Crowd-Pleasing Perfection: Whether it’s a casual weeknight dinner or a special gathering, these ribs are guaranteed to be the star of the show and leave everyone asking for seconds.
Key Ingredient Notes for Your Baby Back Ribs Recipe
While the process is straightforward, the quality and preparation of a few key ingredients are crucial for the success of this Baby Back Ribs Recipe.
The Baby Back Ribs Themselves
Firstly, choose good quality baby back ribs. Look for racks that are meaty with a good amount of marbling throughout the lean portions. This marbling will render during the slow cooking process, contributing to moisture and flavor. One of the most important steps, often overlooked, is removing the membrane from the back of the ribs. This thin, silverskin layer doesn't break down during cooking and can make the ribs tough and less enjoyable to eat. Simply slide a knife under one edge, grip it with a paper towel for leverage, and peel it off. It might take a little effort, but it's worth it for tender results.
The Homemade Dry Rub
The dry rub is the soul of this Baby Back Ribs Recipe, infusing the pork with layers of flavor before it even hits the oven. While store-bought rubs can work in a pinch, making your own allows you to control the flavor profile and avoid unwanted additives. Our rub combines brown sugar for sweetness and caramelization, paprika for color and mild flavor, garlic powder and onion powder for aromatic depth, chili powder for a hint of warmth, and of course, salt and black pepper. Don't be shy when applying the rub – coat the ribs generously on all sides, massaging it in to ensure every inch is seasoned.
The BBQ Sauce
The finishing glaze brings everything together. You can use your favorite store-bought BBQ sauce, but I highly recommend elevating it by simmering it with a splash of apple cider vinegar, a touch more brown sugar, and maybe even a dash of Worcestershire sauce or liquid smoke to deepen its complexity. Alternatively, a homemade BBQ sauce allows for complete customization. The key is to have a sauce that is thick enough to cling to the ribs and caramelize beautifully under the broiler, creating that irresistible sticky-sweet crust that makes a great Baby Back Ribs Recipe truly unforgettable.
Step-by-Step Guide with Pro Tips for this Baby Back Ribs Recipe
Step 1: Prepare Your Ribs
Begin by patting your baby back ribs dry with paper towels. This helps the rub adhere better. As mentioned, the most critical prep step is to remove the tough, opaque membrane from the boney side of each rack. Slide a butter knife or a small spoon handle under the membrane at one end of the rack. Once you get a grip, use a paper towel to hold it firmly and pull it off. If it tears, just repeat the process until it's completely removed.
Step 2: Apply the Dry Rub
In a small bowl, combine all the dry rub ingredients: brown sugar, paprika, garlic powder, onion powder, chili powder, salt, and black pepper. Mix thoroughly. Generously sprinkle and rub this mixture all over both sides of the ribs, massaging it in gently. Don't skimp on the rub; it’s essential for flavor. Let the seasoned ribs sit at room temperature for about 30 minutes, or cover and refrigerate for at least 2 hours (or overnight) to allow the flavors to meld. This step is key to a truly flavorful Baby Back Ribs Recipe.
Step 3: Preheat Oven & Prepare for Baking
Preheat your oven to 275°F (135°C). Tear off two large sheets of heavy-duty aluminum foil for each rack of ribs. Lay one sheet down, then place the other on top perpendicular to the first, creating a cross. Place a rack of seasoned ribs in the center, meat-side up. Tightly seal the foil around the ribs, creating a snug package. This traps moisture and steam, ensuring the ribs become incredibly tender. Place the foil-wrapped ribs on a baking sheet. This makes for easy cleanup and prevents any leaks.
Step 4: Slow Cook for Tenderness
Bake the ribs in the preheated oven for 2.5 to 3 hours, depending on the thickness of your racks. The goal is for them to be extremely tender. You should be able to gently twist a bone and feel it loosen easily. This low and slow cooking method is the secret to a fall-off-the-bone Baby Back Ribs Recipe.
Step 5: Prepare Your BBQ Sauce
While the ribs are cooking, prepare your BBQ sauce. In a small saucepan, combine your favorite store-bought BBQ sauce with apple cider vinegar, extra brown sugar (if desired), and any other seasonings like Worcestershire sauce or liquid smoke. Simmer over low heat for 10-15 minutes, stirring occasionally, until slightly thickened and flavors have melded. Set aside.
Step 6: Glaze & Finish
Once the ribs are tender, carefully remove them from the oven and unwrap the foil. Be cautious of the hot steam! Drain off any accumulated liquid from the foil package. Increase the oven temperature to 400°F (200°C) or set your broiler to high. Place the unwrapped ribs directly on the baking sheet, meat-side up. Brush a generous layer of your prepared BBQ sauce over the top of the ribs. Return them to the oven or broiler for 10-15 minutes, or until the sauce is caramelized and slightly sticky. Watch them closely to prevent burning. You can brush with more sauce halfway through if you like a thicker glaze. This step elevates the flavor and appearance of this incredible Baby Back Ribs Recipe.
Step 7: Rest & Serve
Once glazed and beautifully caramelized, remove the ribs from the oven. Tent them loosely with foil and let them rest for 10-15 minutes before slicing. This resting period allows the juices to redistribute, ensuring every bite is succulent and flavorful. After resting, slice the ribs between the bones and serve immediately. Leftovers, if any, can be stored in airtight Basics Glass Food Storage containers for a few days in the refrigerator.
Variations & Serving Suggestions for Your Baby Back Ribs Recipe
Spice It Up!
If you love a little heat, add a teaspoon of cayenne pepper or a pinch of red pepper flakes to your dry rub. You can also mix some hot sauce into your BBQ glaze for an extra kick. This simple modification can transform your Baby Back Ribs Recipe into a spicy delight.
Smoked Flavor Boost
While this recipe is designed for the oven, you can easily impart a smoky flavor. A few drops of liquid smoke added to the foil package before baking, or mixed into your BBQ sauce, can make a significant difference. For those with a smoker, consider finishing the ribs on the smoker for the last hour instead of the oven, or even cooking them entirely in a smoker using a similar low-and-slow method. If you're a fan of smoked meats, you might also love our The Ultimate Smoked & Sweet BBQ Burnt Ends Recipe: A Guide to Melt-in-Your-Mouth Perfection!
Alternative Sauces
Don't limit yourself to traditional BBQ sauce! Experiment with different flavor profiles. A tangy Carolina mustard-based sauce, a sweet and spicy Asian-inspired glaze (with soy sauce, ginger, and garlic), or even a vibrant fruit-based BBQ sauce can offer a unique twist to this classic Baby Back Ribs Recipe.
Perfect Pairings
These baby back ribs are fantastic with classic BBQ sides. Think creamy coleslaw, sweet corn on the cob, fluffy cornbread, baked beans, or a hearty potato salad. For something lighter, a simple green salad with a vinaigrette can balance the richness of the ribs. Don't forget a refreshing drink like iced tea or a cold beer to complete the meal.
Nutrition Information
| Nutrient | Amount |
|---|---|
| Calories | 650 kcal |
| Carbohydrate Content | 35g |
| Cholesterol Content | 150mg |
| Fat Content | 40g |
| Fiber Content | 2g |
| Protein Content | 40g |
| Saturated Fat Content | 15g |
| Serving Size | 1/2 rack |
| Sodium Content | 800mg |
| Sugar Content | 25g |
| Trans Fat Content | 0.5g |
| Unsaturated Fat Content | 20g |
(Nutritional values are estimates and may vary based on specific ingredients and preparation methods.)
Conclusion
And there you have it – a perfectly tender, incredibly flavorful Baby Back Ribs Recipe that will have your family and friends raving! Forget the intimidation; with this foolproof oven method, you can achieve BBQ perfection right in your own kitchen. The joy of pulling apart those juicy ribs, glistening with caramelized sauce, is an experience that every home cook deserves. So, gather your ingredients, fire up that oven, and get ready to impress with this delicious dish. You'll wonder why you ever thought ribs were only for restaurants. Enjoy every mouthwatering bite! If you're looking for more comforting and flavourful main dishes, make sure to check out our The Ultimate Homestyle Chop Suey Recipe: A Taste of Nostalgia too!
FAQs
How do I remove the membrane from baby back ribs?
To remove the membrane, slide a butter knife or a small spoon handle under the membrane at one end of the rack, on the bone-side. Once you get a good grip, use a paper towel to hold it firmly and pull it off in one piece. If it tears, just repeat the process until it's completely removed. This step is crucial for tender ribs.
How long does it take to cook baby back ribs in the oven?
For this Baby Back Ribs Recipe, cooking in a 275u00b0F (135u00b0C) oven, tightly wrapped in foil, typically takes about 2.5 to 3 hours. The ribs are done when they are extremely tender, and you can easily twist a bone to feel it loosen from the meat.
Can I make baby back ribs ahead of time?
Yes, you can prepare the dry rub and apply it to the ribs up to 24 hours in advance, storing them covered in the refrigerator. You can also fully cook the ribs up to the foil-baking step, then refrigerate. Reheat, glaze, and finish under the broiler when ready to serve. Leftover cooked ribs can be stored in an airtight container for 3-4 days.
What are good side dishes to serve with baby back ribs?
Classic side dishes that pair wonderfully with this Baby Back Ribs Recipe include creamy coleslaw, fluffy cornbread, baked beans, potato salad, macaroni and cheese, or grilled corn on the cob. A fresh green salad can also provide a nice balance to the richness of the ribs.
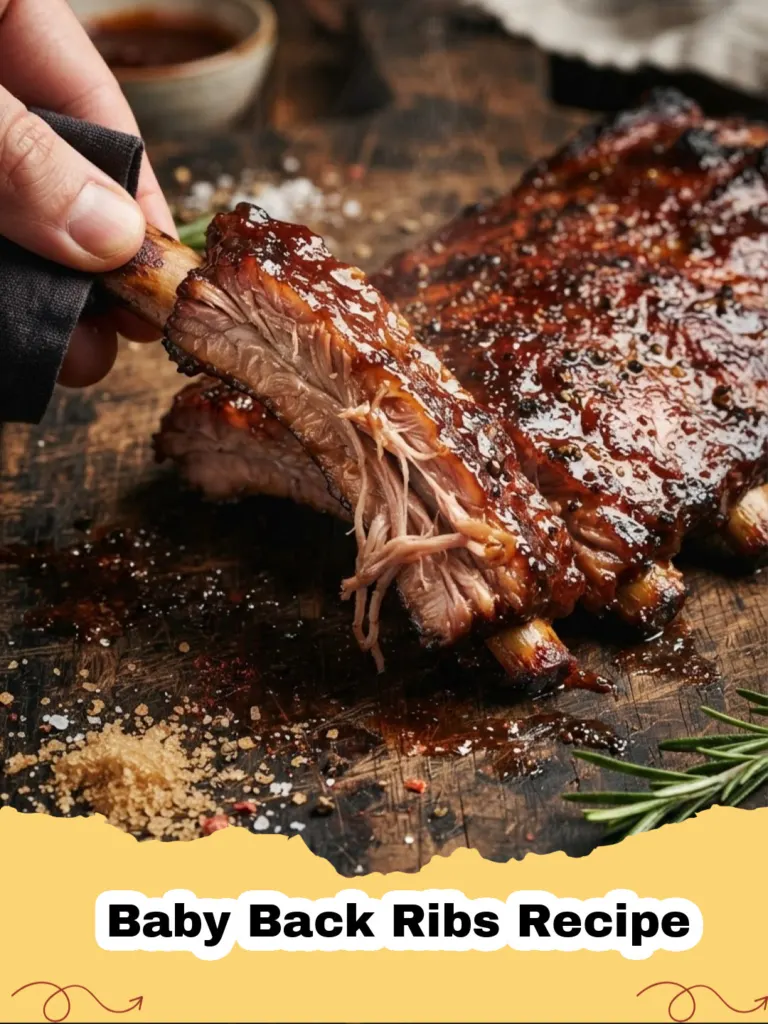
The Ultimate Oven-Baked Baby Back Ribs
A foolproof, incredibly tender, and flavorful Baby Back Ribs Recipe that creates fall-off-the-bone ribs right in your oven, perfect for any occasion.
- Total Time: 3 hours 20 minutes
- Yield: 4-6 servings 1x
Ingredients
2 racks baby back ribs (about 2-3 lbs each)
1/2 cup brown sugar, packed
2 tablespoons paprika
1 tablespoon garlic powder
1 tablespoon onion powder
1 teaspoon chili powder (optional, for a kick)
1 teaspoon black pepper
1 teaspoon salt
1 1/2 cups your favorite BBQ sauce
2 tablespoons apple cider vinegar
1 tablespoon brown sugar (for sauce, optional)
1 teaspoon Worcestershire sauce (optional)
Instructions
Step 1: Prepare Your Ribs. Pat the baby back ribs dry with paper towels. Carefully remove the thin membrane from the bone-side of each rack. Slide a knife or spoon handle under one edge, then grip with a paper towel and pull it off. Repeat if necessary.
Step 2: Apply the Dry Rub. In a small bowl, combine 1/2 cup brown sugar, paprika, garlic powder, onion powder, chili powder (if using), black pepper, and salt. Mix well. Generously rub this mixture all over both sides of the ribs, massaging it into the meat. Let the seasoned ribs sit at room temperature for 30 minutes, or cover and refrigerate for 2-8 hours.
Step 3: Preheat Oven & Prepare for Baking. Preheat your oven to 275°F (135°C). Lay out two large sheets of heavy-duty aluminum foil for each rack of ribs, perpendicular to each other, to create a cross. Place one rack of seasoned ribs in the center, meat-side up. Tightly seal the foil around the ribs, creating a secure package. Place the foil-wrapped ribs on a baking sheet.
Step 4: Slow Cook for Tenderness. Bake the ribs in the preheated oven for 2.5 to 3 hours, or until they are extremely tender and the bones feel loose when gently twisted.
Step 5: Prepare Your BBQ Sauce. While the ribs are cooking, prepare your BBQ sauce. In a small saucepan, combine your favorite BBQ sauce, apple cider vinegar, 1 tablespoon brown sugar (if using), and Worcestershire sauce (if using). Simmer over low heat for 10-15 minutes, stirring occasionally, until slightly thickened. Set aside.
Step 6: Glaze & Finish. Carefully remove the ribs from the oven and unwrap the foil (beware of hot steam!). Drain off any liquid from the foil. Increase the oven temperature to 400°F (200°C) or set your broiler to high. Place the unwrapped ribs directly on the baking sheet, meat-side up. Brush a generous layer of the prepared BBQ sauce over the top of the ribs. Return them to the oven or broiler for 10-15 minutes, or until the sauce is caramelized and sticky. Watch closely to prevent burning.
Step 7: Rest & Serve. Once glazed and caramelized, remove the ribs from the oven. Tent them loosely with foil and let them rest for 10-15 minutes before slicing. This allows the juices to redistribute. Slice the ribs between the bones and serve immediately with your favorite sides.
Notes
For the best results, always remove the membrane from the back of the ribs. If you don't have heavy-duty foil, use a double layer of regular foil. Leftover ribs can be stored in the refrigerator for up to 3-4 days and reheated gently in the oven or on the grill. For an extra smoky flavor, add a teaspoon of liquid smoke to your BBQ sauce.
- Prep Time: 20 minutes
- Cook Time: 3 hours
- Category: Main Dishes & Savory Recipes
- Cuisine: American, BBQ
Nutrition
- Serving Size: 1/2 rack
- Calories: 650 kcal
- Sugar: 25g
- Sodium: 800mg
- Fat: 40g
- Saturated Fat: 15g
- Unsaturated Fat: 20g
- Trans Fat: 0.5g
- Carbohydrates: 35g
- Fiber: 2g
- Protein: 40g
- Cholesterol: 150mg