
Mastering the classic spring roll recipe was a journey that took me straight back to my grandmother's kitchen, a tiny space brimming with love, laughter, and the most incredible food. I must have been about eight years old, perched on a stool, watching her nimble fingers artfully wrap what seemed like a hundred delicate parcels of savory goodness. She’d meticulously prepare the filling, a fragrant blend of pork, vegetables, and secret spices, before demonstrating the perfect technique for folding. That first bite of a crispy, golden spring roll – still warm from the oil, the filling bursting with flavor – was pure magic. It wasn't just a snack; it was an experience, a connection to our heritage, a taste of home. For years after, I tried to recreate that magic, often falling short. My wrappers would tear, the filling would be bland, or they'd turn out soggy instead of gloriously crispy. It was a frustrating journey, filled with many attempts that just didn't quite hit the mark. The perfect texture and the authentic taste seemed elusive, but I was determined to conquer this iconic dish. Through patience, countless trials, and my grandmother's gentle guidance (and a few invaluable secret tips!), I finally cracked the code. This comprehensive spring roll recipe isn't just about ingredients and steps; it's about rekindling those cherished memories, about bringing that authentic taste and texture into your own home. It’s a labor of love, yes, but one that is incredibly rewarding and utterly delicious. Today, I'm thrilled to share *the* spring roll recipe that transports me back to those nostalgic moments, promising you that same golden crispness and flavorful filling that made my childhood so wonderfully delicious. Get ready to impress yourself and everyone you share these with!
Why This Spring Roll Recipe is a Must-Try
- Authentic Flavor Profile: This spring roll recipe delivers a taste that is deeply rooted in tradition, balancing savory meats, fresh vegetables, and aromatic seasonings for an unmistakable, authentic Asian flavor. It’s far superior to any store-bought version.
- Guaranteed Golden Crispiness: We’ll walk you through the precise steps and pro tips to ensure your spring rolls come out perfectly golden and irresistibly crispy every single time. Say goodbye to soggy rolls forever!
- Surprisingly Versatile: While we focus on a classic pork filling, this base spring roll recipe is incredibly adaptable. You can easily customize the protein and vegetables to suit your dietary preferences or what you have on hand. It's truly a recipe for everyone.
- Impressive Appetizer or Main: Whether you're hosting a dinner party, planning a potluck, or simply looking for a delightful family meal, these homemade spring rolls are sure to be a showstopper. Everyone will be asking for your spring roll recipe!
Key Ingredient Notes for Your Perfect Spring Roll Recipe
The success of any great dish, and especially a stellar spring roll recipe, often boils down to understanding its core ingredients. Here are a few key components that make all the difference:
Choosing the Right Wrappers
Not all wrappers are created equal, and this is perhaps the most crucial distinction for a crispy fried spring roll. For this spring roll recipe, you’ll want to look for thin, square, wheat-based wrappers, often labeled as "spring roll pastry," "egg roll wrappers," or specifically "spring roll wrappers." These are typically found in the freezer section of Asian supermarkets. They are distinctly different from the translucent, brittle rice paper wrappers used for fresh (non-fried) spring rolls. Wheat-based wrappers fry up beautifully, yielding that characteristic golden-brown, bubbly crispness. Remember to thaw them completely in the refrigerator overnight or at room temperature for a few hours before use. Once opened, keep the unused wrappers covered with a damp cloth or plastic wrap while you're working to prevent them from drying out, which makes them brittle and prone to tearing.
The Essential Wood Ear Mushrooms & Glass Noodles
These two ingredients are the unsung heroes of many traditional Asian fillings, including this fantastic spring roll recipe. Wood ear mushrooms, with their unique slightly chewy, crunchy texture, add a wonderful depth and mouthfeel that you can't quite replicate with other ingredients. Glass noodles (also known as cellophane noodles or mung bean vermicelli) absorb the flavors of the other ingredients beautifully and contribute to the spring roll’s pleasant interior texture without adding a strong flavor of their own. Both are typically sold dried and require rehydration in warm water until pliable. Once rehydrated, remember to chop the wood ear mushrooms finely and snip the glass noodles into shorter pieces (about 1-2 inches) with kitchen shears to make them easier to mix and eat within the roll. Don't skip these for an authentic experience!
Understanding Your Protein: Ground Pork and Beyond
While this particular spring roll recipe highlights ground pork for its rich flavor and succulent texture, it's good to know you have options. Ground pork provides a traditional, hearty base that complements the other filling ingredients perfectly. When selecting pork, a good balance of lean meat and a little fat will yield the most flavorful and moist filling. However, if you prefer, you can easily substitute with ground chicken or turkey for a lighter option, or even finely minced shrimp for a seafood twist. For those seeking a plant-based alternative, crumbled firm tofu or tempeh, thoroughly pressed to remove excess moisture and sautéed for a few minutes before mixing, can work wonderfully. The key is to ensure your chosen protein is finely minced or crumbled for even cooking and distribution throughout the spring roll filling. No matter your choice, this spring roll recipe will shine!
Step-by-Step Guide with Pro Tips for Your Crispy Spring Roll Recipe
Creating perfect spring rolls is an art, but with these detailed steps and pro tips, you'll master this incredible spring roll recipe in no time!
- Step 1: Prepare the filling. In a very large mixing bowl, combine the ground pork, finely shredded cabbage, shredded carrots, rehydrated and chopped wood ear mushrooms, rehydrated and snipped glass noodles, finely minced onion, and minced garlic. Ensure all vegetables are well-drained to prevent a watery filling.
- Step 2: Season the filling generously. Add the fish sauce, sugar, and black pepper to the mixture. Crack in the beaten large egg, which acts as a binder. Using your hands (gloves recommended!), mix thoroughly until all ingredients are incredibly well combined and evenly distributed. This ensures every bite of your spring roll recipe is bursting with flavor. Pro Tip: Fry a small spoonful of the filling in a pan and taste it to adjust seasoning before wrapping.
- Step 3: Set up your wrapping station. Lay out a single spring roll wrapper on a clean, dry surface, orienting it so one corner points directly towards you, forming a diamond shape. Keep the remaining wrappers covered with a damp cloth or plastic wrap to prevent them from drying out and becoming brittle.
- Step 4: Place a portion of the filling. Spoon about 1.5 to 2 tablespoons of the prepared filling onto the wrapper, positioning it slightly below the center. Gently shape the filling into a neat, compact log. Avoid overfilling, as this can lead to torn wrappers.
- Step 5: Fold and roll with precision. First, fold the bottom corner of the wrapper up and over the filling, tucking it in snugly. Then, fold in the side corners towards the center, creating a neat envelope shape. Now, roll the wrapper tightly upwards from the bottom, maintaining a firm but gentle pressure, moving towards the top corner.
- Step 6: Seal the wrapper securely. Before you reach the very top corner of the diamond, brush that corner with a little egg wash (1 beaten egg mixed with 1 tablespoon of water). Continue rolling until sealed, forming a tight, uniform cylinder. A good seal is paramount for this spring roll recipe to prevent oil from seeping in and filling from escaping during frying.
- Step 7: Repeat the process diligently. Continue wrapping the remaining spring rolls until all the filling is used. As you finish each roll, place it on a baking sheet lined with parchment paper, ensuring they don't touch each other. This prevents them from sticking together.
- Step 8: Prepare for frying. In a deep pot or a large, heavy-bottomed wok, heat about 2-3 inches of vegetable oil to 350°F (175°C). Use a cooking thermometer to monitor the oil temperature accurately. Maintaining the correct temperature is vital for achieving that perfect crispiness in your spring roll recipe.
- Step 9: Fry the spring rolls to golden perfection. Carefully place a few spring rolls into the hot oil, being careful not to overcrowd the pot. Overcrowding will drop the oil temperature and lead to greasy, soggy rolls. Fry for 5-7 minutes, turning them occasionally to ensure even browning, until they are beautifully golden brown and crispy on all sides, and the filling is thoroughly cooked through.
- Step 10: Drain and serve hot. Using a slotted spoon or spider, remove the cooked spring rolls from the oil and transfer them to a wire rack set over paper towels. This allows excess oil to drain off, keeping them perfectly crisp. Repeat with the remaining spring rolls. Serve immediately while hot with your favorite dipping sauce. This spring roll recipe is best enjoyed fresh!
Variations & Serving Suggestions for Your Spring Roll Recipe
While the classic spring roll recipe we’ve outlined is a winner, don’t hesitate to get creative! Spring rolls are incredibly versatile and can be adapted to various tastes and occasions.
Creative Filling Variations
- Vegetarian/Vegan Delight: Easily transform this into a plant-based sensation! Replace the pork with crumbled firm tofu (ensure it's well-pressed to remove excess water), finely chopped mushrooms like shiitake or cremini, or a plant-based ground meat substitute. Adjust the seasonings, perhaps using soy sauce or tamari instead of fish sauce, and an arrowroot slurry or cornstarch mix instead of egg for binding and sealing. You can also add water chestnuts for extra crunch.
- Shrimp & Pork Combo: A truly classic and beloved combination! Add finely diced cooked shrimp to your pork filling for an extra layer of savory flavor and a delightful textural contrast. Ensure the shrimp is cooked through before mixing. This variation elevates any spring roll recipe.
- Spicy Kick: If you love a bit of heat, incorporate a pinch of red chili flakes, a dash of your favorite chili garlic sauce, or finely minced fresh chilies (like bird's eye chilies) into the filling mixture. Taste and adjust to your desired spice level.
- Chicken & Veggie: For a lighter option, use ground chicken. Combine it with finely shredded cabbage, carrots, bell peppers, and bean sprouts. A splash of sesame oil can enhance the flavor profile.
Perfect Dipping Companions
A great spring roll is always complemented by a fantastic dipping sauce. While traditional nuoc cham (Vietnamese dipping sauce) is often the go-to, here are a few other ideas:
- Sweet Chili Sauce: A widely popular choice, offering a perfect balance of sweet, tangy, and a hint of spice.
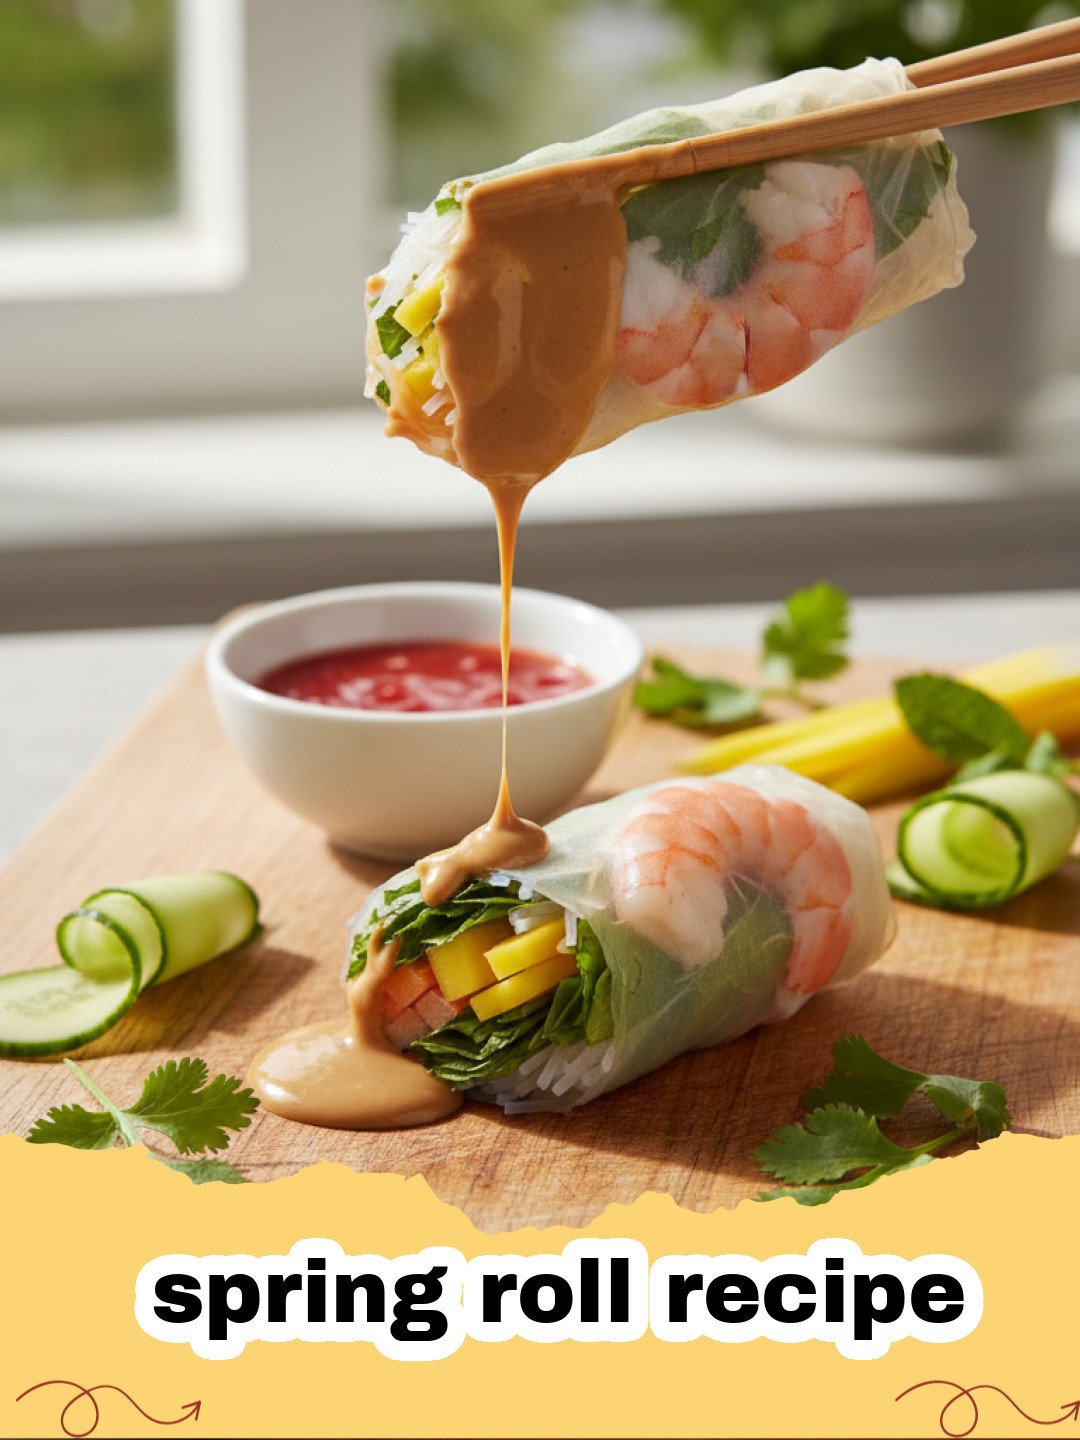
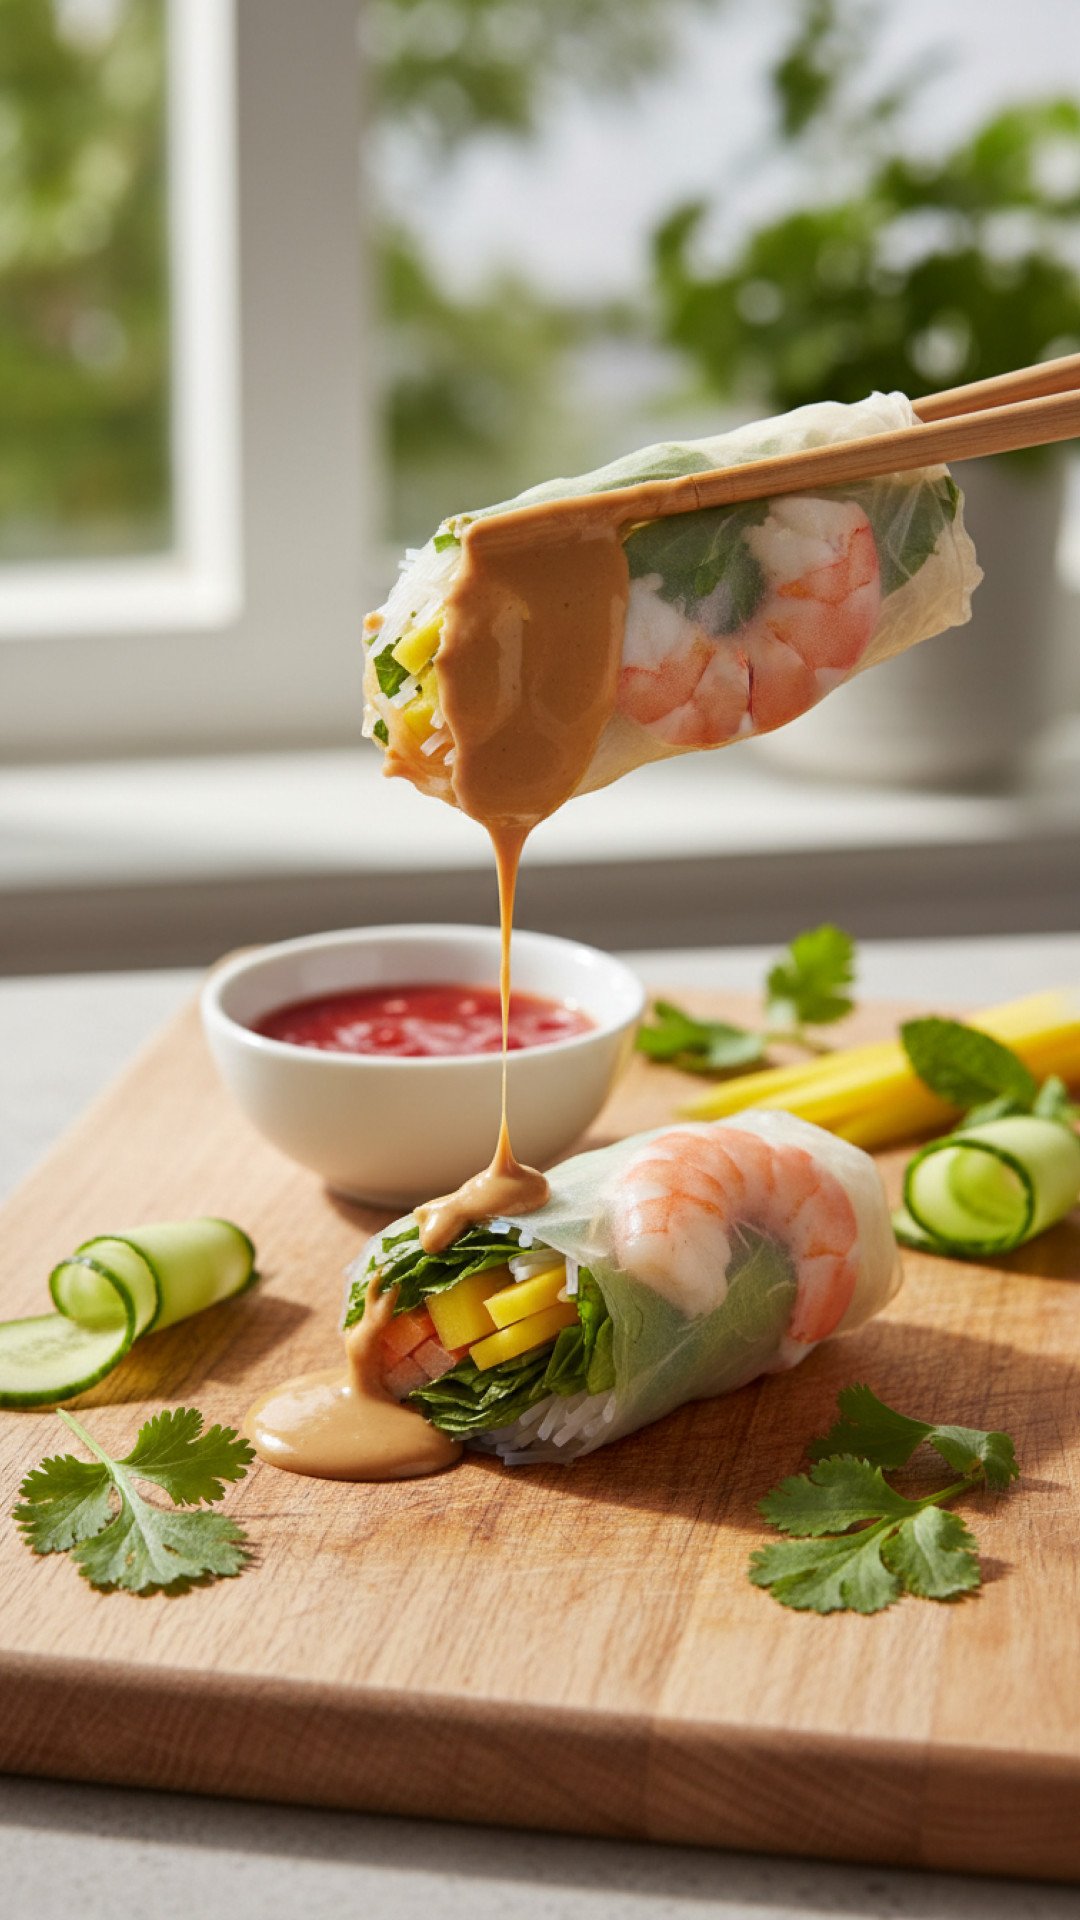
- Creamy Peanut Sauce: A rich, savory, and slightly sweet sauce that pairs wonderfully with the crispy exterior and flavorful filling.
- Soy-Ginger Dip: A simple mixture of soy sauce, grated fresh ginger, a touch of rice vinegar, and a drizzle of sesame oil for an umami-rich option.
Serving Suggestions
- Appetizer Extravaganza: Serve these crispy spring rolls as a show-stopping appetizer at your next gathering. Arrange them on a platter with small bowls of various dipping sauces for guests to choose from.
- Main Course Delight: Pair your spring rolls with a fresh green salad, a simple stir-fried noodle dish, or steamed rice for a complete and satisfying meal.
- Meal Prep Magic: This spring roll recipe is incredibly freezer-friendly! Prepare and wrap all the rolls, then arrange them in a single layer on a baking sheet and freeze until solid. Once frozen, transfer them to a freezer-safe bag or an airtight container like Basics Glass Food Storage for up to 3 months. Fry them directly from frozen, adding a few extra minutes to the cooking time, whenever a craving strikes!
Nutrition Information
| Nutrient | Amount per Serving (2 spring rolls) |
|---|---|
| Calories | 250 kcal |
| Carbohydrates | 25g |
| Cholesterol | 45mg |
| Fat | 12g |
| Fiber | 2g |
| Protein | 10g |
| Saturated Fat | 3g |
| Sodium | 350mg |
| Sugar | 3g |
| Trans Fat | 0g |
| Unsaturated Fat | 8g |
Conclusion
Making your own homemade spring rolls might seem like a project, but I promise you, the reward of biting into a perfectly crispy, flavorful roll you made yourself is incomparable. This spring roll recipe isn't just about creating food; it's about creating memories, sharing deliciousness, and perhaps even starting a new tradition in your own kitchen. There's a profound satisfaction in mastering a classic like this, and every golden, crunchy bite will remind you of your culinary achievement. Don't be afraid to experiment with fillings or sauces once you've got the basic techniques down, but always come back to the core principles of this classic spring roll recipe for consistent success. Sharing these homemade delights with friends and family is truly one of life's simple pleasures. For more delicious inspiration, make sure to check out Beyond the Wrap: Exploring Delicious & Versatile Rice Paper Recipes for other exciting Asian-inspired dishes or explore The Ultimate Guide to Fresh & Flavorful Homemade Spring Rolls if you're looking for an unfried alternative. Happy rolling, and enjoy every golden, crunchy bite of this incredible spring roll recipe!
FAQs
What's the secret to making crispy spring rolls with this recipe?
The key to crispy spring rolls lies in using the right type of wrapper (wheat-based spring roll pastry, not rice paper), frying at the correct oil temperature (350u00b0F / 175u00b0C), and not overcrowding the pan. For extra crispiness, you can even double-fry them: fry once until lightly golden, cool, then fry again just before serving until deep golden brown.
Can I prepare these spring rolls ahead of time and freeze them?
Yes, absolutely! This spring roll recipe is excellent for meal prep. After wrapping, arrange the uncooked rolls on a baking sheet and freeze until solid. Once frozen, transfer them to an airtight container or freezer bag. You can fry them directly from frozen, adding a few extra minutes to the cooking time to ensure they are cooked through and crispy.
What are some alternative filling options for this spring roll recipe?
This spring roll recipe is highly versatile! You can substitute ground pork with ground chicken, finely minced shrimp, or a combination of both. For vegetarian options, use crumbled firm tofu (well-pressed), finely chopped mushrooms, or a plant-based ground meat substitute, adjusting seasonings as needed. You can also add other vegetables like bean sprouts or water chestnuts.
My spring roll wrappers keep tearing. What am I doing wrong?
Tearing wrappers are a common issue! Ensure your wrappers are fully thawed but still slightly cool. It's crucial to keep them covered with a damp cloth or plastic wrap while you work, as they dry out quickly and become brittle. Also, avoid overfilling the rolls, and handle them gently when folding and rolling to prevent unnecessary stress on the wrapper.

Classic Crispy Homemade Spring Rolls
Discover the joy of making your own authentic and crispy spring rolls at home! This comprehensive spring roll recipe guides you through creating perfectly seasoned fillings, expertly wrapping, and achieving that irresistible golden crunch. Perfect for appetizers, parties, or a delightful main course.
- Total Time: 1 hour 5 minutes
- Yield: 20-25 spring rolls 1x
Ingredients
1 lb ground pork (or chicken/shrimp/tofu)
1 cup shredded cabbage
1 cup shredded carrots
1/2 cup chopped wood ear mushrooms (rehydrated)
1/4 cup chopped glass noodles (rehydrated and snipped)
1 small onion, finely minced
2 cloves garlic, minced
1 tbsp fish sauce
1 tsp sugar
1/2 tsp black pepper
1 large egg, beaten (for filling)
1 package (25-30 count) spring roll wrappers (e.g., TYJ brand)
Vegetable oil for deep frying
Egg wash (1 egg beaten with 1 tbsp water) for sealing
Instructions
Step 1: Prepare the filling. In a large bowl, combine the ground pork, shredded cabbage, shredded carrots, rehydrated wood ear mushrooms, rehydrated glass noodles, minced onion, and minced garlic.
Step 2: Season the filling. Add fish sauce, sugar, black pepper, and the beaten egg to the mixture. Mix thoroughly until all ingredients are well combined. It's crucial for this spring roll recipe that the seasoning is evenly distributed.
Step 3: Set up your wrapping station. Lay out a spring roll wrapper on a clean, dry surface with one corner pointing towards you, forming a diamond shape. Keep the remaining wrappers covered with a damp cloth to prevent drying.
Step 4: Place a portion of the filling. Spoon about 1.5 to 2 tablespoons of the filling onto the wrapper, slightly below the center. Shape it into a log.
Step 5: Fold and roll. Fold the bottom corner up over the filling, tucking it in snugly. Then, fold in the side corners towards the center. Roll the wrapper tightly upwards from the bottom, towards the top corner.
Step 6: Seal the wrapper. Before reaching the top corner, brush the top corner with a little egg wash. Continue rolling until sealed, forming a tight cylinder. This ensures a perfect seal for your spring roll recipe.
Step 7: Repeat the process. Continue wrapping the remaining spring rolls until all the filling is used. Place wrapped spring rolls on a baking sheet lined with parchment paper, ensuring they don't touch to prevent sticking.
Step 8: Prepare for frying. Heat about 2-3 inches of vegetable oil in a deep pot or wok to 350°F (175°C). Use a thermometer to maintain the correct temperature for this spring roll recipe.
Step 9: Fry the spring rolls. Carefully place a few spring rolls into the hot oil, ensuring not to overcrowd the pot. Fry for 5-7 minutes, turning occasionally, until golden brown and crispy on all sides, and the filling is cooked through.
Step 10: Drain and serve. Remove the cooked spring rolls with a slotted spoon and place them on a wire rack set over paper towels to drain excess oil. Repeat with the remaining spring rolls. Serve hot with your favorite dipping sauce.
Notes
For extra crispiness, you can double-fry the spring rolls: fry once for 3-4 minutes until lightly golden, remove and let cool completely, then fry again just before serving for 2-3 minutes until deep golden brown. This spring roll recipe works great for meal prep too; wrap and freeze uncooked rolls, then fry from frozen, adding a few extra minutes to cook time.
- Prep Time: 45 minutes
- Cook Time: 20 minutes
- Category: Main Dishes & Savory Recipes
- Cuisine: Vietnamese
Nutrition
- Serving Size: 2 spring rolls
- Calories: 250 kcal
- Sugar: 3g
- Sodium: 350mg
- Fat: 12g
- Saturated Fat: 3g
- Unsaturated Fat: 8g
- Trans Fat: 0g
- Carbohydrates: 25g
- Fiber: 2g
- Protein: 10g
- Cholesterol: 45mg
Leave a Reply