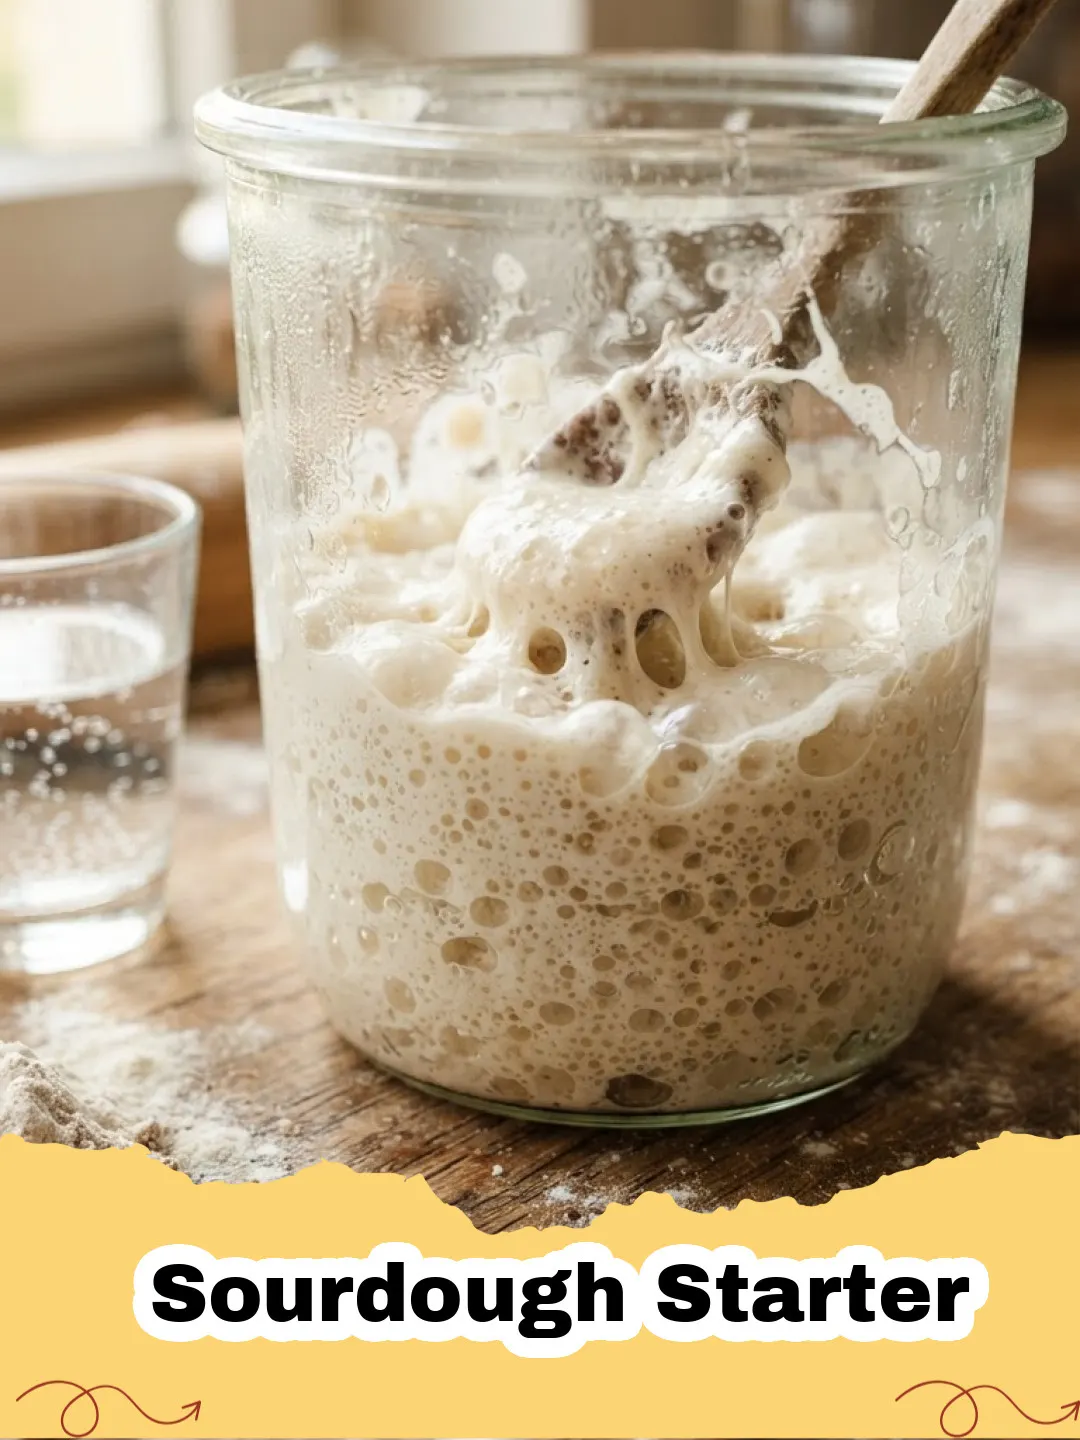
There’s something truly magical about baking with a Sourdough Focaccia made from your own Sourdough Starter. I remember the first time I ever encountered a Sourdough Starter. It was at a quaint little bakery during a college road trip, and the bread was unlike anything I’d tasted – complex, tangy, and with an incredible chew. It felt like a closely guarded secret, something only master bakers could achieve. Years later, armed with a newfound passion for home baking, I decided to demystify it for myself. The journey of creating my first Sourdough Starter felt like nurturing a living, breathing pet. It demanded patience, observation, and a little bit of faith. There were days of doubt when it seemed sluggish, and days of pure joy when it bubbled with life, ready to transform simple flour and water into something extraordinary. This humble jar of fermented goodness became a staple in my kitchen, a symbol of slow food and mindful creation. If you've ever dreamt of baking artisanal bread, bagels, or even pancakes with that signature tangy flavour, then embarking on the journey of creating your own Sourdough Starter is your first, most rewarding step.
Why This Recipe is a Must-Try
- Unleash Your Inner Artisan: Creating your own Sourdough Starter is the gateway to baking incredible, crusty loaves, soft bagels, and so much more, all with that coveted sourdough tang. It connects you to a timeless baking tradition.
- Control Over Ingredients: You know exactly what goes into your Sourdough Starter – just flour and water. No commercial yeast, no additives, just pure, natural fermentation.
- Economic and Sustainable: Once established, a Sourdough Starter can last indefinitely with proper care, saving you money on commercial yeast and reducing waste. It's a truly sustainable ingredient.
- Flavor Beyond Compare: The complex microbial activity in a Sourdough Starter develops unique flavour compounds that commercial yeast simply cannot replicate, giving your baked goods an unparalleled depth of taste.
Key Ingredient Notes
While the process of creating a Sourdough Starter is simple in terms of ingredients, the quality of those ingredients plays a crucial role in its success.
Flour
The type of flour you choose for your Sourdough Starter can significantly impact its activity and flavour profile. Many bakers swear by organic whole wheat flour for the initial stages. Why? Whole wheat flour contains more nutrients and a higher concentration of wild yeasts and bacteria on its bran, giving your Sourdough Starter a robust kickstart. After the initial few days, you can transition to unbleached all-purpose flour or bread flour for feedings. Unbleached flour is preferred because bleaching agents can sometimes inhibit microbial growth. Avoid bleached flours at all costs, especially when starting your Sourdough Starter.
Water
Tap water can contain chlorine or chloramines, which are added to kill bacteria – not exactly what we want when cultivating beneficial microbes for our Sourdough Starter! If your tap water is chlorinated, simply leave it out in an open container for 24 hours to allow the chlorine to dissipate. Alternatively, use filtered or spring water. Temperature is also important; aim for lukewarm water (around 70-80°F / 21-27°C) as it helps to encourage yeast activity without being too hot for the microbes.
Container
You'll need a non-reactive container for your Sourdough Starter. A glass jar, like these Basics Glass Food Storage containers, is ideal because you can easily observe the activity of your Sourdough Starter. Make sure it's large enough to accommodate the starter as it grows and bubbles – at least a quart (1-liter) capacity is recommended. It also needs a lid that can rest loosely or be covered with a cloth, allowing for gas exchange while preventing airborne contaminants.
Step-by-Step Guide with Pro Tips
Creating your first Sourdough Starter is a rewarding seven-day journey. Here's how to do it, day by day, with tips to ensure success for your active Sourdough Starter.
- Equipment Needed: Large glass jar (1-liter/quart capacity), kitchen scale, rubber spatula or spoon, loose-fitting lid or cloth.
Day 1: The Beginning
Step 1: In your clean glass jar, combine 50 grams of organic whole wheat flour and 50 grams of lukewarm filtered water. Mix thoroughly with a spatula until no dry clumps remain. It will be a thick paste. Cover loosely with a lid or a breathable cloth and let it sit at room temperature (ideally 70-75°F / 21-24°C) for 24 hours. This is the very first step to your thriving Sourdough Starter.
Day 2: First Signs of Life
Step 2: By now, you might see a few tiny bubbles, or perhaps nothing much has changed. Don't worry! This is normal. It's too early to feed your Sourdough Starter again. Simply give it a good stir, cover it loosely, and let it sit for another 24 hours at room temperature. The microbes are just waking up.
Day 3: The First Feeding
Step 3: You should start to see more activity today – perhaps more bubbles, a slightly sour smell, or even a little rise. Discard about half of your Sourdough Starter (you'll have roughly 50g left). Then, add 50 grams of organic whole wheat flour and 50 grams of lukewarm filtered water. Mix well until smooth. Cover loosely and let it sit for another 24 hours. Discarding ensures your starter has enough food and isn't overwhelmed by competing microbes.
Day 4: Growing Stronger
Step 4: Your Sourdough Starter should be showing noticeable signs of activity: more bubbles, a definite rise and fall, and a pleasant, yeasty-sour aroma. Repeat the feeding process: discard half (approx. 50g), then feed with 50 grams of whole wheat flour and 50 grams of lukewarm filtered water. Stir well, cover loosely, and let it rest for 24 hours. Consistency is key for a vigorous Sourdough Starter.
Day 5: Shifting to White Flour
Step 5: Today, your Sourdough Starter should be quite active! You should see it doubling in size within 6-12 hours after feeding, and it will be full of bubbles. Repeat the discard step (approx. 50g). Now, switch to feeding with 50 grams of unbleached all-purpose flour (or bread flour) and 50 grams of lukewarm filtered water. Mix, cover loosely, and let it sit for 24 hours. This helps transition your Sourdough Starter to a more stable maintenance flour.
Day 6: Peak Activity
Step 6: Your Sourdough Starter should be consistently active, doubling in size within 4-8 hours after feeding and showing a domed, bubbly top. It should smell pleasantly tangy, like ripe fruit or yogurt. Repeat the feeding: discard half (approx. 50g), then feed with 50 grams of unbleached all-purpose flour and 50 grams of lukewarm filtered water. Stir, cover loosely, and observe. This daily ritual strengthens your Sourdough Starter.
Day 7: Ready for Baking!
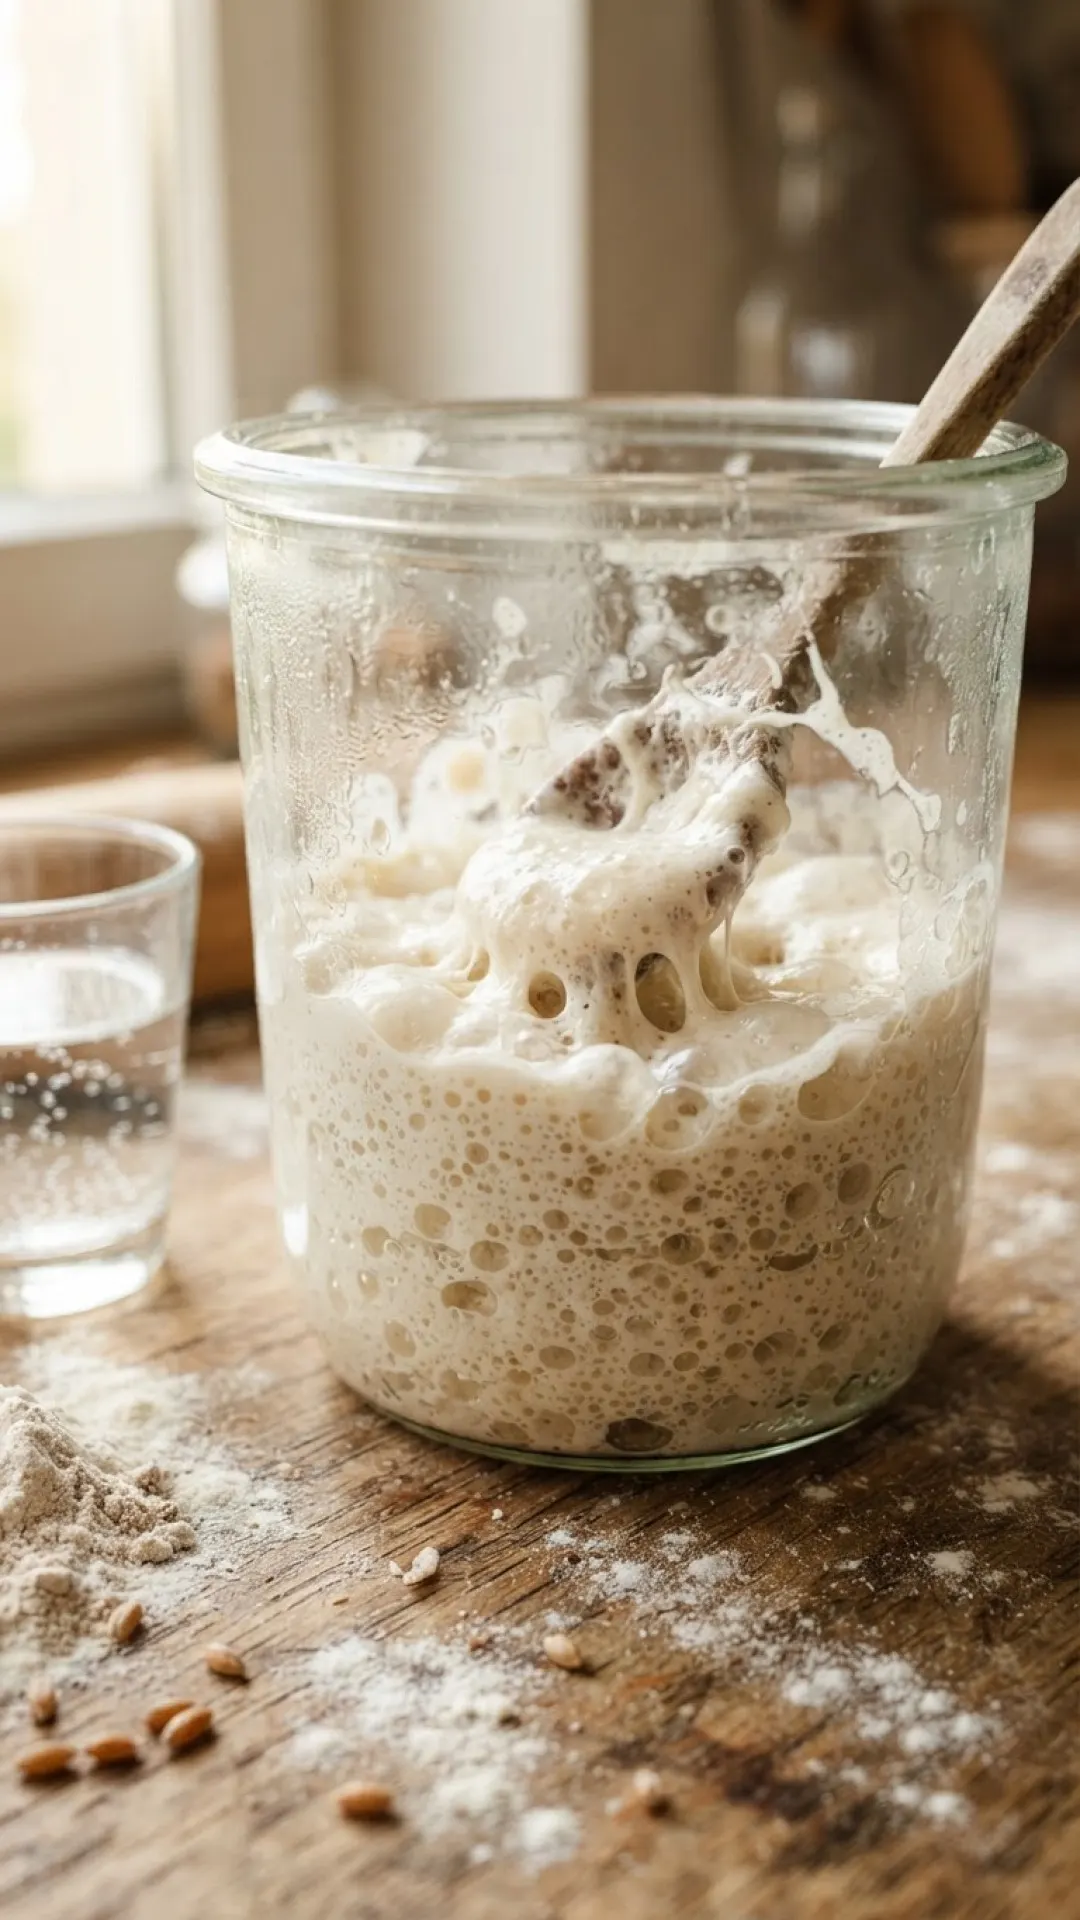
Step 7: Congratulations! Your Sourdough Starter should now be mature and ready for baking. It should consistently double (or even triple) in size within 4-8 hours after feeding, be full of large and small bubbles, and have a pleasant, active sour smell. To test if it's ready, drop a teaspoon of fed Sourdough Starter into a glass of water. If it floats, it's ready to bake with! If it sinks, it needs another feeding or two to strengthen. Maintain your Sourdough Starter with daily feedings if kept at room temperature, or weekly feedings if stored in the fridge.
Variations & Serving Suggestions
Your active Sourdough Starter is a versatile kitchen companion, not just for bread!
- Sourdough Discard Creations: Don't throw away that discarded Sourdough Starter! It's perfectly usable. Use it to make pancakes, waffles, crackers, muffins, or even a tangy pizza crust. There are endless recipes for Sourdough Starter discard that don't require it to be active.
- Different Flours: Once your Sourdough Starter is established, you can experiment with feeding it different flours to subtly change its flavour profile. Rye flour, spelt flour, or even a blend of bread flours can impart unique characteristics to your Sourdough Starter and subsequent bakes. Just make sure to transition gradually to avoid shocking your starter.
- Flavor Infusions: For a truly adventurous Sourdough Starter, some bakers infuse their feeding water with dried fruit purees (like apple or fig) for an initial boost or a unique flavour note, although this is more advanced. Stick to the basics first!
- Beyond Bread: While classic sourdough bread is the star, your Sourdough Starter can elevate so many recipes. Think tangy Sourdough cinnamon rolls, light-as-air Sourdough doughnuts, crispy fried chicken batter, or even a sourdough croissant. The possibilities are truly endless once you have a healthy Sourdough Starter.
Nutrition Information
Here's an estimated nutritional breakdown for a 100g serving of active Sourdough Starter, primarily made from unbleached all-purpose flour and water. These values are approximate and can vary based on flour type and hydration.
| Nutrient | Amount per 100g |
|---|---|
| Calories | 250 kcal |
| Carbohydrates | 52 g |
| Cholesterol | 0 mg |
| Total Fat | 1 g |
| Fiber | 2 g |
| Protein | 7 g |
| Saturated Fat | 0.2 g |
| Serving Size | 100 g |
| Sodium | 2 mg |
| Sugar | 0 g |
| Trans Fat | 0 g |
| Unsaturated Fat | 0.8 g |
Conclusion
Embarking on the journey of creating your own Sourdough Starter is more than just a recipe; it's an experience. It teaches patience, rewards consistency, and ultimately opens up a world of incredible baking. Each bubble, each rise, each tangy aroma is a testament to the vibrant life you've cultivated in your kitchen. From that first hesitant mix of flour and water to a bubbling, active Sourdough Starter ready to bake with, you'll feel a profound connection to the food you create. So, gather your simple ingredients, clear a spot on your counter, and get ready to welcome this amazing, living Sourdough Starter into your home. Happy baking!
FAQs
How long does it take to make an active Sourdough Starter from scratch?
Typically, it takes about 7 days to cultivate a robust and active Sourdough Starter from scratch. This involves daily feedings of flour and water, allowing the wild yeasts and bacteria to multiply and strengthen, leading to a consistently bubbly and tangy starter ready for baking.
What kind of flour is best for starting a Sourdough Starter?
For the initial days, organic whole wheat flour is highly recommended. It contains more nutrients and a higher concentration of wild yeasts and bacteria, which helps kickstart the fermentation process. After the first few days, you can transition to unbleached all-purpose flour or bread flour for ongoing feedings to maintain your Sourdough Starter.
How do I know if my Sourdough Starter is ready for baking?
An active Sourdough Starter will consistently double or even triple in size within 4-8 hours after feeding. It should be full of bubbles, have a domed top, and smell pleasantly tangy. The best test is the 'float test': drop a teaspoon of fed Sourdough Starter into a glass of water; if it floats, it's ready to use in your baking recipes.
What should I do with Sourdough Starter discard?
Don't throw away your Sourdough Starter discard! It's a valuable ingredient. You can use it in a variety of recipes that don't require an active starter, such as pancakes, waffles, crackers, muffins, or even pizza crust. Many recipes exist specifically for sourdough discard, helping to minimize waste.
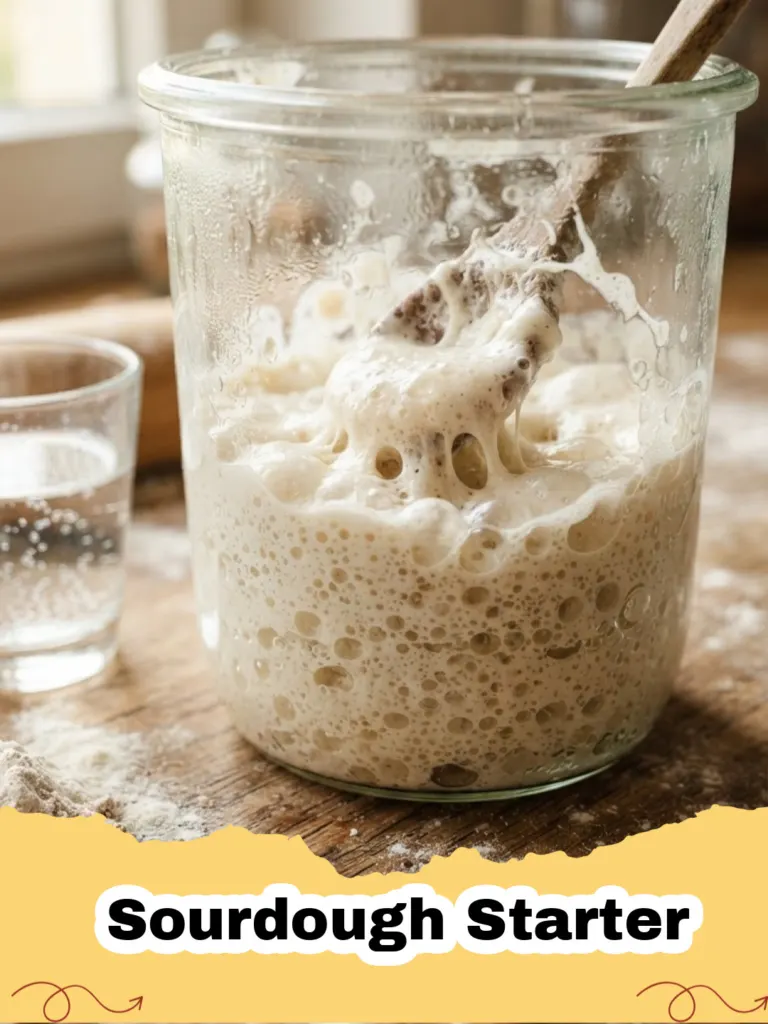
Homemade Sourdough Starter: A 7-Day Cultivation Guide
Learn how to create and nurture your own active Sourdough Starter from scratch in just 7 days, ready for all your artisanal baking adventures. This guide covers daily feedings, signs of activity, and essential tips for a robust, tangy starter.
- Total Time: 7 days (daily maintenance)
- Yield: 1 active Sourdough Starter (approx. 150-200g)
Ingredients
Unbleached all-purpose flour or bread flour (for daily feedings)
Organic whole wheat flour (for initial days)
Filtered water (room temperature, chlorine-free)
Instructions
Step 1: Day 1: In a clean 1-liter glass jar, combine 50g organic whole wheat flour and 50g lukewarm filtered water. Mix until no dry clumps remain. Cover loosely and let sit at room temperature (70-75°F / 21-24°C) for 24 hours.
Step 2: Day 2: Stir your Sourdough Starter. Cover loosely and let it sit for another 24 hours at room temperature. Don't feed yet.
Step 3: Day 3: Discard about half of your Sourdough Starter (approx. 50g). Feed the remaining starter with 50g organic whole wheat flour and 50g lukewarm filtered water. Mix well, cover loosely, and rest for 24 hours.
Step 4: Day 4: Repeat the feeding process: discard half (approx. 50g), then feed with 50g organic whole wheat flour and 50g lukewarm filtered water. Mix, cover loosely, and let rest for 24 hours.
Step 5: Day 5: Discard half (approx. 50g). Feed with 50g unbleached all-purpose flour (or bread flour) and 50g lukewarm filtered water. Mix well, cover loosely, and rest for 24 hours.
Step 6: Day 6: Repeat the feeding: discard half (approx. 50g), then feed with 50g unbleached all-purpose flour and 50g lukewarm filtered water. Mix, cover loosely, and rest for 24 hours.
Step 7: Day 7: Your Sourdough Starter should be consistently active, doubling in size within 4-8 hours after feeding, and full of bubbles with a tangy aroma. Perform the 'float test': drop a teaspoon of fed starter into water; if it floats, it's ready for baking! If not, continue daily feedings until it passes the test. Maintain by feeding daily at room temperature or weekly if refrigerated.
Notes
Always use a kitchen scale for accurate measurements. Maintain a consistent room temperature for best results. If storing in the fridge, revive your Sourdough Starter with 2-3 daily feedings before baking. Don't be afraid to name your Sourdough Starter!
- Prep Time: 15 minutes (initial setup) + 5 minutes daily
- Cook Time: 0 minutes
- Category: Desserts & Baking
- Cuisine: Global
Nutrition
- Serving Size: 100 g
- Calories: 250 kcal
- Sugar: 0 g
- Sodium: 2 mg
- Fat: 1 g
- Saturated Fat: 0.2 g
- Unsaturated Fat: 0.8 g
- Trans Fat: 0 g
- Carbohydrates: 52 g
- Fiber: 2 g
- Protein: 7 g
- Cholesterol: 0 mg