

There is something uniquely primal and deeply satisfying about the process of making sourdough bread, a craft that turns simple flour and water into a bubbling, living masterpiece. My journey into the world of wild yeast began on a rainy Tuesday morning three years ago when a friend gifted me a small jar of her century-old starter. I remember feeling a mix of intimidation and excitement, staring at that gooey, fermented paste. It felt like adopting a pet. Over the following months, my kitchen became a laboratory of hydration levels, fermentation times, and scoring techniques. There were flat loaves that looked like pancakes and burnt bottoms that could chip a tooth, but the first time I pulled a perfectly risen, mahogany-colored loaf of sourdough bread from my oven, I was hooked. The aroma alone—tangy, earthy, and warm—is enough to make any house feel like a home. This recipe is the culmination of those years of trial and error, designed to be approachable for beginners while producing professional-level results.
Why This Recipe is a Must-Try
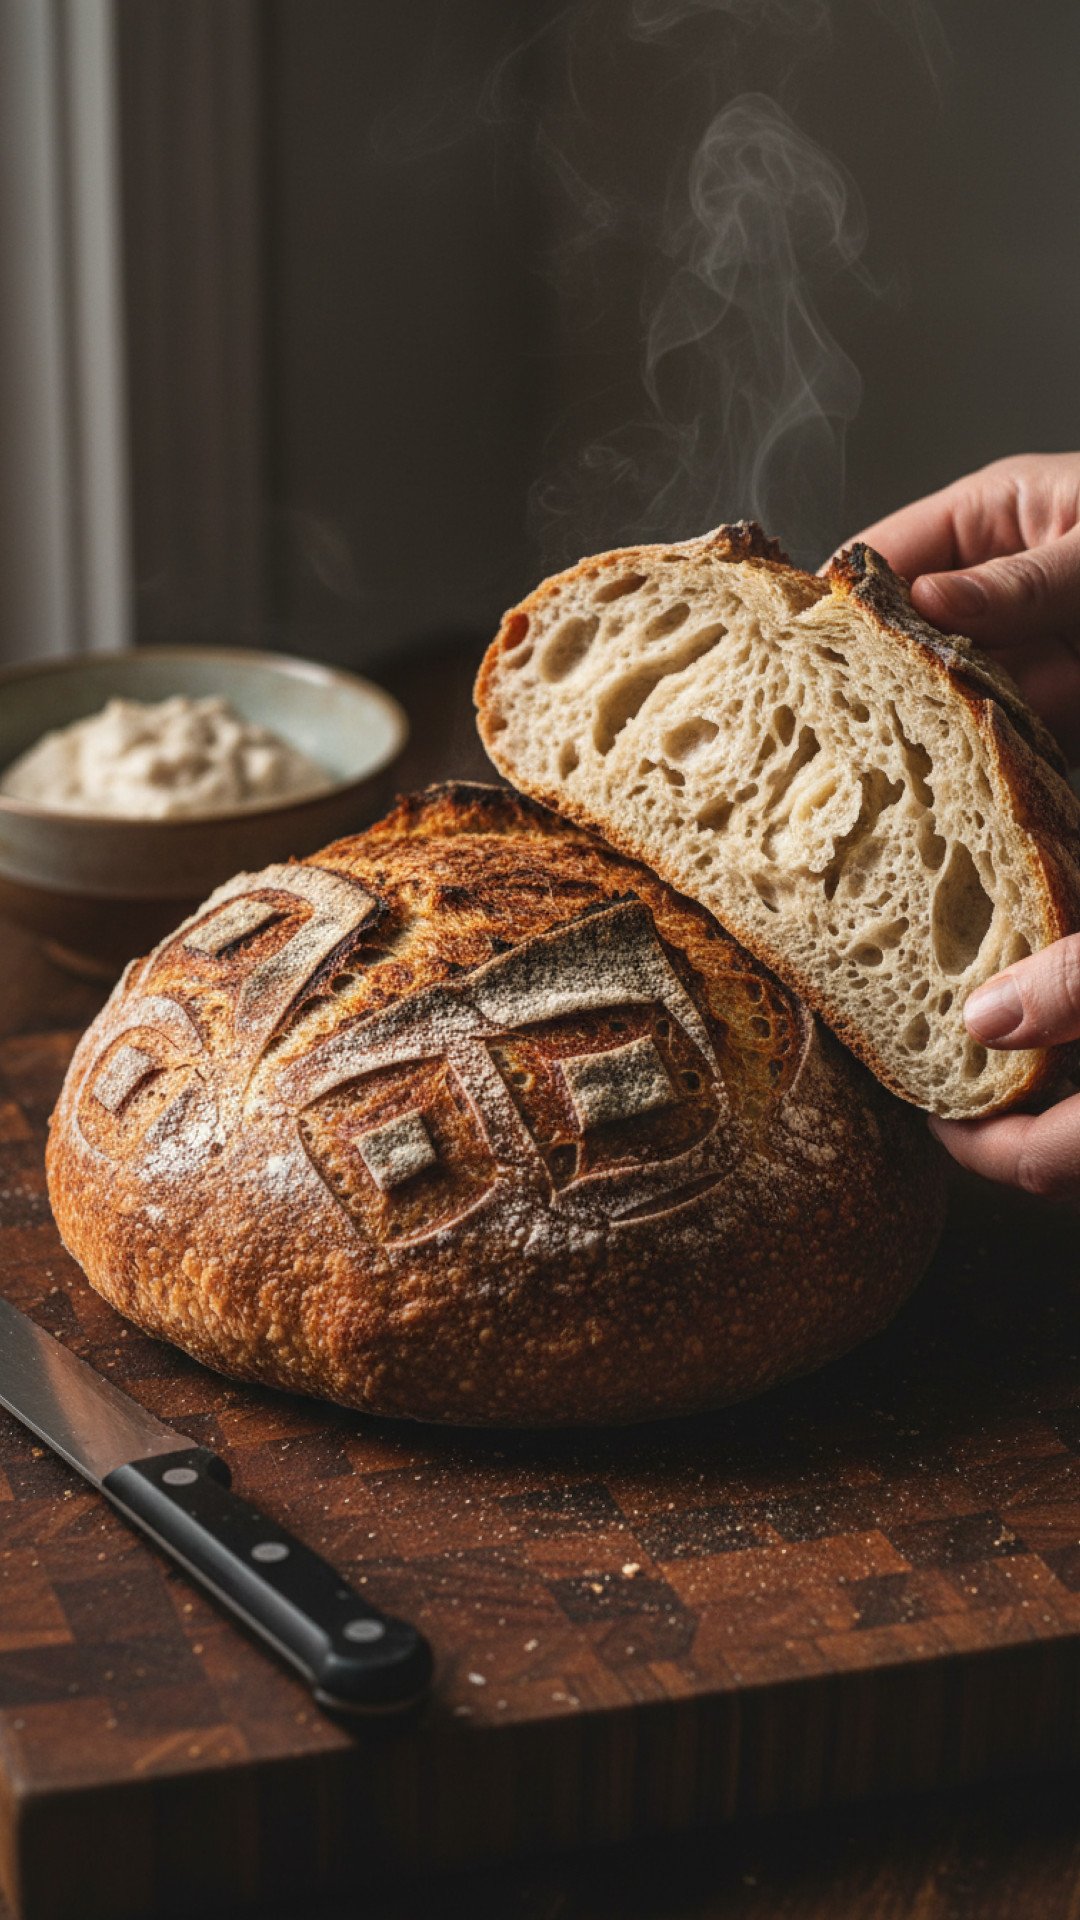
- Superior Flavor and Texture: Unlike store-bought loaves made with commercial yeast, this sourdough bread develops a complex, tangy flavor and a chewy, airy crumb through long, slow fermentation.
- Better for Digestion: The long fermentation process breaks down much of the gluten and phytic acid, making sourdough bread easier on the gut for many people compared to standard white bread.
- Crispy, Artisan Crust: We use a Dutch oven technique to trap steam, which is the secret to achieving that professional, crackly crust and beautiful oven spring at home.
- No Fancy Equipment Required: While a scale is recommended for precision, this recipe focuses on simple techniques that don't require expensive mixers or specialized bakery tools.
Key Ingredient Notes
To make the best sourdough bread, you only need three basic ingredients plus your starter, but the quality of these ingredients makes a significant difference. First, let's talk about the flour. I highly recommend using a high-protein bread flour rather than all-purpose flour. The higher protein content provides the strength needed to support the large air bubbles we want in a sourdough bread crumb. If you are looking for other ways to use high-quality grains, you might enjoy my guide on homemade baked pita chips which also celebrates the beauty of simple doughs. Secondly, the water should ideally be filtered. Chlorine in tap water can sometimes inhibit the activity of the wild yeast and bacteria in your sourdough bread starter. Finally, the salt is crucial not just for flavor, but for controlling the fermentation rate and strengthening the gluten network. Much like the mineral balance discussed in the pink salt trick recipe, the right amount of salt in your dough ensures a perfectly balanced bake.
Step-by-Step Guide with Pro Tips
Making sourdough bread is a marathon, not a sprint. The process usually spans two days, which allows the flavor to develop fully. Before you begin, ensure your starter is active and bubbly; it should double in size within 4-6 hours of feeding. For keeping your starter healthy and visible as it rises, I recommend using Basics Glass Food Storage containers so you can easily track the growth marks on the side of the glass.
The Levain and Autolyse
The first step in your sourdough bread journey is creating the levain and starting the autolyse. Mix a small portion of your active starter with flour and water to create a fresh batch of leavening. Simultaneously, mix your main flour and water and let it rest for at least 30 minutes. This autolyse period allows the flour to fully hydrate and kickstarts gluten development without any kneading required. You will notice the dough becomes much smoother and more elastic just from sitting.
Bulk Fermentation and Folds
Once the levain is ready and the autolyse is complete, mix them together with the salt. This begins the bulk fermentation phase. Instead of traditional kneading, we use a series of 'stretch and folds.' Every 30 minutes, you will reach under the dough, pull it up, and fold it over itself. Repeat this four times around the bowl. This gentle method builds strength in the sourdough bread without degassing it, preserving those precious air pockets. Pro Tip: Keep your hands wet while folding to prevent the dough from sticking to your skin.
Shaping and Cold Proof
After the dough has increased in volume by about 50% and feels jiggly, it is time to shape. Gently fold the dough into a round boule or an oval batard, creating tension on the surface. This tension is what helps the sourdough bread hold its shape and rise upward rather than outward in the oven. Place the shaped dough into a floured banneton or a bowl lined with a tea towel. I prefer a cold proof in the refrigerator overnight; this slows down the yeast but allows the lactic acid bacteria to keep working, resulting in a deeper, more sour flavor profile for your sourdough bread.
Variations & Serving Suggestions
One of the joys of mastering a basic sourdough bread is the ability to customize it. You can add roasted garlic and rosemary during the folding stage for a savory twist, or folded-in dark chocolate chunks and dried cherries for a decadent breakfast loaf. If you have leftovers, this sourdough bread makes the absolute best French toast or grilled cheese sandwiches. For a light lunch, serve a toasted slice alongside a fresh salad, or use it to scoop up a delicious dip. The tanginess of the sourdough bread pairs exceptionally well with creamy cheeses or even a sweet fruit preserve. If you have extra starter discard, don't throw it away; it can be used to make pancakes, crackers, or even added to cakes for a subtle tang.
Nutrition Information
Understanding the nutritional profile of your sourdough bread can help you integrate it into a balanced diet. Because of the long fermentation, it often has a lower glycemic index than commercial breads.
| Nutrient | Amount Per Serving |
|---|---|
| Calories | 185 kcal |
| Total Carbohydrates | 36g |
| Protein | 6g |
| Total Fat | 1g |
| Fiber | 2g |
| Sugar | 0.5g |
| Sodium | 380mg |
Conclusion
Baking your own sourdough bread is a rewarding journey that connects you to ancient culinary traditions. While it requires patience and a bit of practice, the result—a warm, crusty, flavor-packed loaf—is worth every second of wait. I hope this guide empowers you to start your own bubbling starter and fill your home with the incredible scent of fresh bread. Remember, every loaf is a learning experience, so don't be afraid to experiment and find the rhythm that works best for your kitchen. Happy baking!
FAQs
Why is my sourdough bread not rising in the oven?
Lack of oven spring is often caused by an inactive starter, under-proofing, or failing to create enough surface tension during the shaping stage. Ensure your starter is bubbly and has doubled in size before use.
Can I make sourdough bread without a Dutch oven?
Yes, you can bake it on a baking stone or sheet, but you must introduce steam into the oven by placing a pan of hot water on the bottom rack to achieve a similar crust texture.
How do I know when bulk fermentation is finished?
The dough should have increased in volume by about 50%, feel light and full of air, and have visible bubbles on the surface and sides of the container.
How should I store my sourdough bread?
Store the bread cut-side down on a cutting board for the first day. Afterward, keep it in a paper bag or a bread box. Avoid plastic bags as they soften the crust.

Artisan Sourdough Bread
A classic, crusty sourdough bread with an airy crumb and a perfect tangy flavor, made using traditional long-fermentation methods.
- Total Time: PT24H45M
- Yield: 1 loaf (approx. 10-12 slices) 1x
Ingredients
500g High-protein bread flour
350g Filtered water (room temperature)
100g Active sourdough starter (fed and bubbly)
10g Fine sea salt
Extra flour for dusting
Instructions
Step 1: In a large bowl, whisk together 100g of active starter and 350g of water until the starter is mostly dissolved and the water looks milky.
Step 2: Add 500g of bread flour to the water mixture and stir with a spatula or your hands until no dry flour remains. Cover with a damp cloth and let rest (autolyse) for 30 to 60 minutes.
Step 3: Sprinkle 10g of salt over the dough. Using wet hands, squeeze the salt into the dough and perform a set of 'stretch and folds' to incorporate it thoroughly.
Step 4: Perform 4 sets of stretch and folds every 30 minutes over the next 2 hours. To fold, pull the edge of the dough up and over towards the center, rotating the bowl 90 degrees each time.
Step 5: Let the dough rest undisturbed for the remainder of the bulk fermentation (usually 2-4 hours) until it has grown about 50% in size and looks bubbly.
Step 6: Gently turn the dough onto a lightly floured surface. Fold the edges into the center to create a round shape, then flip it over and use your hands to create tension on the surface.
Step 7: Place the dough upside down into a floured proofing basket (banneton) or a bowl lined with a floured towel. Cover and refrigerate for 12 to 18 hours for a cold proof.
Step 8: Preheat your oven to 450°F (230°C) with a Dutch oven inside for at least 45 minutes.
Step 9: Carefully flip the cold dough onto a piece of parchment paper. Score the top with a sharp blade or lame. Use the parchment to lift the dough into the hot Dutch oven.
Step 10: Bake with the lid on for 20 minutes. Remove the lid and continue baking for 20-25 minutes until the sourdough bread is deep golden brown and sounds hollow when tapped.
Notes
Ensure your starter is at its peak activity before starting. If your kitchen is cold, fermentation may take longer; if warm, it will go faster.
- Prep Time: PT24H
- Cook Time: PT45M
- Category: Desserts & Baking
- Cuisine: French/Artisan
Nutrition
- Serving Size: 1 slice
- Calories: 185
- Sugar: 0.5g
- Sodium: 380mg
- Fat: 1g
- Saturated Fat: 0.2g
- Unsaturated Fat: 0.5g
- Trans Fat: 0g
- Carbohydrates: 36g
- Fiber: 2g
- Protein: 6g
- Cholesterol: 0mg
Leave a Reply