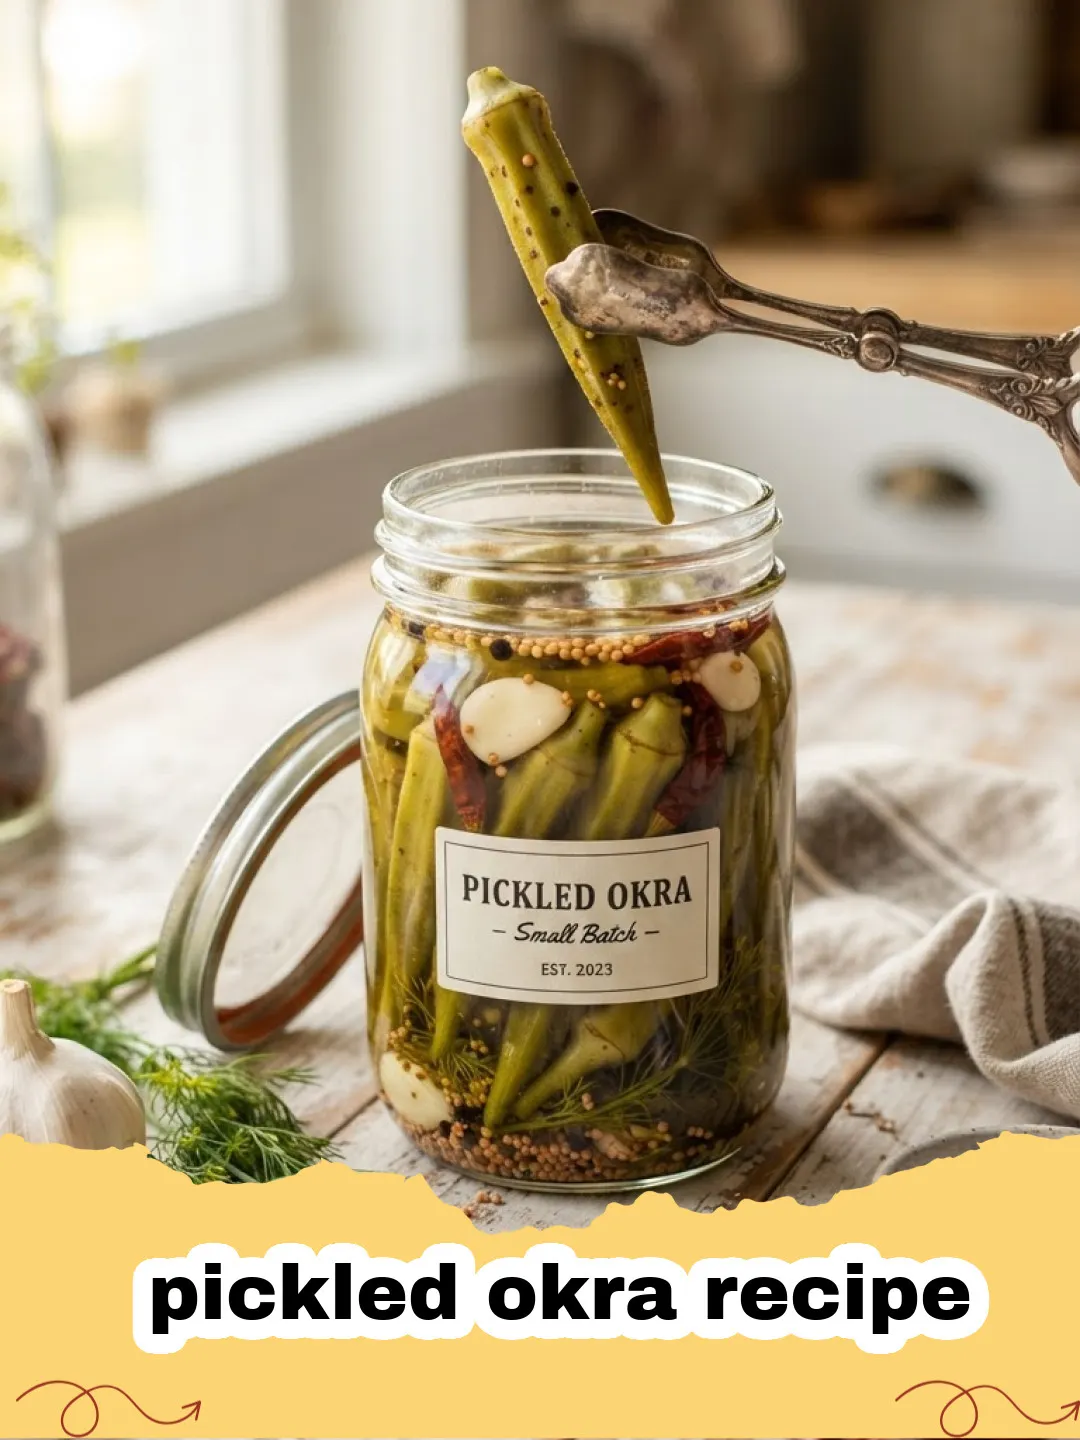
There are some tastes that just transport you back to childhood, and for me, a classic pickled okra recipe is definitely one of them. I can still vividly recall those sweltering summer afternoons at my grandmother's house in Georgia. The air would be thick with humidity, and the scent of dill and vinegar would waft from her kitchen as she meticulously processed jar after jar of vibrant green okra. It was a ritual, a labor of love that resulted in rows of beautiful, crunchy pickles lining her pantry shelves. She'd always say, "A good pickled okra is like a little burst of sunshine, no matter the weather." And she was right. That crisp, tangy bite, followed by a subtle warmth from the spices, was (and still is) pure magic. Fast forward to today, and while I may not have her sprawling garden, I've perfected my own easy pickled okra recipe that captures all that nostalgic flavor and crunch. This isn't just a recipe; it's a connection to a simpler time, a taste of Southern tradition that I'm thrilled to share with you. Get ready to fall in love with the irresistible tang of homemade pickled okra!
Why This Pickled Okra Recipe is a Must-Try
- Unbeatable Crunch: Say goodbye to soggy pickles! This pickled okra recipe is specifically designed to keep your okra crisp and delightful, thanks to a few key techniques we'll cover.
- Flavor Explosion: A perfect balance of tangy vinegar, aromatic garlic, fresh dill, and a hint of spice creates a complex flavor profile that's utterly addictive. This isn't just a basic pickled okra recipe; it's a flavor journey.
- Simple & Rewarding: Don't be intimidated by canning! This pickled okra recipe uses a straightforward method that even beginners can master, yielding impressive results you'll be proud to share.
- Versatile Snack & Garnish: Beyond snacking straight from the jar, this pickled okra recipe makes an excellent addition to charcuterie boards, salads, or even as a zesty side to your favorite Southern dishes.
Key Ingredient Notes
Fresh Okra
The star of our pickled okra recipe! Look for small, firm, brightly colored okra pods, usually 3-4 inches long, with no blemishes or soft spots. Smaller pods tend to be more tender and less fibrous. Avoid any okra that looks dull, shriveled, or has dark spots, as these are signs of age or damage. Freshness is key to that desirable crisp texture in your pickled okra.
Vinegar
For this pickled okra recipe, we're using white vinegar. Its high acidity and neutral flavor profile make it the ideal choice for pickling, allowing the other spices to shine. Some recipes might use apple cider vinegar for a slightly mellower, fruitier tang, but for that classic, sharp pickled okra taste, white vinegar is king. Ensure it's at least 5% acidity for safe and effective pickling.
Dill & Garlic
These two ingredients are non-negotiable for an authentic pickled okra recipe. Fresh dill sprigs provide a bright, herbaceous note that complements the okra beautifully. Whole garlic cloves, peeled and lightly crushed, infuse the brine with a pungent, savory depth. Don't skimp on these; they are essential for the signature flavor of this pickled okra recipe.
Step-by-Step Guide with Pro Tips
Preparation is Key
Before you even think about the brine, proper preparation of your okra and jars is crucial for a successful pickled okra recipe. Wash your okra thoroughly and trim off the stem end, but be careful not to cut into the pod itself, as this can lead to mushy pickles. Sterilize your canning jars and lids. A simple way to do this is by washing them in hot, soapy water, rinsing well, and then submerging them in boiling water for at least 10 minutes. Alternatively, you can run them through a hot cycle in your dishwasher. This ensures no unwanted bacteria will spoil your delicious pickled okra.
Packing the Jars
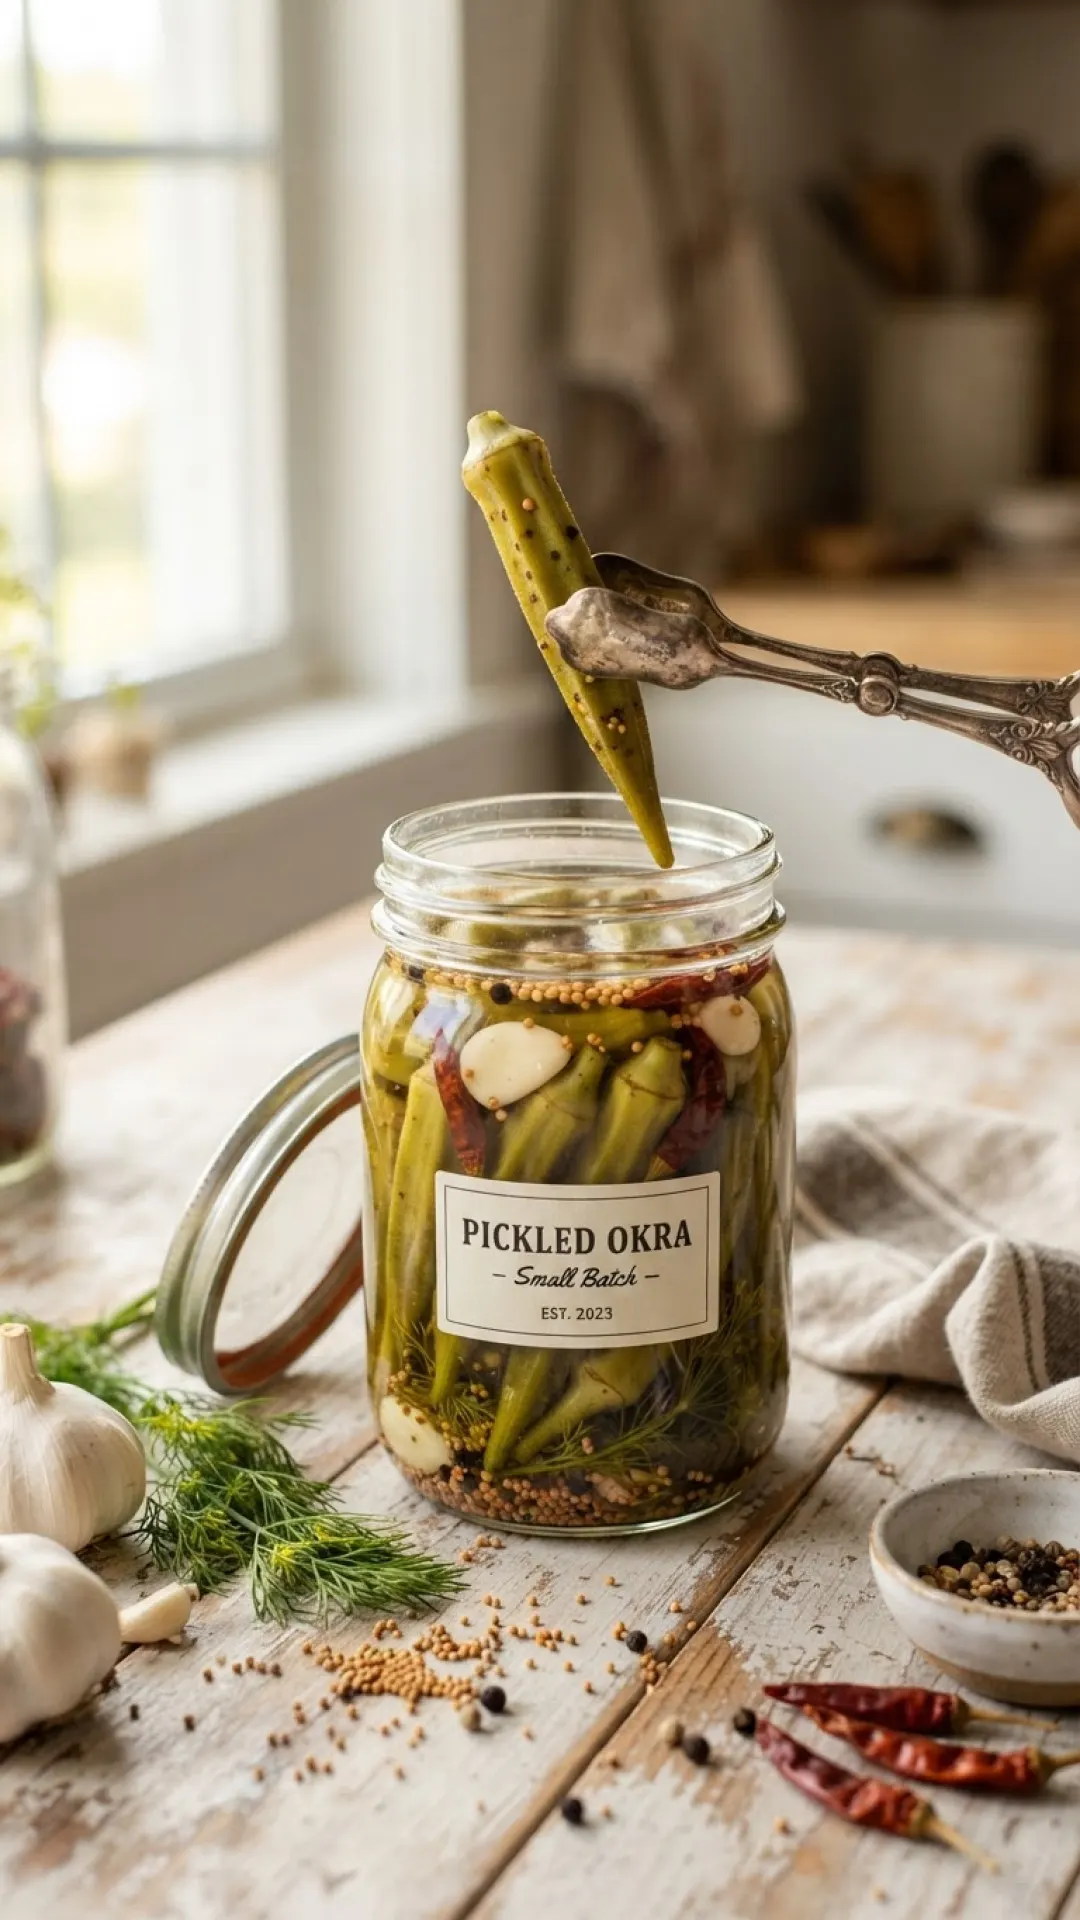
This is where the magic of layering begins for your pickled okra recipe. Into each sterilized jar, place a fresh dill sprig, a couple of peeled garlic cloves, and a pinch of red pepper flakes if you like a bit of heat. Then, carefully pack the okra pods tightly into the jars, leaving about ½ inch of headspace from the rim. The tighter they are packed, the less they'll float, and the more delicious pickled okra you'll get in each jar. This meticulous packing contributes to the overall quality of your pickled okra recipe.
Crafting the Brine
In a large saucepan, combine your white vinegar, water, pickling salt, and any additional spices like mustard seeds or peppercorns. Bring the mixture to a rolling boil, stirring occasionally to ensure the salt is fully dissolved. This hot, flavorful brine is what will transform your fresh okra into that delightful pickled okra recipe you're craving. This step is vital for the preservation and flavor development of your pickled okra.
Pouring & Sealing
Carefully pour the hot brine over the packed okra in each jar, ensuring the pods are completely submerged and you still have that ½ inch of headspace. Tap the jars gently on the counter to release any trapped air bubbles. Wipe the rims clean with a damp cloth, center the lids, and screw on the bands until finger-tight. This proper sealing is essential for the shelf stability of your pickled okra recipe. For long-term storage, processing the jars in a boiling water bath is recommended.
Processing for Shelf-Stability
For safe, shelf-stable pickled okra, place the sealed jars in a boiling water canner, ensuring they are covered by at least one inch of water. Bring the water back to a boil and process for 10-15 minutes, adjusting time for altitude if necessary. Once processed, carefully remove the jars and let them cool undisturbed on a towel for 12-24 hours. You'll hear the satisfying *pop* as the lids seal, confirming your pickled okra recipe is ready for the pantry! If you're not planning to process them, simply refrigerate your pickled banana peppers recipe or this pickled okra after cooling. For storing your delicious creations, consider using durable Basics Glass Food Storage containers.
Variations & Serving Suggestions
Spice It Up!
If you love a little heat, consider adding a whole dried chili pepper (like a small habanero or cayenne) to each jar before pouring the brine. A pinch more red pepper flakes or even a slice of fresh jalapeño can also elevate the kick in your pickled okra recipe. You could even explore different types of peppers, similar to how one might experiment with a fresh salsa recipe.
Herbaceous Twists
While dill is traditional, don't be afraid to experiment! Try adding a sprig of fresh thyme or a bay leaf to each jar for a different aromatic note. A few coriander seeds can also add a subtle, citrusy undertone to your pickled okra recipe.
Serving Suggestions
- Charcuterie Boards: Pickled okra adds a fantastic briny counterpoint to rich cheeses, cured meats, and crackers.
- Salad Booster: Chop up your pickled okra and add it to green salads for an extra zing and crunch.
- Garnish: Perfect for garnishing Bloody Marys, martinis, or as a vibrant side to fried chicken or grilled fish.
- Sandwich & Wrap Addition: Slice thinly and add to sandwiches, wraps, or even hot dogs for a tangy kick.
Nutrition Information
| Nutrient | Amount Per Serving |
|---|---|
| Calories | 25 kcal |
| Carbohydrates | 5 g |
| Cholesterol | 0 mg |
| Total Fat | 0 g |
| Fiber | 2 g |
| Protein | 1 g |
| Saturated Fat | 0 g |
| Serving Size | 3-4 pods |
| Sodium | 280 mg |
| Sugar | 1 g |
| Trans Fat | 0 g |
| Unsaturated Fat | 0 g |
*Nutrition information is an estimate and may vary based on specific ingredients and preparation methods for this pickled okra recipe.
Making your own pickled okra is a rewarding experience that brings a taste of Southern charm right to your kitchen. This easy pickled okra recipe is not just about the delicious outcome; it's about the joy of creating something from scratch, preserving the bounty of the season, and sharing those vibrant flavors with friends and family. Whether you're a seasoned canner or a curious beginner, I encourage you to give this pickled okra recipe a try. You'll be amazed at how simple it is to achieve that perfect crisp, tangy bite. Happy pickling!
FAQs
How long does homemade pickled okra last?
When properly processed in a boiling water bath and sealed, homemade pickled okra can last for up to 1 year in a cool, dark pantry. Once opened, it should be refrigerated and consumed within 2-3 weeks. If not processed for shelf-stability, it must be refrigerated immediately and enjoyed within 2-3 weeks.
What kind of okra is best for pickling?
For the best pickled okra recipe, always choose fresh, young, and firm okra pods, typically 3-4 inches in length. Smaller pods tend to be more tender and less fibrous. Avoid any okra that is soft, discolored, or bruised, as this can result in a mushy pickle.
Why is my pickled okra mushy?
Mushy pickled okra can be caused by a few factors: using overripe or old okra, cutting too deeply into the stem end (which allows the brine to penetrate too quickly), or overcooking during the processing step. Ensure you start with fresh, firm okra and follow the processing times carefully in this pickled okra recipe.
What can I serve with pickled okra?
Pickled okra is incredibly versatile! It's fantastic straight from the jar as a snack, on charcuterie boards, as a zesty garnish for cocktails like Bloody Marys, or as a tangy side dish to rich meats and fried foods. It also adds a great crunch to salads and sandwiches.
Classic Southern Pickled Okra Recipe
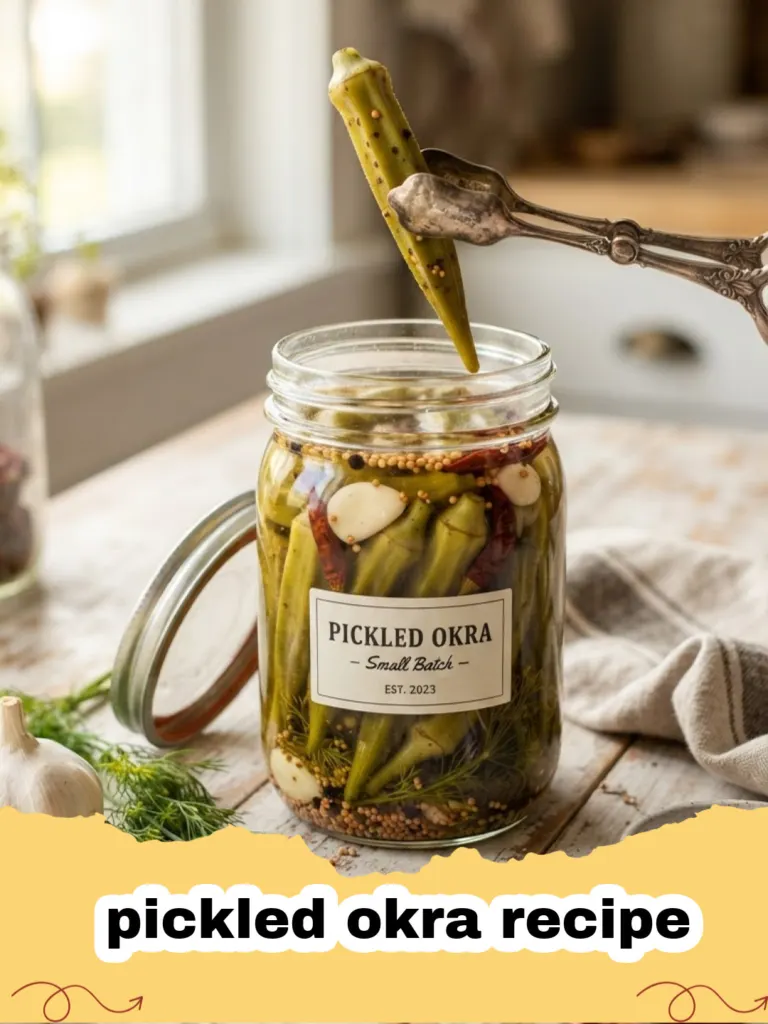
Unlock the secret to perfectly crisp and tangy pickled okra with this easy-to-follow Southern-inspired recipe. A delightful blend of vinegar, garlic, dill, and a hint of spice makes this homemade treat an irresistible snack or garnish. This pickled okra recipe is a true taste of tradition!
- Total Time: 45 minutes
- Yield: 4 pints 1x
Ingredients
2 pounds fresh, young okra pods
4 cups white vinegar (5% acidity)
4 cups water
1/4 cup pickling salt
4 cloves garlic, peeled and lightly crushed
4 sprigs fresh dill
2 teaspoons mustard seeds (optional)
1 teaspoon black peppercorns (optional)
1/2 teaspoon red pepper flakes (optional, for heat)
4 pint-sized canning jars with lids and bands, sterilized
Instructions
Step 1: Wash okra thoroughly and trim off the stem ends without cutting into the pod itself. Set aside. Prepare your canning jars by washing them in hot soapy water, rinsing, and sterilizing them in boiling water for at least 10 minutes, or running them through a dishwasher's hot cycle. Keep jars hot until ready to fill.
Step 2: In each hot, sterilized pint jar, place 1 clove of garlic, 1 dill sprig, 1/2 teaspoon mustard seeds (if using), 1/4 teaspoon black peppercorns (if using), and 1/8 teaspoon red pepper flakes (if using). This forms the flavorful base for your pickled okra recipe.
Step 3: Tightly pack the trimmed okra pods into each jar, standing them upright if possible, leaving about ½ inch of headspace from the rim of the jar. Pack as much as you can without crushing them. This ensures maximum pickled okra in each jar.
Step 4: In a large non-reactive pot, combine white vinegar, water, and pickling salt. Bring the mixture to a rolling boil over medium-high heat, stirring until the salt is fully dissolved. This is your pickling brine for the pickled okra recipe.
Step 5: Carefully pour the hot brine over the packed okra in each jar, ensuring the okra is completely submerged and maintaining the ½ inch of headspace. Use a non-metallic utensil to gently release any air bubbles. Wipe jar rims clean with a damp cloth.
Step 6: Center the hot lids on the jars and screw on the bands until finger-tight. If you plan for long-term, shelf-stable storage, proceed to the next step. Otherwise, allow jars to cool and refrigerate, consuming within 2-3 weeks.
Step 7: For shelf-stable pickled okra, place the jars in a boiling water canner, ensuring they are covered by at least 1 inch of water. Bring the water back to a boil and process pint jars for 10 minutes (adjust for altitude). Turn off heat, remove canner lid, and let jars sit for 5 minutes before carefully removing them. Allow jars to cool undisturbed on a counter for 12-24 hours. Check seals; if any jar doesn't seal, refrigerate and consume within a few weeks. Store properly sealed pickled okra in a cool, dark place for up to 1 year. For best flavor, wait at least 2 weeks before enjoying your homemade pickled okra recipe.
Notes
For the crispiest pickled okra, ensure your okra is very fresh and avoid cutting too deep into the stem end. If you prefer a less salty brine, you can slightly reduce the pickling salt, but note that this may affect preservation slightly. Always ensure jars are properly sealed for shelf-stable storage.
- Prep Time: 30 minutes
- Cook Time: 15 minutes
- Category: Drinks, Snacks & Holiday Treats
- Cuisine: Southern
Nutrition
- Serving Size: 3-4 pods
- Calories: 25 kcal
- Sugar: 1 g
- Sodium: 280 mg
- Fat: 0 g
- Saturated Fat: 0 g
- Unsaturated Fat: 0 g
- Trans Fat: 0 g
- Carbohydrates: 5 g
- Fiber: 2 g
- Protein: 1 g
- Cholesterol: 0 mg