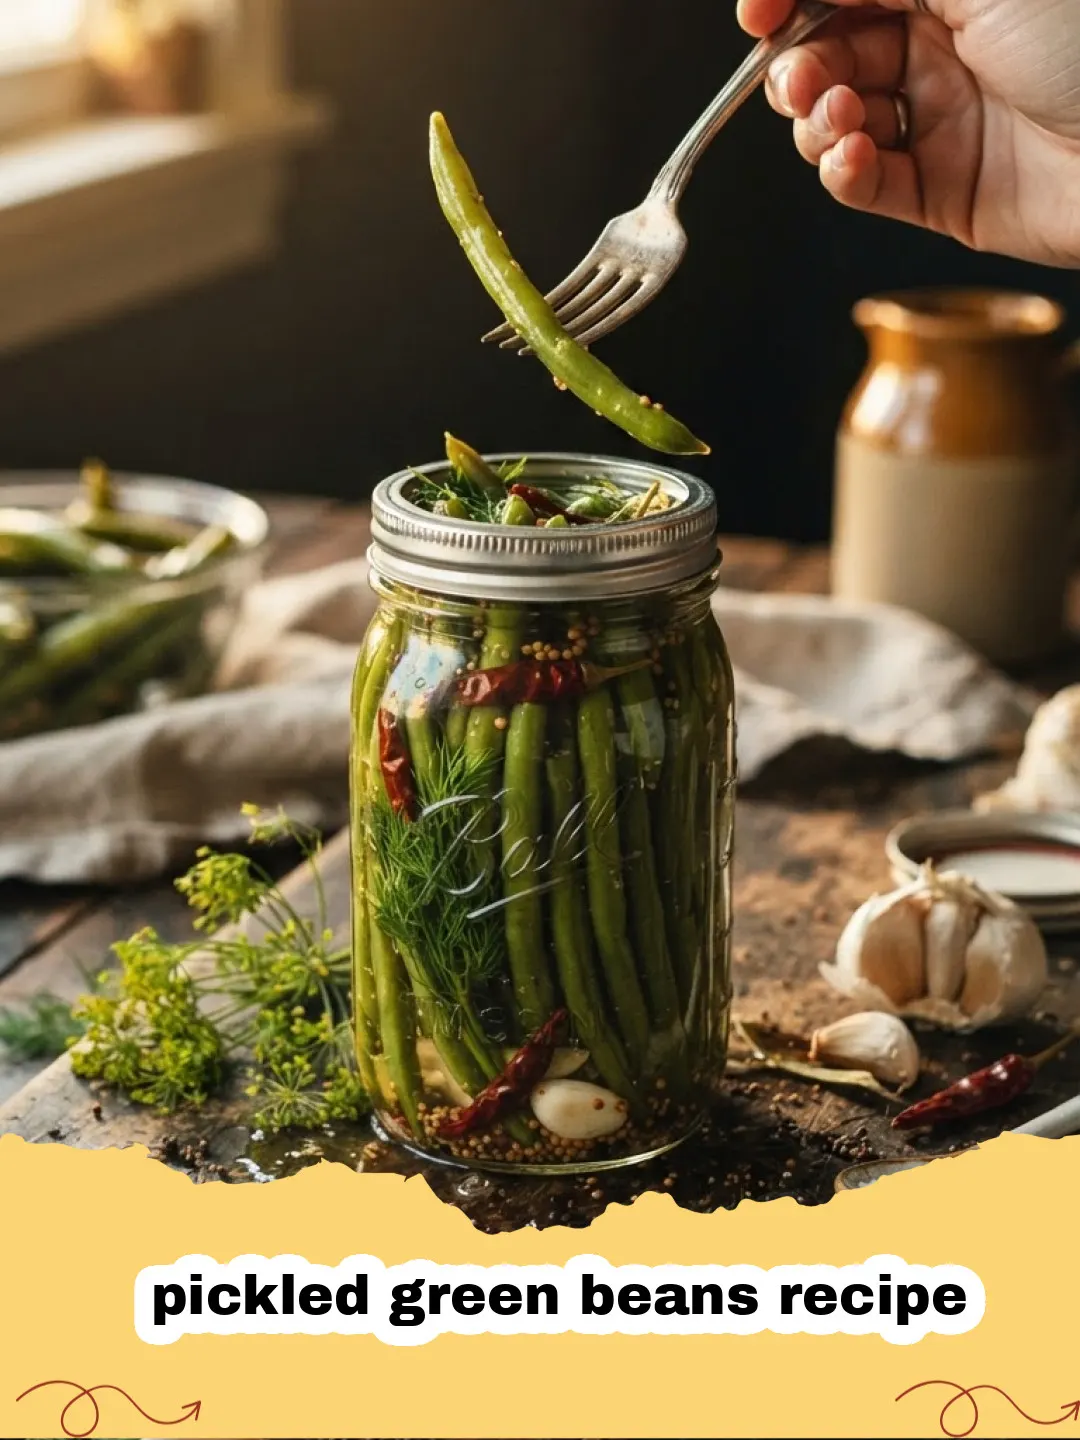
Growing up, summer meant one thing: an abundance of fresh produce from my grandmother's sprawling garden. Among the tomatoes, cucumbers, and zucchini, the green bean patch always stood out. She'd spend hours tending to them, and when harvest season arrived, her kitchen transformed into a buzzing canning factory. The air would be thick with the scent of vinegar, dill, and garlic. Her specialty? Her legendary pickled green beans recipe. I can still hear the satisfying pop of the jar seals and see the rows of glistening jars lining her pantry shelves. Those crunchy, tangy green beans were a staple at every family gathering, a testament to summer's bounty preserved for colder months. There's something truly magical about transforming fresh garden beans into a zesty, shelf-stable treat, and today, I'm thrilled to share my version of that beloved pickled green beans recipe with you.
This isn't just any pickled green beans recipe; it's a taste of nostalgia, a crunchy burst of flavor that transports you straight to a sun-drenched summer day. Whether you're a seasoned canner or a curious beginner, this guide will walk you through creating perfect dilly beans every time. Forget bland, store-bought versions; your homemade pickled green beans recipe will be the star of every plate, snack, and charcuterie board.
Why This Pickled Green Beans Recipe is a Must-Try
- Incredibly Delicious & Flavorful: This pickled green beans recipe delivers a perfect balance of tangy, savory, and garlicky notes, with a hint of dill that makes them utterly addictive. They’re a bright, refreshing contrast to richer dishes.
- Perfectly Crunchy Texture: Say goodbye to mushy beans! We’ll share tips to ensure your pickled green beans recipe yields delightfully crisp beans that snap with every bite. The secret is in the fresh beans and quick blanching.
- Versatile & Easy to Enjoy: From a stand-alone snack to a vibrant side dish, a cocktail garnish, or a delicious addition to salads and sandwiches, this pickled green beans recipe is incredibly adaptable. You'll find countless ways to savor them.
- Preserves Summer's Bounty: If you have an abundance of green beans from your garden or a farmer's market, this pickled green beans recipe is an excellent way to extend their freshness and enjoy them long after the growing season ends. It’s food preservation at its most delicious.
Key Ingredient Notes for Your Pickled Green Beans Recipe
The success of any great recipe, especially a pickled green beans recipe, lies in the quality of its ingredients. Here’s what to look for:
Fresh Green Beans
This is paramount. Choose firm, blemish-free green beans that snap easily when bent. Avoid any that are soft, wilted, or spotted. Haricots verts (French green beans) work wonderfully for a more delicate texture, but standard green beans are perfectly fine. The fresher the beans, the crisper your finished pickled green beans recipe will be. Aim for beans that are uniform in size to ensure even blanching.
White Vinegar
Standard distilled white vinegar with 5% acidity is essential for canning safety and provides that classic tangy flavor. Do not reduce the vinegar amount or use a vinegar with lower acidity, as this could compromise the safety of your canned goods. Apple cider vinegar can be used for a slightly mellower flavor, but ensure it also has 5% acidity.
Fresh Dill and Garlic
These aromatics are the heart of a classic dilly pickled green beans recipe. Use fresh dill sprigs for the best flavor; dried dill can work in a pinch but won't offer the same vibrant aroma. Fresh garlic cloves, thinly sliced or lightly smashed, infuse the brine beautifully. Don't be shy with the garlic; it mellows as it pickles, leaving a wonderful savory depth.
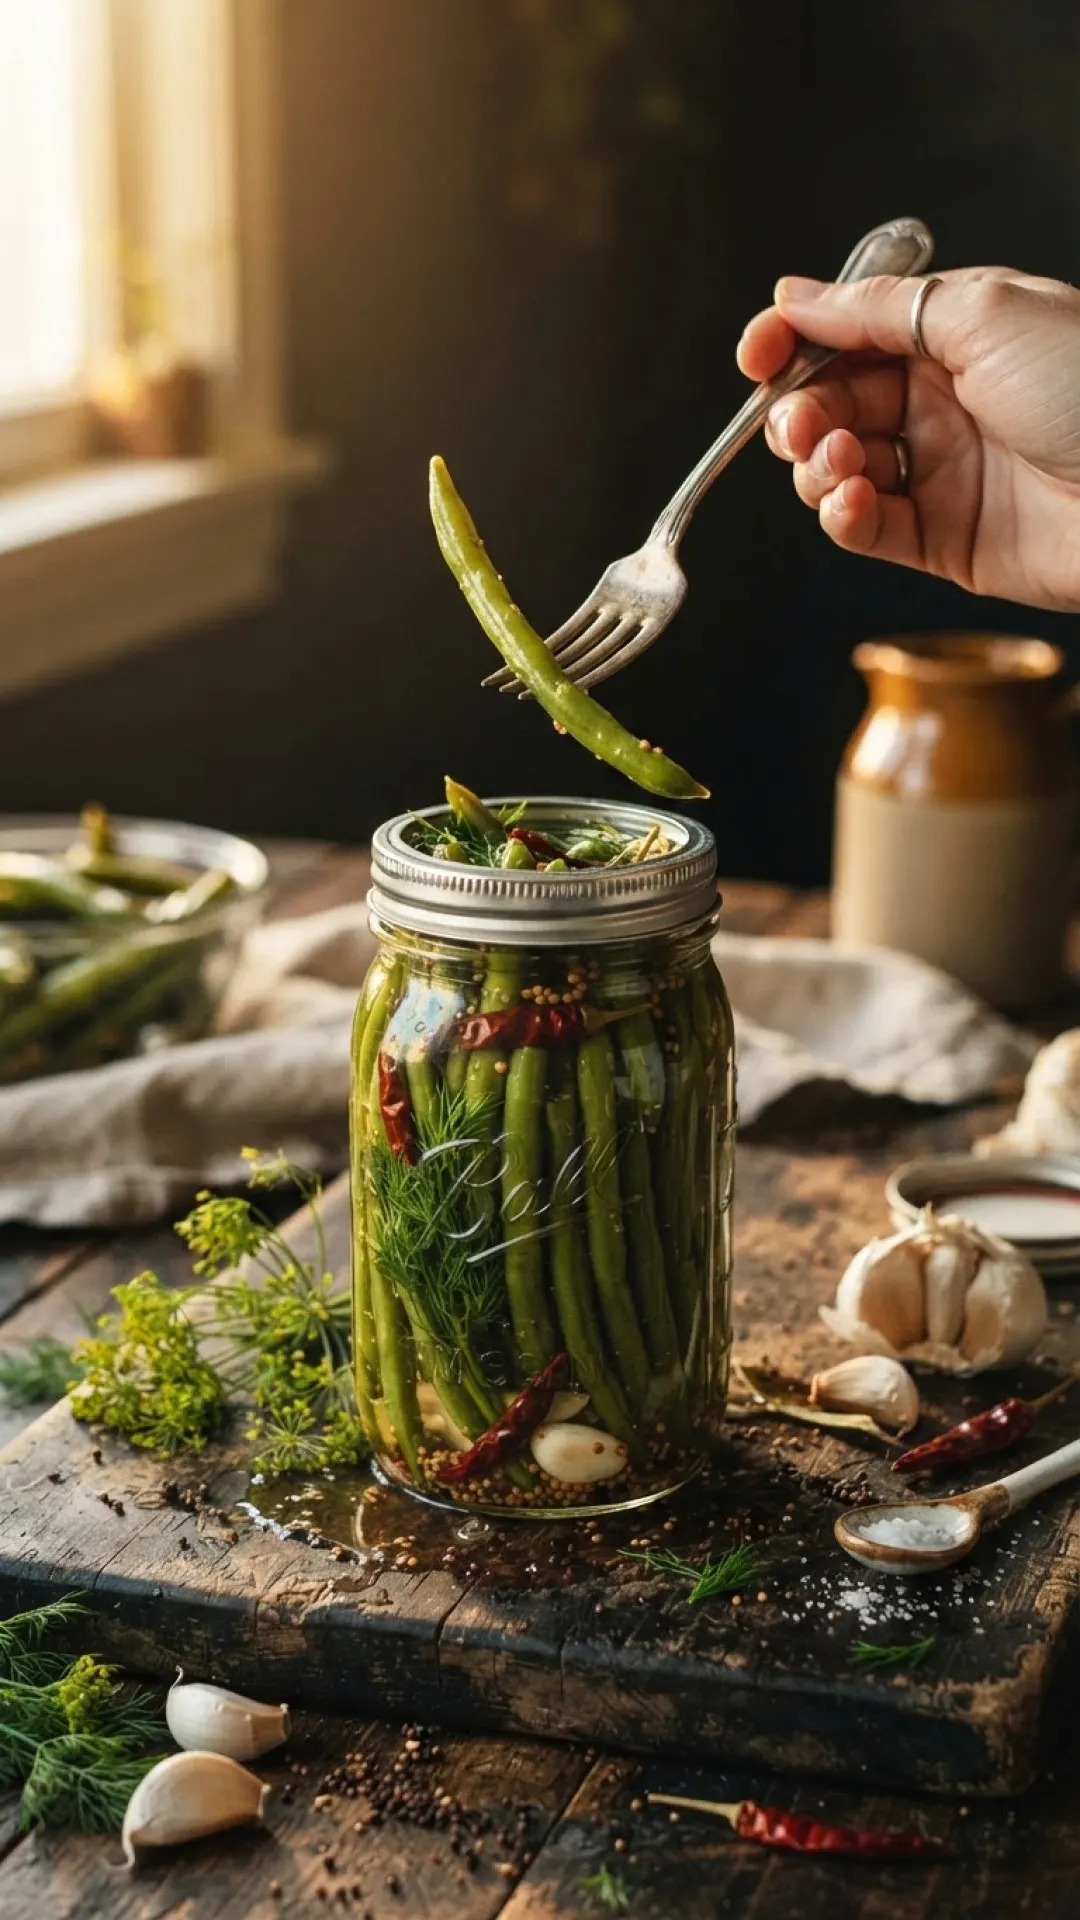
Step-by-Step Guide with Pro Tips for the Best Pickled Green Beans Recipe
Creating a delicious pickled green beans recipe at home is a rewarding experience. Follow these steps carefully for crunchy, flavorful results.
Step 1: Prepare Your Jars and Equipment. Begin by sterilizing your canning jars, lids, and bands. Wash them in hot, soapy water, then rinse well. For jars, you can run them through a dishwasher on a hot cycle or boil them in a large pot of water for 10 minutes. Keep the jars hot until ready to fill. Lids should be simmering in hot (not boiling) water to soften the sealing compound. Ensure you have all your canning tools handy: a jar lifter, funnel, and headspace tool.
Step 2: Prepare the Green Beans. Wash your fresh green beans thoroughly. Snap or trim off the stem ends. You can leave the tail ends on or trim them as well, depending on your preference. For a truly professional-looking pickled green beans recipe, try to select beans that are roughly the same length and diameter to ensure even cooking and packing.
Step 3: Blanch the Green Beans. Bring a large pot of water to a rolling boil. Prepare an ice bath in a separate large bowl. Add the trimmed green beans to the boiling water and blanch for 2-3 minutes. This quick cook helps preserve their vibrant color and preps them for pickling. Immediately transfer the blanched beans to the ice bath to stop the cooking process and maintain crispness. Drain well once cooled.
Step 4: Prepare the Brine. In a large saucepan, combine the white vinegar, water, pickling salt, sugar, and any additional spices like mustard seeds or peppercorns. Bring the mixture to a boil, stirring until the salt and sugar are fully dissolved. Reduce heat and keep the brine hot but not boiling while you pack the jars. This flavorful brine is what makes this pickled green beans recipe shine.
Step 5: Pack the Jars. Into each hot, sterilized pint jar, add 1-2 sprigs of fresh dill and 1-2 cloves of garlic (or more, to taste). You can also add a pinch of red pepper flakes for a spicy pickled green beans recipe. Tightly pack the blanched green beans vertically into the jars, leaving about 1/2 inch of headspace from the rim. For another fantastic way to enjoy garden fresh produce, check out The Ultimate Homemade Restaurant-Style Broccoli Beef Recipe.
Step 6: Fill with Brine and Remove Air Bubbles. Carefully ladle the hot pickling brine over the packed green beans, ensuring they are fully submerged and maintaining 1/2 inch of headspace. Use a non-metallic utensil (like a chopstick or plastic knife) to gently dislodge any trapped air bubbles by running it around the inside of the jar. Top off with more brine if necessary to maintain headspace.
Step 7: Seal and Process. Wipe the rims of the jars clean with a damp cloth. Center the hot lids on the jars, then screw on the bands until fingertip-tight. Process the jars in a boiling water canner for 10 minutes (adjusting for altitude if necessary). After processing, turn off the heat, remove the canner lid, and let the jars sit in the hot water for 5 minutes before carefully removing them with a jar lifter. Place them on a towel-lined counter and let them cool completely undisturbed for 12-24 hours. You will hear the satisfying *pop* as the jars seal.
Step 8: Check Seals and Store. Once cooled, check the seals. The lids should be concave and not flex when pressed. If any jar hasn't sealed, refrigerate it and consume within a few weeks. Label and store your sealed pickled green beans recipe in a cool, dark place for up to a year. These tangy green beans also make a fantastic accompaniment to heartier meals, like a robust Ultimate Hearty 15 Bean Soup, adding a bright counterpoint.
Variations & Serving Suggestions for Your Pickled Green Beans Recipe
This classic pickled green beans recipe is just the beginning! Here are some ideas to customize and enjoy your homemade dilly beans:
Spicy Pickled Green Beans Recipe
For those who love a kick, add 1/2 to 1 teaspoon of red pepper flakes or a small dried chili pepper to each jar before adding the beans and brine. A slice of fresh jalapeño or serrano pepper also works wonders for extra heat. This variation is fantastic for spicing up a Bloody Mary!
Sweet and Sour Dilly Beans
If you prefer a hint of sweetness, increase the sugar in the brine to 1/4 to 1/2 cup, or even more, depending on your taste. A teaspoon of pickling spice blend can also add complex notes to your sweet and sour pickled green beans recipe.
Garlic Lover’s Pickled Green Beans Recipe
Can't get enough garlic? Double or even triple the amount of garlic cloves per jar. The garlic flavor will intensify over time, making these a pungent and delicious treat. Roasting the garlic slightly before adding it can also impart a deeper, mellower flavor.
Herbaceous Variations
Experiment with other fresh herbs! A sprig of fresh thyme or oregano can add an interesting dimension to your pickled green beans recipe. You could also try a bay leaf per jar for a subtle earthy note.
Serving Suggestions
- Snack Attack: Grab them straight from the jar for a satisfyingly crunchy, tangy snack.
- Charcuterie Boards: They add a vibrant color and zesty flavor that cuts through richer cheeses and meats.
- Sandwiches & Wraps: Slice them and add them for an extra crunch and tang.
- Cocktail Garnish: A classic Bloody Mary wouldn't be complete without a dilly bean spear.
- Side Dish Extraordinaire: Serve them alongside grilled meats, roasted chicken, or fish. They're particularly good with anything rich or fatty, providing a refreshing counterpoint.
- Salad Booster: Chop them up and toss them into green salads, potato salad, or pasta salad for a burst of flavor.
Once your pickled green beans recipe is complete and the jars are sealed, proper storage is key. Store them in a cool, dark place. For long-term storage, high-quality Basics Glass Food Storage jars are essential, ensuring your dilly beans stay crisp and delicious for months.
Nutrition Information
| Nutrient | Amount Per Serving |
|---|---|
| Calories | 25 kcal |
| Carbohydrates | 5 g |
| Cholesterol | 0 mg |
| Fat | 0 g |
| Fiber | 2 g |
| Protein | 1 g |
| Saturated Fat | 0 g |
| Serving Size | 1/2 cup (60g) |
| Sodium | 310 mg |
| Sugar | 2 g |
| Trans Fat | 0 g |
| Unsaturated Fat | 0 g |
Conclusion
There's immense satisfaction in creating your own pickled green beans recipe from scratch. The process is simple, the results are delicious, and the reward of enjoying summer's freshest flavors year-round is truly unbeatable. This classic pickled green beans recipe is more than just food; it's a connection to tradition, a testament to culinary creativity, and a delicious way to bring vibrant flavor to your table. So gather your ingredients, embrace the spirit of canning, and get ready to enjoy the best homemade dilly beans you've ever tasted. Happy pickling!
FAQs
How long do homemade pickled green beans last?
When properly canned and sealed using a boiling water bath, homemade pickled green beans can last for up to 1 year in a cool, dark pantry. Once opened, they should be stored in the refrigerator and consumed within 2-3 weeks for optimal freshness and flavor.
Why are my pickled green beans not crunchy?
Several factors can lead to mushy pickled green beans. The most common reasons are using older, less fresh beans; over-blanching them before pickling; over-processing in the water bath; or having a weak brine. To ensure crispness, use very fresh, firm beans, blanch briefly, adhere to recommended processing times, and consider adding pickle crisp (calcium chloride) to your jars.
Can I skip the canning process for this pickled green beans recipe?
Yes, you can make 'refrigerator pickled green beans' by skipping the boiling water bath canning step. Simply prepare the beans and brine as instructed, pack them into clean jars, and store them immediately in the refrigerator. Refrigerator pickles will be ready to eat sooner (in about 3-5 days) but will only last for 4-6 weeks in the fridge, as they are not shelf-stable.
What type of green beans are best for pickling?
For the best pickled green beans recipe, choose fresh, young, and tender green beans that are firm and snap easily. Avoid any that are limp or have visible blemishes. Varieties like Blue Lake, Harvester, or Tenderette are excellent choices. French green beans (haricots verts) also work well for a more delicate pickled bean.
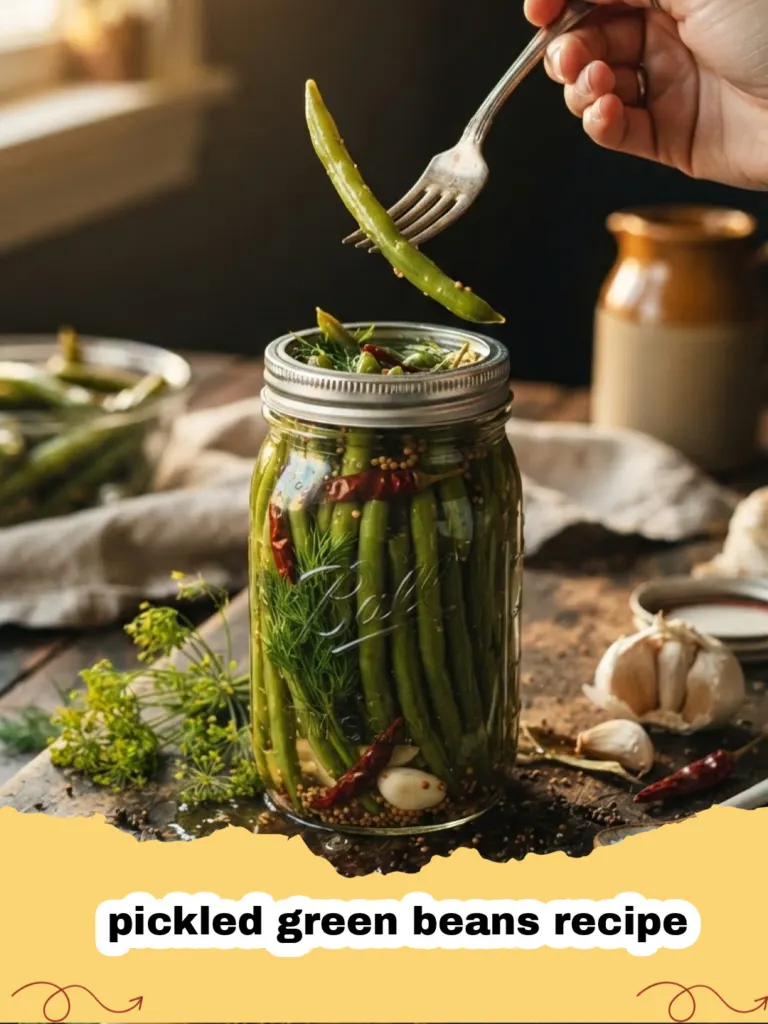
The Best Homemade Pickled Green Beans
Learn how to make the best homemade pickled green beans recipe – crunchy, tangy, and bursting with dill and garlic flavor. Perfect for canning and enjoying year-round!
- Total Time: 30 minutes
- Yield: 4 pint jars 1x
Ingredients
2 lbs fresh green beans, trimmed
4 cups white vinegar (5% acidity)
4 cups water
1/4 cup pickling salt
2 tablespoons granulated sugar (optional, for slightly sweeter pickles)
8-12 cloves garlic, peeled and lightly smashed or sliced
8-12 sprigs fresh dill
Optional: 1-2 tsp mustard seeds per jar
Optional: 1/2 tsp red pepper flakes per jar (for spicy dilly beans)
Instructions
Step 1: Sterilize your canning jars, lids, and bands. Wash them thoroughly, then either run jars through a dishwasher on a hot cycle or boil them in water for 10 minutes. Keep jars hot. Simmer lids in hot (not boiling) water to soften the sealing compound.
Step 2: Wash and trim the green beans, snapping off the stem ends. You can trim the tail ends as well if desired.
Step 3: Bring a large pot of water to a rolling boil. Prepare an ice bath in a separate large bowl. Blanch the trimmed green beans in the boiling water for 2-3 minutes. Immediately transfer them to the ice bath to stop cooking and preserve crispness. Drain well.
Step 4: In a large saucepan, combine the white vinegar, water, pickling salt, and sugar (if using). Bring the mixture to a boil, stirring until the salt and sugar are fully dissolved. Reduce heat and keep the brine hot.
Step 5: Into each hot, sterilized pint jar, add 2-3 cloves of garlic, 2-3 sprigs of fresh dill, and any optional spices like mustard seeds or red pepper flakes. Tightly pack the blanched green beans vertically into the jars, leaving about 1/2 inch of headspace from the rim.
Step 6: Carefully ladle the hot pickling brine over the packed green beans, ensuring they are fully submerged and maintaining 1/2 inch of headspace. Use a non-metallic utensil to gently dislodge any trapped air bubbles by running it around the inside of the jar. Top off with more brine if necessary to maintain headspace.
Step 7: Wipe the rims of the jars clean with a damp cloth. Center the hot lids on the jars, then screw on the bands until fingertip-tight. Process the jars in a boiling water canner for 10 minutes (adjust for altitude if necessary).
Step 8: After processing, turn off the heat, remove the canner lid, and let the jars sit in the hot water for 5 minutes. Carefully remove the jars with a jar lifter and place them on a towel-lined counter. Let them cool completely undisturbed for 12-24 hours.
Step 9: Once cooled, check the seals. Lids should be concave and not flex when pressed. If any jar hasn't sealed, refrigerate it and consume within a few weeks. Label and store sealed pickled green beans in a cool, dark place for up to a year. For best flavor, wait at least 2 weeks before opening.
Notes
For extra crispness, you can add 1/4 teaspoon of pickle crisp (calcium chloride) per pint jar before adding the beans. Ensure all equipment is clean and sterilized for safe canning. Store sealed jars in a cool, dark place. For the best flavor, let the pickled green beans sit for at least 2 weeks before opening, allowing the flavors to meld.
- Prep Time: 20 minutes
- Cook Time: 10 minutes
- Category: Main Dishes & Savory Recipes
- Cuisine: American
Nutrition
- Serving Size: 1/2 cup (60g)
- Calories: 25 kcal
- Sugar: 2 g
- Sodium: 310 mg
- Fat: 0 g
- Saturated Fat: 0 g
- Unsaturated Fat: 0 g
- Trans Fat: 0 g
- Carbohydrates: 5 g
- Fiber: 2 g
- Protein: 1 g
- Cholesterol: 0 mg