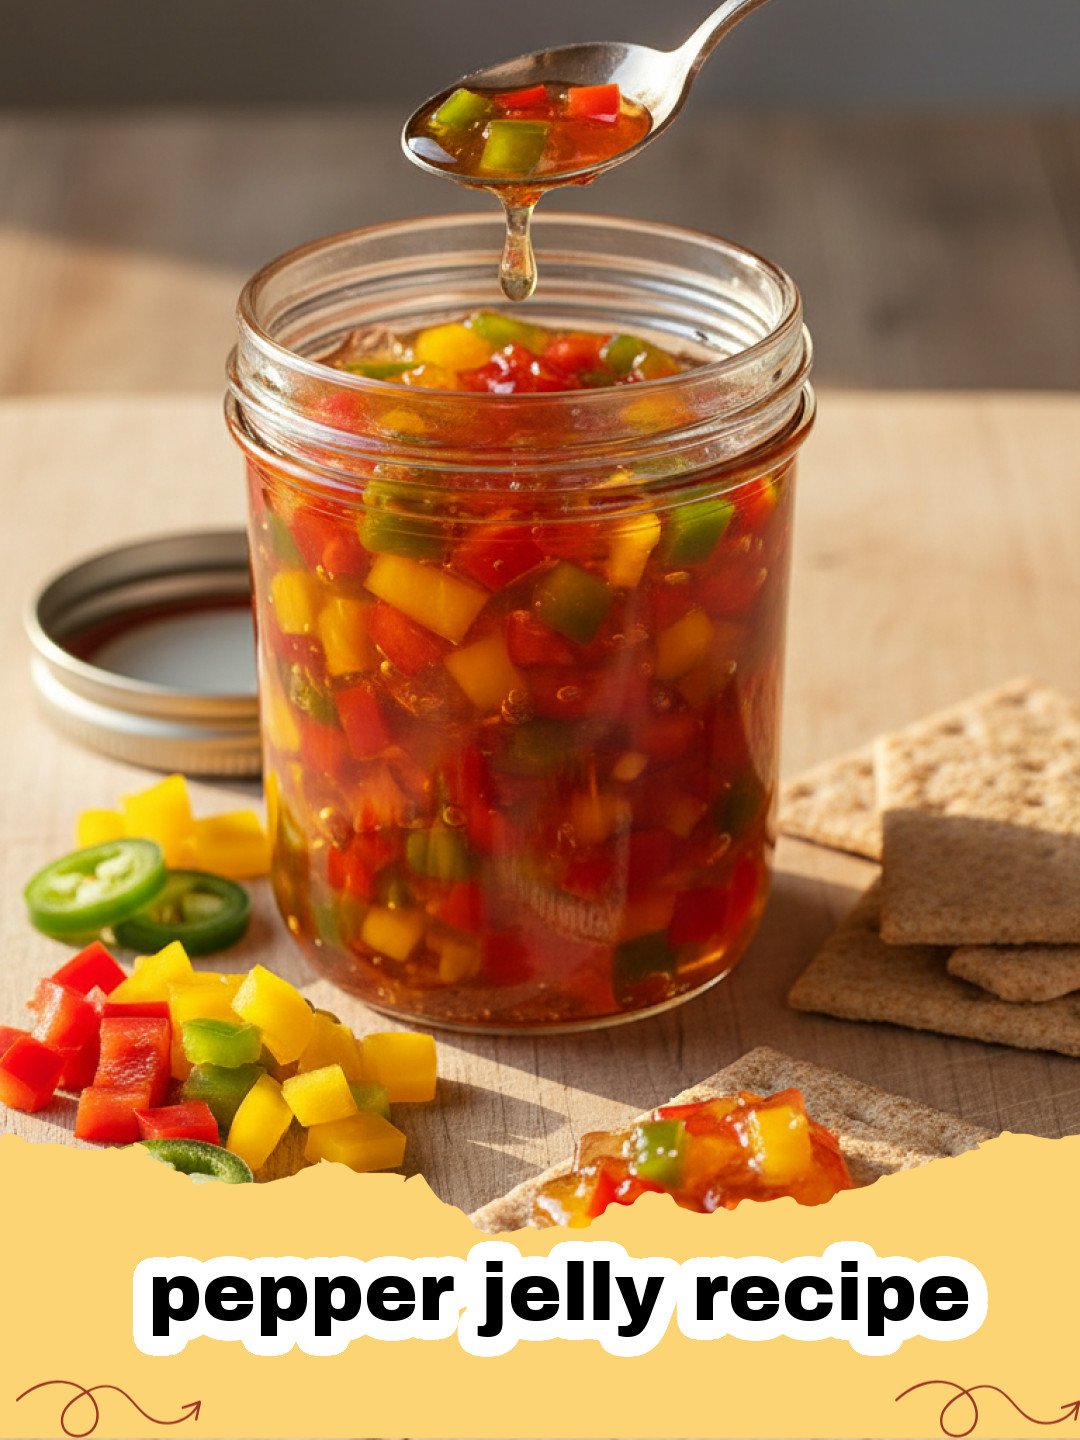
There's something magical about a jar of homemade goodness, especially when it’s a vibrant, shimmering pepper jelly recipe. I remember my grandmother, bless her heart, always had a pantry stocked with jars of preserves – from blackberry jam to pickled peaches. But it was her pepper jelly that truly captivated me. Every Christmas, a tray laden with crackers, cream cheese, and her ruby-red pepper jelly would appear, and it was always the first thing to disappear. The way the sweetness hit you first, followed by that gentle, warming kick of spice, was just perfection. It felt like a secret weapon in her culinary arsenal, and for years, I tried to replicate that elusive taste. This journey led me to perfect my own pepper jelly recipe, a delightful balance of heat and sugar that evokes those cherished memories while bringing modern flair to any spread. It’s more than just a condiment; it’s a conversation starter, a gift from the heart, and a testament to the simple joy of creating something delicious from scratch. Let me share this treasured pepper jelly recipe with you, so you can create your own delicious memories.
Why This Pepper Jelly Recipe is a Must-Try
Incredibly Versatile:
This pepper jelly recipe isn't just for crackers and cheese. Use it as a glaze for chicken or pork, a spread in sandwiches, or even whisked into a vinaigrette for a spicy-sweet salad dressing.Homemade Freshness:
Store-bought pepper jelly often lacks the vibrant, fresh pepper flavor and customizable spice level of a homemade batch. Making your own pepper jelly recipe ensures you get the best taste possible.Perfect for Gifting:
A beautifully jarred pepper jelly recipe makes an exquisite and thoughtful gift for holidays, hostess presents, or just because. Your friends and family will adore this homemade treat.Easier Than You Think:
Don't be intimidated by canning! This pepper jelly recipe is straightforward, even for beginners, and the reward is absolutely worth the minimal effort.
Key Ingredient Notes for Your Pepper Jelly Recipe
Peppers: The Heart of the Heat
The choice of peppers is crucial for your pepper jelly recipe. I typically use a mix of red bell peppers (for sweetness and color) and jalapeños (for heat and classic pepper jelly flavor). For a milder jelly, remove all the seeds and membranes from your jalapeños. For extra kick, leave some or all of them in! Want to really turn up the heat? Consider adding a habanero or two (wearing gloves, of course!). Just remember, a little goes a long way with hotter peppers when making this pepper jelly recipe.
Pectin: The Setting Star
Pectin is what gives your pepper jelly recipe its signature jelly-like consistency. I recommend using a liquid or powdered fruit pectin specifically designed for jelly making. Follow the package instructions carefully, as different types of pectin (e.g., sure-jell, low-sugar) have slightly different activation methods and sugar requirements. Don't skip it; it's essential for achieving that perfect set in your pepper jelly recipe.
Vinegar: The Tangy Balance
Distilled white vinegar is the standard choice for this pepper jelly recipe. Its acidity not only helps balance the sweetness but also plays a vital role in the pectin's setting process and acts as a natural preservative. Don't substitute with other vinegars unless you're experienced in jelly making, as their acidity levels can vary significantly, potentially affecting the final texture and safety of your pepper jelly recipe.
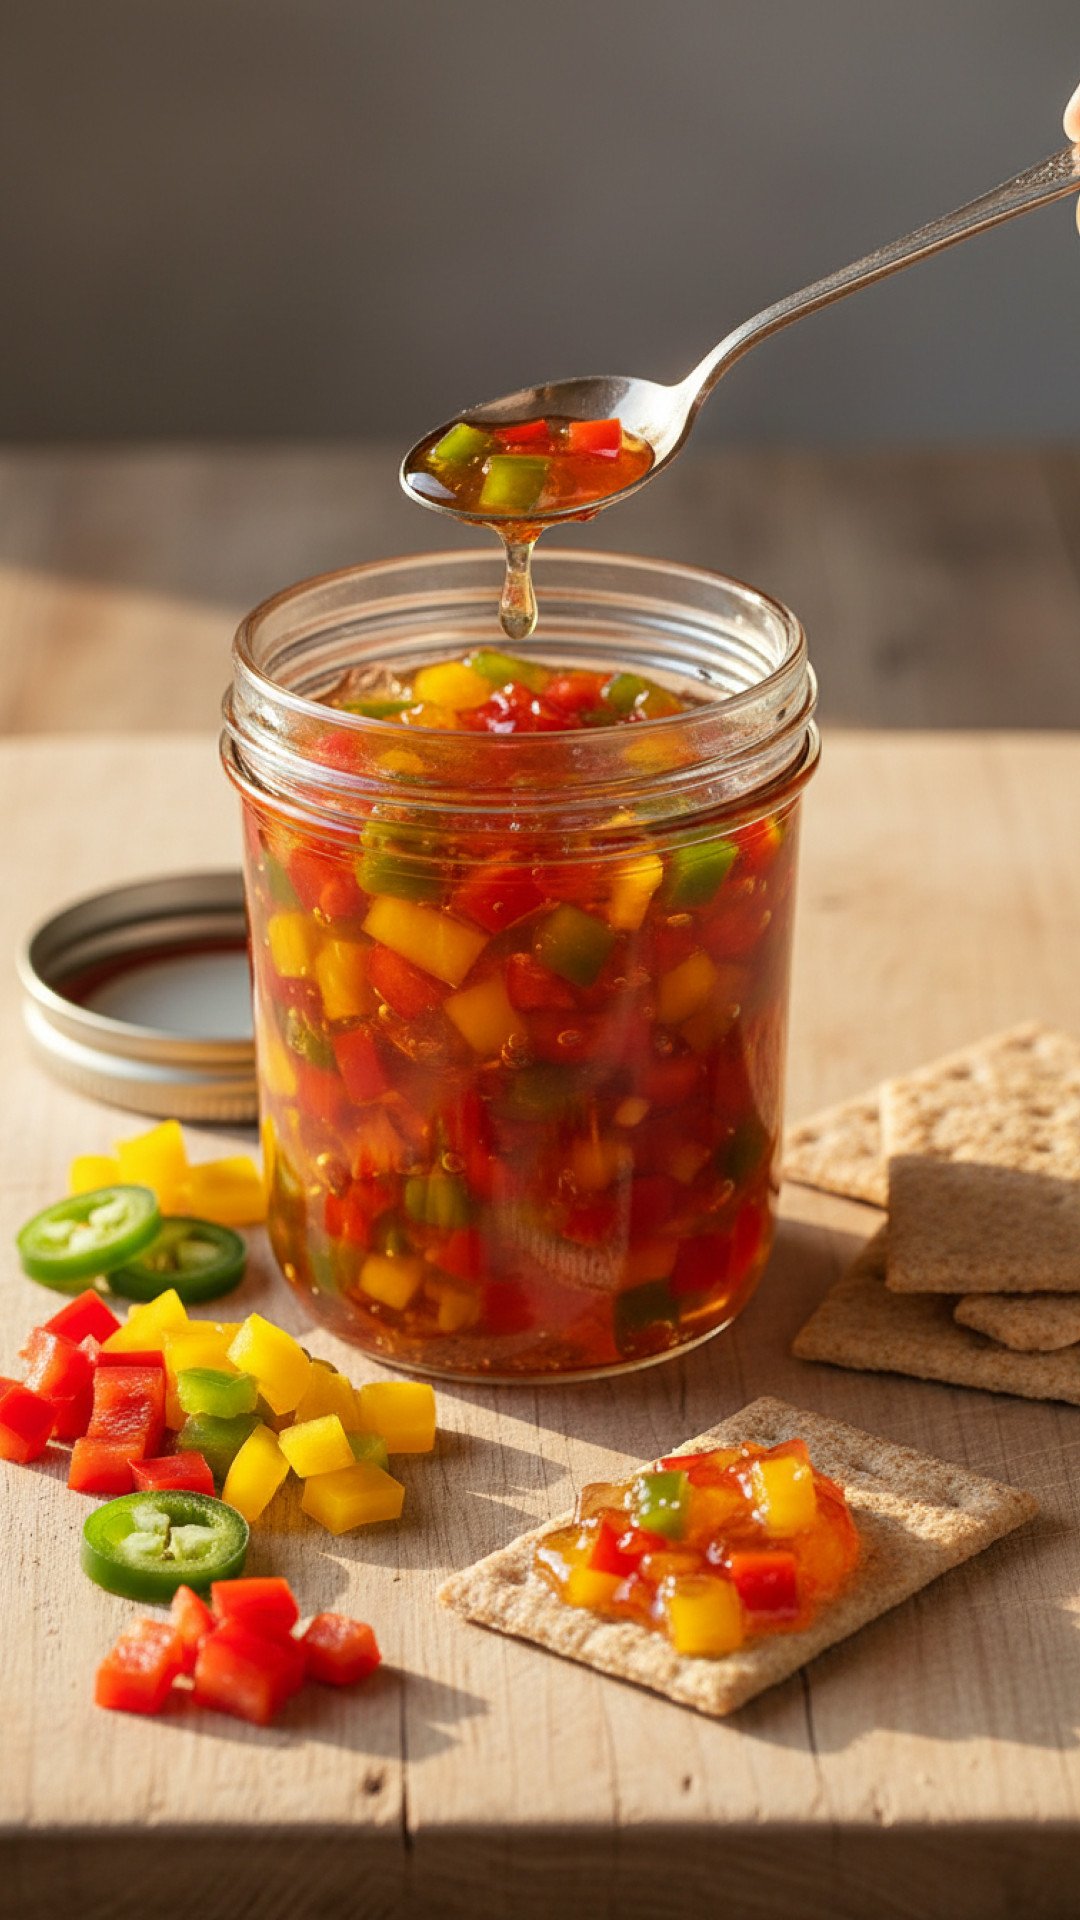
Step-by-Step Guide with Pro Tips for this Pepper Jelly Recipe
Step 1: Prepare Your Peppers and Jars
First, wash all your peppers thoroughly. For the bell peppers, remove the stems, seeds, and any white membranes, then roughly chop. For the jalapeños, decide on your desired heat level. Remove seeds and membranes for milder jelly, or leave some in for more spice. Roughly chop them. Remember to wear gloves when handling hot peppers to avoid skin irritation. Sterilize your canning jars, lids, and bands according to manufacturer instructions. You can do this by washing them in hot, soapy water, rinsing well, and then submerging them in boiling water for at least 10 minutes. Keep them hot until ready to fill. This is a critical step for a safe pepper jelly recipe.
Step 2: Blend the Peppers
Place the chopped bell peppers and jalapeños into a food processor. Pulse until finely minced, but avoid turning it into a complete purée. You want some small pieces of pepper for texture in your pepper jelly recipe.
Step 3: Combine and Cook
In a large, heavy-bottomed pot or Dutch oven, combine the minced peppers, apple cider vinegar, and sugar. Stir well to combine. Bring the mixture to a rolling boil over high heat, stirring constantly to prevent sticking and ensure the sugar dissolves. This vigorous boiling is key for a good pepper jelly recipe.
Step 4: Add Pectin and Boil
Once at a rolling boil, add the liquid pectin (or powdered, according to its specific package directions) and stir vigorously for 1 minute. Continue boiling for exactly 1 minute, stirring constantly. It’s important to maintain a strong, rolling boil for this minute to activate the pectin properly. This ensures your pepper jelly recipe sets perfectly.
Step 5: Skim and Ladle
Carefully remove the pot from the heat. Skim off any foam that has formed on the surface using a spoon. Immediately and carefully ladle the hot pepper jelly into your hot, sterilized jars, leaving about 1/4 inch of headspace from the rim. Wipe the rims clean with a damp cloth.
Step 6: Seal the Jars
Place the hot lids on the jars and screw on the bands until finger-tight. Do not overtighten. Your pepper jelly recipe is almost ready for storage!
Step 7: Process Jars (Optional but Recommended)
For long-term shelf stability and food safety, process the jars in a boiling water canner for 10 minutes. Ensure the jars are completely submerged in boiling water. After 10 minutes, turn off the heat, remove the canner lid, and let the jars sit for 5 minutes before carefully removing them to a wire rack. Let them cool undisturbed for 12-24 hours. You should hear the lids pop as they seal. Once cooled, check the seals by pressing on the center of each lid; if it doesn't flex, it's sealed. This processing step ensures your pepper jelly recipe lasts.
Step 8: Store and Enjoy!
Label your jars with the date. Store sealed jars in a cool, dark place for up to a year. Unsealed jars, or once opened, should be refrigerated and consumed within 3-4 weeks. Your delicious homemade pepper jelly recipe is now ready to enjoy!
Variations & Serving Suggestions for Your Pepper Jelly Recipe
Spice Level Swaps
- Milder: Use only bell peppers and a tiny amount of deseeded jalapeño, or omit jalapeños entirely for a sweet bell pepper jelly.
- Medium: Follow the recipe, deseed the jalapeños.
- Hotter: Leave some jalapeño seeds and membranes, or add a deseeded serrano or habanero pepper for an extra kick in your pepper jelly recipe.
Flavor Enhancements
- Fruity Twist: Add 1/2 cup of finely minced mango or pineapple along with the peppers for a tropical flair.
- Smoky: Use roasted red bell peppers instead of fresh, or add a pinch of smoked paprika.
- Garlic & Herb: Mince 1-2 cloves of garlic and a tablespoon of fresh thyme or rosemary and add to the pot with the peppers and sugar.
Serving Ideas
- Classic Appetizer: Serve this pepper jelly recipe over a block of cream cheese with an assortment of crackers. This is probably the most popular way to enjoy it!
- Cheese Board Star: A must-have for any charcuterie or cheese board. It pairs beautifully with goat cheese, brie, cheddar, or even a sharp blue cheese. This pepper jelly recipe adds a fantastic sweet and spicy counterpoint. If you're looking for other tangy additions to your board, our Ultimate Classic Sweet and Tangy Pickled Beets Recipe are a perfect complement.
- Glaze for Meats: Brush it onto grilled chicken, pork tenderloin, or even meatballs during the last few minutes of cooking for a glossy, flavorful finish.
- Sandwich & Wrap Spread: Replace your usual mustard or mayo with a spoonful of pepper jelly for an exciting flavor boost.
- Marinade Mixer: Whisk a few tablespoons into your favorite marinade for a sweet-spicy kick.
- Sweet & Savory Breakfast: Try a dollop on a breakfast sandwich with sausage or bacon.
Remember to store your delicious homemade pepper jelly recipe in airtight glass jars. I highly recommend using quality Basics Glass Food Storage containers for optimal freshness and presentation. For those with a sweet tooth who appreciate homemade delights, you might also love our Ultimate Fresh Strawberry Cupcake Recipe with Cream Cheese Frosting.
Nutrition Information
| Nutrient | Amount per serving |
|---|---|
| Calories | 70 kcal |
| Carbohydrates | 18g |
| Cholesterol | 0mg |
| Total Fat | 0g |
| Fiber | 0g |
| Protein | 0g |
| Saturated Fat | 0g |
| Serving Size | 1 tbsp (15g) |
| Sodium | 10mg |
| Sugar | 17g |
| Trans Fat | 0g |
| Unsaturated Fat | 0g |
This homemade pepper jelly recipe is truly a labor of love that pays off in spades. Whether you're making it for your own pantry, sharing it with loved ones, or simply enjoying the process, the rich flavors and vibrant color are sure to brighten any day. There's immense satisfaction in creating something so delicious and versatile from scratch. So go ahead, whip up a batch of this amazing pepper jelly recipe and let the sweet-spicy magic unfold in your kitchen. Enjoy every shimmering, flavorful spoonful!
FAQs
Can I adjust the spice level in this pepper jelly recipe?
Absolutely! For a milder pepper jelly recipe, remove all seeds and white membranes from your jalapeu00f1os. For more heat, leave some or all of them in. You can also experiment with other peppers like serrano or habanero for an extra kick, but start with a small amount as they are much hotter.
How long does homemade pepper jelly last?
When properly processed in a boiling water canner and sealed, this pepper jelly recipe can last up to 1 year in a cool, dark pantry. Once opened, or if a jar doesn't seal, store it in the refrigerator and consume within 3-4 weeks.
Do I need special canning equipment for this pepper jelly recipe?
While a boiling water canner is recommended for long-term shelf-stable storage, you can make this pepper jelly recipe without one if you plan to store it in the refrigerator. For canning, you'll need canning jars with new lids and bands, a large pot (canner) with a rack, a jar lifter, and a funnel. These tools make the process safer and easier.
What are the best ways to serve pepper jelly?
This versatile pepper jelly recipe shines on a block of cream cheese with crackers or as part of a charcuterie board. It's also excellent as a glaze for roasted or grilled chicken and pork, a sweet-spicy spread for sandwiches, or even whisked into a homemade vinaigrette. Get creative and enjoy its unique flavor!
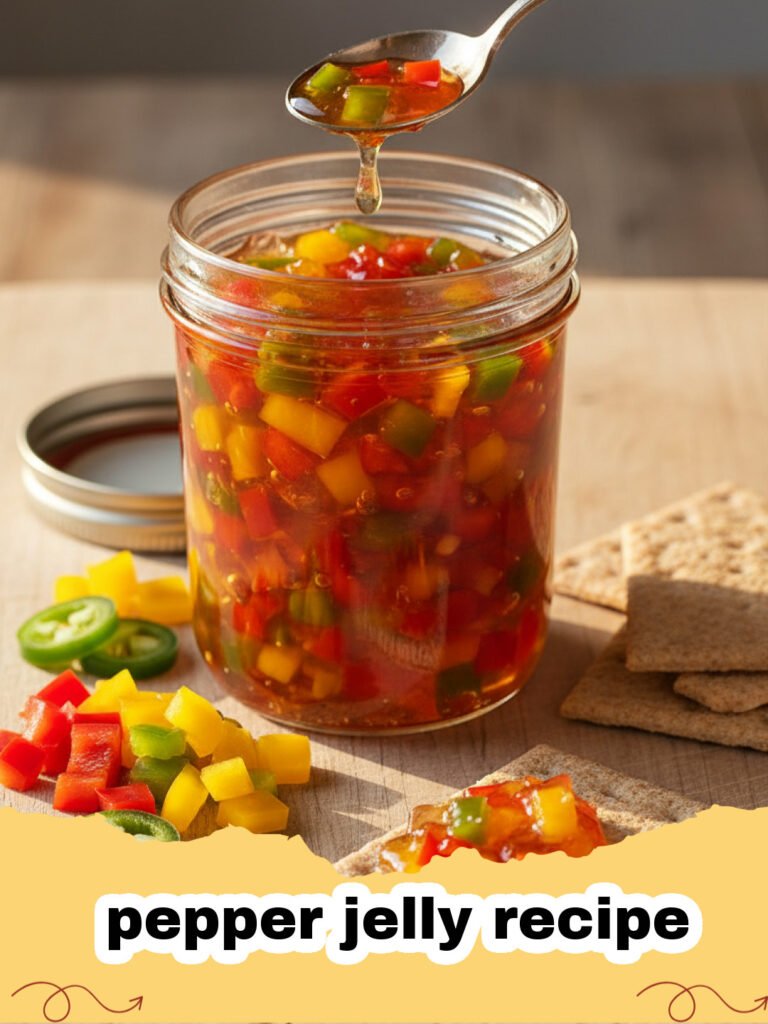
Homemade Sweet & Spicy Pepper Jelly
This ultimate homemade pepper jelly recipe balances sweet and spicy flavors perfectly, creating a versatile condiment that's fantastic on cheese boards, as a glaze for meats, or a thoughtful gift. It's easier to make than you think and tastes far superior to store-bought versions.
- Total Time: 50 minutes
- Yield: 6 half-pint jars 1x
Ingredients
2 cups finely minced red bell peppers (about 2 large)
1 cup finely minced jalapeño peppers (about 6-8 medium, seeds/membranes removed for milder, or left in for hotter)
5 cups granulated sugar
1 1/2 cups apple cider vinegar (5% acidity)
1 pouch (3 oz) liquid fruit pectin
Instructions
Step 1: Wash and prepare your peppers. Remove stems, seeds, and membranes from bell peppers and jalapeños (adjust jalapeño seeds/membranes based on desired heat). Finely mince all peppers using a food processor or by hand. Sterilize half-pint canning jars, lids, and bands; keep them hot.
Step 2: In a large, heavy-bottomed pot or Dutch oven, combine the minced peppers, granulated sugar, and apple cider vinegar. Stir well to mix all ingredients thoroughly.
Step 3: Bring the mixture to a full rolling boil over high heat, stirring constantly to prevent sticking and ensure sugar dissolves completely. A 'rolling boil' is one that cannot be stirred down.
Step 4: Once a rolling boil is achieved, immediately add the liquid fruit pectin. Stir vigorously for 1 full minute, maintaining the rolling boil the entire time. This ensures the pectin activates properly.
Step 5: Carefully remove the pot from the heat. Skim off any foam that has formed on the surface of the jelly using a large spoon. Promptly ladle the hot pepper jelly into your hot, sterilized jars, leaving 1/4 inch of headspace from the rim.
Step 6: Wipe the rims of the filled jars clean with a damp cloth to ensure a good seal. Center the hot lids on the jars and screw on the bands until they are finger-tight.
Step 7: For long-term storage, process the jars in a boiling water canner for 10 minutes. Ensure jars are fully submerged. After 10 minutes, turn off heat, remove canner lid, and let jars sit for 5 minutes before carefully removing to a wire rack. Allow to cool undisturbed for 12-24 hours.
Step 8: After cooling, check seals by pressing on the center of each lid. If it doesn't flex, it's sealed. Label and store sealed jars in a cool, dark place for up to 1 year. Refrigerate unsealed jars or once opened, and consume within 3-4 weeks.
Notes
Always wear gloves when handling hot peppers like jalapeños, especially when mincing them. For a perfect set, ensure your pectin is fresh and follow its specific package instructions, as brands can vary. Do not reduce the sugar amount significantly, as it's crucial for the pectin to activate and for preserving the jelly. Sterilizing jars properly is key for safe, long-term storage.
- Prep Time: 30 minutes
- Cook Time: 20 minutes
- Category: Drinks, Snacks & Holiday Treats
- Cuisine: American
Nutrition
- Serving Size: 1 tbsp (15g)
- Calories: 70 kcal
- Sugar: 17g
- Sodium: 10mg
- Fat: 0g
- Saturated Fat: 0g
- Unsaturated Fat: 0g
- Trans Fat: 0g
- Carbohydrates: 18g
- Fiber: 0g
- Protein: 0g
- Cholesterol: 0mg