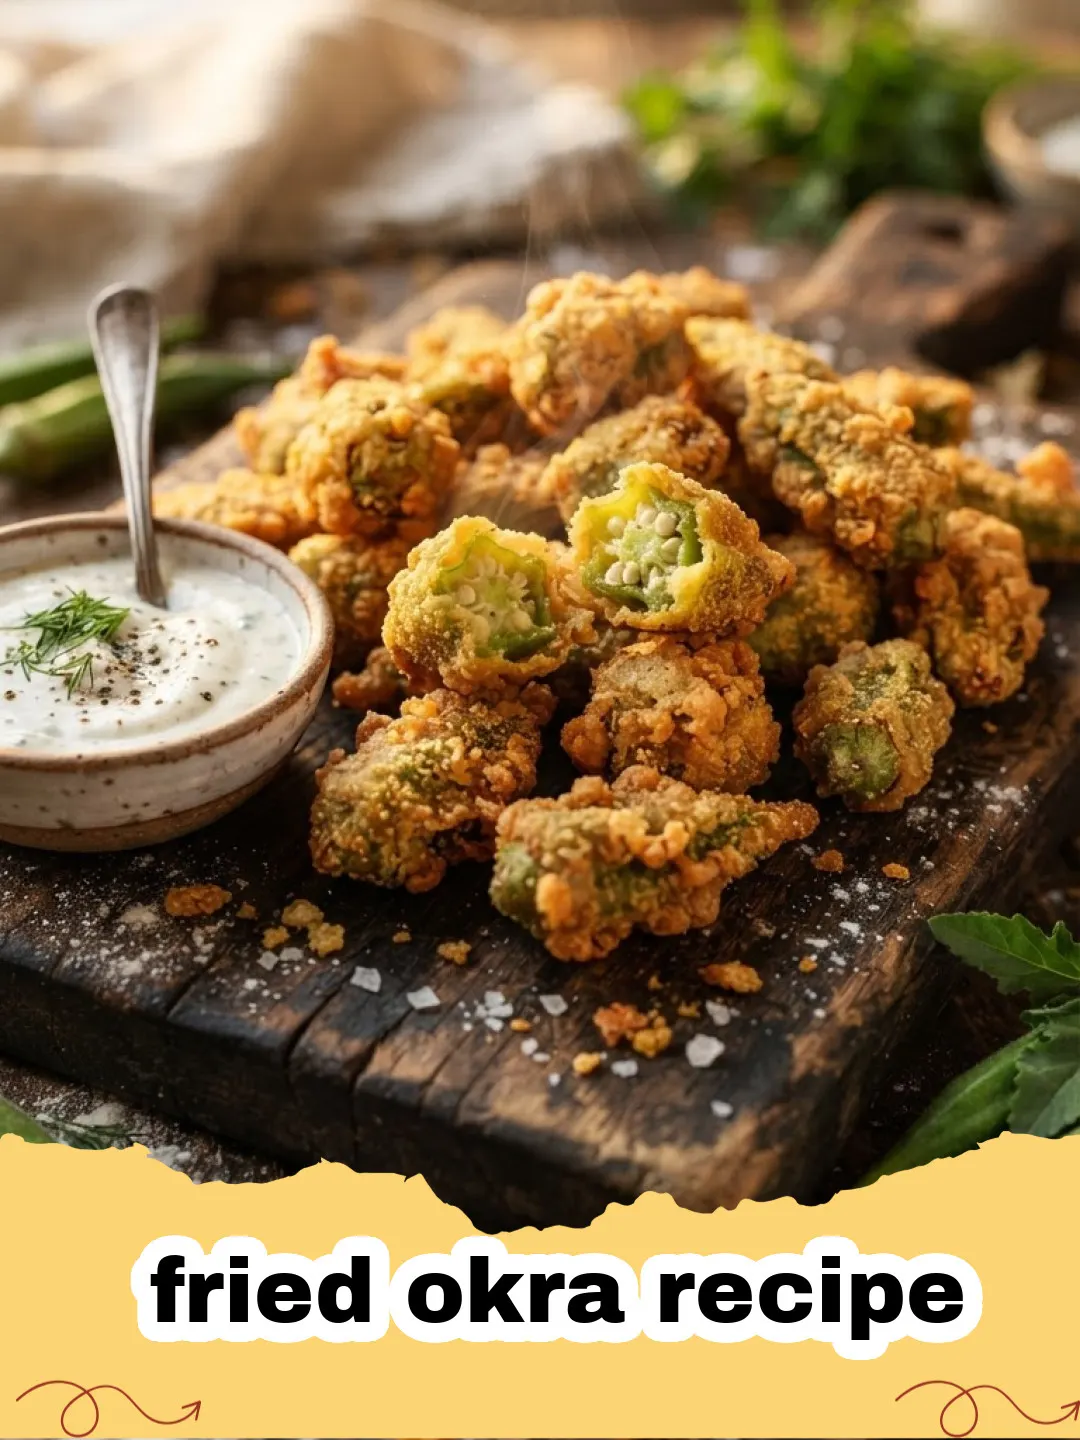
Growing up in the South, certain aromas just transport you straight back to grandma's kitchen. For me, one of those unmistakable scents is the sizzle and earthy fragrance of a truly perfect fried okra recipe. I can still vividly recall those sweltering summer afternoons, the kind where the air hangs heavy and humid, and the only solace was the promise of a delicious, home-cooked meal. My grandmother, bless her heart, had a way with okra. She’d spend hours out in her garden, carefully plucking the tender pods, her hands stained green from the harvest. I used to think of okra as a mysterious, slightly slimy vegetable, a notion many share, until I tasted her rendition. Her secret wasn't really a secret; it was patience, good buttermilk, and a hot cast-iron skillet. The transformation from garden-fresh pod to golden, crunchy delight was pure magic in her hands, and it made me fall in love with what many consider a humble vegetable. That first bite of perfectly seasoned, crispy fried okra recipe was always a revelation – crunchy on the outside, tender on the inside, with that unique, slightly sweet flavor. It became a cornerstone of our family gatherings, a dish eagerly awaited by everyone, myself included. This isn't just about cooking; it's about preserving a piece of culinary history and sharing the joy that comes with every single bite of a classic fried okra recipe. Today, I'm sharing her technique, honed over decades, so you can bring that same authentic Southern comfort into your own home.
Why This Fried Okra Recipe is a Must-Try
Unbeatable Crunch:
Our specific dredging method ensures each piece of okra is coated perfectly, leading to an incredibly crispy exterior that holds up beautifully. This fried okra recipe truly delivers on texture.Authentic Southern Flavor:
Seasoned with a blend of staples like salt, pepper, garlic powder, and a hint of cayenne, this fried okra recipe captures the traditional taste beloved for generations.Simple & Straightforward:
Don't be intimidated! This fried okra recipe breaks down the process into easy-to-follow steps, making it accessible even for novice cooks. You'll be making this fried okra recipe like a pro in no time.Versatile Side Dish:
Perfect alongside grilled meats, barbecue, or as part of a larger Southern spread, this fried okra recipe is incredibly adaptable and always a crowd-pleaser.
Key Ingredient Notes for Your Fried Okra Recipe
The success of any fried okra recipe hinges on the quality and preparation of its core ingredients. Here’s what you need to know to get the best results:
Fresh Okra
Choosing the right okra is paramount. Look for pods that are bright green, firm, and between 2 to 4 inches long. Smaller pods tend to be more tender and less fibrous. Avoid any pods that are discolored, soft, or have blemishes. While frozen okra can be used in a pinch, fresh okra will always yield the best texture and flavor for this fried okra recipe. Wash your okra thoroughly and pat it completely dry before slicing. Any excess moisture will prevent the breading from sticking properly.
Buttermilk
Buttermilk is the secret weapon in many Southern fried recipes, and this fried okra recipe is no exception. Its acidity not only tenderizes the okra slightly but also helps the breading adhere better than regular milk. The tanginess of buttermilk also adds a wonderful depth of flavor to the finished product. If you don't have buttermilk on hand, you can easily make a substitute: add 1 tablespoon of white vinegar or lemon juice to a measuring cup, then fill the rest with regular milk until it reaches 1 cup. Let it sit for 5-10 minutes until it slightly curdles. This trick works wonders for any fried okra recipe calling for buttermilk!
Cornmeal & Flour Blend
The perfect crispy coating for a fried okra recipe comes from a balanced blend of cornmeal and all-purpose flour. The cornmeal provides that signature gritty texture and golden crispness, while the flour helps to lighten the coating and ensure it adheres evenly. Using only cornmeal can sometimes result in a coating that's too heavy or gritty, and using only flour won't give you that classic Southern crunch. A 1:1 ratio is a good starting point, but you can adjust it slightly to your preference. Season this blend generously – this is where much of the flavor for your fried okra recipe comes from!
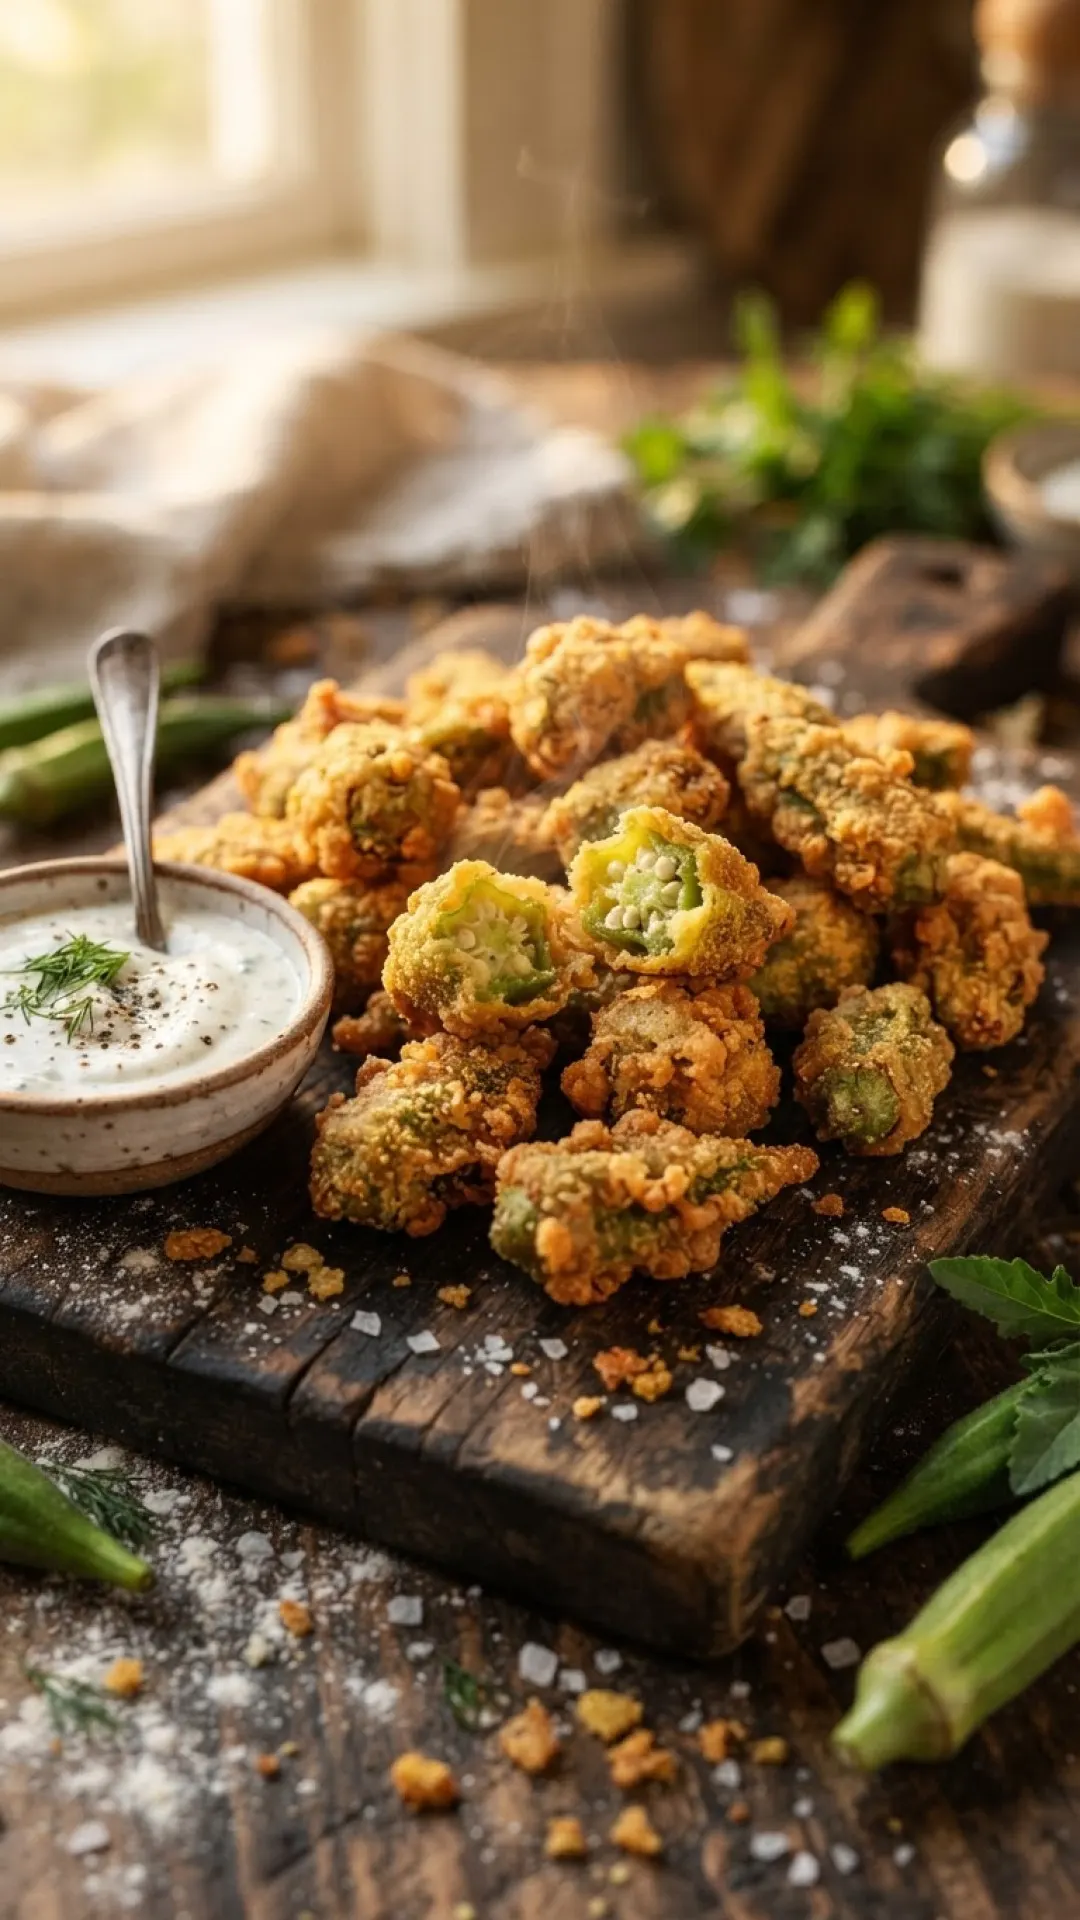
Step-by-Step Guide with Pro Tips for this Fried Okra Recipe
Ready to make the best fried okra recipe you've ever tasted? Follow these detailed steps for a perfect batch every time.
- Step 1: Prepare the Okra. Begin by washing your fresh okra under cool running water. Pat it thoroughly dry with paper towels. Using a sharp knife, trim off the very top stem end and the tip of each okra pod. Slice the okra into 1/2-inch thick rounds. Discard any pieces that are too small or seem overly fibrous.
- Step 2: Soak in Buttermilk. Place the sliced okra into a medium-sized bowl. Pour the buttermilk over the okra, ensuring all pieces are well coated. Let the okra soak in the buttermilk for at least 15-20 minutes. This step is crucial for tenderizing the okra and helping the breading stick. For an even more tender result, you can soak it for up to 30 minutes.
- Step 3: Prepare the Dredging Mixture. In a separate shallow dish or large Ziploc bag, combine the yellow cornmeal, all-purpose flour, salt, black pepper, garlic powder, and cayenne pepper. Whisk or shake until all the seasonings are evenly distributed throughout the mixture. This perfectly seasoned coating is key to a flavorful fried okra recipe.
- Step 4: Coat the Okra. Working in batches, remove the okra from the buttermilk, allowing any excess to drip off, but don't rinse. Transfer the wet okra directly into the cornmeal mixture. Toss gently to ensure each piece is thoroughly coated. You want a thick, even layer of breading. Shake off any excess. For extra crispiness, you can double-dredge: dip the coated okra back into any remaining buttermilk and then into the cornmeal mixture again.
- Step 5: Heat the Oil. Pour enough vegetable oil (or your preferred frying oil) into a large, heavy-bottomed skillet or Dutch oven to reach a depth of about 2 inches. Heat the oil over medium-high heat until it reaches 350-375°F (175-190°C). If you don't have a thermometer, you can test the oil by dropping a small pinch of the cornmeal mixture in; it should sizzle vigorously and turn golden quickly.
- Step 6: Fry the Okra. Carefully add the coated okra to the hot oil in a single layer, making sure not to overcrowd the pan. Frying in batches is essential to maintain the oil temperature and achieve optimal crispiness for your fried okra recipe. Fry for 3-5 minutes, turning occasionally with a slotted spoon or spider, until the okra is golden brown and crispy.
- Step 7: Drain and Serve. Once fried to perfection, remove the okra from the oil using a slotted spoon and transfer it to a plate lined with paper towels to drain any excess oil. Season lightly with a little extra salt immediately after removing from the oil. Serve your crispy fried okra recipe hot and enjoy! Leftovers can be stored in an airtight container for up to 3 days. We love using Basics Glass Food Storage for easy reheating and keeping things fresh.
Variations & Serving Suggestions for Your Fried Okra Recipe
While the classic fried okra recipe is perfect on its own, there are many ways to get creative and tailor it to your taste or meal plan.
Spicy Kick:
If you love a little heat, increase the amount of cayenne pepper in the dredging mixture. You could also add a pinch of chili powder or a dash of your favorite hot sauce to the buttermilk soak. Serve with a side of spicy aioli or a ranch dressing kicked up with sriracha.
Herb Infusion:
For a fresh twist, incorporate finely chopped fresh herbs like thyme, rosemary, or parsley into the cornmeal mixture. This adds an aromatic layer that complements the okra's natural flavor beautifully. A little smoked paprika can also add a nice depth to this fried okra recipe.
Gluten-Free Option:
To make this a gluten-free fried okra recipe, simply substitute the all-purpose flour with a gluten-free all-purpose flour blend. Ensure your cornmeal is also certified gluten-free. The results will be just as crispy and delicious!
Serving Suggestions:
- Classic Southern Spread: Serve your fried okra recipe alongside other Southern favorites like pulled pork, creamy grits, and a fresh batch of coleslaw for a truly authentic meal.
- Appetizer Delight: Pile the crispy okra high on a platter and serve with various dipping sauces such as ranch, honey mustard, or a tangy remoulade. It's a fantastic appetizer for any gathering.
- Salad Topper: Add a handful of cooled fried okra to your next salad for a delightful crunch and burst of flavor.
- Sandwich Addition: Use it as a crunchy topping for burgers or sandwiches for an unexpected textural element.
Nutrition Information
| Nutrient | Amount Per Serving |
|---|---|
| Calories | 210 kcal |
| Carbohydrates | 25 g |
| Cholesterol | 15 mg |
| Total Fat | 11 g |
| Fiber | 4 g |
| Protein | 6 g |
| Saturated Fat | 2 g |
| Serving Size | 1 cup |
| Sodium | 350 mg |
| Sugar | 2 g |
| Trans Fat | 0 g |
| Unsaturated Fat | 9 g |
Note: Nutritional values are estimates and may vary based on specific ingredients and preparation methods. This fried okra recipe aims for a balance of flavor and reasonable nutrition.
Conclusion
There's something uniquely satisfying about a perfectly executed fried okra recipe. It’s more than just a side dish; it’s a taste of tradition, a bite of sunshine, and a reminder of simple pleasures. Whether you're new to cooking okra or a seasoned Southern cook, this guide provides all the tips and tricks you need to achieve that coveted crispy, flavorful result every time. So gather your fresh okra, get that oil sizzling, and prepare to delight your taste buds with this incredible fried okra recipe. It’s a dish that truly embodies comfort and joy, and I promise, once you try it, this crispy fried okra recipe will become a cherished staple in your kitchen too!
FAQs
What is the secret to getting crispy fried okra?
The key to crispy fried okra lies in several factors: first, using fresh, dry okra; second, soaking the okra in buttermilk to tenderize it and help the coating adhere; and third, a well-seasoned cornmeal and flour dredging mixture. Finally, frying in hot oil (350-375u00b0F or 175-190u00b0C) in small batches ensures each piece gets golden and crunchy without making the oil too cool.
Can I use frozen okra for this fried okra recipe?
While fresh okra is always recommended for the best texture in this fried okra recipe, you can use frozen okra. Thaw the frozen okra completely and pat it very dry to remove as much moisture as possible before proceeding with the buttermilk soak and dredging steps. Be aware that the texture might be slightly less firm than with fresh okra, but it will still be delicious.
How do I prevent fried okra from becoming slimy?
The 'sliminess' in okra is due to mucilage. To minimize it in your fried okra recipe, ensure your okra is fresh and firm. Slicing it into 1/2-inch rounds and soaking it in acidic buttermilk helps. Most importantly, frying it quickly in hot oil (350-375u00b0F or 175-190u00b0C) helps to cook off the mucilage and creates a crispy barrier that prevents sliminess.
What kind of oil is best for frying okra?
For the best fried okra recipe, choose an oil with a high smoke point and neutral flavor, such as vegetable oil, peanut oil, canola oil, or sunflower oil. These oils can withstand the high temperatures needed for frying without imparting unwanted flavors to your okra.
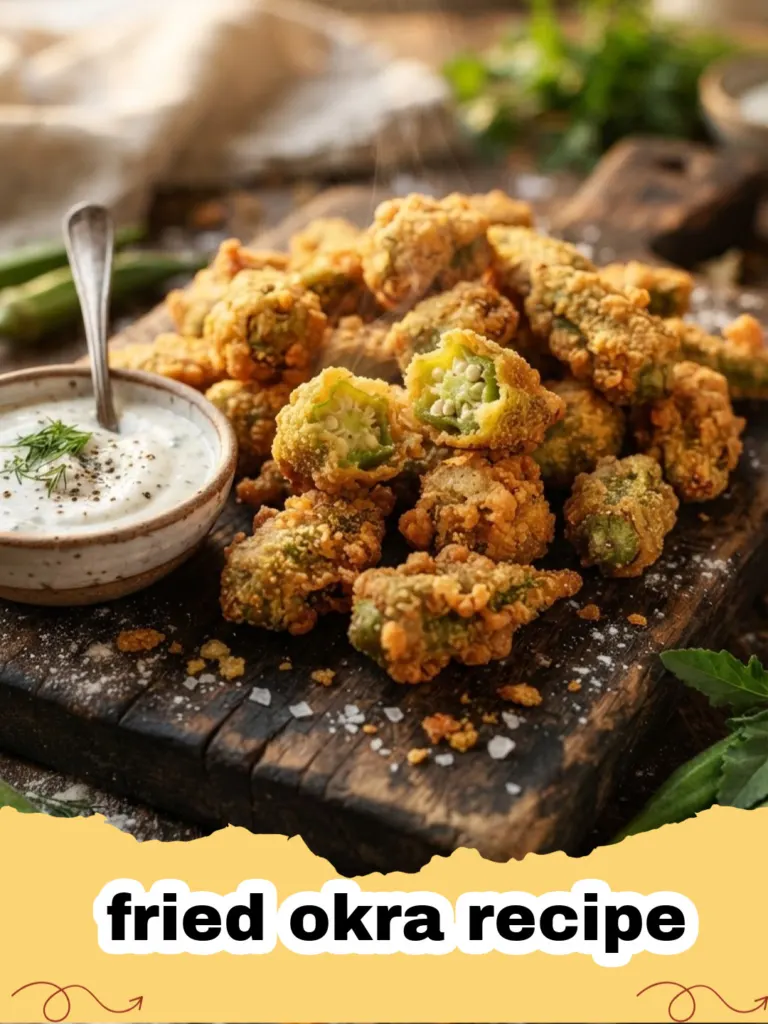
Classic Crispy Fried Okra Recipe
The ultimate guide to making perfectly crispy, golden fried okra every time. This Southern classic is easier than you think and promises a delightful crunch with every bite, bringing authentic comfort food to your table.
- Total Time: 45 minutes
- Yield: 4-6 servings 1x
Ingredients
1.5 lbs fresh okra, washed and dried
1.5 cups buttermilk
1 cup yellow cornmeal
1 cup all-purpose flour
1.5 teaspoons salt, plus more for seasoning after frying
1 teaspoon black pepper
1 teaspoon garlic powder
0.5 teaspoon cayenne pepper (or more, to taste)
4-6 cups vegetable oil (or peanut, canola oil) for frying
Instructions
Step 1: Prepare the Okra. Begin by washing your fresh okra under cool running water. Pat it thoroughly dry with paper towels. Using a sharp knife, trim off the very top stem end and the tip of each okra pod. Slice the okra into 1/2-inch thick rounds. Discard any pieces that are too small or seem overly fibrous.
Step 2: Soak in Buttermilk. Place the sliced okra into a medium-sized bowl. Pour the buttermilk over the okra, ensuring all pieces are well coated. Let the okra soak in the buttermilk for at least 15-20 minutes. This step is crucial for tenderizing the okra and helping the breading stick.
Step 3: Prepare the Dredging Mixture. In a separate shallow dish or large Ziploc bag, combine the yellow cornmeal, all-purpose flour, salt, black pepper, garlic powder, and cayenne pepper. Whisk or shake until all the seasonings are evenly distributed throughout the mixture.
Step 4: Coat the Okra. Working in batches, remove the okra from the buttermilk, allowing any excess to drip off, but don't rinse. Transfer the wet okra directly into the cornmeal mixture. Toss gently to ensure each piece is thoroughly coated. Shake off any excess.
Step 5: Heat the Oil. Pour enough vegetable oil into a large, heavy-bottomed skillet or Dutch oven to reach a depth of about 2 inches. Heat the oil over medium-high heat until it reaches 350-375°F (175-190°C).
Step 6: Fry the Okra. Carefully add the coated okra to the hot oil in a single layer, making sure not to overcrowd the pan. Fry for 3-5 minutes, turning occasionally with a slotted spoon or spider, until the okra is golden brown and crispy.
Step 7: Drain and Serve. Once fried to perfection, remove the okra from the oil using a slotted spoon and transfer it to a plate lined with paper towels to drain any excess oil. Season lightly with a little extra salt immediately after removing from the oil. Serve hot and enjoy!
Notes
For best results, use fresh, tender okra. Don't overcrowd the pan when frying; work in batches to maintain oil temperature and ensure even crispiness. Serve immediately for optimal texture.
- Prep Time: 20 minutes
- Cook Time: 25 minutes
- Category: Main Dishes & Savory Recipes
- Cuisine: Southern American
Nutrition
- Serving Size: 1 cup
- Calories: 210 kcal
- Sugar: 2 g
- Sodium: 350 mg
- Fat: 11 g
- Saturated Fat: 2 g
- Unsaturated Fat: 9 g
- Trans Fat: 0 g
- Carbohydrates: 25 g
- Fiber: 4 g
- Protein: 6 g
- Cholesterol: 15 mg