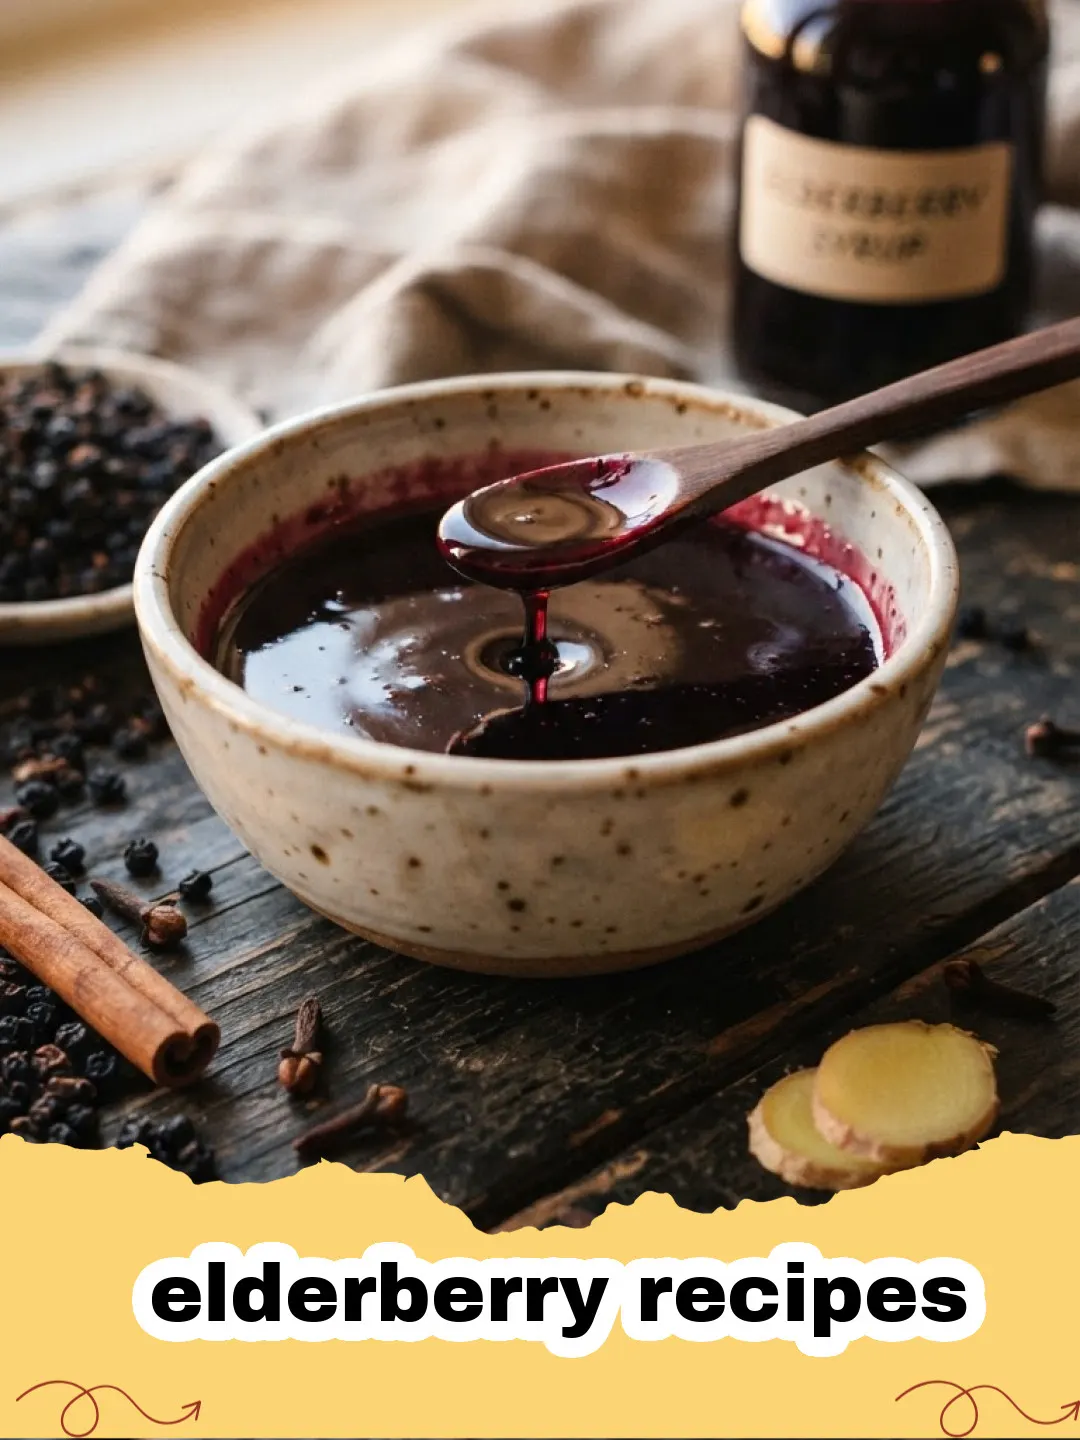
The crisp autumn air always brings back a flood of cherished memories, particularly those centered around my grandmother's bustling kitchen, filled with the sweet, slightly tart aroma of freshly baked treats. Among all her culinary masterpieces, her simple yet sublime elderberry recipes held a special place in my heart. I remember watching her, hands dusted with flour, meticulously crimping the edges of little pastry pockets, each one promising a burst of juicy elderberry goodness. It wasn't just about the pies; it was about the warmth of her home, the stories shared, and the comfort found in those homemade delights. Those moments, steeped in tradition and love, taught me the true magic of cooking: it's not just feeding bodies, but nourishing souls. This recipe for Rustic Elderberry Hand Pies isn't just a tribute to those memories; it's an invitation for you to create your own, to experience the simple joy and profound connection that only homemade elderberry recipes can offer. Every bite is a step back in time, a warm hug from the past, and a delightful journey for your taste buds.
As the leaves turn and the days grow shorter, there's nothing quite like the comforting embrace of a warm, fruit-filled pastry. These hand pies are more than just a dessert; they are a celebration of seasonal flavors and the enduring legacy of family recipes. Whether you're a seasoned baker or just starting your culinary adventure, these elderberry recipes are approachable and rewarding. I’ve spent years perfecting the balance of sweetness and tang, ensuring that each pie delivers that authentic, rustic charm my grandmother perfected. So, tie on your apron, gather your ingredients, and let's bring a little bit of that comforting nostalgia into your kitchen today with these delightful elderberry recipes.
Why These Elderberry Hand Pies Are a Must-Try
- Perfectly Portable Indulgence: These hand pies are designed for convenience. They’re easy to grab, enjoy on the go, or pack for a picnic. No forks or plates needed – just pure, delicious elderberry goodness in a neat package.
- Seasonal Flavor Spotlight: Elderberries offer a unique, vibrant, and slightly tart flavor profile that truly shines in these pies. It’s a wonderful way to celebrate a less common but incredibly flavorful berry. These elderberry recipes highlight the best of what late summer and early autumn have to offer.
- Rustic Charm & Comfort: The homemade pastry, crimped edges, and simple filling evoke a sense of rustic, old-fashioned comfort. They’re perfect for cozy evenings, holiday gatherings, or just a simple treat with a cup of tea. It's one of those elderberry recipes that feels like a warm hug.
- Versatile & Adaptable: While elderberries are the star, the basic pastry and pie structure can be adapted for other fruits, making this a foundational recipe for many delicious bakes. However, for true elderberry lovers, these elderberry recipes are a pure delight.
Key Ingredient Notes
Crafting exceptional elderberry recipes starts with understanding your ingredients. While this recipe is straightforward, a few key components deserve a closer look to ensure your hand pies turn out perfectly every time.
Elderberries: Fresh, Frozen, or Dried?
The star of our elderberry recipes! Fresh elderberries are ideal if you can find them, offering the brightest flavor. They are typically in season in late summer to early autumn. If using fresh, ensure they are ripe and discard any green berries or stems, as these parts can be toxic. Frozen elderberries are a fantastic alternative and widely available. You don't need to thaw them before cooking; just add them directly to your filling mixture. If you're using dried elderberries, you'll need to rehydrate them first by simmering them in a small amount of water or juice until plump, then drain thoroughly before using in the pie filling. Whichever form you choose, the distinct flavor of elderberries is what makes these hand pies so special.
All-Purpose Flour: The Foundation of Flaky Pastry
For the crust, all-purpose flour provides the perfect balance of structure and tenderness. While you might be tempted to use other flours, all-purpose is typically the most reliable for achieving that desired flaky texture in pie crusts. The gluten content is just right for developing a sturdy yet delicate dough. Remember that proper measurement is crucial here: spoon the flour into your measuring cup and level it off rather than scooping directly, which can compact the flour and lead to a tough crust. The right flour technique is key to successful elderberry recipes like these hand pies.
Unsalted Butter: For Richness and Flakiness
Cold, unsalted butter is non-negotiable for a truly flaky pastry. The cold butter pieces melt slowly in the oven, creating pockets of steam that separate the layers of dough, resulting in that signature flaky texture we all love. Using unsalted butter gives you control over the salt content in your pastry. Make sure your butter is as cold as possible – I often cube it and then pop it back into the freezer for 10-15 minutes before mixing. This coldness is critical for the success of these elderberry recipes, ensuring your crust is light and airy, not dense and heavy.
Step-by-Step Guide with Pro Tips
Making the Flaky Pastry Dough
Step 1: In a large mixing bowl, whisk together the all-purpose flour, granulated sugar, and salt. This ensures even distribution of dry ingredients before adding the butter.
Step 2: Add the very cold, cubed unsalted butter to the flour mixture. Using a pastry blender, your fingertips, or a food processor, cut the butter into the flour until the mixture resembles coarse crumbs with some pea-sized pieces of butter remaining. The colder the butter, the flakier your crust will be.
Step 3: Gradually add ice-cold water, one tablespoon at a time, mixing lightly until the dough just comes together. Be careful not to overmix, as this can develop the gluten too much, leading to a tough crust. You may not need all the water. The dough should be shaggy but cohesive.
Step 4: Divide the dough in half, flatten each half into a disc, wrap tightly in plastic wrap, and refrigerate for at least 30 minutes, or up to 2 days. This chilling period is crucial for relaxing the gluten and making the dough easier to roll out.
Preparing the Elderberry Filling
Step 5: In a medium saucepan, combine the elderberries (fresh or frozen), granulated sugar, lemon juice, and cornstarch. The lemon juice brightens the elderberry flavor and helps activate the cornstarch.
Step 6: Cook over medium heat, stirring constantly, until the mixture thickens and the elderberries soften, about 5-7 minutes. The cornstarch will help create a thick, luscious filling that won't run out of your hand pies. Remove from heat and let it cool completely. A cooled filling prevents the pastry from getting soggy.
Assembling the Hand Pies
Step 7: Preheat your oven to 375°F (190°C). Line a baking sheet with parchment paper.
Step 8: On a lightly floured surface, roll out one disc of chilled dough to about 1/8-inch thickness. Using a 3-4 inch round or square cutter (or a knife for squares), cut out even shapes. Repeat with the second dough disc.
Step 9: Spoon about 1-2 tablespoons of the cooled elderberry filling onto one half of each pastry cutout, leaving a small border around the edge. Don't overfill, or they'll burst!
Step 10: Fold the other half of the pastry over the filling, creating a half-moon or triangle shape. Press the edges together firmly to seal. Use a fork to crimp the edges, which not only seals them securely but also adds a rustic decorative touch. Cut a few small slits on the top of each pie to allow steam to escape during baking.
Baking and Finishing
Step 11: Whisk the egg with a tablespoon of water to create an egg wash. Brush the tops of the assembled hand pies with the egg wash and sprinkle with coarse sugar, if desired, for a sparkling finish and added crunch.
Step 12: Place the hand pies on the prepared baking sheet and bake for 20-25 minutes, or until the crust is golden brown and the filling is bubbling. Baking time may vary slightly depending on your oven.
Step 13: Let the hand pies cool on a wire rack for at least 15-20 minutes before serving. The filling will set further as it cools. Enjoy these delightful elderberry recipes warm or at room temperature!
Variations & Serving Suggestions
These Rustic Elderberry Hand Pies are truly delightful on their own, but there are plenty of ways to get creative with elderberry recipes and serving them. Don't be afraid to experiment and make them your own!
Flavor Variations:
- Spiced Elderberry: Add a pinch of ground cinnamon, nutmeg, or allspice to the elderberry filling for a warmer, more aromatic flavor profile. These spices pair beautifully with the tartness of elderberries.
- Citrus Zest Boost: In addition to lemon juice, grate in a bit of lemon or orange zest into the filling. This will brighten the flavor even further and add a lovely fragrant note to your elderberry recipes.
- Elderberry & Apple: For a heartier pie, combine elderberries with finely diced apples (like Honeycrisp or Granny Smith) in the filling. The apples will add texture and a different kind of sweetness, creating a wonderful blend of flavors.
- Nutty Crust: Incorporate finely ground almonds or pecans into your pastry dough for a subtle nutty flavor and extra tender crumb.
Serving Suggestions:
- Classic Comfort: Serve warm with a scoop of vanilla bean ice cream or a dollop of freshly whipped cream. The contrast of warm pie and cold cream is simply irresistible.
- Breakfast or Brunch Treat: These hand pies are perfect with your morning coffee or as part of a leisurely brunch spread. Their portable nature makes them excellent for a grab-and-go breakfast too.
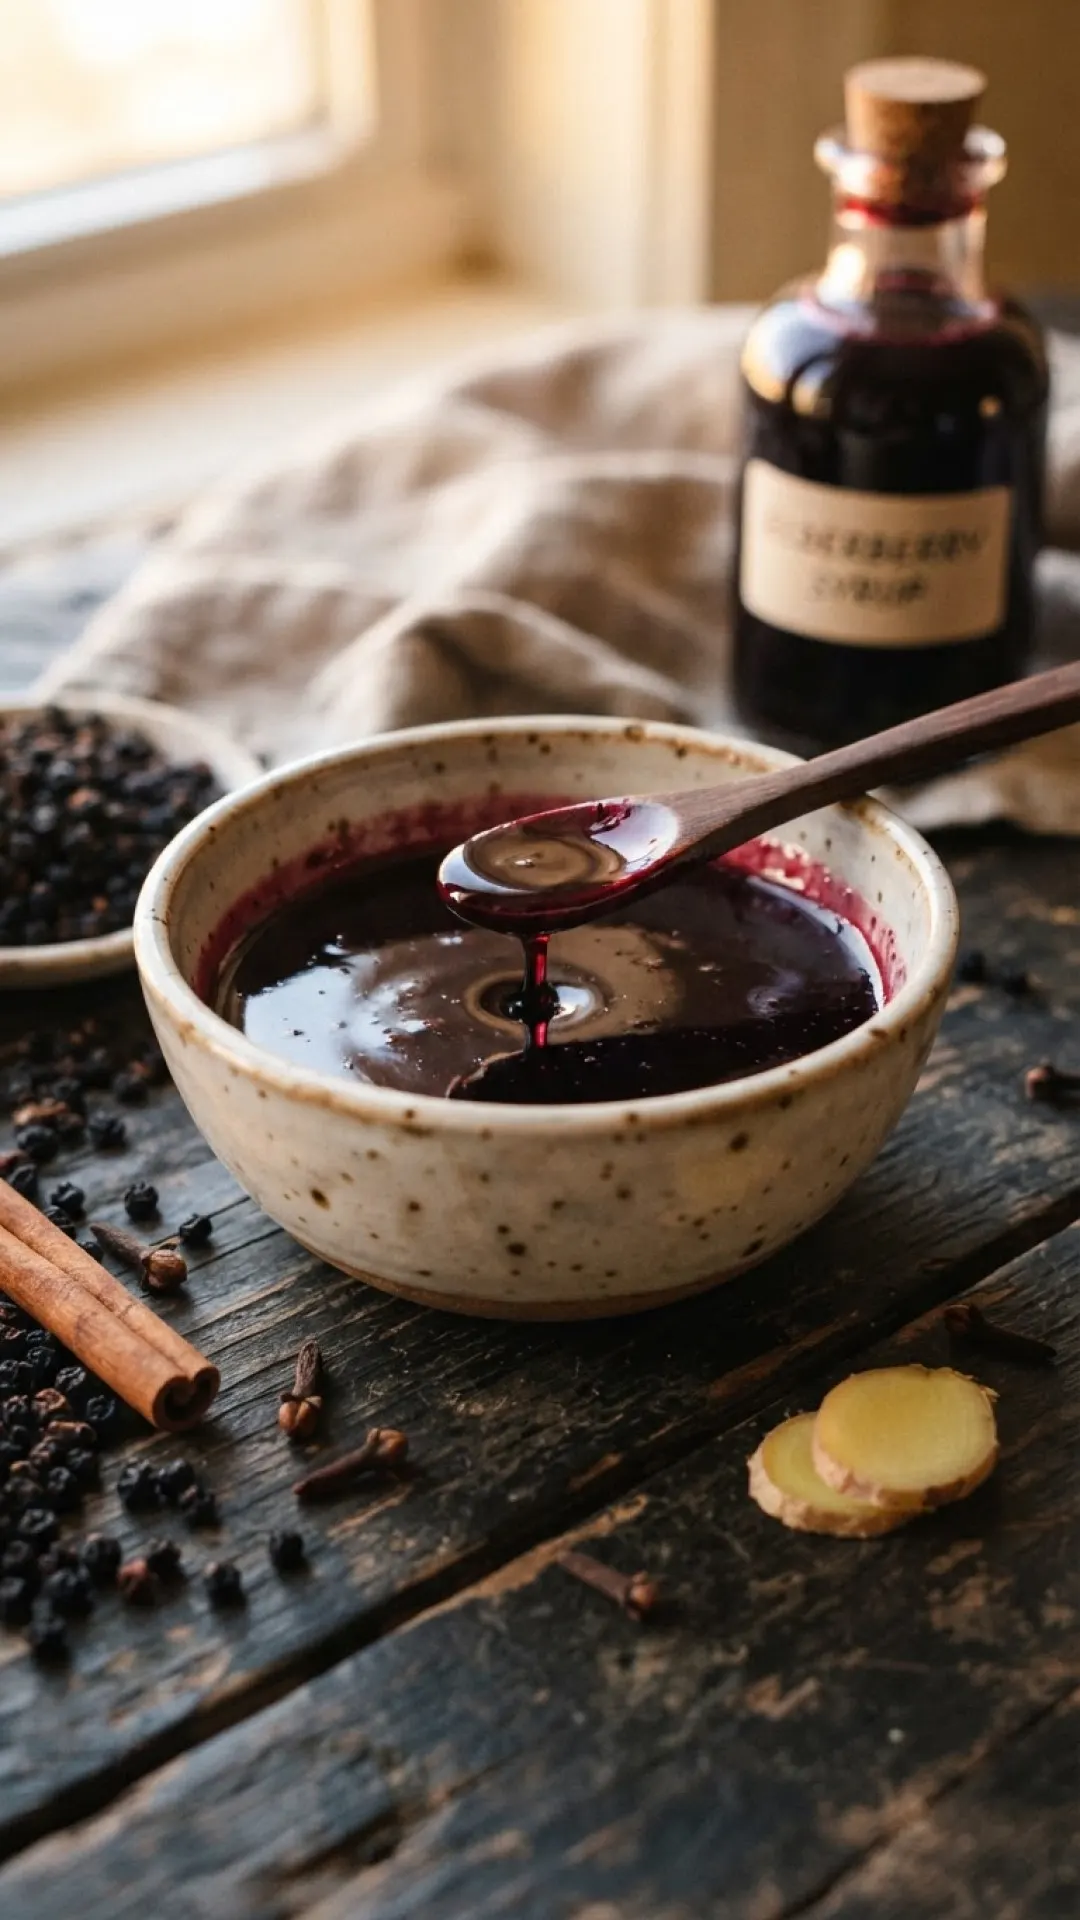
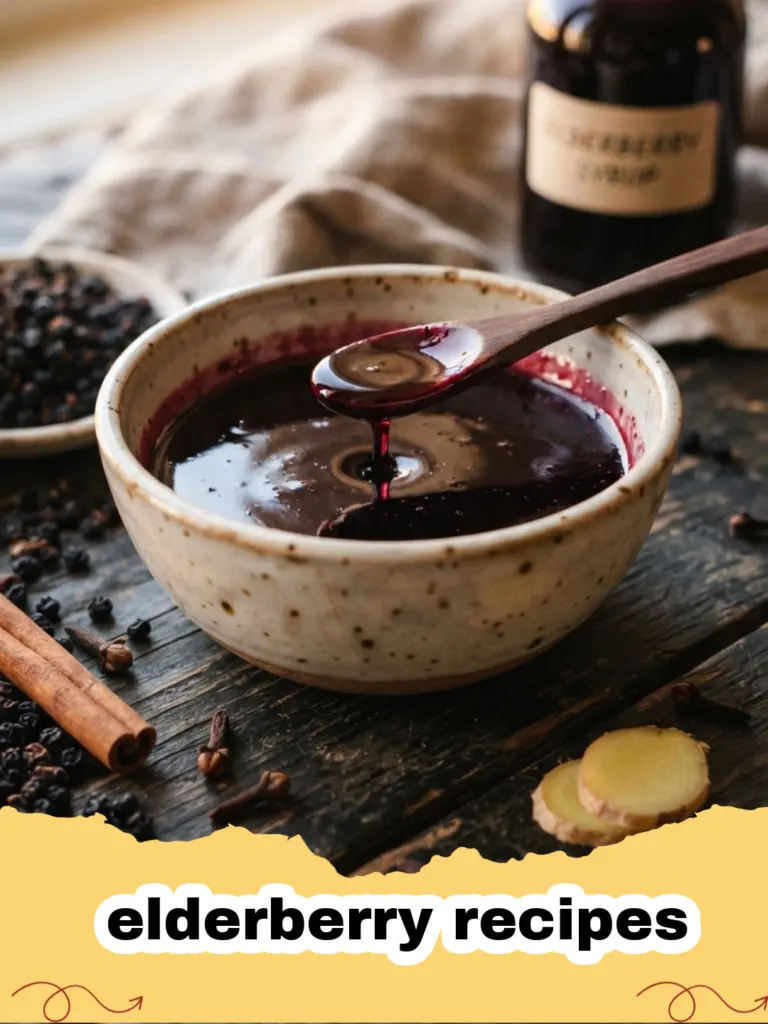
- Dipping Delight: Offer a small side of homemade elderberry syrup for dipping. The extra layer of elderberry flavor is fantastic, and it's another great use for your delicious elderberry recipes!
- Party Perfect: Arrange them on a platter for a charming dessert at gatherings. Their individual size makes them easy for guests to enjoy without the need for plates and forks.
- Storage Tip: Leftover hand pies can be stored in an airtight container at room temperature for up to 2-3 days, or in the refrigerator for up to a week. For longer storage, you can freeze baked hand pies for up to 3 months. Simply thaw and reheat gently in the oven for a fresh-baked taste. Using good quality Basics Glass Food Storage containers helps keep them fresh.
Nutrition Information
Here's a breakdown of the estimated nutritional content per serving for these delightful elderberry recipes. Please note that these are estimates and can vary based on specific ingredients and preparation methods.
| Nutrient | Amount Per Serving |
|---|---|
| Calories | 320 kcal |
| Carbohydrates | 45 g |
| Cholesterol | 45 mg |
| Fat | 15 g |
| Fiber | 3 g |
| Protein | 4 g |
| Saturated Fat | 9 g |
| Sodium | 150 mg |
| Sugar | 22 g |
| Trans Fat | 0.5 g |
| Unsaturated Fat | 5 g |
Conclusion
There's something truly special about bringing traditional flavors back to life in your own kitchen. These Rustic Elderberry Hand Pies are more than just a recipe; they are a bridge to cherished memories and an opportunity to create new ones. The unique, tart-sweetness of elderberries encased in a flaky, golden crust is an experience that delights both the palate and the soul. I hope these elderberry recipes inspire you to explore the wonderful world of seasonal baking and to find joy in every crimped edge and juicy bite. So go ahead, bake a batch, share them with loved ones, and let the comforting aroma of these homemade elderberry recipes fill your home with warmth and happiness. Happy baking!
FAQs
Can I use frozen elderberries for this recipe?
Yes, absolutely! Frozen elderberries work wonderfully in this recipe. There's no need to thaw them beforehand; you can add them directly to the saucepan with the other filling ingredients. They'll cook down and thicken just like fresh berries, making these elderberry recipes accessible year-round.
What can I use if I don't have a round or square cutter for the hand pies?
No special cutter? No problem! You can use a knife or a pizza cutter to cut the rolled-out dough into squares or rectangles. For round shapes, an inverted glass or a large mug with a thin rim can also work as a substitute. The rustic charm of these elderberry recipes means imperfections are part of their beauty!
How do I store leftover elderberry hand pies?
Baked elderberry hand pies can be stored in an airtight container at room temperature for 2-3 days, or in the refrigerator for up to a week. For longer storage, you can freeze baked hand pies for up to 3 months. Thaw them at room temperature and reheat gently in the oven for about 10-15 minutes at 300u00b0F (150u00b0C) to restore their warmth and crispness. Using good quality glass food storage containers helps maintain freshness.
Can I make the dough ahead of time?
Yes, the pie dough can be made ahead of time! Prepare the dough as directed through Step 4, forming it into discs and wrapping tightly in plastic wrap. It can be stored in the refrigerator for up to 2 days or frozen for up to 1 month. If frozen, thaw overnight in the refrigerator before rolling out. This makes these elderberry recipes perfect for meal prepping or entertaining.
Grandma's Rustic Elderberry Hand Pies
Flaky, golden pastry pockets filled with a sweet and tart elderberry filling, reminiscent of comforting homemade treats from childhood.
- Total Time: 1 hour 10 minutes
- Yield: 12 hand pies 1x
Ingredients
2 ½ cups (300g) all-purpose flour, plus more for dusting
1 teaspoon granulated sugar (for dough)
½ teaspoon salt
1 cup (226g) unsalted butter, very cold and cubed
½ cup (120ml) ice-cold water, plus more if needed
2 cups (240g) fresh or frozen elderberries (stems removed)
½ cup (100g) granulated sugar (for filling)
1 tablespoon lemon juice
2 tablespoons cornstarch
1 large egg, whisked with 1 tbsp water (for egg wash)
1 tablespoon coarse sugar (optional, for topping)
Instructions
Step 1: In a large mixing bowl, whisk together the all-purpose flour, 1 teaspoon granulated sugar, and salt.
Step 2: Add the very cold, cubed unsalted butter to the flour mixture. Using a pastry blender, your fingertips, or a food processor, cut the butter into the flour until the mixture resembles coarse crumbs with some pea-sized pieces of butter remaining.
Step 3: Gradually add ice-cold water, one tablespoon at a time, mixing lightly until the dough just comes together. Be careful not to overmix. The dough should be shaggy but cohesive.
Step 4: Divide the dough in half, flatten each half into a disc, wrap tightly in plastic wrap, and refrigerate for at least 30 minutes, or up to 2 days.
Step 5: In a medium saucepan, combine the elderberries, ½ cup granulated sugar, lemon juice, and cornstarch.
Step 6: Cook over medium heat, stirring constantly, until the mixture thickens and the elderberries soften, about 5-7 minutes. Remove from heat and let it cool completely.
Step 7: Preheat your oven to 375°F (190°C). Line a baking sheet with parchment paper.
Step 8: On a lightly floured surface, roll out one disc of chilled dough to about 1/8-inch thickness. Using a 3-4 inch round or square cutter, cut out even shapes. Repeat with the second dough disc.
Step 9: Spoon about 1-2 tablespoons of the cooled elderberry filling onto one half of each pastry cutout, leaving a small border around the edge.
Step 10: Fold the other half of the pastry over the filling. Press the edges together firmly to seal and use a fork to crimp them. Cut a few small slits on the top of each pie.
Step 11: Whisk the egg with a tablespoon of water to create an egg wash. Brush the tops of the assembled hand pies with the egg wash and sprinkle with coarse sugar, if desired.
Step 12: Place the hand pies on the prepared baking sheet and bake for 20-25 minutes, or until the crust is golden brown and the filling is bubbling.
Step 13: Let the hand pies cool on a wire rack for at least 15-20 minutes before serving. Enjoy warm or at room temperature!
Notes
Ensure your butter and water are very cold for the flakiest crust. Don't overfill the pies to prevent leakage. These hand pies freeze beautifully before or after baking.
- Prep Time: 45 minutes
- Cook Time: 25 minutes
- Category: Drinks, Snacks & Holiday Treats
- Cuisine: American
Nutrition
- Serving Size: 1 hand pie
- Calories: 320 kcal
- Sugar: 22 g
- Sodium: 150 mg
- Fat: 15 g
- Saturated Fat: 9 g
- Unsaturated Fat: 5 g
- Trans Fat: 0.5 g
- Carbohydrates: 45 g
- Fiber: 3 g
- Protein: 4 g
- Cholesterol: 45 mg