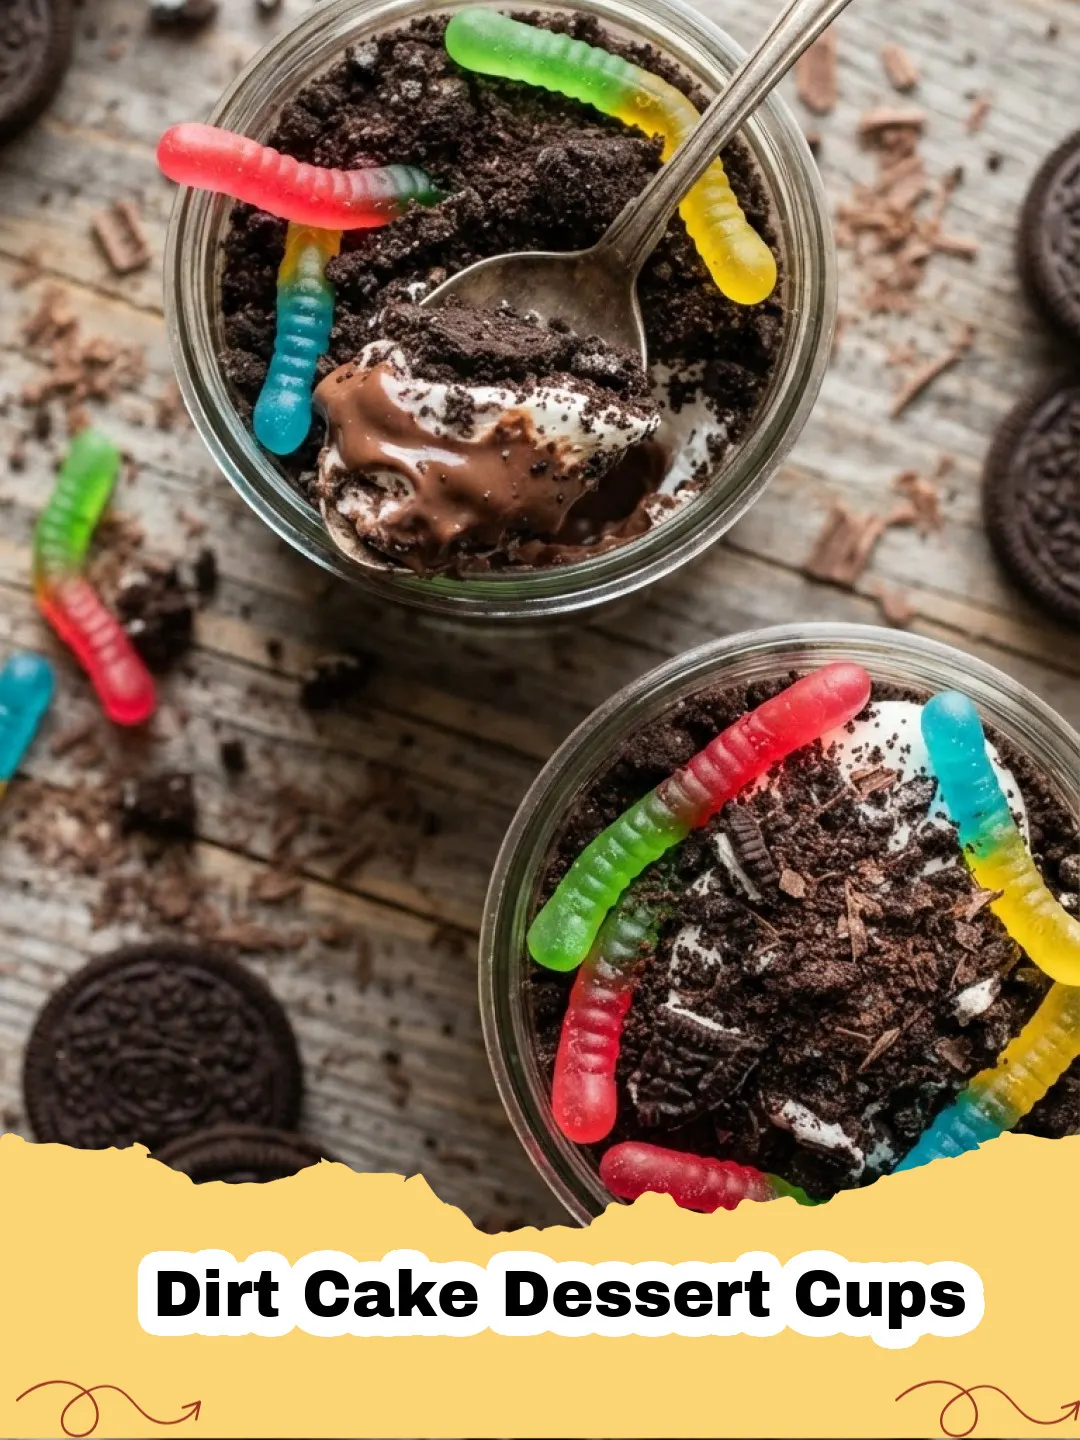
Ah, the memories! There are certain desserts that just transport you straight back to childhood, and for me, a classic dirt cake is definitely one of them. I remember those lazy summer afternoons at my grandma's house. The sun would stream through the kitchen window, warming the air with the scent of freshly brewed iced tea. My cousins and I, sticky from playing outside, would eagerly gather around as Grandma pulled out her mixing bowls. Her specialty? A huge, glorious pan of 'dirt cake.' It wasn’t fancy, but it was pure magic. Layers of crushed chocolate cookies, creamy pudding, and whipped topping, all reminiscent of rich, dark earth, complete with gummy worms peeking out. It felt like uncovering buried treasure with every spoonful. We’d giggle, making a delicious mess, utterly delighted by the simple joy of it all. As I grew older, life got busier, and those simple summer days became cherished memories. But the craving for that comforting, playful dessert never faded. That’s why I set out to recreate that magic in an even more convenient, portion-controlled way: these delightful Dirt Cake Dessert Cups. They capture all the nostalgia and flavor of the original, but in individual servings that are perfect for parties, picnics, or a quiet treat when that childhood craving strikes. Each cup is a miniature journey back in time, promising a smile with every spoonful.
Why These Dirt Cake Dessert Cups Are a Must-Try
- Effortlessly Delicious: Forget the oven! These no-bake Dirt Cake Dessert Cups come together quickly with minimal fuss, making them perfect for last-minute gatherings or a simple weekend project.
- Individual Portions: Serving is a breeze with pre-portioned cups. No slicing, no mess, just grab and enjoy! They're ideal for parties and ensure everyone gets their own delightful 'patch' of dirt.
- Kid-Friendly Fun: Kids absolutely adore these! From crushing the cookies to arranging the gummy worms, they’ll love helping make these playful Dirt Cake Dessert Cups. It’s a treat that tastes as good as it looks, engaging imaginations as well as taste buds.
- Customizable & Versatile: While the classic is perfect, these cups are a canvas for creativity. Add different candies, fruits, or even a swirl of caramel to make them uniquely yours. They’re adaptable for any occasion, from casual BBQs to themed birthday parties.
Key Ingredient Notes
While the beauty of Dirt Cake Dessert Cups lies in their simplicity, a few key ingredients elevate this classic from good to absolutely fantastic. Choosing the right components makes all the difference in achieving that perfect balance of texture and flavor.
Oreo Cookies: These are the undisputed stars of the 'dirt' layer. Don't skimp on quality here. While generic chocolate sandwich cookies will work, nothing quite matches the deep chocolate flavor and perfect crumb of actual Oreos. Use the classic variety, not double-stuffed or flavored ones, to get that authentic 'dirt' texture and taste. The cream filling contributes to the moistness when crushed, so make sure to crush them finely enough to resemble soil but with some small chunks for texture.
Cream Cheese: The cream cheese is what gives the creamy layer its signature tang and stability, cutting through the sweetness of the pudding and whipped topping. Opt for full-fat, block-style cream cheese. Whipped or spreadable cream cheese often contains too much water and won't give you the same rich, firm consistency needed for the filling. Ensure it's softened to room temperature before mixing to prevent lumps and ensure a silky-smooth blend.
Instant Pudding Mix: For these Dirt Cake Dessert Cups, instant pudding is your best friend. Vanilla or chocolate instant pudding both work wonderfully. I personally love vanilla as it creates a beautiful contrast with the dark cookie crumbs, but chocolate pudding doubles down on the chocolatey goodness. Make sure to use 'instant' pudding, not cook-and-serve, as the latter requires heating and won't set up properly in this no-bake recipe. The pudding acts as a thickener and flavor base, giving the creamy layer its distinct sweetness and body.
Step-by-Step Guide with Pro Tips
Creating these delightful Dirt Cake Dessert Cups is a fun and straightforward process. Follow these steps for perfect results every time.
Step 1: Begin by preparing your 'dirt' layer. Place the entire package of Oreo cookies (both cookie and cream filling) into a food processor. Pulse until finely crushed, resembling moist soil. If you don't have a food processor, place cookies in a large Ziploc bag and crush with a rolling pin or the back of a heavy pan until fine. Set aside about 1/2 cup of crumbs for the top layer, and divide the rest evenly among your individual serving cups (8-10 oz size works well), creating the first 'dirt' layer at the bottom. Aim for about 1/4 inch thick layer.
Step 2: In a large mixing bowl, combine the softened cream cheese, butter, and powdered sugar. Beat with an electric mixer on medium speed until light, fluffy, and well combined. This is your rich, tangy base for the creamy layer. Scrape down the sides of the bowl as needed to ensure everything is incorporated.
Step 3: In a separate large bowl, whisk together the cold milk and instant pudding mix until the mixture thickens, about 2-3 minutes. Make sure there are no lumps. Let it sit for a minute or two to fully set up.
Step 4: Gently fold the prepared whipped topping into the cream cheese mixture until just combined. Be careful not to overmix, as this can deflate the whipped topping and make the filling less airy. Then, gently fold in the thickened pudding mixture until a smooth, uniform cream is achieved. This forms the luscious 'mud' layer for your Dirt Cake Dessert Cups.
Step 5: Now it’s time to assemble! Spoon about half of the creamy pudding mixture over the cookie crumbs in your individual cups. Spread it gently to create an even layer. Don't press too hard, or you'll mix the layers too much. This creates the 'mud' that the worms love to burrow in.
Step 6: Sprinkle another layer of crushed Oreo crumbs over the creamy mixture. This adds another layer of 'dirt' and textural contrast. For an extra rich dessert, consider adding a sprinkle of cocoa powder here too. You can save some for the top, as well.
Step 7: Add the remaining creamy pudding mixture to the cups, spreading it evenly to almost fill the cups. This final creamy layer will be the foundation for your top decorations. If you're short on cups, these also work great in a large glass food storage container for a family-style dessert.
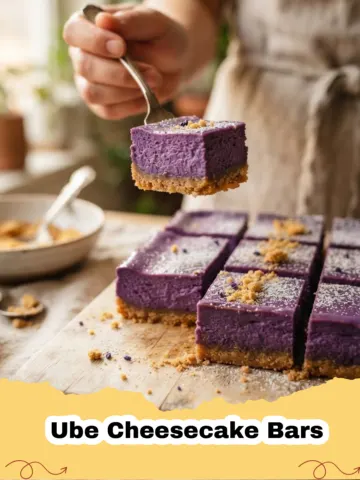
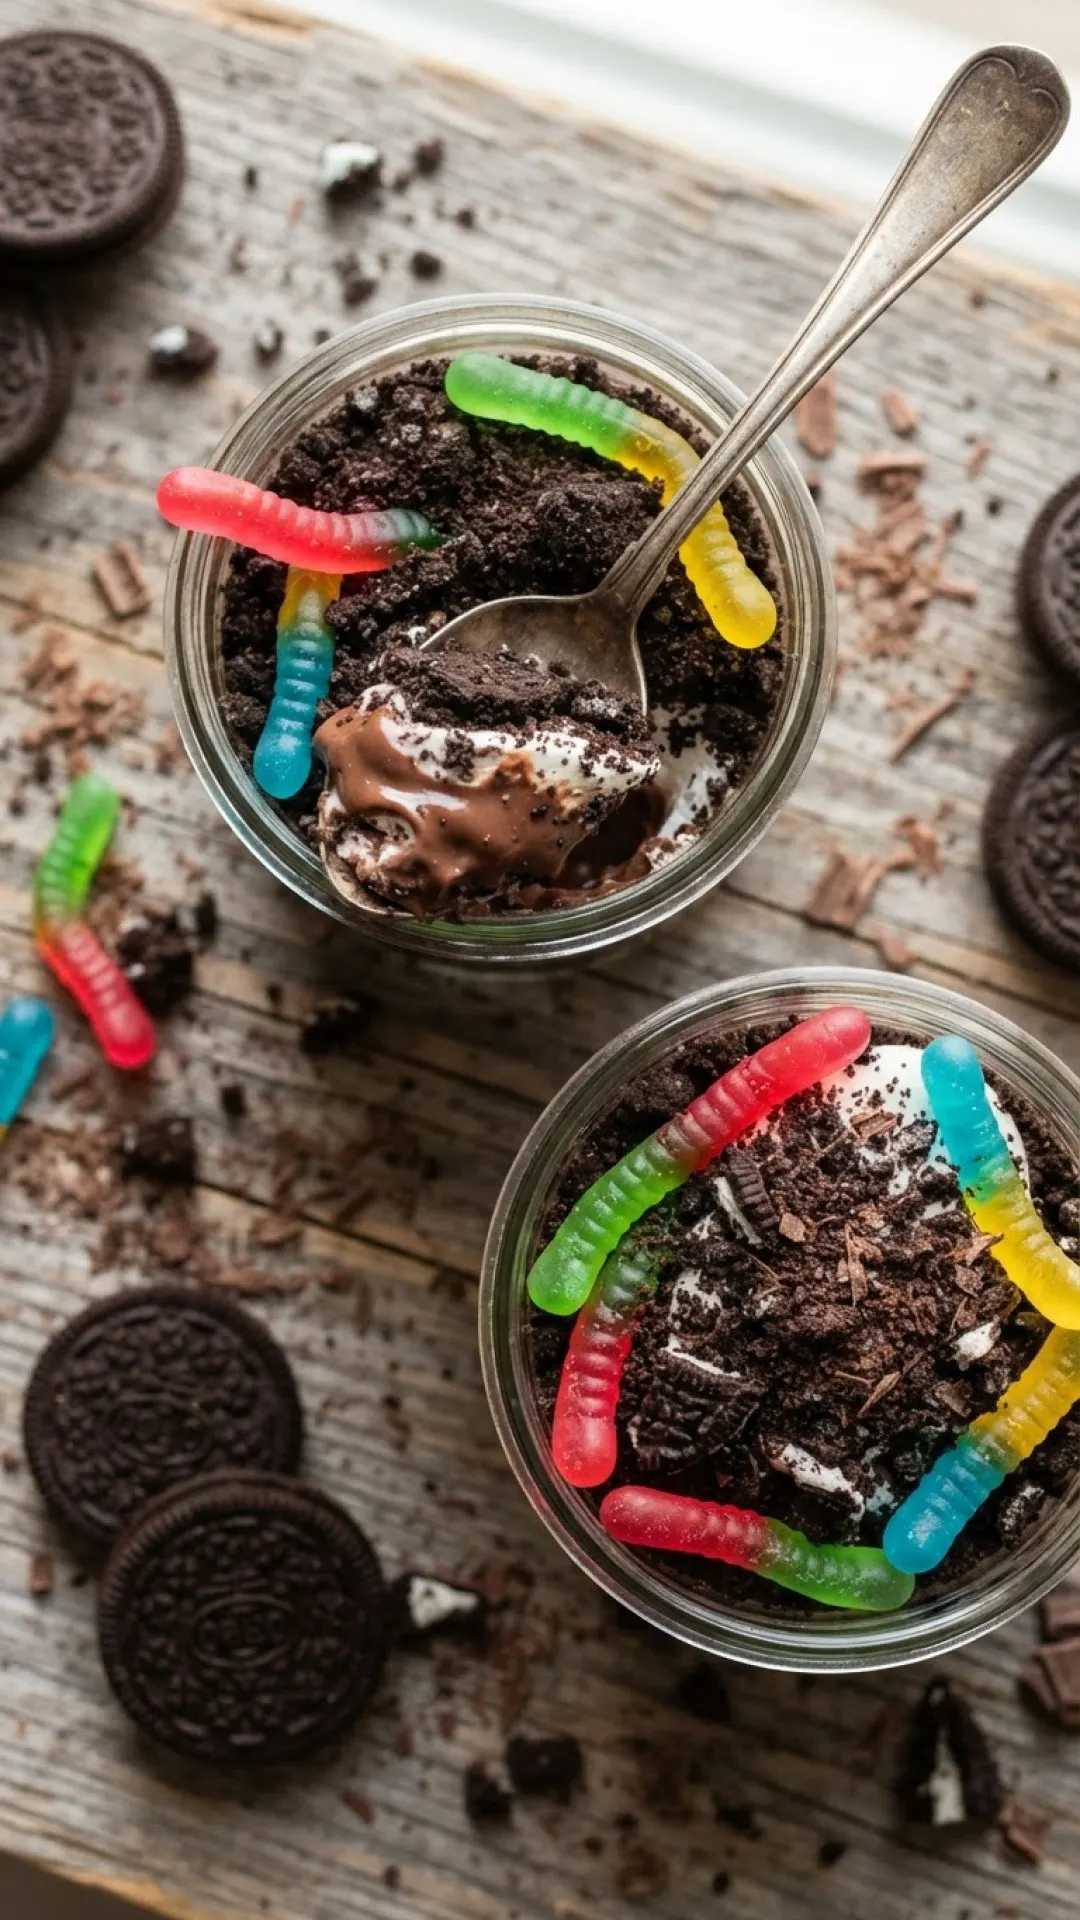
Step 8: Top each cup generously with the reserved crushed Oreo crumbs. This is the final 'dirt' layer that makes these Dirt Cake Dessert Cups so iconic. Arrange a few gummy worms (or any other 'critters' you like, such as gummy bears or chocolate rocks) on top, making them peek out from the 'dirt' for a playful touch. For another creamy and delightful no-bake treat, consider trying these Creamy Ube Cheesecake Bars.
Step 9: Chill the Dirt Cake Dessert Cups in the refrigerator for at least 2-4 hours, or ideally overnight, to allow them to set completely and for the flavors to meld beautifully. This chilling time is crucial for the perfect texture.
Variations & Serving Suggestions
While the classic Dirt Cake Dessert Cups are perfection, there's always room for creative twists! These variations can make your dessert truly unique and suited for any theme or palate.
- Berry Patch: Layer fresh raspberries or sliced strawberries between the 'dirt' and 'mud' layers for a burst of fruity freshness. The tartness of the berries beautifully complements the rich chocolate and cream.
- Minty Fresh: Use mint-flavored Oreos for the 'dirt' and add a drop of peppermint extract to the creamy layer for a refreshing twist. Garnish with a sprig of fresh mint or a few mini chocolate chips.
- Peanut Butter Dream: Swirl a tablespoon of creamy peanut butter into the cream cheese mixture for a delightful peanut butter cup flavor. You can also sprinkle chopped Reese's Peanut Butter Cups on top.
- Coffee Lover's Treat: Dissolve 1-2 teaspoons of instant espresso powder in a tablespoon of hot water and add it to the pudding mixture for a subtle coffee kick.
- Grown-Up Version: For an adult-friendly treat, consider adding a splash of coffee liqueur or Irish cream to the pudding mixture. Remember to label these clearly!
- Seasonal Delights: For Halloween, use candy corn or spooky sprinkles. For Easter, add jelly beans and small chocolate eggs. In the fall, pumpkin spice pudding can make a fun seasonal dirt cup!
These Dirt Cake Dessert Cups are fantastic for:Brown Butter Salted Caramel Brownies.
- Kid's Birthday Parties: A guaranteed hit! The gummy worms and 'dirt' theme are always a favorite.
- Picnics & Potlucks: Easy to transport and serve, they're a crowd-pleaser that won't melt too quickly.
- Summer BBQs: A refreshing, no-bake dessert that stands up well to outdoor dining.
- After-School Snack: A fun and delicious treat for kids (and adults!) to enjoy.
- Movie Night: Individual portions are perfect for cozy movie evenings.
Nutrition Information
| Nutrient | Amount per Serving |
|---|---|
| Calories | 480 kcal |
| Carbohydrates | 58g |
| Cholesterol | 75mg |
| Total Fat | 28g |
| Fiber | 2g |
| Protein | 6g |
| Saturated Fat | 15g |
| Serving Size | 1 cup |
| Sodium | 420mg |
| Sugar | 45g |
| Trans Fat | 0.5g |
| Unsaturated Fat | 10g |
Conclusion
There's something truly special about a dessert that brings back fond memories while creating new ones. These Dirt Cake Dessert Cups do just that. They’re a testament to the joy of simple pleasures, made even better by their individual convenience and delightful playfulness. Whether you're making them for a crowd, a quiet family evening, or simply to satisfy a nostalgic craving, they're sure to bring smiles and satisfied sighs. So go ahead, whip up a batch, and let these sweet, creamy, and crumbly cups transport you to a world of delicious, carefree fun. Enjoy every spoonful of your homemade Dirt Cake Dessert Cups!
FAQs
Can I make these Dirt Cake Dessert Cups ahead of time?
Absolutely! These Dirt Cake Dessert Cups are perfect for making ahead. In fact, chilling them overnight allows the flavors to meld beautifully and the layers to set firmly, resulting in an even better texture. Just cover them loosely with plastic wrap before refrigerating.
What kind of cookies can I use besides Oreos?
While Oreos provide the classic 'dirt' flavor and texture, you can experiment with other chocolate sandwich cookies or even chocolate wafers. Just ensure they crush well to create that crumbly soil-like consistency. For a lighter 'dirt,' you could also use graham cracker crumbs, though the flavor profile would be different.
Can I use homemade whipped cream instead of store-bought whipped topping?
Yes, you can! If you prefer homemade, use about 3 cups of freshly whipped heavy cream. Be sure to whip it to firm peaks before gently folding it into the cream cheese and pudding mixture. Homemade whipped cream offers a richer, less sweet alternative, but store-bought whipped topping provides excellent stability and convenience for these Dirt Cake Dessert Cups.
How long do Dirt Cake Dessert Cups last in the refrigerator?
When properly covered and refrigerated, these Dirt Cake Dessert Cups will stay fresh for 3-4 days. The cookie crumbs may soften slightly over time, but the overall deliciousness will remain. They are best enjoyed within the first two days for optimal texture.
Easy No-Bake Dirt Cake Dessert Cups
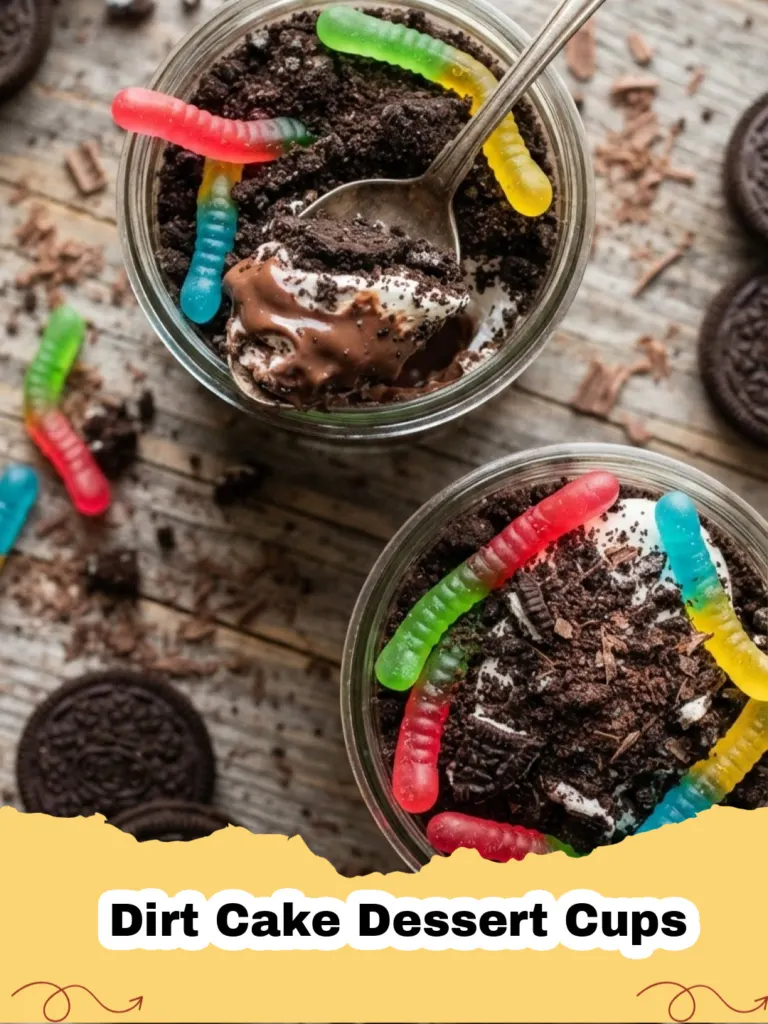
Indulge in a nostalgic treat with these delightful, individual Dirt Cake Dessert Cups! Layers of crushed chocolate sandwich cookies, a rich and creamy pudding-cream cheese mixture, and playful gummy worms create a fun, no-bake dessert that's perfect for parties or a sweet trip down memory lane.
- Total Time: 2 hours 25 minutes (includes minimum chill time)
- Yield: 8 servings 1x
Ingredients
1 (14.3 oz) package Oreo cookies (or similar chocolate sandwich cookies)
1/2 cup (1 stick) unsalted butter, softened
8 oz cream cheese, softened
1 cup powdered sugar
3.5 oz (1 package) instant vanilla or chocolate pudding mix
2 1/2 cups cold milk
12 oz (1 container) whipped topping, thawed (like Cool Whip)
Gummy worms or other candy for garnish
Instructions
Step 1: Crush the entire package of Oreo cookies (including the cream filling) finely in a food processor or by hand in a Ziploc bag. Reserve about 1/2 cup of crumbs for topping. Divide the remaining crumbs evenly among 8-10 individual serving cups (8-10 oz capacity) to form the bottom layer.
Step 2: In a large mixing bowl, beat the softened butter, cream cheese, and powdered sugar with an electric mixer until light, fluffy, and thoroughly combined, about 2-3 minutes. Scrape down the sides of the bowl as needed.
Step 3: In a separate bowl, whisk together the cold milk and instant pudding mix for about 2 minutes, until thickened. Let it sit for 1-2 minutes to fully set.
Step 4: Gently fold the thawed whipped topping into the cream cheese mixture until just combined. Then, carefully fold in the prepared pudding mixture until smooth and uniform, being careful not to overmix.
Step 5: Spoon about half of the creamy pudding mixture over the cookie crumbs in the individual cups, spreading gently to create an even layer.
Step 6: Sprinkle another layer of crushed Oreo crumbs over the creamy mixture in each cup.
Step 7: Add the remaining creamy pudding mixture to the cups, filling them almost to the top. Gently spread smooth.
Step 8: Top each cup generously with the reserved crushed Oreo crumbs. Arrange 2-3 gummy worms on top of the 'dirt' in each cup, making them peek out playfully.
Step 9: Chill the Dirt Cake Dessert Cups in the refrigerator for at least 2-4 hours, or ideally overnight, to allow them to set completely and for the flavors to meld. Serve cold.
Notes
For best results, ensure your cream cheese and butter are at room temperature for a smooth, lump-free filling. Chilling time is crucial for the dessert to set properly. You can make these a day in advance!
- Prep Time: 25 minutes
- Cook Time: 0 minutes
- Category: Desserts & Baking
- Cuisine: American
Nutrition
- Serving Size: 1 cup
- Calories: 480 kcal
- Sugar: 45g
- Sodium: 420mg
- Fat: 28g
- Saturated Fat: 15g
- Unsaturated Fat: 10g
- Trans Fat: 0.5g
- Carbohydrates: 58g
- Fiber: 2g
- Protein: 6g
- Cholesterol: 75mg