

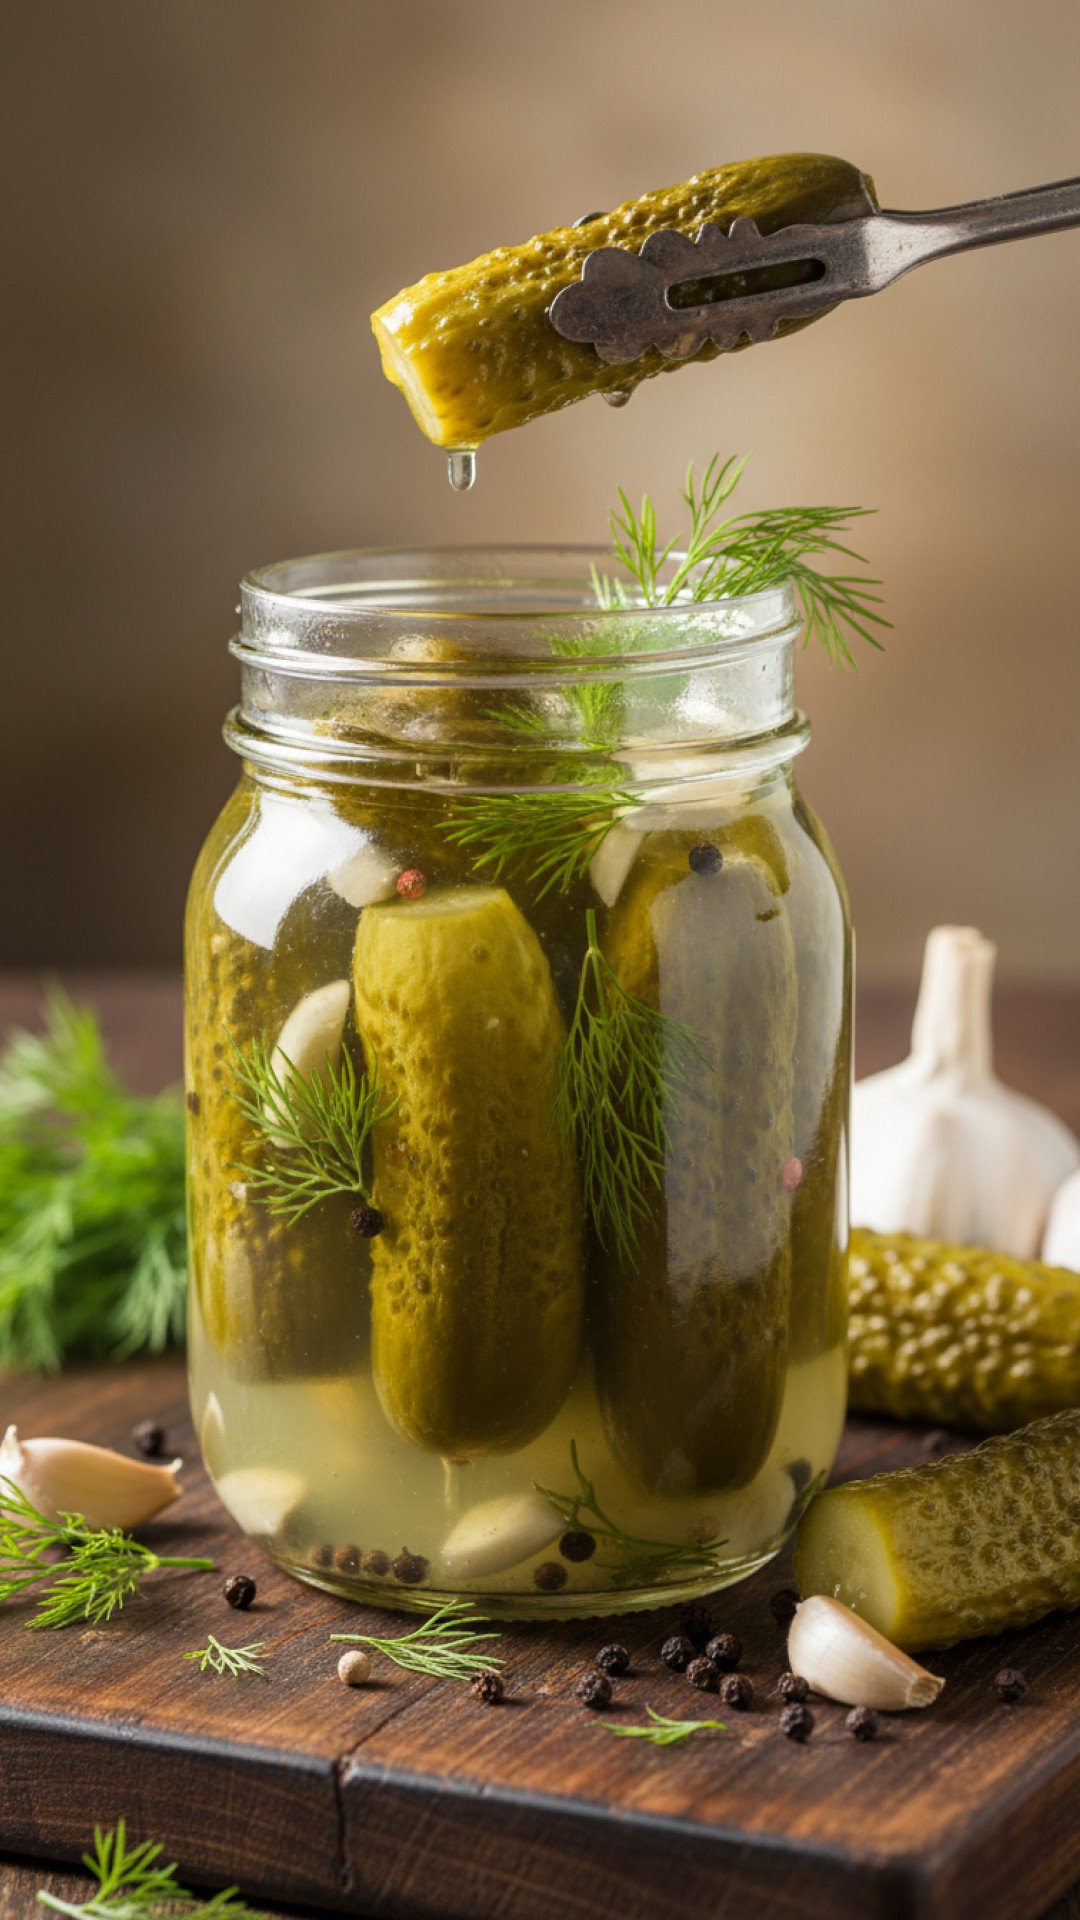
There are some tastes that immediately transport you back to childhood, and for me, a perfectly crunchy, tangy homemade dill pickle is one of them. I remember summer afternoons at my Grandma Rose's farm, her kitchen filled with the intoxicating aroma of vinegar, garlic, and fresh dill. Huge Mason jars lined her countertops, bubbling softly as their contents transformed from humble cucumbers into glorious, briny delights. It wasn't just food; it was an act of love, a way to preserve the summer's bounty for the colder months. Every year, she'd teach me the secrets, the importance of fresh ingredients, and the magic of the brine. This isn't just any dill pickle recipe; it's a piece of my history, a culinary heirloom passed down through generations. And today, I'm sharing that very same classic dill pickle recipe with you, so you can create your own delicious memories and enjoy the unparalleled satisfaction of biting into a homemade pickle. This comprehensive guide ensures you'll achieve that irresistible crunch every single time.
Why This Dill Pickle Recipe is a Must-Try
- Unbeatable Flavor: Forget store-bought! This homemade dill pickle recipe delivers a depth of flavor that's zesty, garlicky, and perfectly balanced, unlike anything you'll find on a shelf.
- Crispness You Can Hear: Say goodbye to soggy pickles! With our pro tips and specific ingredient choices, you'll achieve that satisfying snap every time you bite into a homemade dill pickle.
- No Artificial Anything: You control every ingredient, ensuring your dill pickles are free from undesirable preservatives, artificial colors, or flavors. Pure, wholesome goodness!
- Perfect for Gifting & Entertaining: A jar of these homemade dill pickles makes a thoughtful, delicious gift, and they're always a hit at potlucks, barbecues, and family gatherings. Everyone will want your dill pickle recipe!
Key Ingredient Notes for the Best Dill Pickle Recipe
Success with any dill pickle recipe begins with quality ingredients. Here's what to look for:
Pickling Cucumbers
This is non-negotiable for a truly great dill pickle recipe. Look for small, firm, unwaxed pickling cucumbers, often called 'Kirby' cucumbers. They have thinner skins and fewer seeds than slicing cucumbers, making them ideal for absorbing the brine and staying crisp. English cucumbers or regular slicing cucumbers are too watery and will result in a soft pickle. If you can't find them, fresh Persian cucumbers can be a good substitute, but always aim for pickling varieties.
Fresh Dill
Fresh dill sprigs are essential for that quintessential dill pickle flavor. While dried dill can be used in a pinch, it won't impart the same vibrant, aromatic punch. Look for bright green, feathery sprigs. Don't be shy with the dill – it's the star of this dill pickle recipe!
Pickling Salt (Canning Salt)
Regular table salt often contains anti-caking agents that can make your brine cloudy. Pickling salt, or canning salt, is pure granulated salt without additives, ensuring a clear brine and consistent flavor. It’s crucial for the preservation process and for maintaining the integrity of your homemade dill pickle recipe.
Vinegar (White Vinegar 5% Acidity)
White distilled vinegar with 5% acidity is the standard for a classic dill pickle recipe. Its high acidity is vital for safe canning and contributes to the pickle's tangy flavor. Apple cider vinegar can be used for a slightly mellower flavor, but ensure it also has 5% acidity.
Step-by-Step Guide with Pro Tips for Your Dill Pickle Recipe
Making a successful dill pickle recipe involves careful preparation and attention to detail. Follow these steps for perfectly crispy, flavorful results.
Preparation is Key
- Cleanliness: Before you even think about your cucumbers, ensure your canning jars, lids, and bands are meticulously clean. Sterilize your jars by boiling them for 10 minutes or running them through a canning cycle in your dishwasher.
- Cucumber Soak: For extra crispness, soak your pickling cucumbers in an ice bath for 1-2 hours before slicing. This firms them up beautifully, making this dill pickle recipe even better.
- Slice Smartly: You can slice your cucumbers into spears, chips, or leave them whole if they're very small. Ensure uniform thickness for even pickling.
Brine Perfection
The brine is the heart of your dill pickle recipe. A good brine means good pickles.
- Combine Ingredients: In a large non-reactive pot, combine water, vinegar, pickling salt, and any additional spices you want to infuse into the brine (e.g., mustard seeds, coriander seeds, peppercorns).
- Boil and Dissolve: Bring the mixture to a rolling boil, stirring occasionally to ensure the salt is fully dissolved. Once dissolved, reduce heat to a simmer to keep it hot.
Packing the Jars
This is where your dill pickle recipe truly comes to life.
- Spices First: To each sterilized quart jar, add your fresh dill sprigs, garlic cloves, and any hot peppers if desired.
- Pack Tightly: Stand your cucumber spears upright in the jars, packing them as tightly as possible without bruising them. If making chips, simply layer them in. The tighter they are, the less space for air and the better the pickle.
- Pour Brine: Carefully ladle the hot brine over the cucumbers, ensuring they are completely submerged. Leave 1/2 inch of headspace (the space between the liquid and the rim of the jar).
- Remove Air Bubbles: Use a non-metallic utensil (like a chopstick or plastic knife) to gently dislodge any trapped air bubbles around the cucumbers. Top off with more brine if necessary to maintain headspace.
Sealing and Processing
The crucial step for shelf-stable dill pickles.
- Clean Rims: Wipe the rims of the jars clean with a damp cloth to ensure a good seal. Place new, clean lids on top, followed by the bands, tightening them to fingertip-tight.
- Water Bath Canning: Place the filled jars into a boiling water canner, ensuring they are covered by at least 1-2 inches of water. Bring the water to a rolling boil and process pint jars for 10 minutes (quart jars for 15 minutes), adjusting for altitude if necessary.
- Cooling and Sealing: Carefully remove the jars from the canner and place them on a towel-lined counter, leaving space between them. Do not disturb for 12-24 hours. You'll hear the satisfying *ping* as the lids seal. Check for seals by pressing the center of the lid; it should not flex.
Variations & Serving Suggestions for Your Dill Pickle Recipe
Once you've mastered the classic dill pickle recipe, feel free to experiment!
Variations:
- Spicy Dill Pickles: Add a few dried red chili flakes or a small fresh jalapeño slice to each jar along with the garlic and dill.
- Garlic Lover's Pickles: Double the amount of garlic cloves for an extra pungent flavor.
- Sweet & Sour Dill Pickles: While this is a classic dill pickle recipe, you can adjust the sugar content in the brine for a touch of sweetness, moving towards a bread and butter pickle profile.
- Mixed Pickles: Incorporate other vegetables like sliced carrots, green beans (a perfect complement if you love Garlic Parmesan Green Beans), or pearl onions into your jars for a colorful assortment.
Serving Suggestions:
- Classic Accompaniment: These homemade dill pickles are the perfect partner for sandwiches, burgers, and hot dogs.
- Charcuterie Boards: Add a bowl of pickle spears to your next cheese or charcuterie board for a refreshing, tangy contrast.
- Snack Attack: Enjoy them straight out of the jar for a low-calorie, satisfying snack.
- In Recipes: Chop them up for potato salad, tuna salad, or as a garnish for deviled eggs. You could even use them in a creative twist on a pickled beets salad – speaking of which, you might enjoy My Best Pickled Beets Recipe!
Store your sealed jars of this amazing dill pickle recipe in a cool, dark place for at least 3-4 weeks before opening to allow the flavors to develop fully. Once opened, store them in the refrigerator. For long-term storage, consider investing in high-quality Basics Glass Food Storage containers that are perfect for canning and preserving your delicious creations.
Nutrition Information
Here's a breakdown of the nutritional content for our dill pickle recipe, per serving (approximately 1 pickle spear).
| Nutrient | Amount |
|---|---|
| Calories | 5 kcal |
| Carbohydrates | 1 g |
| Cholesterol | 0 mg |
| Total Fat | 0 g |
| Fiber | 0.5 g |
| Protein | 0.2 g |
| Saturated Fat | 0 g |
| Serving Size | 1 spear (approx. 28g) |
| Sodium | 250 mg |
| Sugar | 0.5 g |
| Trans Fat | 0 g |
| Unsaturated Fat | 0 g |
Conclusion
There's immense satisfaction in crafting something delicious from scratch, and this homemade dill pickle recipe is a perfect example. From the crisp snap to the burst of tangy, garlicky flavor, these pickles are a testament to simple ingredients and a little bit of patience. So roll up your sleeves, gather your cucumbers, and get ready to create the best dill pickle recipe you've ever tasted. You'll not only fill your pantry with jars of pure joy, but you'll also carry on a wonderful culinary tradition. Happy pickling!
FAQs
Why are my homemade dill pickles not crunchy?
Lack of crispness in your dill pickle recipe can be due to several factors: using the wrong type of cucumber (slicing cucumbers are too watery), not trimming the blossom end (which contains softening enzymes), insufficient brining time, or not soaking the cucumbers in ice water beforehand. Adding a grape leaf or alum to each jar can also help maintain crispness.
What kind of cucumbers should I use for this dill pickle recipe?
For the best results with this dill pickle recipe, always use small, firm, unwaxed pickling cucumbers, such as Kirby cucumbers. These varieties have thinner skins and fewer seeds, which makes them ideal for absorbing the brine and retaining their crunch. Avoid larger slicing cucumbers, as they tend to become soft.
How long do homemade dill pickles last?
Properly canned and sealed homemade dill pickles can last for up to 1-2 years when stored in a cool, dark place. Once a jar is opened, the dill pickles should be refrigerated and consumed within 2-3 weeks for optimal flavor and texture. Always check for a proper seal before storing.
Can I reuse the brine for making another batch of dill pickles?
It is generally not recommended to reuse brine for canning purposes, especially for a dill pickle recipe that relies on precise acidity and salt levels for safe preservation. Reusing brine can compromise the pH balance, leading to an unsafe product. For refrigerator pickles, some people might reuse it once, but for shelf-stable canning, always use fresh brine.
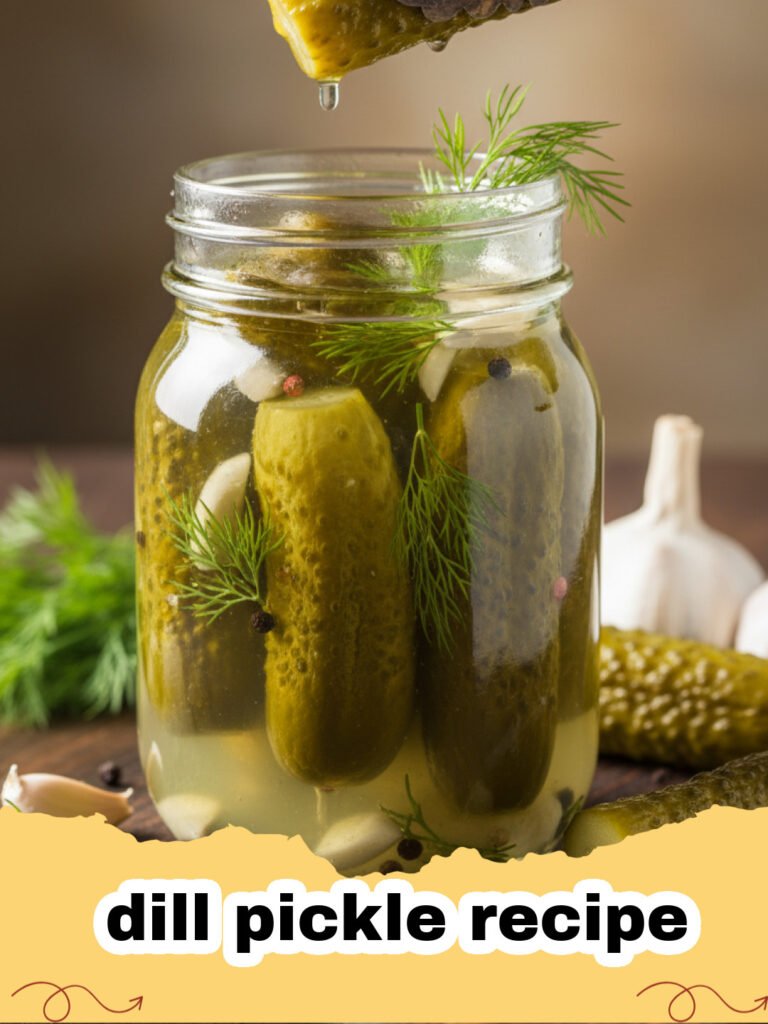
Classic Crispy Homemade Dill Pickles
Master the art of pickling with this ultimate dill pickle recipe. Learn how to make incredibly crunchy, flavorful, and perfectly tangy homemade dill pickles for canning, ensuring a taste of summer all year round. This classic dill pickle recipe is easy to follow and yields superb results.
- Total Time: 1 hour 45 minutes
- Yield: 7 quarts 1x
Ingredients
14 lbs small pickling cucumbers (Kirby, 3-5 inches long)
14 heads fresh dill (or 7 tbsp dill seed)
14 cloves garlic, peeled and halved
7-14 small dried hot red peppers (optional)
14 bay leaves (optional)
14 tsp mustard seeds (optional)
14 tsp black peppercorns (optional)
14 small grape leaves or oak leaves (for crispness, optional)
10 cups white vinegar (5% acidity)
10 cups water
2/3 cup pickling salt (canning salt)
Instructions
Step 1: Wash cucumbers thoroughly. For extra crispness, soak them in an ice bath for 1-2 hours. Trim about 1/16 inch off the blossom end of each cucumber, as this end contains enzymes that can soften pickles. You can leave them whole or slice them into spears or rounds.
Step 2: Prepare your canning equipment. Wash seven 1-quart canning jars, lids, and bands. Sterilize the jars by boiling them for 10 minutes or running them through a hot cycle in your dishwasher. Keep them hot until ready to fill.
Step 3: In a large non-reactive pot, combine the white vinegar, water, and pickling salt. Bring the brine mixture to a rolling boil over medium-high heat, stirring until the salt is completely dissolved. Reduce heat and keep the brine simmering.
Step 4: Into each hot, sterilized quart jar, add 2 heads of fresh dill (or 1 tablespoon dill seed), 2 halved garlic cloves, 1-2 dried hot peppers (if using), 1 bay leaf, 1/2 teaspoon mustard seeds, 1/2 teaspoon black peppercorns, and 2 small grape leaves (if using).
Step 5: Pack the cucumbers tightly into the jars, leaving 1/2 inch of headspace (the space between the top of the cucumbers and the rim of the jar). For spears, stand them upright. For whole cucumbers, layer them carefully.
Step 6: Carefully ladle the hot brine over the cucumbers in each jar, ensuring the cucumbers are completely submerged and maintaining 1/2 inch of headspace. Use a non-metallic utensil (like a chopstick) to remove any trapped air bubbles, adding more brine if necessary to maintain headspace.
Step 7: Wipe the rims of the jars clean with a damp cloth. Center a new, clean lid on each jar, then screw on the bands until fingertip-tight (firm but not overtightened).
Step 8: Place the filled jars onto a rack in a boiling water canner. Ensure the jars are covered by at least 1-2 inches of water. Bring the water to a rolling boil. Once boiling, process quart jars for 15 minutes (or pint jars for 10 minutes), adjusting for altitude if necessary (add 5 minutes for every 1,000 feet above sea level).
Step 9: Carefully remove the jars from the canner using jar lifters and place them on a towel-lined surface or cooling rack, leaving space between them. Let them cool undisturbed for 12-24 hours. Do not overtighten the bands after processing.
Step 10: After 12-24 hours, check the seals. The center of the lid should be concave and not flex when pressed. If any jars haven't sealed, refrigerate them and consume within a few weeks. Remove the bands (they can rust onto the lids and cause seal failure), wipe jars clean, label them with the date, and store sealed jars in a cool, dark place for at least 3-4 weeks to allow flavors to meld before enjoying. Once opened, refrigerate.
Notes
For optimal crispness, ensure you use fresh pickling cucumbers and trim the blossom end. Soaking cucumbers in ice water before packing also significantly helps maintain crunch. Always use new lids for canning to ensure a proper seal. This dill pickle recipe is a foundational guide; feel free to adjust spice levels to your preference.
- Prep Time: 1 hour 30 minutes
- Cook Time: 15 minutes
- Category: Drinks, Snacks & Holiday Treats
- Cuisine: American
Nutrition
- Serving Size: 1 spear (approx. 28g)
- Calories: 5 kcal
- Sugar: 0.5 g
- Sodium: 250 mg
- Fat: 0 g
- Saturated Fat: 0 g
- Unsaturated Fat: 0 g
- Trans Fat: 0 g
- Carbohydrates: 1 g
- Fiber: 0.5 g
- Protein: 0.2 g
- Cholesterol: 0 mg
Leave a Reply