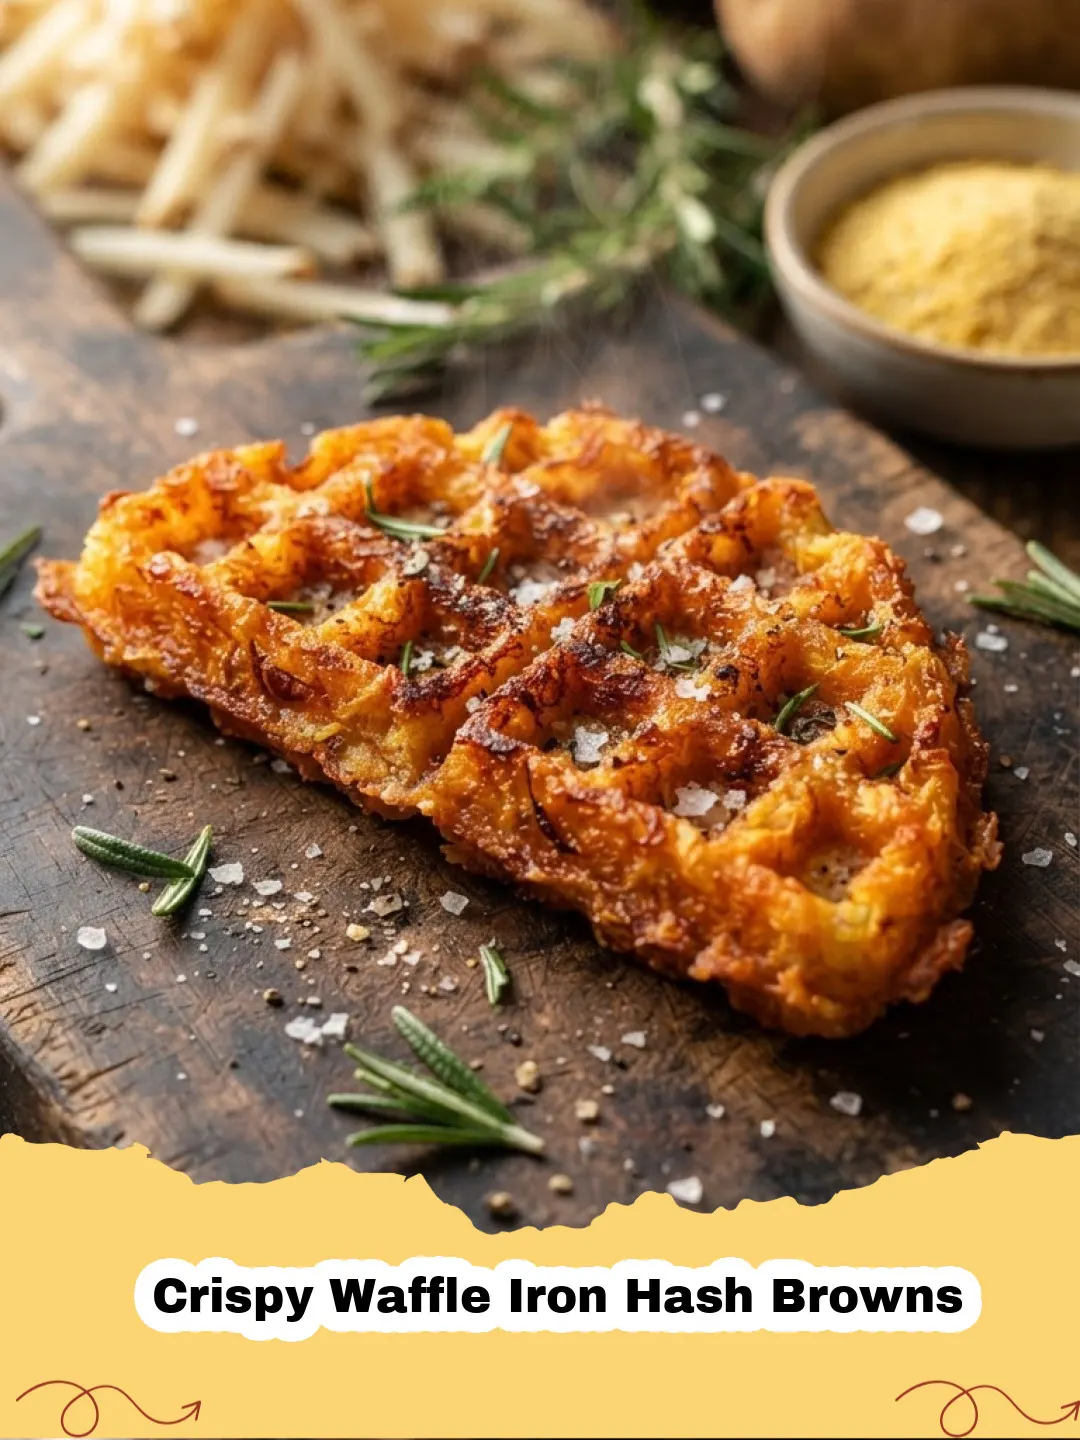
There’s a certain magic to a Saturday morning. The world slows down, the coffee brews, and the aroma of breakfast fills the air. For years, my quest for the perfect, diner-style hash browns at home was a challenging one. I tried countless methods – sizzling them in cast iron, baking them, even attempting to pan-fry them with varying degrees of success. More often than not, I ended up with a mushy, pale potato pancake instead of the golden, crispy delight I craved. That is, until I discovered the game-changing secret: the waffle iron. Using a waffle iron for hash browns wasn't just a hack; it was a revelation that transformed my breakfast routine. This method consistently delivers the most incredible, truly Crispy Waffle Iron Hash Browns you'll ever taste, and it’s surprisingly simple to master.
Why This Recipe is a Must-Try
- Unmatched Crispy Perfection: The waffle iron’s unique design creates maximum surface area, guaranteeing extra crispy edges and a tender interior – far superior to traditional pan-frying. Your Crispy Waffle Iron Hash Browns will be legendary!
- Effortless and Clean Cleanup: Say goodbye to oil splatters and constantly flipping. The waffle iron does all the hard work, cooking both sides simultaneously and containing any mess. Plus, most modern waffle irons are non-stick and a breeze to wipe down.
- Unique and Fun Presentation: Who doesn't love the appealing grid pattern? These hash browns look as fantastic as they taste, adding a touch of gourmet flair to your breakfast or brunch spread. It's a guaranteed conversation starter when you serve these Crispy Waffle Iron Hash Browns.
- Versatile and Customizable: Whether you like them plain, cheesy, or loaded with toppings, this method provides a perfect foundation. These Crispy Waffle Iron Hash Browns are a blank canvas for your culinary creativity.
Key Ingredient Notes
While the technique is king for truly Crispy Waffle Iron Hash Browns, a few ingredient considerations can make all the difference:
The Right Potato Matters
For the best Crispy Waffle Iron Hash Browns, reach for starchy potatoes like Russet (Idaho) potatoes. Their high starch content helps them crisp up beautifully and gives that classic hash brown texture. Waxy potatoes (like red or Yukon Gold) tend to hold more moisture and can result in a softer texture. No matter which potato you choose, the key to maximum crispiness is to remove as much moisture as possible after grating. Don't underestimate this step!
Oil: Choose Wisely for Crispiness
A good quality oil with a high smoke point is crucial for achieving golden Crispy Waffle Iron Hash Browns without burning. Avocado oil or vegetable oil are excellent choices. Olive oil can be used, but ensure it's not extra virgin, as its lower smoke point might lead to smoking or burning before the hash browns are perfectly crisp. You want enough oil to coat the potatoes lightly and prevent sticking, contributing to that desired crunch.
Seasoning for Flavor
Beyond salt and pepper, consider adding a dash of onion powder or garlic powder to your shredded potatoes. These simple additions elevate the flavor profile of your Crispy Waffle Iron Hash Browns without overpowering the natural potato taste. A pinch of paprika can also add a lovely color and subtle smokiness. Don't be afraid to experiment with your favorite spices!
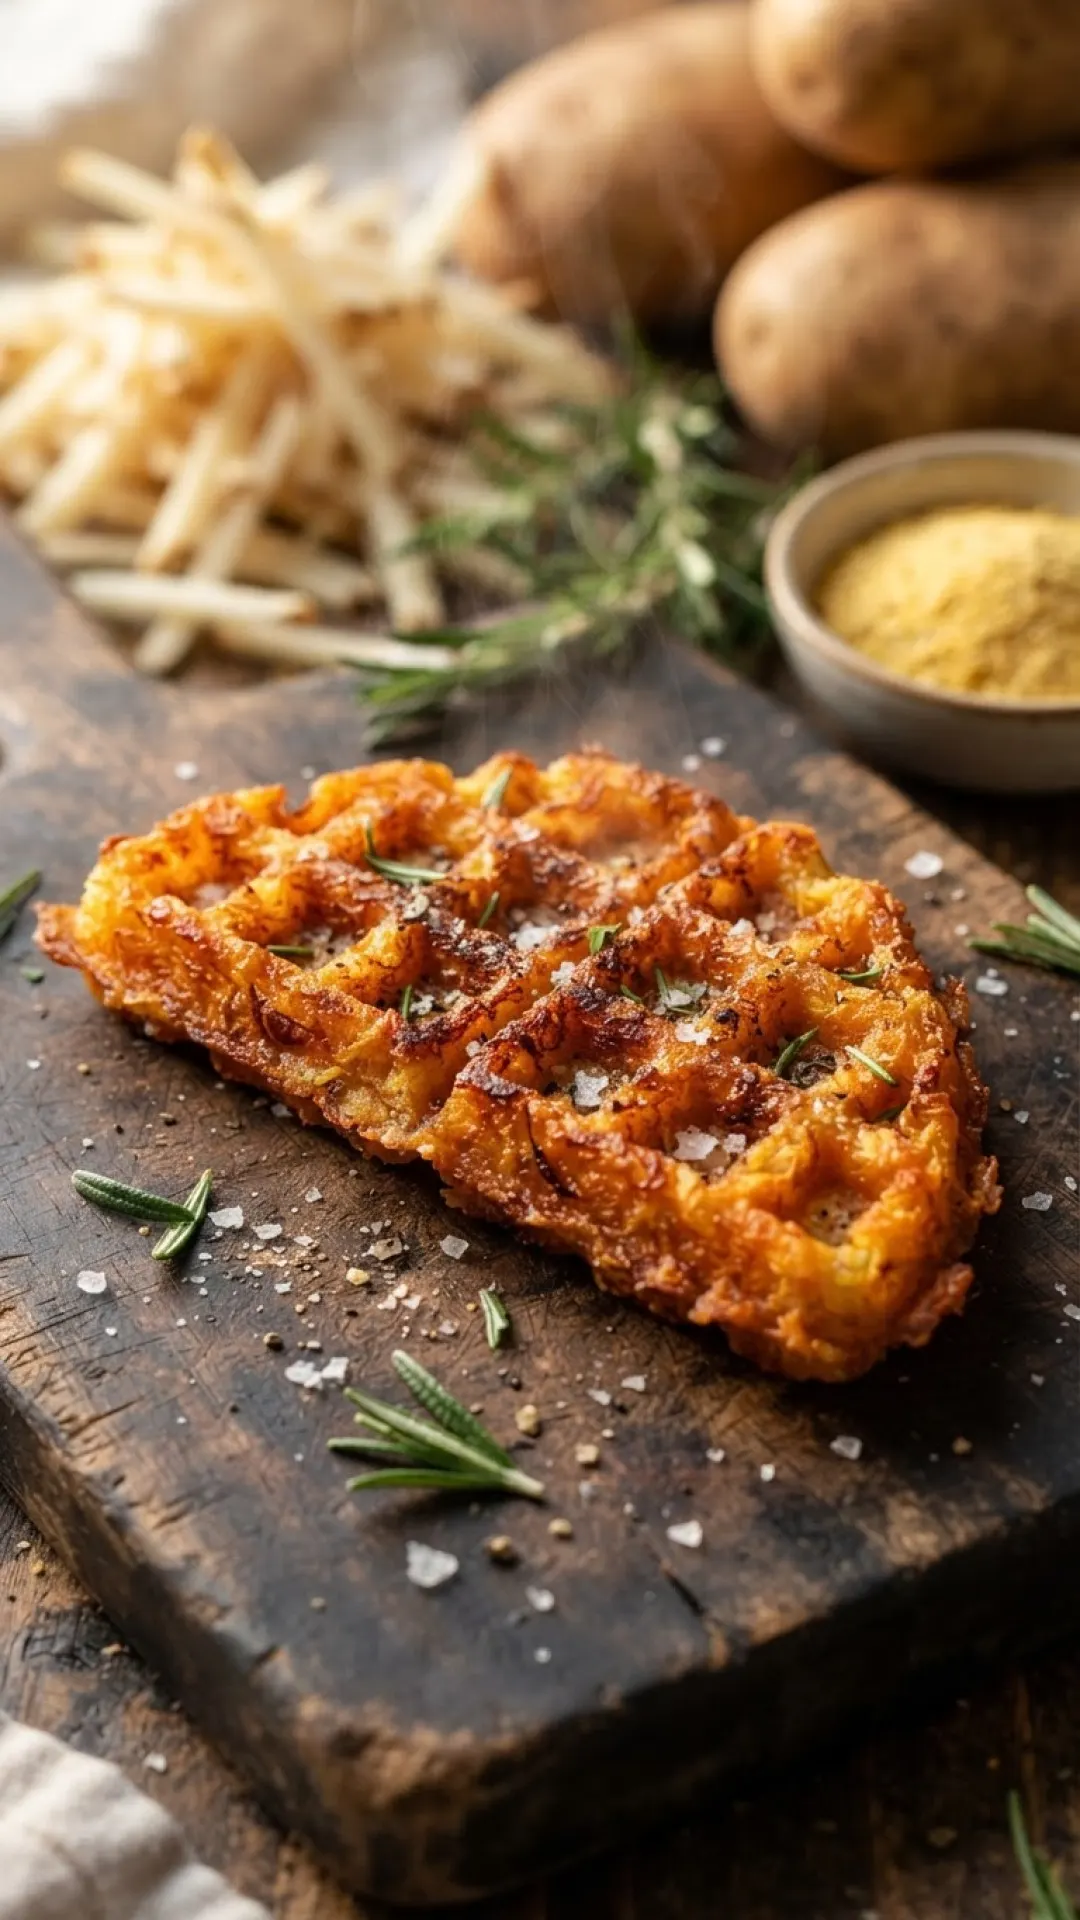
Step-by-Step Guide with Pro Tips
Get ready to make the best Crispy Waffle Iron Hash Browns of your life!
Preparation is Key
Step 1: Grate the Potatoes. Start by peeling your potatoes. Using the large holes of a box grater or a food processor with a grating attachment, shred the potatoes. Aim for consistent shreds for even cooking. The more uniform your shreds, the more uniformly crispy your Crispy Waffle Iron Hash Browns will be.
Step 2: Rinse Thoroughly. Transfer the grated potatoes to a colander and rinse them under cold running water until the water runs clear. This step is crucial for removing excess starch, which can lead to gummy hash browns. The starch is the enemy of crispiness for Crispy Waffle Iron Hash Browns.
Step 3: Squeeze Out Every Drop of Moisture. This is perhaps the most critical step for truly Crispy Waffle Iron Hash Browns. Place the rinsed potatoes on a clean kitchen towel or several layers of paper towels. Gather the edges and twist tightly, squeezing out as much water as humanly possible. You'll be surprised how much liquid comes out! The drier the potatoes, the crispier your hash browns will be.
Step 4: Season the Potatoes. Transfer the dried potatoes to a large bowl. Drizzle with a tablespoon or two of high smoke point oil (like avocado or vegetable oil). Season generously with salt, black pepper, and any optional seasonings like onion powder or garlic powder. Toss everything together until the potatoes are evenly coated. This ensures every strand contributes to the flavor of your Crispy Waffle Iron Hash Browns.
Cooking in the Waffle Iron
Step 5: Preheat and Oil Your Waffle Iron. Preheat your waffle iron to medium-high heat. Once hot, lightly brush or spray the cooking plates with a little more oil. This prevents sticking and helps create that beautiful, golden crust on your Crispy Waffle Iron Hash Browns.
Step 6: Cook the Hash Browns. Take a handful of the seasoned potatoes and spread them evenly over the bottom plate of the waffle iron. Don't overfill, but ensure you cover the grids. Close the lid firmly (it might not close completely at first, especially if you're making thick Crispy Waffle Iron Hash Browns). Cook for 8-15 minutes, or until deeply golden brown and wonderfully crispy. Cooking times will vary depending on your waffle iron and how crispy you like them. Resist the urge to open the lid too early!
Step 7: Serve Immediately. Carefully remove the Crispy Waffle Iron Hash Browns with a fork or spatula. Serve hot and enjoy! You can keep them warm in a single layer on a baking sheet in a low oven (around 200°F / 95°C) while you cook the rest of the batches. For storage, once cooled, place them in Basics Glass Food Storage containers. When reheating, a toaster oven or air fryer works best to revive their crispness.
Variations & Serving Suggestions
These Crispy Waffle Iron Hash Browns are incredibly versatile! Here are some ideas to make them even better:
Delicious Variations:
- Cheesy Hash Browns: Mix in a handful of shredded cheddar, Monterey Jack, or Gruyere cheese with the potatoes before cooking. The melting cheese will create irresistible crispy bits.
- Spicy Kick: Add a pinch of cayenne pepper or smoked paprika to your seasoning mix, or even a finely diced jalapeño for a spicier version of your Crispy Waffle Iron Hash Browns.
- Loaded Hash Browns: After cooking, top your Crispy Waffle Iron Hash Browns with crumbled bacon, chopped chives, a dollop of sour cream, and a sprinkle of extra cheese. Pure decadence!
- Sweet Potato Hash Browns: For a slightly different flavor profile and nutritional boost, try grating sweet potatoes instead of regular potatoes.
Serving Suggestions:
- Classic Breakfast: Serve alongside scrambled eggs, crispy bacon, and a side of fruit for the ultimate breakfast plate. These Crispy Waffle Iron Hash Browns are the perfect accompaniment. Consider pairing them with my Ultimate Make-Ahead Breakfast Burrito Casserole for a truly epic brunch!
- Brunch Extravaganza: They are fantastic with Eggs Benedict, omelets, or as part of a larger spread including French Toast Bread Pudding with Brioche.
- Savory Side Dish: Don't limit them to breakfast! These Crispy Waffle Iron Hash Browns make an excellent side for grilled chicken, steak, or even a hearty burger.
- Breakfast Sandwich Base: Use two smaller hash brown squares instead of bread for a delicious, gluten-friendly breakfast sandwich with egg, cheese, and your favorite breakfast meat.
Nutrition Information
Here’s an estimated nutritional breakdown for a serving of these delicious Crispy Waffle Iron Hash Browns:
| Nutrient | Amount Per Serving |
|---|---|
| Calories | 220 kcal |
| Carbohydrates | 28 g |
| Cholesterol | 0 mg |
| Fat | 11 g |
| Fiber | 3 g |
| Protein | 3 g |
| Saturated Fat | 1 g |
| Serving Size | 1 hash brown (approx. 1/4 of recipe) |
| Sodium | 250 mg |
| Sugar | 1 g |
| Trans Fat | 0 g |
| Unsaturated Fat | 10 g |
Conclusion
Embrace the waffle iron, my friends, and say hello to the easiest, most reliably crispy hash browns you've ever made. This method for Crispy Waffle Iron Hash Browns not only simplifies the cooking process but elevates the texture and taste to new heights. No more soggy regrets, just pure, unadulterated potato bliss. Give this recipe a try this weekend, and prepare to be amazed. Your breakfast (and brunch!) game is about to get a serious upgrade thanks to these incredible Crispy Waffle Iron Hash Browns!
FAQs
Why are my waffle iron hash browns not crispy?
The most common reason for non-crispy hash browns is excess moisture in the potatoes. After grating, ensure you rinse them thoroughly to remove starch, then squeeze out as much water as possible using a clean kitchen towel. Also, ensure your waffle iron is preheated adequately and you're using enough oil.
Can I use any type of potato for Crispy Waffle Iron Hash Browns?
While you can use other potatoes, starchy varieties like Russets (Idaho potatoes) are highly recommended. Their higher starch content helps them get exceptionally crispy and achieve that classic hash brown texture. Waxy potatoes tend to hold more moisture and may result in a softer outcome.
How do I prevent my hash browns from sticking to the waffle iron?
To prevent sticking, make sure your waffle iron is well-preheated and generously greased with oil or cooking spray before adding the potatoes. A good quality non-stick waffle iron also helps. Resist the urge to open the lid too early, as this can tear the hash browns.
Can I prepare the potato mixture ahead of time?
Yes, you can grate and dry the potatoes ahead of time. Store them in an airtight container or a sealed bag in the refrigerator for up to a day. Season them just before cooking, as salt can draw out moisture over time, affecting crispiness.
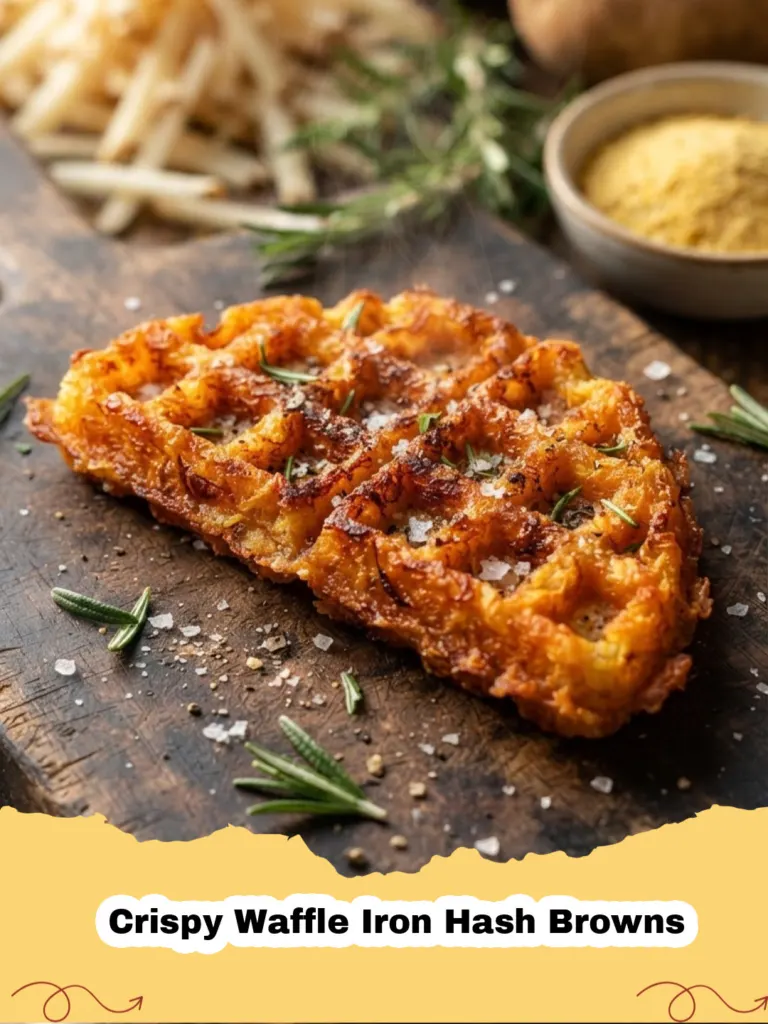
Crispy Waffle Iron Hash Browns
Unlock the secret to perfectly crispy hash browns every time using your waffle iron! This easy method guarantees golden, tender, and incredibly satisfying results with minimal fuss. A breakfast game-changer!
- Total Time: 45 minutes
- Yield: 4 servings 1x
Ingredients
2 large Russet potatoes (about 1.5 lbs)
2 tablespoons avocado oil or vegetable oil, plus more for greasing
1 teaspoon salt, or to taste
1/2 teaspoon black pepper, or to taste
1/4 teaspoon onion powder (optional)
1/4 teaspoon garlic powder (optional)
Instructions
Step 1: Peel and grate the potatoes using the large holes of a box grater or a food processor.
Step 2: Place the grated potatoes in a colander and rinse thoroughly under cold running water until the water runs clear. This removes excess starch.
Step 3: Transfer the rinsed potatoes to a clean kitchen towel or several layers of paper towels. Gather the towel's edges and twist tightly, squeezing out as much moisture as possible. This step is crucial for crispiness!
Step 4: Place the dried potatoes in a large bowl. Drizzle with 2 tablespoons of oil, salt, pepper, and optional onion/garlic powder. Toss until the potatoes are evenly coated.
Step 5: Preheat your waffle iron to medium-high heat. Lightly brush or spray the cooking plates with additional oil.
Step 6: Take a handful of the seasoned potatoes (about 1/4 of the mixture) and spread them evenly over the bottom plate of the hot waffle iron. Close the lid firmly.
Step 7: Cook for 8-15 minutes, or until the hash browns are deeply golden brown and wonderfully crispy. Cooking time will vary by waffle iron and desired crispness. Do not open the lid too early.
Step 8: Carefully remove the crispy hash browns with a fork or spatula. Repeat with the remaining potato mixture. Serve immediately and enjoy your Crispy Waffle Iron Hash Browns!
Notes
The key to truly crispy hash browns is to squeeze out as much moisture as possible from the grated potatoes. Don't skip this step! For extra flavor, consider adding a pinch of smoked paprika or a dash of hot sauce to your potato mixture.
- Prep Time: 15 minutes
- Cook Time: 30 minutes
- Category: Main Dishes & Savory Recipes
- Cuisine: American
Nutrition
- Serving Size: 1 hash brown (approx. 1/4 of recipe)
- Calories: 220 kcal
- Sugar: 1 g
- Sodium: 250 mg
- Fat: 11 g
- Saturated Fat: 1 g
- Unsaturated Fat: 10 g
- Trans Fat: 0 g
- Carbohydrates: 28 g
- Fiber: 3 g
- Protein: 3 g
- Cholesterol: 0 mg