

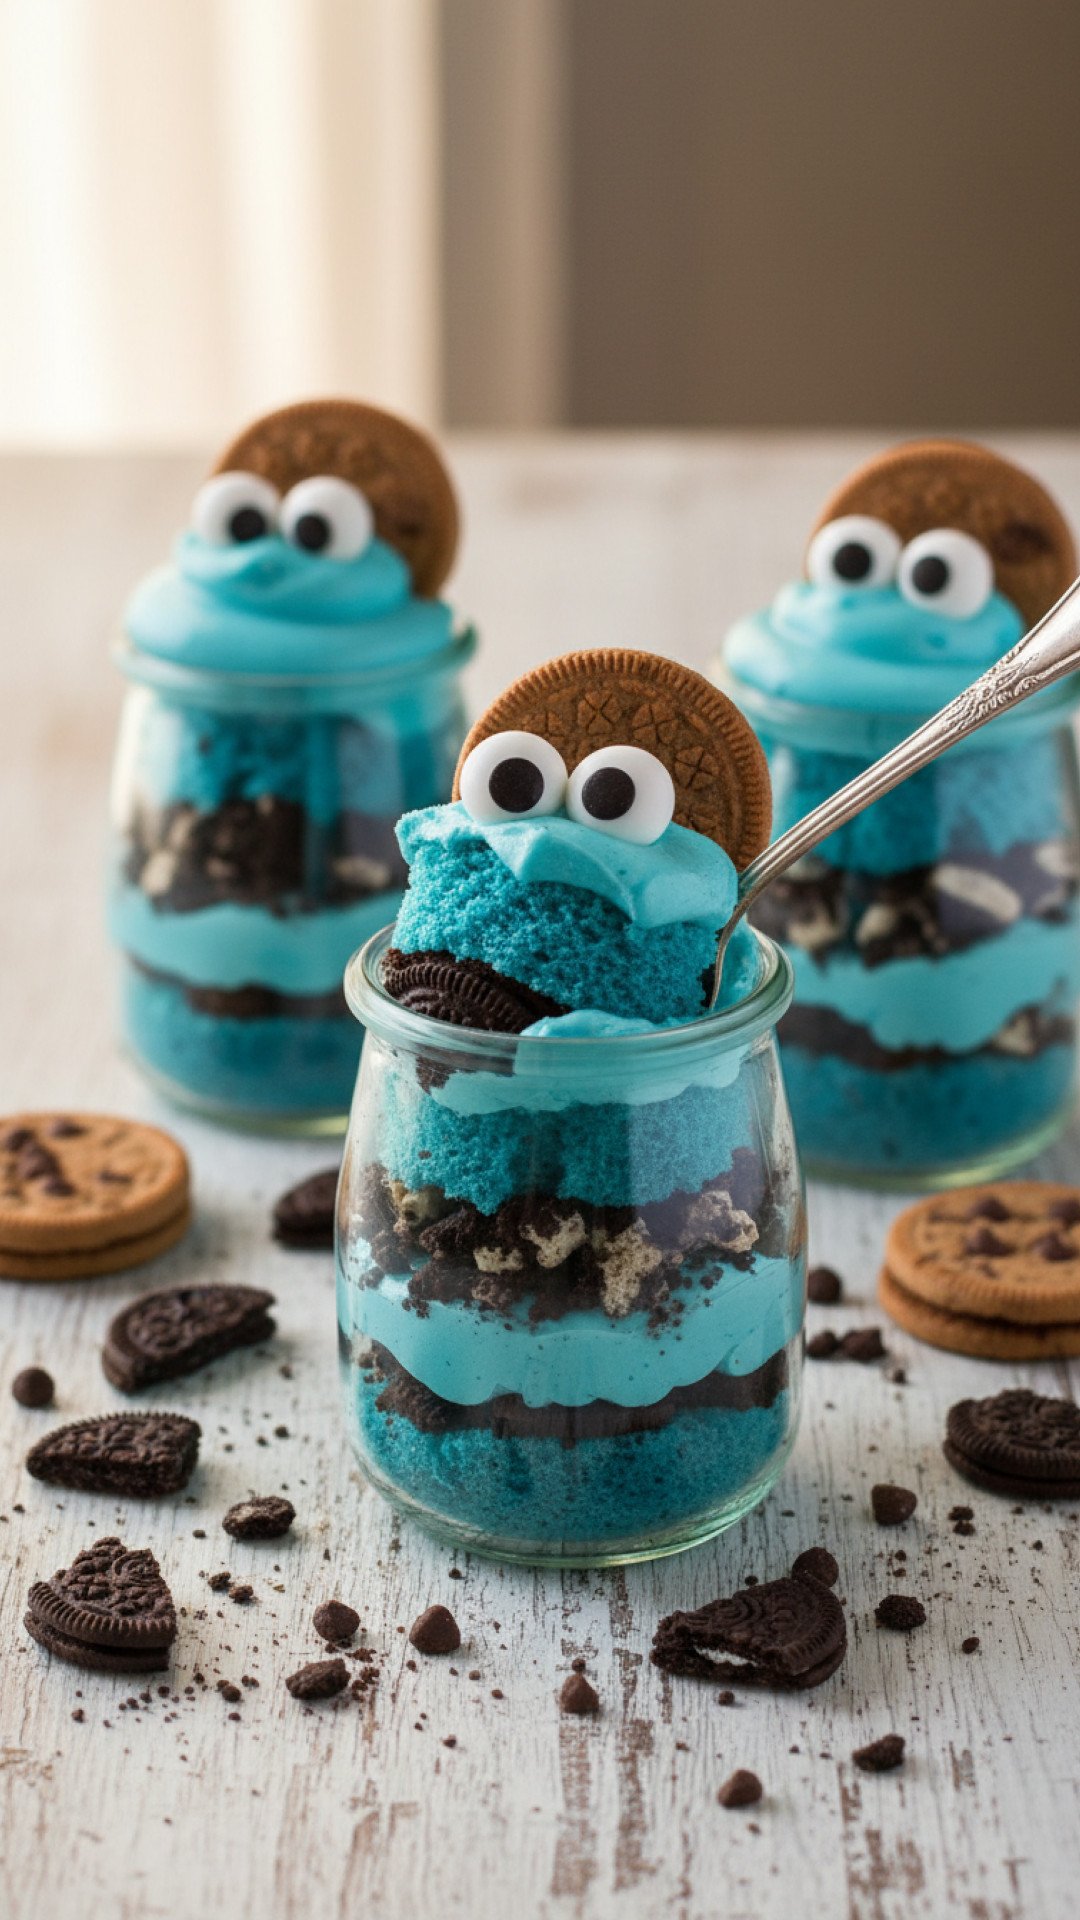
Making cookie monster cake jars has quickly become one of my favorite weekend traditions, especially when I want to bring a bit of whimsical joy into my kitchen. There is something inherently nostalgic about that vibrant blue hue and the abundance of cookies that just makes everyone, from toddlers to grandparents, smile. I remember the first time I whipped up a batch of these cookie monster cake jars for a neighborhood block party; I barely had time to set the tray down before they were snatched up. The combination of moist blue velvet cake, creamy vanilla frosting, and crunchy chocolate chip cookies creates a symphony of textures that is hard to resist.
As we dive into the world of these adorable desserts, you will find that cookie monster cake jars are more than just a sweet treat; they are a conversation starter. Whether you are hosting a themed birthday party or just want to brighten a rainy afternoon, these jars offer the perfect portion-controlled indulgence. The best part is how customizable they are, allowing you to play with different types of cookies or even varying shades of blue to suit your aesthetic. Let's explore why these cookie monster cake jars deserve a permanent spot in your dessert rotation.
Why This Recipe is a Must-Try
- Perfectly Portable: Since everything is contained within a jar, these cookie monster cake jars are the ultimate grab-and-go dessert for picnics, office parties, or school events.
- Visual Appeal: The striking contrast between the bright blue cake and the golden-brown cookies makes these cookie monster cake jars an absolute standout on any dessert table.
- Texture Variety: Each bite of these cookie monster cake jars offers a delightful mix of fluffy cake, smooth buttercream, and the satisfying crunch of mini chocolate chip cookies.
- Great for Gifting: Tie a little ribbon around the lid, and you have a charming, handmade gift that anyone would be thrilled to receive.
Key Ingredient Notes
To ensure your cookie monster cake jars turn out perfectly every time, paying attention to a few key ingredients is essential. First, the blue velvet cake provides the foundation. While you can use a boxed white cake mix and add blue gel food coloring, a dedicated blue velvet recipe often has a hint of cocoa that adds a unique depth of flavor. If you find yourself in the mood for more breakfast-inspired sweets after baking these, check out The Ultimate Nutella French Toast Roll Ups Recipe for another crowd-pleaser.
Second, the frosting needs to be stable enough to hold the layers but light enough to not overpower the cake. I recommend a classic American buttercream tinted with just a touch of blue gel. Finally, the cookies are the stars of the show. Using high-quality mini chocolate chip cookies ensures that every spoonful of your cookie monster cake jars contains that iconic crunch. For the best presentation and freshness, I recommend using Basics Glass Food Storage jars to keep your layers looking sharp and tasting delicious.
Step-by-Step Guide with Pro Tips
Creating these cookie monster cake jars is a fun and creative process that begins with baking your cake. Once your blue velvet cake has cooled completely, the real magic happens during the assembly. Pro Tip: Always make sure your cake is entirely cool before crumbling it into the jars; otherwise, the heat will melt your frosting and turn your beautiful layers into a muddy mess. Start by placing a generous layer of cake crumbs at the bottom of each jar, pressing down slightly to create a solid base.
Next, use a piping bag to add a swirl of blue-tinted frosting over the cake layer. This is where you can get creative with your cookie monster cake jars by adding a layer of mini chocolate chip cookies or even some edible cookie dough chunks. Repeat the layering process until you reach the top of the jar. For that signature "Monster" look, finish with a large dollop of frosting and place two candy eyes and a small cookie half right in the center. After a long day of assembling these sweet treats, I often find myself wanting a healthy dinner to balance it all out, like this Ground Turkey Sweet Potato Bake.
Variations & Serving Suggestions
The beauty of cookie monster cake jars lies in their versatility. You can easily adapt this recipe to fit dietary needs or flavor preferences. For instance, try a "Healthy Monster" version by using a gluten-free cake base and sugar-free chocolate chips. If you want to elevate the flavor profile of your cookie monster cake jars, consider adding a layer of salted caramel or a chocolate ganache drizzle between the cake and frosting layers.
Serving these jars at a party? Try using smaller 4-ounce jars for "mini" cookie monster cake jars that are perfect for little hands. You can also vary the "mouth" of the monster by using different types of cookies like Oreos or oatmeal cookies. Regardless of the variation, these cookie monster cake jars are best served at room temperature to ensure the buttercream is perfectly soft and the cake is moist.
Nutrition Information
While cookie monster cake jars are definitely an indulgent treat, it is helpful to know the nutritional breakdown for planning purposes. Below is an estimate for one standard-sized jar.
| Nutrient | Amount per Serving |
|---|---|
| Calories | 485 kcal |
| Carbohydrates | 62g |
| Protein | 4g |
| Fat | 24g |
| Saturated Fat | 14g |
| Cholesterol | 55mg |
| Sodium | 310mg |
| Fiber | 2g |
| Sugar | 45g |
Conclusion
In conclusion, cookie monster cake jars are a delightful, fun, and incredibly delicious way to celebrate any occasion. Their whimsical appearance and classic flavor combination make them a hit with people of all ages. By following these tips and using quality ingredients, you can create professional-looking cookie monster cake jars right in your own kitchen. Whether you keep them all for yourself or share them with friends, these cookie monster cake jars are sure to bring a bit of joy to your day. Happy baking!
FAQs
How long do cookie monster cake jars stay fresh?
When stored in an airtight jar in the refrigerator, cookie monster cake jars will stay fresh and delicious for up to 3 to 4 days.
Can I use store-bought frosting for cookie monster cake jars?
Yes, you can use store-bought white frosting. Just whip it with a hand mixer to make it fluffier and add blue gel food coloring to get that signature monster look.
What size jars are best for cookie monster cake jars?
Standard 8-ounce mason jars are perfect for a full dessert serving, but 4-ounce jars work wonderfully for kids' parties or smaller treats.
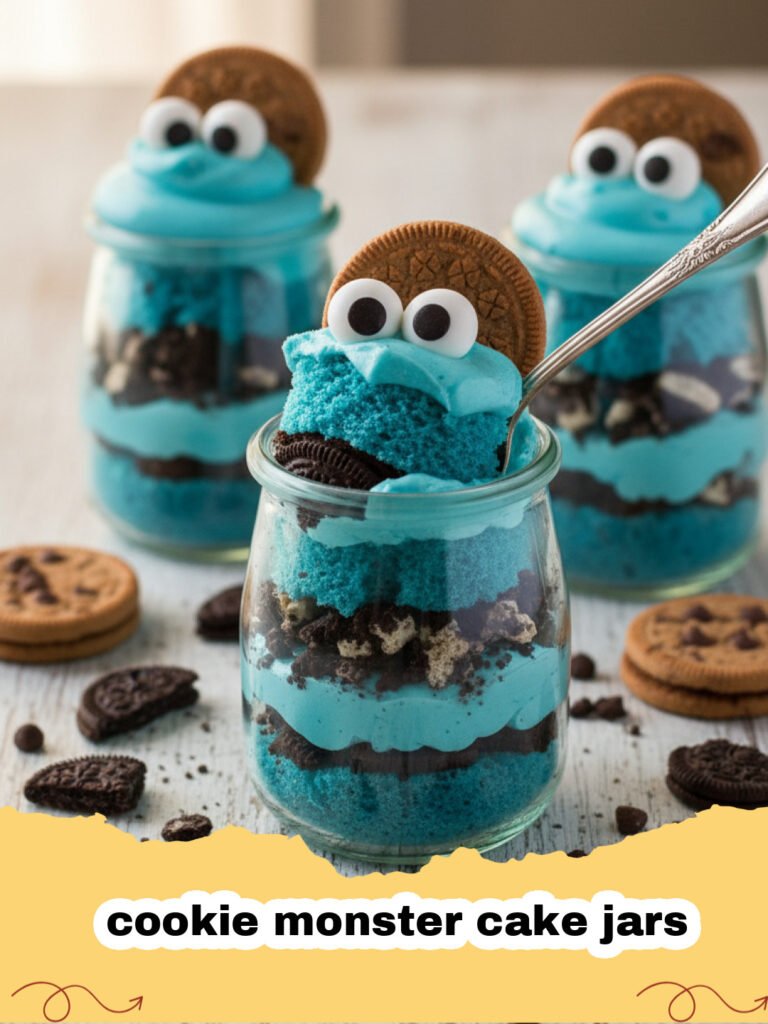
Cookie Monster Cake Jars
Vibrant blue velvet cake layers paired with creamy buttercream and mini chocolate chip cookies in a fun jar format.
- Total Time: 55 minutes
- Yield: 8 jars 1x
Ingredients
1 box Blue Velvet Cake Mix (or white cake mix with blue food coloring)
3 large eggs
1/2 cup vegetable oil
1 cup water
2 cups unsalted butter, softened
4 cups powdered sugar
2 tsp vanilla extract
Blue gel food coloring
2 cups mini chocolate chip cookies
16 candy eyes
1/2 cup chocolate chip cookie halves (for the 'mouth')
Instructions
Step 1: Preheat your oven to 350°F (175°C) and prepare the blue velvet cake according to the package instructions using the eggs, oil, and water.
Step 2: Once the cake is baked and completely cooled, crumble it into small bite-sized pieces in a large bowl.
Step 3: In a separate bowl, cream the softened butter until smooth. Gradually add powdered sugar, vanilla, and blue food coloring, beating until light and fluffy.
Step 4: Place a handful of cake crumbles into the bottom of each glass jar to create the first layer.
Step 5: Pipe or spoon a layer of blue frosting over the cake, followed by a sprinkle of mini chocolate chip cookies.
Step 6: Repeat the layers of cake, frosting, and cookies until the jar is filled to the top.
Step 7: Finish each jar with a final swirl of frosting, two candy eyes, and a cookie half to resemble the Cookie Monster.
Notes
Store the jars in the refrigerator for up to 3 days. For the best texture, let them sit at room temperature for 20 minutes before serving.
- Prep Time: 30 minutes
- Cook Time: 25 minutes
- Category: Desserts & Baking
- Cuisine: American
Nutrition
- Serving Size: 1 jar
- Calories: 485 kcal
- Sugar: 45g
- Sodium: 310mg
- Fat: 24g
- Saturated Fat: 14g
- Unsaturated Fat: 8g
- Trans Fat: 0.5g
- Carbohydrates: 62g
- Fiber: 2g
- Protein: 4g
- Cholesterol: 55mg
Leave a Reply