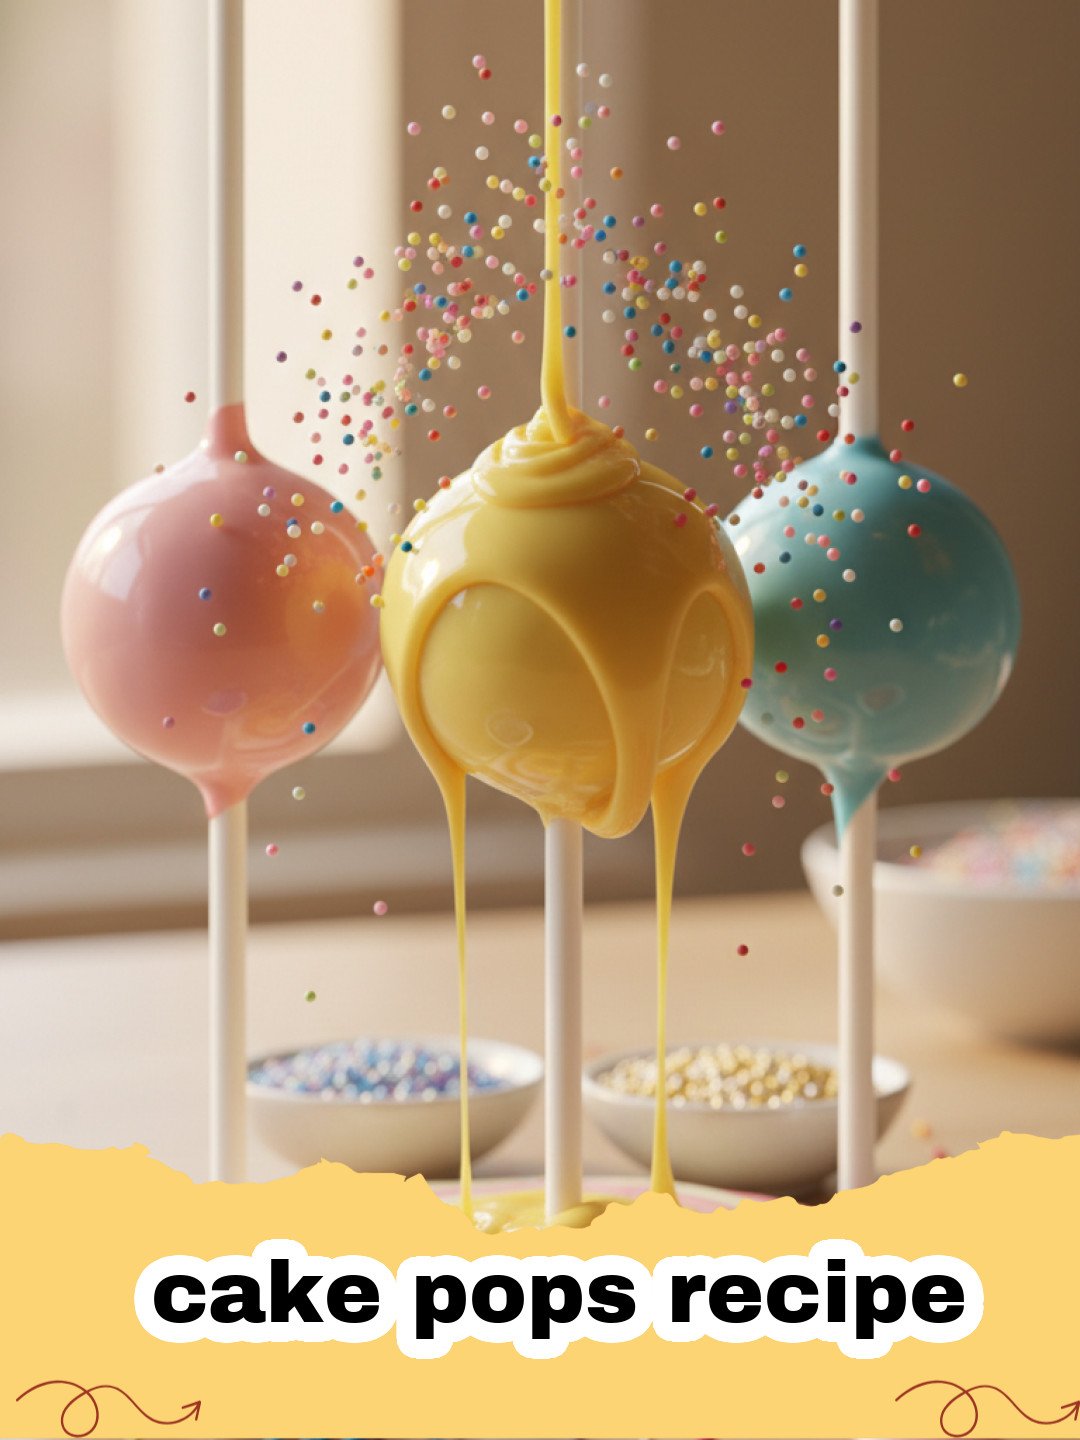
Ah, the humble cake pop. For me, these delightful little spheres of joy hold a special place in my heart, reminding me of my daughter's third birthday party. I had spent weeks planning, trying to come up with something truly magical, something that would light up her eyes and those of her little friends. Conventional cake felt too messy, cupcakes a bit too ordinary. That’s when the idea of a cake pops recipe struck me. I envisioned a forest of colorful, perfectly round treats, just begging to be devoured. My first attempt, bless its heart, was a disaster. The mixture was too crumbly, the chocolate seized, and the sticks refused to stay put. It looked more like abstract art than edible delights! But with a little persistence, a lot of chocolate, and a good few late nights, I finally cracked the code. The sheer delight on those tiny faces as they each picked their favorite sprinkle-covered pop was worth every single chocolate-stained kitchen counter. This isn’t just a cake pops recipe; it’s a recipe for creating moments of pure, unadulterated happiness, a sweet tradition born from a tiny birthday wish. Now, I’m thrilled to share my perfected cake pops recipe with you, so you can create your own magical memories.
Why This Cake Pops Recipe is a Must-Try
- Perfectly Moist and Flavorful: This cake pops recipe ensures a dense, rich cake crumb that’s ideal for shaping, never dry or crumbly once formed.
- Endless Customization: From different cake flavors to various coatings and sprinkles, this cake pops recipe is a canvas for your creativity.
- Kid-Friendly Fun: A fantastic activity to do with children, from mixing to decorating. It’s a great way to introduce them to baking!
- Portable Party Perfection: Easy to serve and eat at any gathering, making them ideal for birthdays, holidays, or just a sweet treat on the go.
- Impressive Presentation: Despite being simple to make, homemade cake pops look incredibly professional and are always a showstopper.
Key Ingredient Notes
While the full list of ingredients for this fantastic cake pops recipe is below, let's highlight a few stars that make all the difference:
- Baked Cake (Your Choice!): The foundation of your cake pops. A box mix is perfectly fine here and can save a lot of time. Yellow, chocolate, vanilla, or even red velvet cakes work wonderfully. Ensure it's completely cooled before crumbling for the best texture.
- Cream Cheese Frosting: This is the secret binder and flavor enhancer. Full-fat cream cheese frosting (either homemade or store-bought) provides the perfect consistency and adds a tangy richness that balances the sweetness of the cake and coating. Don't skimp on quality here!
- Melting Wafers or Candy Melts: These are crucial for a smooth, crack-free coating. Unlike regular chocolate chips, melting wafers (or candy melts) are formulated to melt smoothly and harden quickly, giving your cake pops that professional finish. Brands like Ghirardelli or Wilton are excellent choices. Using high-quality melts will significantly impact the final appearance and taste of your cake pops recipe.
- Sturdy Lollipop Sticks: Investing in good quality sticks is important to prevent your beautiful cake pops from falling off.
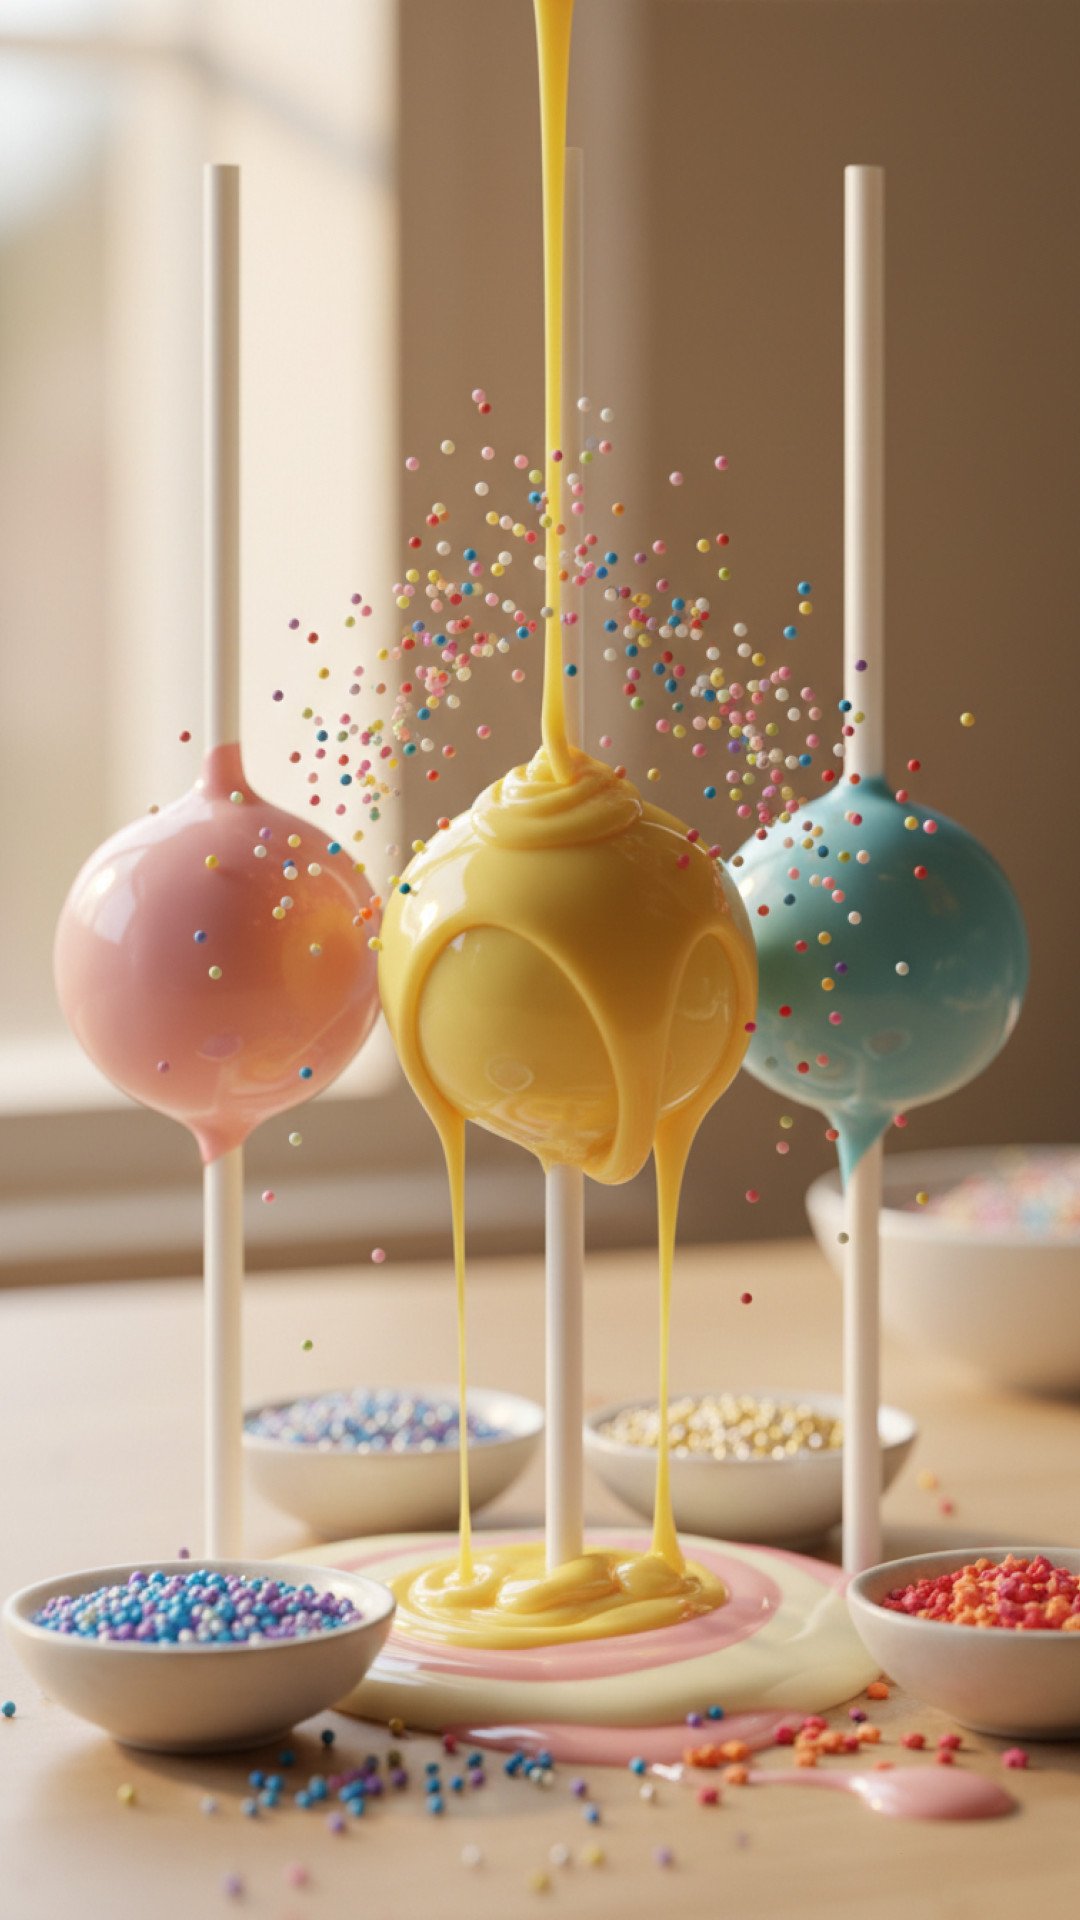
Step-by-Step Guide with Pro Tips
Ready to master this incredible cake pops recipe? Follow these steps closely, and you'll be a cake pop pro in no time!
Variations & Serving Suggestions
This cake pops recipe is incredibly versatile. Here are a few ideas to get your creative juices flowing:
- Flavor Combinations: Experiment with different cake and frosting pairings. Think chocolate cake with peanut butter frosting, lemon cake with cream cheese frosting, or even funfetti cake for extra cheer.
- Seasonal Themes: Use colored candy melts and festive sprinkles for holidays like Christmas, Halloween, or Valentine's Day. Green and red for Christmas, orange and black for Halloween, or pink and red for Valentine's Day.
- Drizzle & Decorate: Instead of just sprinkles, drizzle contrasting colored candy melts over your coated cake pops. You can also use edible glitter, crushed nuts, or shredded coconut for unique textures and flavors. For a truly unique touch, consider a variety of homemade treats for your dessert table.
- Serving Ideas: Arrange them upright in a decorative block of floral foam or a tall vase filled with candies. They also look beautiful laid flat on a platter. For a refreshing pairing, consider serving them alongside a classic vanilla milkshake.
- Storage: Store finished cake pops in an airtight container at room temperature for up to 2 days, or in the refrigerator for up to a week. For longer storage, they can be frozen for up to a month before decorating. When freezing, place them in a single layer in an airtight container. They're a fantastic make-ahead dessert!
- Gifts: Package a few homemade cake pops in a clear treat bag with a ribbon for a thoughtful homemade gift. They store wonderfully in an airtight container like Basics Glass Food Storage.
Nutrition Information
Here’s an estimate of the nutritional value per serving for this delightful cake pops recipe. Please note that these values can vary based on specific brands and ingredients used.
| Nutrient | Amount Per Serving |
|---|---|
| Calories | 220 kcal |
| Carbohydrates | 28g |
| Cholesterol | 25mg |
| Total Fat | 12g |
| Fiber | 0.5g |
| Protein | 2g |
| Saturated Fat | 7g |
| Serving Size | 1 cake pop |
| Sodium | 150mg |
| Sugar | 24g |
| Trans Fat | 0.1g |
| Unsaturated Fat | 4g |
Conclusion
Making homemade cake pops is a rewarding experience that brings a touch of whimsy and joy to any occasion. This detailed cake pops recipe, born from a desire to create something special, is now yours to cherish and adapt. Don't be afraid to get creative with your flavors and decorations. Remember, the goal isn't just a perfect treat, but the joy of the process and the smiles these little delights bring. Whether you're a seasoned baker or a beginner, this cake pops recipe is designed to be accessible and fun. So go ahead, bake up a batch, and let the sweet magic unfold!
FAQs
What kind of cake is best for cake pops?
Almost any dense, moist cake works well for this cake pops recipe! Yellow, vanilla, chocolate, or red velvet are popular choices. You can use a boxed cake mix for convenience or a homemade recipe. Ensure the cake is completely cooled before crumbling.
Why do my cake pops fall off the stick?
Cake pops often fall off the stick if the cake balls aren't chilled enough, or if the melted candy 'glue' on the stick hasn't set properly. Make sure to chill the cake balls thoroughly, dip the stick in melted candy first, insert it, and then chill again before the final dipping step in this cake pops recipe.
How do I get a smooth coating on my cake pops?
For a smooth coating in this cake pops recipe, use high-quality candy melts or melting wafers, as they are designed to melt smoothly. Ensure the melted candy is fluid but not too hot. Dip the pop quickly, and gently tap off excess coating. Avoid over-handling and make sure the cake balls are well-chilled.
How long do homemade cake pops last?
Once decorated, this cake pops recipe can be stored in an airtight container at room temperature for up to 2 days, or in the refrigerator for up to a week. For longer storage, you can freeze undecorated cake balls for up to a month.
Irresistible Homemade Cake Pops
Learn how to make the most delicious and perfectly coated cake pops with this easy-to-follow recipe. Perfect for parties, celebrations, or a sweet treat!
- Total Time: 1 hour 10 minutes (plus chilling)
- Yield: 24 cake pops 1x
Ingredients
1 box (15.25 oz) yellow, vanilla, or chocolate cake mix (plus ingredients to prepare cake, usually eggs, oil, water)
1 can (16 oz) cream cheese frosting (or homemade, about 1 1/2 cups)
1 lb (about 2 cups) candy melts or melting wafers (any color)
24 lollipop sticks
Assorted sprinkles, edible glitter, or other decorations
Instructions
Step 1: Bake the cake according to package directions in a 9x13 inch pan. Allow the cake to cool completely in the pan.
Step 2: Once cooled, crumble the entire cake into a large bowl. Ensure there are no large chunks remaining. This is a crucial step for a smooth cake pops recipe.
Step 3: Add about 3/4 of the can of cream cheese frosting (or 1 cup of homemade) to the crumbled cake. Mix with your hands until a thick, dough-like consistency is formed. It should be moist enough to hold together when pressed, but not overly sticky. Add more frosting a tablespoon at a time if needed.
Step 4: Using a small cookie scoop or your hands, roll the mixture into 1-inch to 1.5-inch balls. Place them on a baking sheet lined with parchment paper. This step is key to consistent sizing for your cake pops recipe.
Step 5: Chill the cake balls in the refrigerator for at least 30 minutes, or in the freezer for 15 minutes. This helps them firm up and stay on the stick.
Step 6: While the cake balls are chilling, melt the candy melts according to package instructions. This usually involves microwaving in 30-second intervals, stirring between each, until smooth. For the best coating, ensure your melts are fluid but not too hot. Too hot will cause cracks in your cake pops recipe.
Step 7: Dip the tip of each lollipop stick into the melted candy about half an inch, then insert it about halfway into a chilled cake ball. This acts as an edible 'glue' to secure the stick. Repeat for all cake balls.
Step 8: Return the cake pops to the refrigerator for another 10-15 minutes to allow the candy on the stick to set completely.
Step 9: One by one, dip each cake pop into the melted candy, tilting the bowl and rotating the pop to ensure full coverage. Gently tap off any excess coating by lightly tapping the stick against the side of the bowl. This creates that smooth finish for your cake pops recipe.
Step 10: Immediately after dipping, decorate with sprinkles or other desired toppings before the candy coating sets. This is where your creativity shines in this cake pops recipe!
Step 11: Stand the decorated cake pops upright in a styrofoam block or a tall glass to dry completely. This can take about 15-30 minutes, depending on the coating. Once dry, they are ready to enjoy!
Notes
Ensure your cake is completely cooled before crumbling. Chilling the cake balls is crucial for easy dipping. If your candy melts become too thick, add a tiny bit of vegetable shortening or coconut oil to thin them out. For best results, work in small batches when dipping to ensure consistent temperature and appearance.
- Prep Time: 45 minutes
- Cook Time: 25 minutes (for cake)
- Category: Desserts & Baking
- Cuisine: American
Nutrition
- Serving Size: 1 cake pop
- Calories: 220 kcal
- Sugar: 24g
- Sodium: 150mg
- Fat: 12g
- Saturated Fat: 7g
- Unsaturated Fat: 4g
- Trans Fat: 0.1g
- Carbohydrates: 28g
- Fiber: 0.5g
- Protein: 2g
- Cholesterol: 25mg