
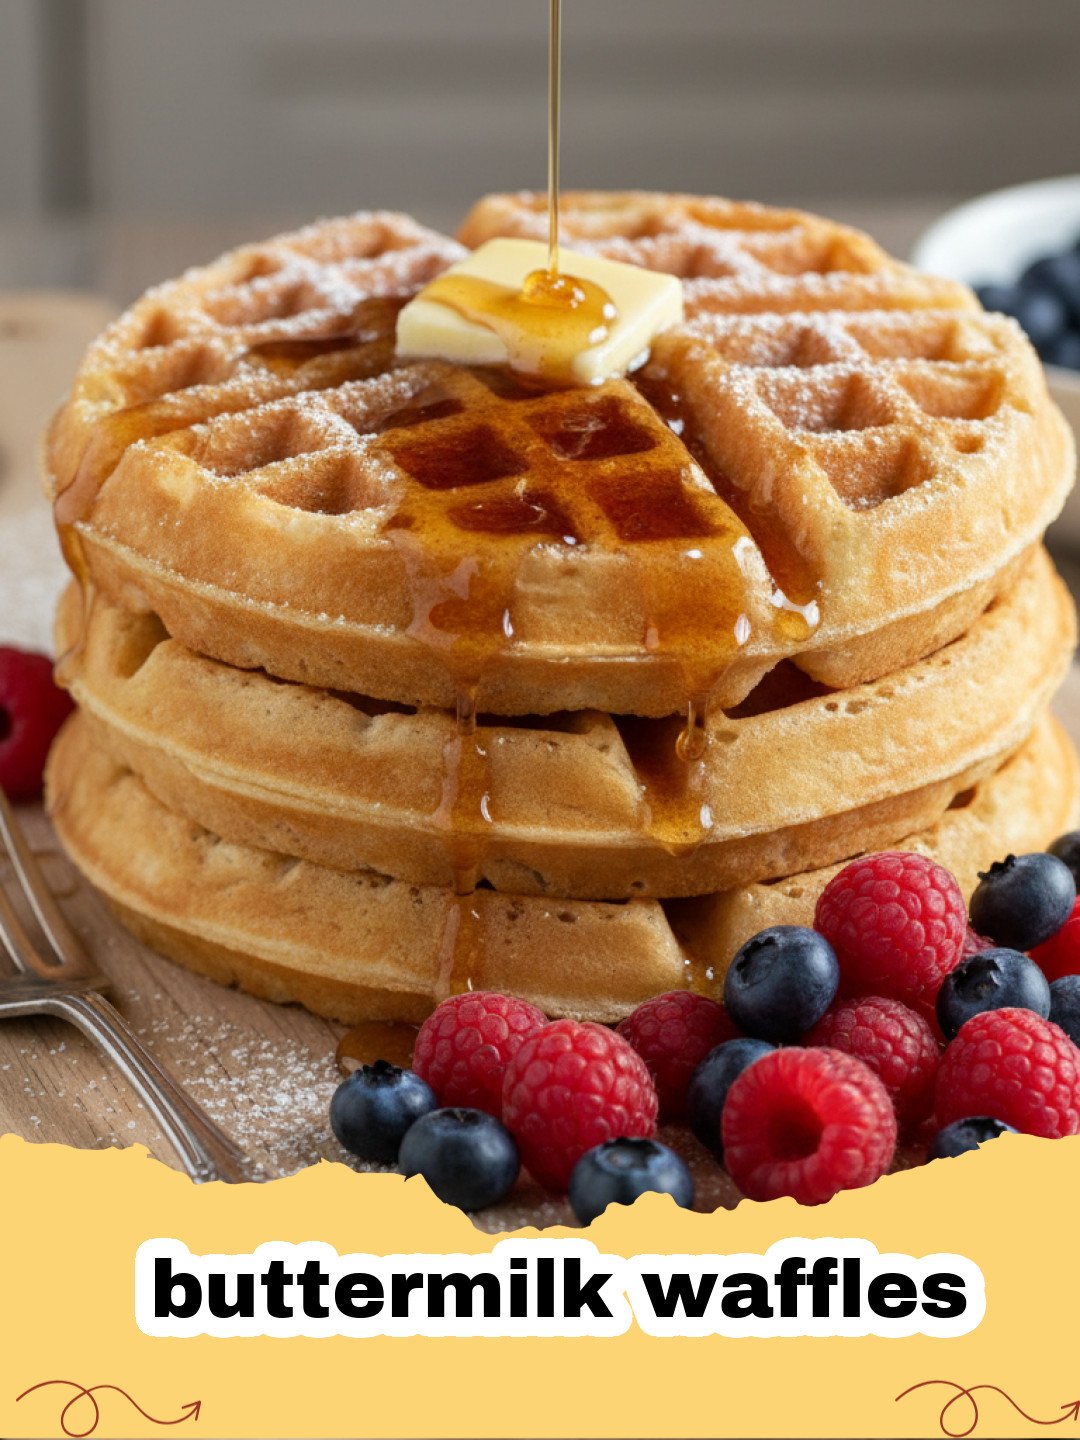
There is something truly magical about the aroma of buttermilk waffles wafting through the house on a lazy Sunday morning. For me, that scent is a direct portal back to my grandmother’s kitchen, where the heavy cast-iron waffle maker sat permanently on the counter, seasoned by decades of golden batter. I remember the rhythmic sound of the whisk hitting the ceramic bowl and the patient wait for the little green light to signal that breakfast was served. Those buttermilk waffles weren't just food; they were a warm embrace in edible form. Over the years, I’ve tried countless variations, but I always return to this specific method. It captures that elusive balance of a shattering-crisp exterior and a cloud-like, tangy interior. Whether you are hosting a festive brunch or just treating yourself after a long week, mastering the art of buttermilk waffles is a culinary milestone that brings joy to every plate.
Why This Recipe is a Must-Try
- Ultimate Texture: By using a specific ratio of fats and acids, these buttermilk waffles achieve a superior crunch that doesn't go soggy after five minutes.
- Deep Flavor Profile: The tang of real buttermilk paired with a hint of vanilla and sugar creates a complex taste that far surpasses any boxed mix.
- Foolproof Method: This recipe is designed for consistency, ensuring that your first waffle is just as perfect as the last one in the batch.
- Meal Prep Friendly: These buttermilk waffles freeze beautifully, making them a fantastic option for busy weekday mornings when you need a quick, homemade breakfast.
Key Ingredient Notes
To make the absolute best buttermilk waffles, you need to pay close attention to your ingredients. First and foremost is the buttermilk itself. While you can technically make a substitute with milk and lemon juice, nothing beats the thick, cultured consistency of real buttermilk for that signature rise and tang. It reacts with the baking soda to create tiny air bubbles, which are essential for a light-as-air crumb.
Second, let’s talk about the fat. This recipe uses melted butter for its incomparable flavor, but if you want an even crispier result, you can use a 50/50 blend of melted butter and vegetable oil. The butter provides the richness we love in buttermilk waffles, while the oil helps the exterior reach that deep golden-brown crunch. Finally, don't skip the cornstarch. Adding a small amount of cornstarch to your dry ingredients helps absorb excess moisture, which is the secret weapon for waffles that stay crispy even under a deluge of maple syrup.
While you're planning your weekend treats, you might also want to check out this recipe for The Ultimate Guide to Campfire Apple Pie Packets, which offers a different kind of sweet comfort that the whole family will love.
Step-by-Step Guide with Pro Tips
Making buttermilk waffles is a process of love, but it requires a gentle touch. The most common mistake people make is overmixing the batter. When you combine your wet and dry ingredients, you want to stir just until the large streaks of flour disappear. A few small lumps are perfectly fine—they will disappear during the cooking process. Overmixing develops gluten, which leads to tough, chewy buttermilk waffles instead of light, tender ones.
Step 1: Begin by whisking your dry ingredients in a large bowl. This includes your all-purpose flour, sugar, baking powder, baking soda, salt, and that secret-ingredient cornstarch. Sifting them together ensures there are no clumps and that the leavening agents are evenly distributed.
Step 2: In a separate medium bowl, whisk together the buttermilk, melted butter (cooled slightly), eggs, and a generous splash of pure vanilla extract. Ensuring your eggs are at room temperature will prevent the melted butter from re-solidifying when it hits the liquid.
Step 3: Create a well in the center of the dry ingredients and pour in the buttermilk mixture. Using a rubber spatula, gently fold the mixture together. Remember the golden rule: do not overmix! Once the batter is ready, let it rest for about 5 to 10 minutes. This rest period allows the flour to hydrate and the buttermilk to react with the baking soda, resulting in fluffier buttermilk waffles.
Step 4: Preheat your waffle iron. A hot iron is crucial for a good sear. Lightly grease the plates with a bit of oil or non-stick spray, even if it is a non-stick model. Pour the recommended amount of batter (usually about 1/2 to 3/4 cup depending on your machine) into the center and close the lid.
Pro Tip: Don't rely solely on the indicator light. Watch the steam! When the steam stops billowing out from the sides of the iron, it’s usually a sign that your buttermilk waffles are finished and ready to be enjoyed. If you have leftovers, I highly recommend storing them in these Basics Glass Food Storage containers to keep them fresh in the fridge or freezer.
Variations & Serving Suggestions
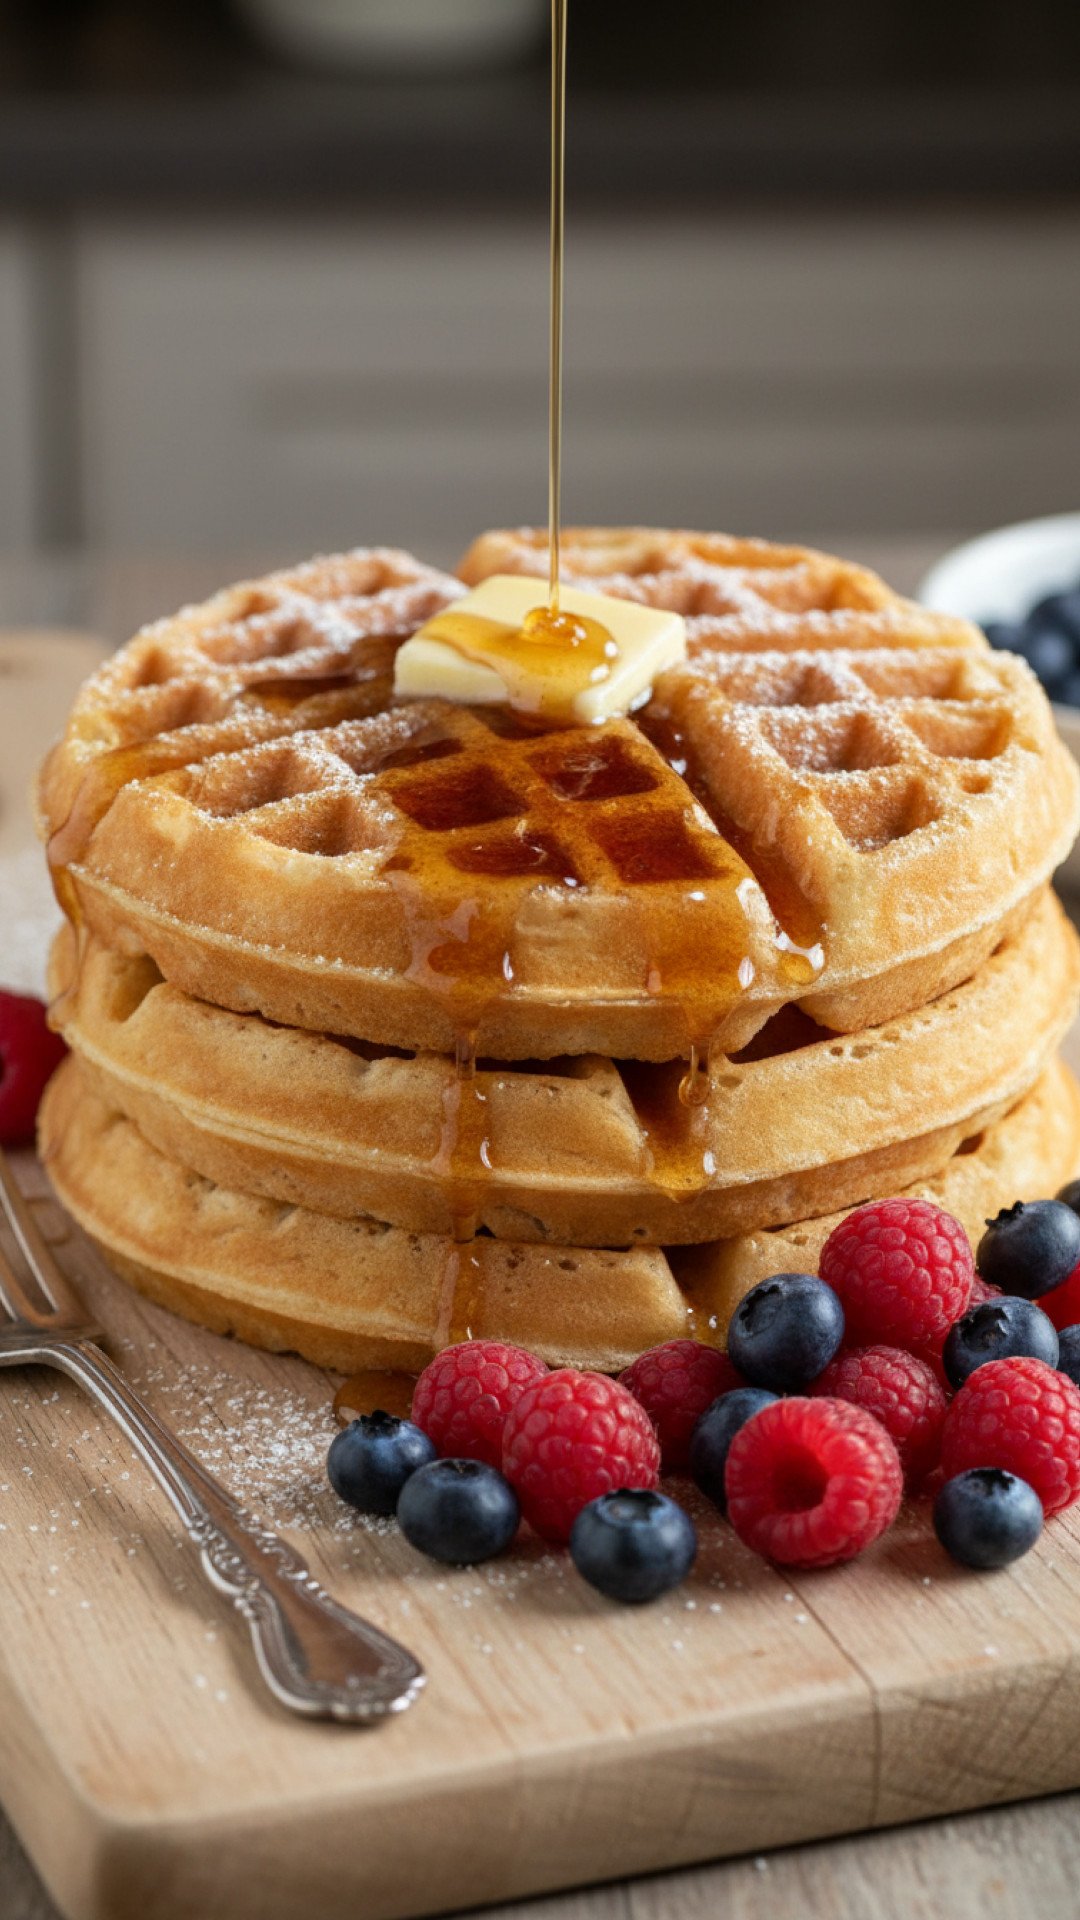
The beauty of buttermilk waffles lies in their versatility. For a classic sweet approach, top them with fresh berries, a dollop of whipped cream, and a drizzle of high-quality maple syrup. If you’re feeling adventurous, try adding a teaspoon of cinnamon or some citrus zest directly into the batter. For those who love a bit of crunch, folded-in pecans or walnuts provide a wonderful textural contrast.
On the savory side, buttermilk waffles make an incredible base for fried chicken—a soul food staple. You can even omit most of the sugar and add chopped chives and shredded cheddar cheese to the batter for a savory breakfast sandwich. If you are looking for more hearty comfort food ideas after your big brunch, you might enjoy exploring our Golden Curry Coconut Noodle Soup for a cozy dinner option.
Nutrition Information
| Nutrient | Amount per Serving |
|---|---|
| Calories | 310 kcal |
| Carbohydrate Content | 38g |
| Cholesterol Content | 85mg |
| Fat Content | 14g |
| Fiber Content | 1g |
| Protein Content | 8g |
| Saturated Fat Content | 8g |
| Serving Size | 1 waffle |
| Sodium Content | 420mg |
| Sugar Content | 6g |
| Trans Fat Content | 0g |
| Unsaturated Fat Content | 5g |
Conclusion
Mastering the perfect buttermilk waffles is a journey worth taking. With the right balance of tangy buttermilk, a light hand with the mixing, and a hot iron, you can transform a simple morning into an extraordinary culinary experience. These waffles are more than just a meal; they are a tradition waiting to happen in your own kitchen. Gather your loved ones, heat up the iron, and enjoy the crispy, golden goodness that only homemade buttermilk waffles can provide. Happy cooking!
FAQs
Why are my buttermilk waffles not crispy?
The most common reasons for soggy waffles are not having a hot enough waffle iron, overmixing the batter, or not using enough fat. Adding cornstarch to the dry ingredients also helps significantly with crispness.
Can I substitute regular milk for buttermilk?
While you can use a 'DIY buttermilk' (1 cup milk + 1 tbsp lemon juice), real cultured buttermilk is thicker and more acidic, which results in a better rise and flavor for these buttermilk waffles.
How do I freeze and reheat buttermilk waffles?
Let the waffles cool completely on a wire rack, then freeze them in a single layer before transferring to a freezer bag. Reheat them in a toaster or oven at 350u00b0F until they regain their crisp texture.

Classic Crispy Buttermilk Waffles
A tried-and-true recipe for the crispest, fluffiest buttermilk waffles with a perfect hint of tang and sweetness.
- Total Time: 30 minutes
- Yield: 6 waffles 1x
Ingredients
2 cups all-purpose flour
2 tablespoons granulated sugar
2 tablespoons cornstarch
1 teaspoon baking powder
1/2 teaspoon baking soda
1/2 teaspoon salt
2 cups buttermilk
2 large eggs, room temperature
1/2 cup unsalted butter, melted and cooled
1 teaspoon pure vanilla extract
Instructions
Step 1: In a large mixing bowl, whisk together the all-purpose flour, granulated sugar, cornstarch, baking powder, baking soda, and salt until well combined.
Step 2: In a separate medium bowl, beat the eggs and then stir in the buttermilk, melted butter, and vanilla extract until smooth.
Step 3: Pour the wet ingredients into the dry ingredients and gently fold with a spatula until just combined; do not overmix the batter.
Step 4: Let the batter rest for 10 minutes while you preheat your waffle iron to its medium-high setting.
Step 5: Lightly grease the waffle iron and pour about 1/2 to 2/3 cup of batter (depending on your iron size) onto the center. Close and cook until golden brown and the steam has mostly stopped.
Step 6: Remove carefully and serve immediately, or keep warm in a 200°F oven on a wire rack to maintain crispness.
Notes
For the best results, ensure your buttermilk and eggs are at room temperature to keep the melted butter from clumping.
- Prep Time: 15 minutes
- Cook Time: 15 minutes
- Category: Desserts & Baking
- Cuisine: American
Nutrition
- Serving Size: 1 waffle
- Calories: 310 kcal
- Sugar: 6g
- Sodium: 420mg
- Fat: 14g
- Saturated Fat: 8g
- Unsaturated Fat: 5g
- Trans Fat: 0g
- Carbohydrates: 38g
- Fiber: 1g
- Protein: 8g
- Cholesterol: 85mg
Leave a Reply